Zagara Costume Break Down

IMG_4656

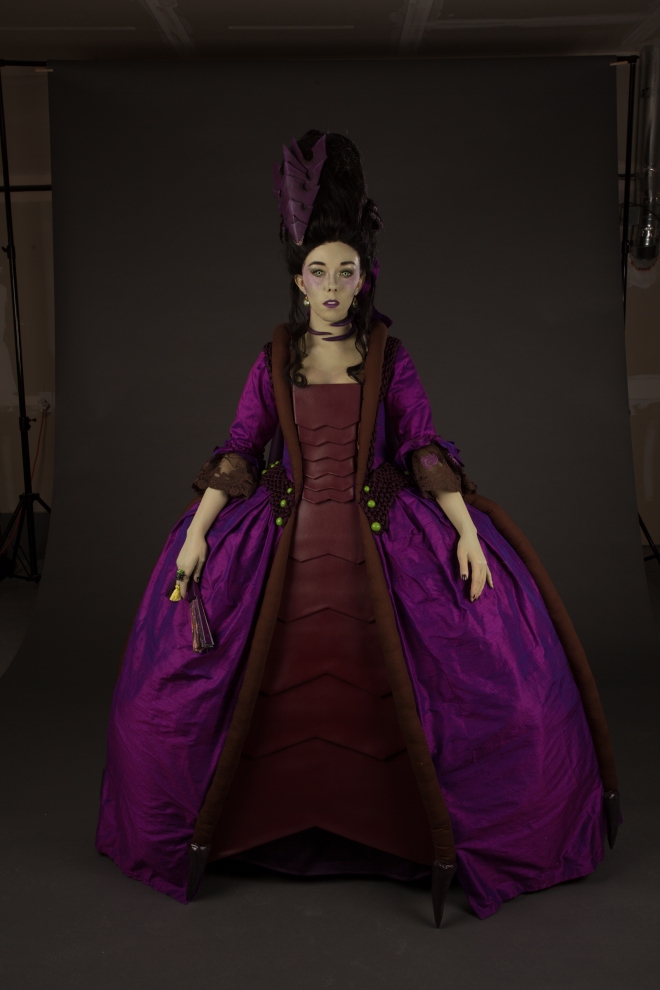
Photo by Steve Groves of ESI Media


Holy cow you guys, am I in love with this costume. This was the very first costume I’ve ever made that I was just grinning the entire time. I had some issues with the cape and wig, but throughout making the dress, I was just in love!

This costume basically started with me turning to Mario and saying, “I want to wear a big dress to BlizzCon this year.” I’ve always been in love with the Zerg, and thought about doing Kerrigan (this was way back in January before Countess Kerrigan was a thing) so I talked to my amazing friend Carissa (link is to her Facebook page, check out her work!) about helping me figure out the costume and getting my ideas onto paper.

10251950_10152152181103931_2108985652160482433_n

She blew it out of the water. This is exactly what I had in mind, and I was in love from the beginning! (Warning: Super long post ahead!)

Continue reading

BlizzCon 2014: SO CLOSE!

So… as of today, we leave for BlizzCon in 14 days! We’ll be driving down on Tuesday, stopping halfway, and getting to our hotel on Wednesday. This year we’ll be spending the con with Mario’s mother and brother, and we’re super excited to share the experience with them- especially since they’ll both be cosplaying!

I’ve been preparing for the con by putting up several video tutorials on our YouTube channel, so I wanted to post them all here for you guys, too!

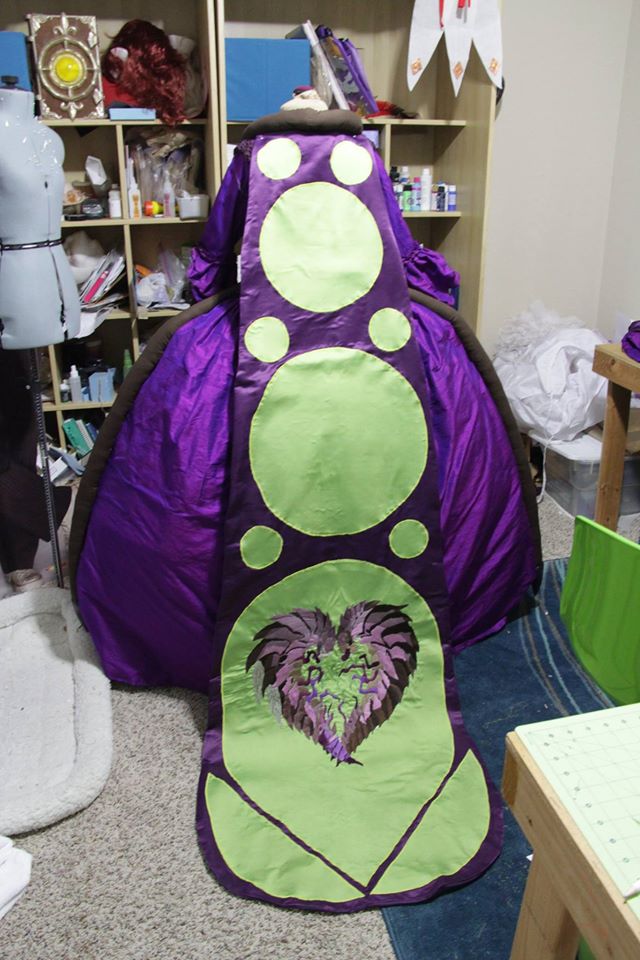
Since we didn’t update here, Mario has set aside Urzael until next year, and will instead be wearing Roller Derby BRova! Here’s a preview of my Zagara- I decided to go with an original 18th century version.

1264830_878086935534757_6244254702673337261_o

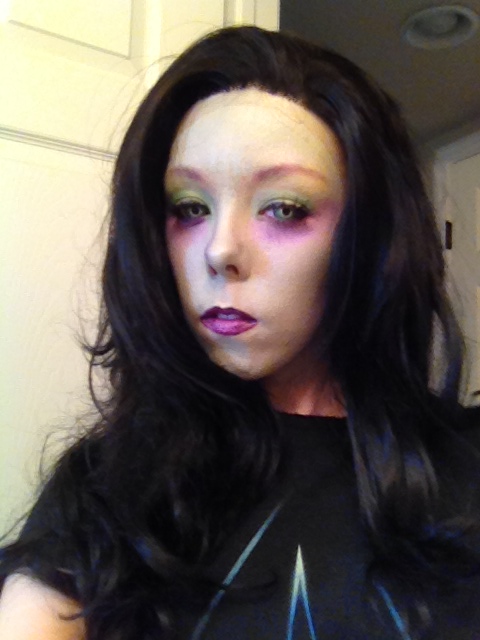
And just for you guys- a makeup test!

2014-09-17 13.50.08

We hope to see you all at BlizzCon! Make sure to say hello if you see us!

Spell Breaker Break Down: The Costume

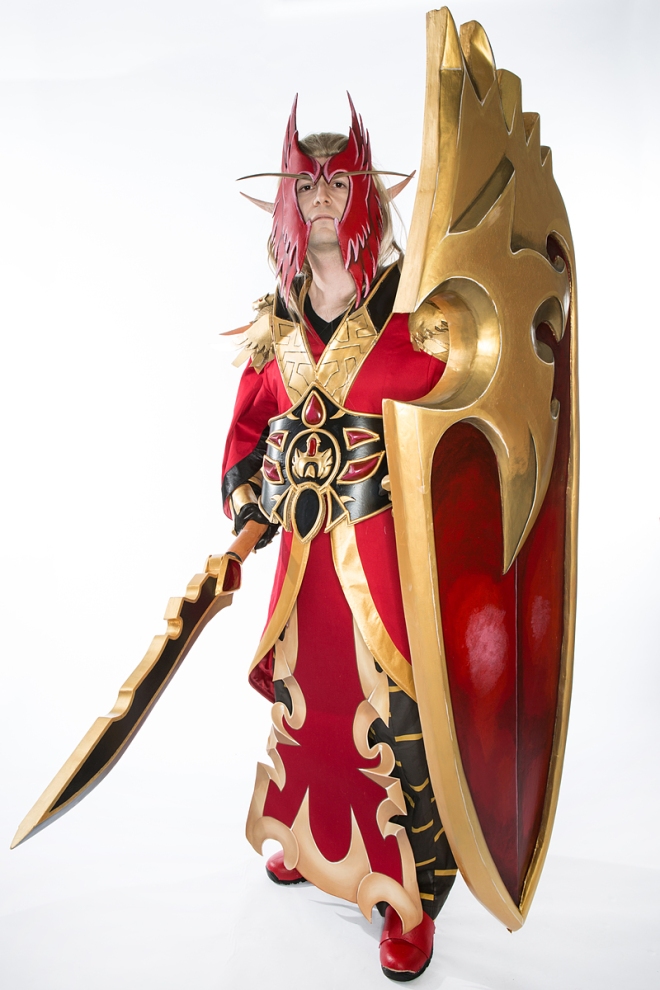
costume-general099-full


I know, it’s been almost a year, but we’re finally doing a post about how we made Mario’s Spell Breaker costume for BlizzCon 2013! This post will focus on the costume/wig/mask part of the cosplay, and the next post will be on the weapon and shield.

Continue reading

BlizzCon 2014!

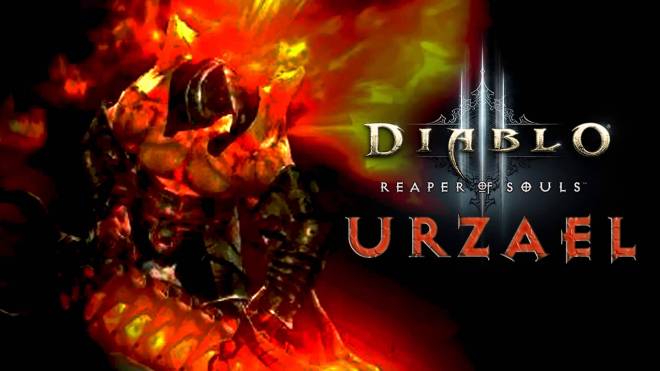
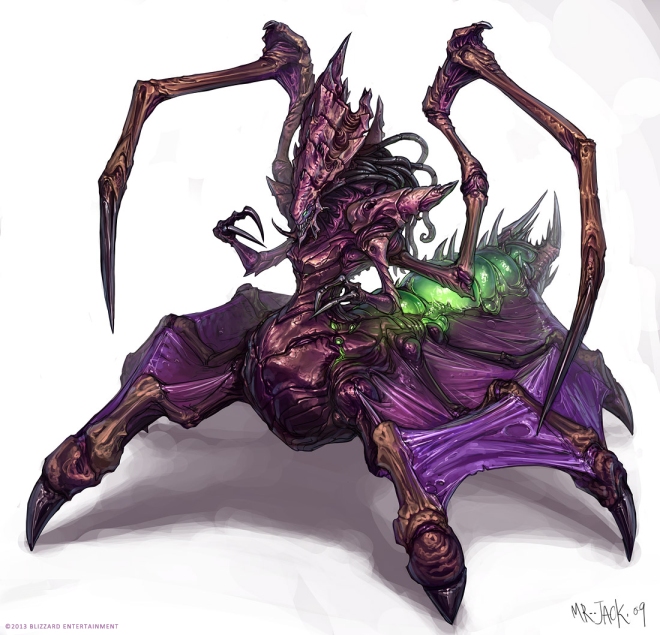
Of course we’re attending BlizzCon this year, and if you haven’t seen or you don’t follow our Facebook page, we’re working on these two costumes for day one:

maxresdefault queen_by_mr__jack-d1xkhuv

Urzael from Diablo III, and Zagara (based off of a few different images, since there are several of her) from Starcraft II and Heroes of the Storm!


We’ve both been incredibly busy getting these together for the convention- we’re in the double digits with the countdown, now! Here’s some progress for Urzael!

2014-07-08 19.57.29

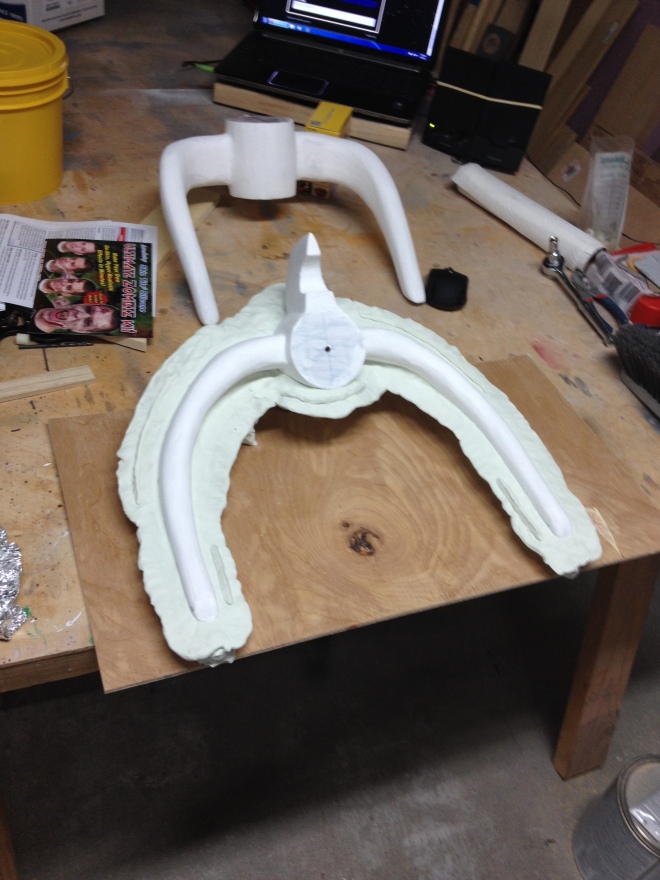
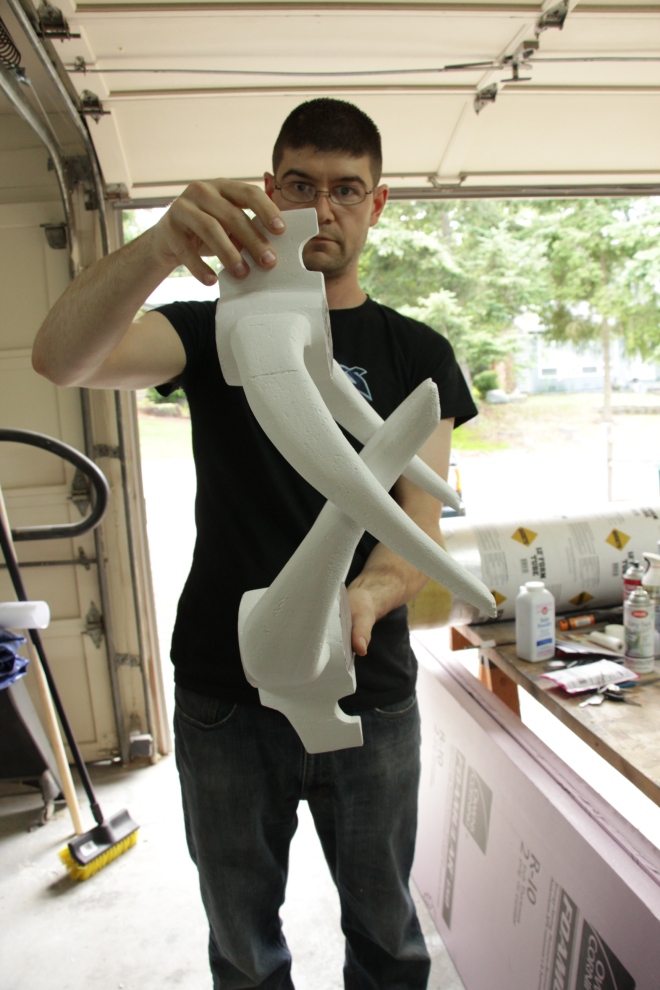
Mario first carved the rib structure for the cannon out of pink foam, then got it perfect and smooth and cast it in a quick matrix mold.

2014-07-25 20.31.25

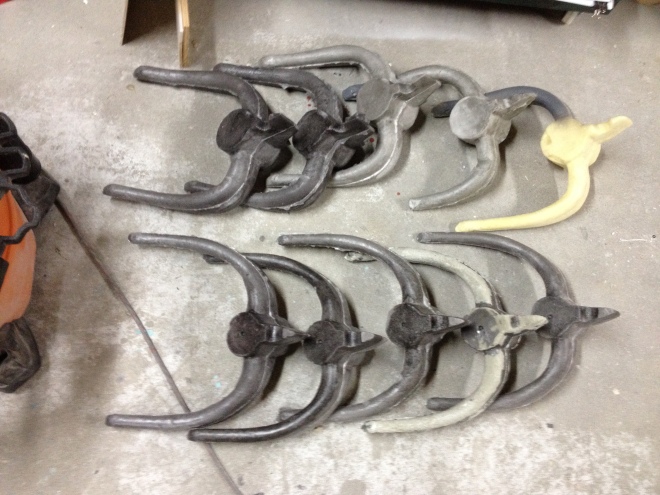
As you can see, the first few (on the right) don’t look quite perfect, but once he switched to the drill squirrel mixer, every batch came out exactly as it should. He used a two part rigid, self skinning polyurethane foam that he tinted black to help him with his painting later.

IMG_8050

This is how the ribs will look on the cannon!

IMG_8049

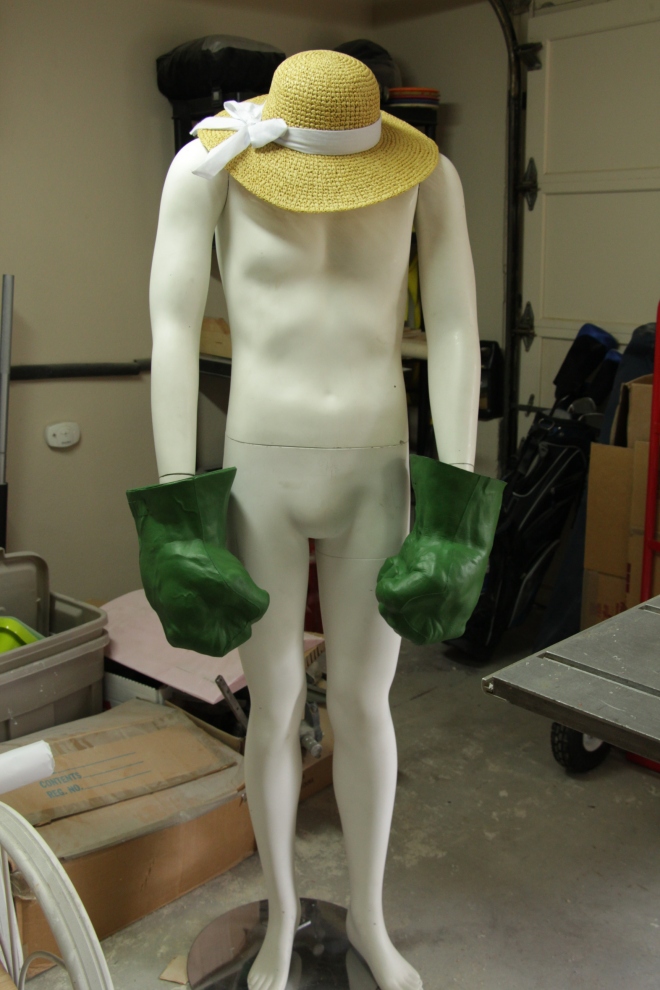
We also got a male mannequin to sculpt on, since it’s very close to Mario’s size, and we’ll be molding and casting the chest and upper arms for Urzael, since it’s impossible to 1. be as muscular as he is and 2. have orange glowing from under your skin! The Hulk hands will potentially be used for the costume, as well!


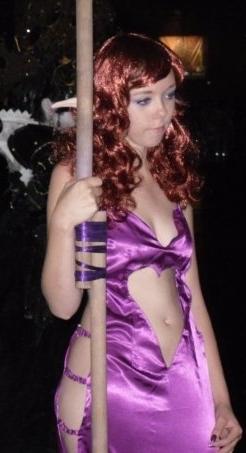
On day two, I’m going to wear my Lovely Purple Dress from my first year at BlizzCon, 2009, and Mario is still working on his second costume!

5328_260566795523_630800523_8503865_7554764_n

Here’s one of the few photos I have of it- at least I know a good quality wig now!

Oh, and this costume is a great example of finding the right undergarments. I was fully covered under this dress, but it was hidden in a way that it didn’t take away from the costume!

Also, Mario did a Prop: Live with Bill of Punished Props, so if you didn’t get a chance to watch it, you can watch it here!


We’re going to try and update more often with tutorials when we have them, so keep an eye out!


Auriel from Diablo III Costume Break Down!

Photo by OTL and MLZ studios

Photo by OTL and MLZ studios

(Note: this isn’t going to be a full blown, step by step tutorial because I don’t have that many photos, but I’m going to try to cover everything I did! Feel free to ask questions in the comments, we’re always happy to help!)

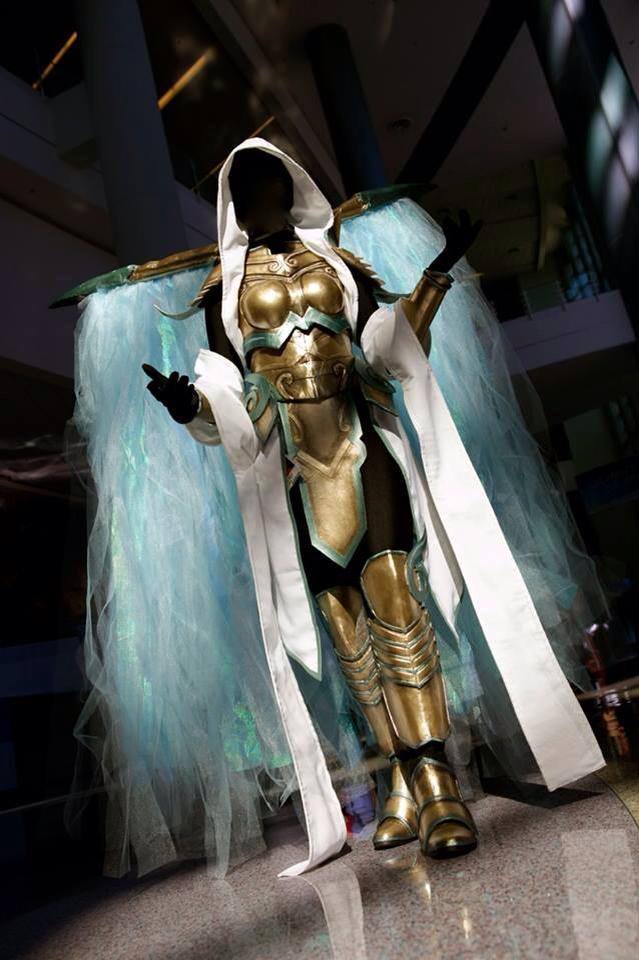
So, Auriel! This costume was made for Blizzcon 2014, and based off of Auriel, Archangel of Hope from Diablo III. Continue reading

(Way, way late) Blizzcon Recap

I am seriously sorry you guys, I was certain I had posted about Blizzcon and our final costumes here, but apparently not! It was an insanely busy weekend and it passed by too quickly, as most conventions do.

Photo by OTL and MLZ studios

Photo by OTL and MLZ studios


Auriel turned out beautifully, it is easily one of my most favorite costumes in terms of aesthetics. It wasn’t exactly fun to wear (the wings were supported by a harness that made them feel like a super heavy backpack on my shoulders, and I’m not known for my strength) but I loved the reaction from it.

Photo by Davann Srey Photography

Photo by Davann Srey Photography

Mario’s costume also turned out beautifully, exactly as we imagined it. For more photos, check out our Facebook page!

We’re also in this amazing video by MLZ and OTL studios! We’ve shot videos with them before, and they are always so amazing to work with and know exactly what needs to be done to showcase the costumes.

Over all, the convention was amazing, we met so many people (we also hosted a cosplay dinner the night before the con) and made a lot of friends! Honestly, Blizzcon is less about seeing the convention and more about cosplay for us. We enjoyed walking around the con on the second day out of costume, but we aren’t the type to try to watch too many panels! Though, there was one on cosplay, which was very informative and helpful. You can see that one below, too! (It’s over an hour long, fair warning!)

Thanks for reading, everyone, and I’m working on some in progress and finished commission posts to be up in the next week or so!


Guest Post: Tyrande Process Walkthrough!

(Today’s guest post is by Petrai of Petrai Cosplay! She did an amazing Tyrande cosplay for Blizzcon 2011 that we just loved so much that we asked her to do a guest post for us! You all should definitely go check out her page! As usual, you can click on the photos to see the larger version!)


Hey all! I’m happy to be writing a guide for Arms, Armor, and Awesome! Tyrande was definitely a big undertaking but so rewarding. It was a huge learning process as my first cosplay ever and after 6 months, turned out just how I wanted it!

LATEX DETAILING:
So here I’ll basically just focus on the sculpting aspect of the costume, rather than the sewing. This includes all of the silvery dress detailing, as well as armbands and other bits. It was difficult to decide what material I wanted to use, since I knew I needed it to be strong, but also flexible enough to bend with my body, and around my arms with negative space between details. I ended up choosing semi rigid latex, which has basically the consistency of dry hot glue. Clean pulls, no mess, semi rigid and easy to use!

I started off by drawing a to scale blue print of the central detailing on the dress, as well as the bracelets, and then sculpting it in plastalina modeling clay. 

Plastalina clay is the non-hardening clay that they use in Claymation, which is what I needed for the plaster mold. I chose this type of clay so that picking all of the bits out of the mold wouldn’t be overly taxing, plus I could leave my sculpts for days on end and come back to them when I wanted to continue working. The reason I needed a plaster mold vs. a silicone mold is because the final positive would be made of semi-rigid latex, which cannot harden in a silicone mold. I ended up gluing all of the clay parts together with super glue, just to keep it all from rolling around when I moved it or poured plaster. The plaster was very easy, I used normal cardboard boxes as mold boxes and hot glued them to make sure they wouldn’t leak, and poured the liquid plaster over the clay. When my plaster was hard, I removed the mold from the box, let it fully dry for 24/hrs, and poured my latex. The trick with the latex was to make sure it was 100% hard, which took a lot of patience (Days, with multiple pours as it slightly shrinks when it hardens). When it was ready, I pulled it and it was exactly what I wanted! Of course, the first pull was the best, and over time my plaster mold would break down, but I only needed it for essentially 6-8 pulls.This image shows a good progress; from the mold to the painted product. I ended up having to cut off a lot of excess with an exact-o knife, as well as air bubbles. I painted it with metallic acrylic paint, weathered it, and then it was sewed onto the dress (or attached around my arms).

EYEBROWS/WIG:

For the eyebrows, I wanted them to look as naturally night elfish as possible, without looking too glued together. I ended up opting for pheasant feathers which turned out to be pre-dyed the perfect shade of teal. I gently cut the majority of the feather base off, and then on the ends below the wick I cut off the small fibery parts but was careful to keep them clumped together and available for re-use. The hardest part was gluing these cut pieces and a small jewelry wire along the wick, to give them shape and a fuller look. This took a lot of patience, gluey fingers, and frustration, but it ended up coming together in the end. 

For the wig, I had to do seriously no styling beyond sewing in little pearl beads to simulate the dew drops in the reference image. For the leaves I picked real ones, scanned them, printed, decoupaged, cut, and folded them, then sewed them into the wig. Easy!

GEMS:

The gems were sculpted out of extra clay, then I made a silicone mold and casted them out of clear resin (I picked it up from Micheals arts and crafts), and when they were dry I painted the bottoms with varying shades of blue nail polish, and sealed it with the reflective side of tinfoil. Voila!

A full album of photos can be seen on my cosplay page here!

I hope that was helpful! Feel free to message me on my cosplay page if you have any questions, I’d be happy to help. Thanks!
Starcraft Medic Shield Commision

Back in the start of 2011 a friend asked up to help her out with a fan art inspired Terran medic.

I took on the project even though we were knee deep in the Kerrigan build at the time. I have love of prop weapons and accessories making it very hard to turn down the opportunity to make a something as cool as a 4foot shield!! Continue reading

Blizzcon 2011 Recap

Well now that we’re home and comfy at our desks (OMG! I can sit at the computer now for as long as I want with NOTHING TO WORK ON! It’s an amazing feeling, really), I figured I could tell you how our Blizzcon went.

This post is going to have nothing to do with announcements or tournaments, because honestly, I didn’t really get to see or hear any annoucements or panels first hand, just heard about them from friends.

Firstly, I have to say that the cosplay dinner that we (along with Pocket) threw the night before Blizzcon was a huge success. We are so grateful to everyone who came out to the dinner, and we were so happy to finally meet all the cosplayers we’ve been following, face to face!

Photo by Tony Hsu

Also, earlier that day Mario and I participated in a G4 photo shoot for the burlesque group that our amazing friend Lisa put together, it was really amazing to meet the ladies behind the group and hang out with them while we got pictures taken.

Photo by G4

The first day of Blizzcon, we helped get everyone in our room ready- our original plan was to help everyone get ready, relax for the morning, walk around the con until 11 or so, then head back to the hotel and get into Kerrigan, getting us back to the con in time for the cosplay photoshoot at 3. Mario wore his doomsayer costume and I wore a quickly put together ‘apprentice’ doomsayer one so I could hold a sign and be somewhat in costume, and we stood in the Jinx line and then went straight to the hotel. It took us 4.5 hours to get ready, were set back a few minutes by losing an eyebrow stencil and messing around with the makeup too long, and didn’t make it back in time for the photo shoot at the fountain, unfortunately.  Continue reading

Blizzcon Kerrigan Debut

So, even though I have decided that I will not put on Kerrigan until later in the day for the first day of Blizzcon, I am still showing these pictures the morning of! These were taken for the photoshoot, and later in the day I will try and post pictures of the updated version of the costume. We fixed the way the dreads lay, the forehead isn’t quite so high, the paint on the face is closer to what Kerrigan has, and the neck and ankles aren’t quite so loose. Enjoy!


If you are at Blizzcon today, please look for me by the fountain around 3:00 or 3:30 at the cosplayer’s photoshoot!