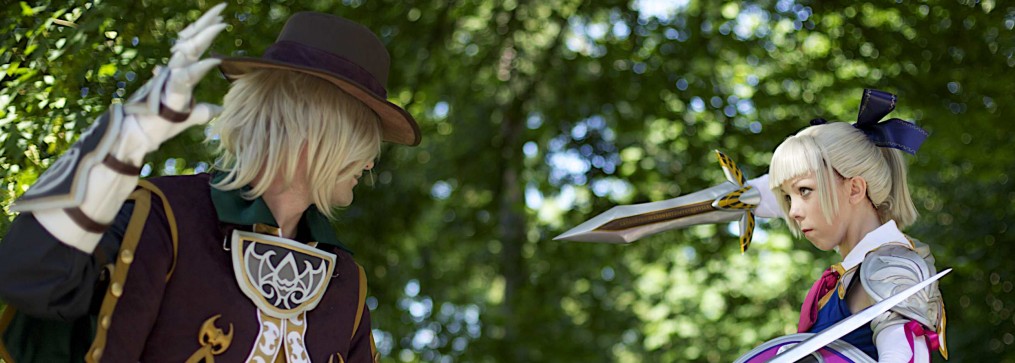
Today’s tutorial is how to make your very own Blizzard Elf eyebrows. It’s one of the things that makes Warcraft elf cosplay stand out from the rest! They are super easy and simple.
What you will need:
-Wig/ Fake hair
-Sciccors
-Tacky Glue: Clear
First things first, you will need the hair you will be using. If your using a wig cut a small piece of the hair from the bottom most layer. If your not using a wig, you COULD be brave and use your own hair, but I wouldn’t recommend it. Just go to your local dollar store or accessories store and get a cheap hair extension that matches your hair.
Take the piece you cut and split it evenly into two.

Now that the pieces are separated, cut them to the length you prefer. I like to have mine about 2 inches longer than my own eyebrows. With the excess pieces, cut a small piece that would would measure from the point of your eyebrow to the arch. This will make it thicker.

Now take your glue and put it on the point of your eyebrow and on the center. Don’t put it on the end! This will make the end super clumpy and heavy. You want it to look thin. Take your fingers and smooth the glue out from the point to the center. Your hair will move around in your hands, don’t panic! Just try to keep the basic shape.

You will have little hairs sticking out where they shouldn’t be, so trim them up so they are all neat and clean. Give them about 5 minutes to dry. Now take your scissors and trim the point, I like to have mine on a sharp angle.
If your eyebrows have spaces in them like in this picture, make sure you fix them before the glue completely dries. Just push and pull the hairs til they cover the holes.

And ta-da! You have your very own Blizzard Elf eyebrows! You can attach them to your face with eyelash glue, or spirit gum.

What if you have super dark/bushy brows? Take some of the clear glue and smooth them down. Let them dry and cover them completely with your foundation til they arent visable.
GLHF and happy costuming!
 Required materials: carbon fiber tube, airplane board, plastic board, pearl board, water putty, acryl pigment, paint spraying outfit including drawing utensil, utility knife (a small one and a big one), white latex, hot melt glue, AB glue (being transparent, it can harden in 4 minutes), abrasive paper (No. 100 to 400 should be all prepared) and watercolor utensil. Continue reading


