

Photo by Steve Groves of ESI Media
Holy cow you guys, am I in love with this costume. This was the very first costume I’ve ever made that I was just grinning the entire time. I had some issues with the cape and wig, but throughout making the dress, I was just in love!
This costume basically started with me turning to Mario and saying, “I want to wear a big dress to BlizzCon this year.” I’ve always been in love with the Zerg, and thought about doing Kerrigan (this was way back in January before Countess Kerrigan was a thing) so I talked to my amazing friend Carissa (link is to her Facebook page, check out her work!) about helping me figure out the costume and getting my ideas onto paper.

She blew it out of the water. This is exactly what I had in mind, and I was in love from the beginning! (Warning: Super long post ahead!)
Before I even touched any fabric, I did a ton of research. I read so many historical fashion blogs, but the ones that were most helpful were American Duchess (which linked out to a ton of blogs I followed), and Starlight Masquerade (which had a ton of progress photos which were so helpful!).
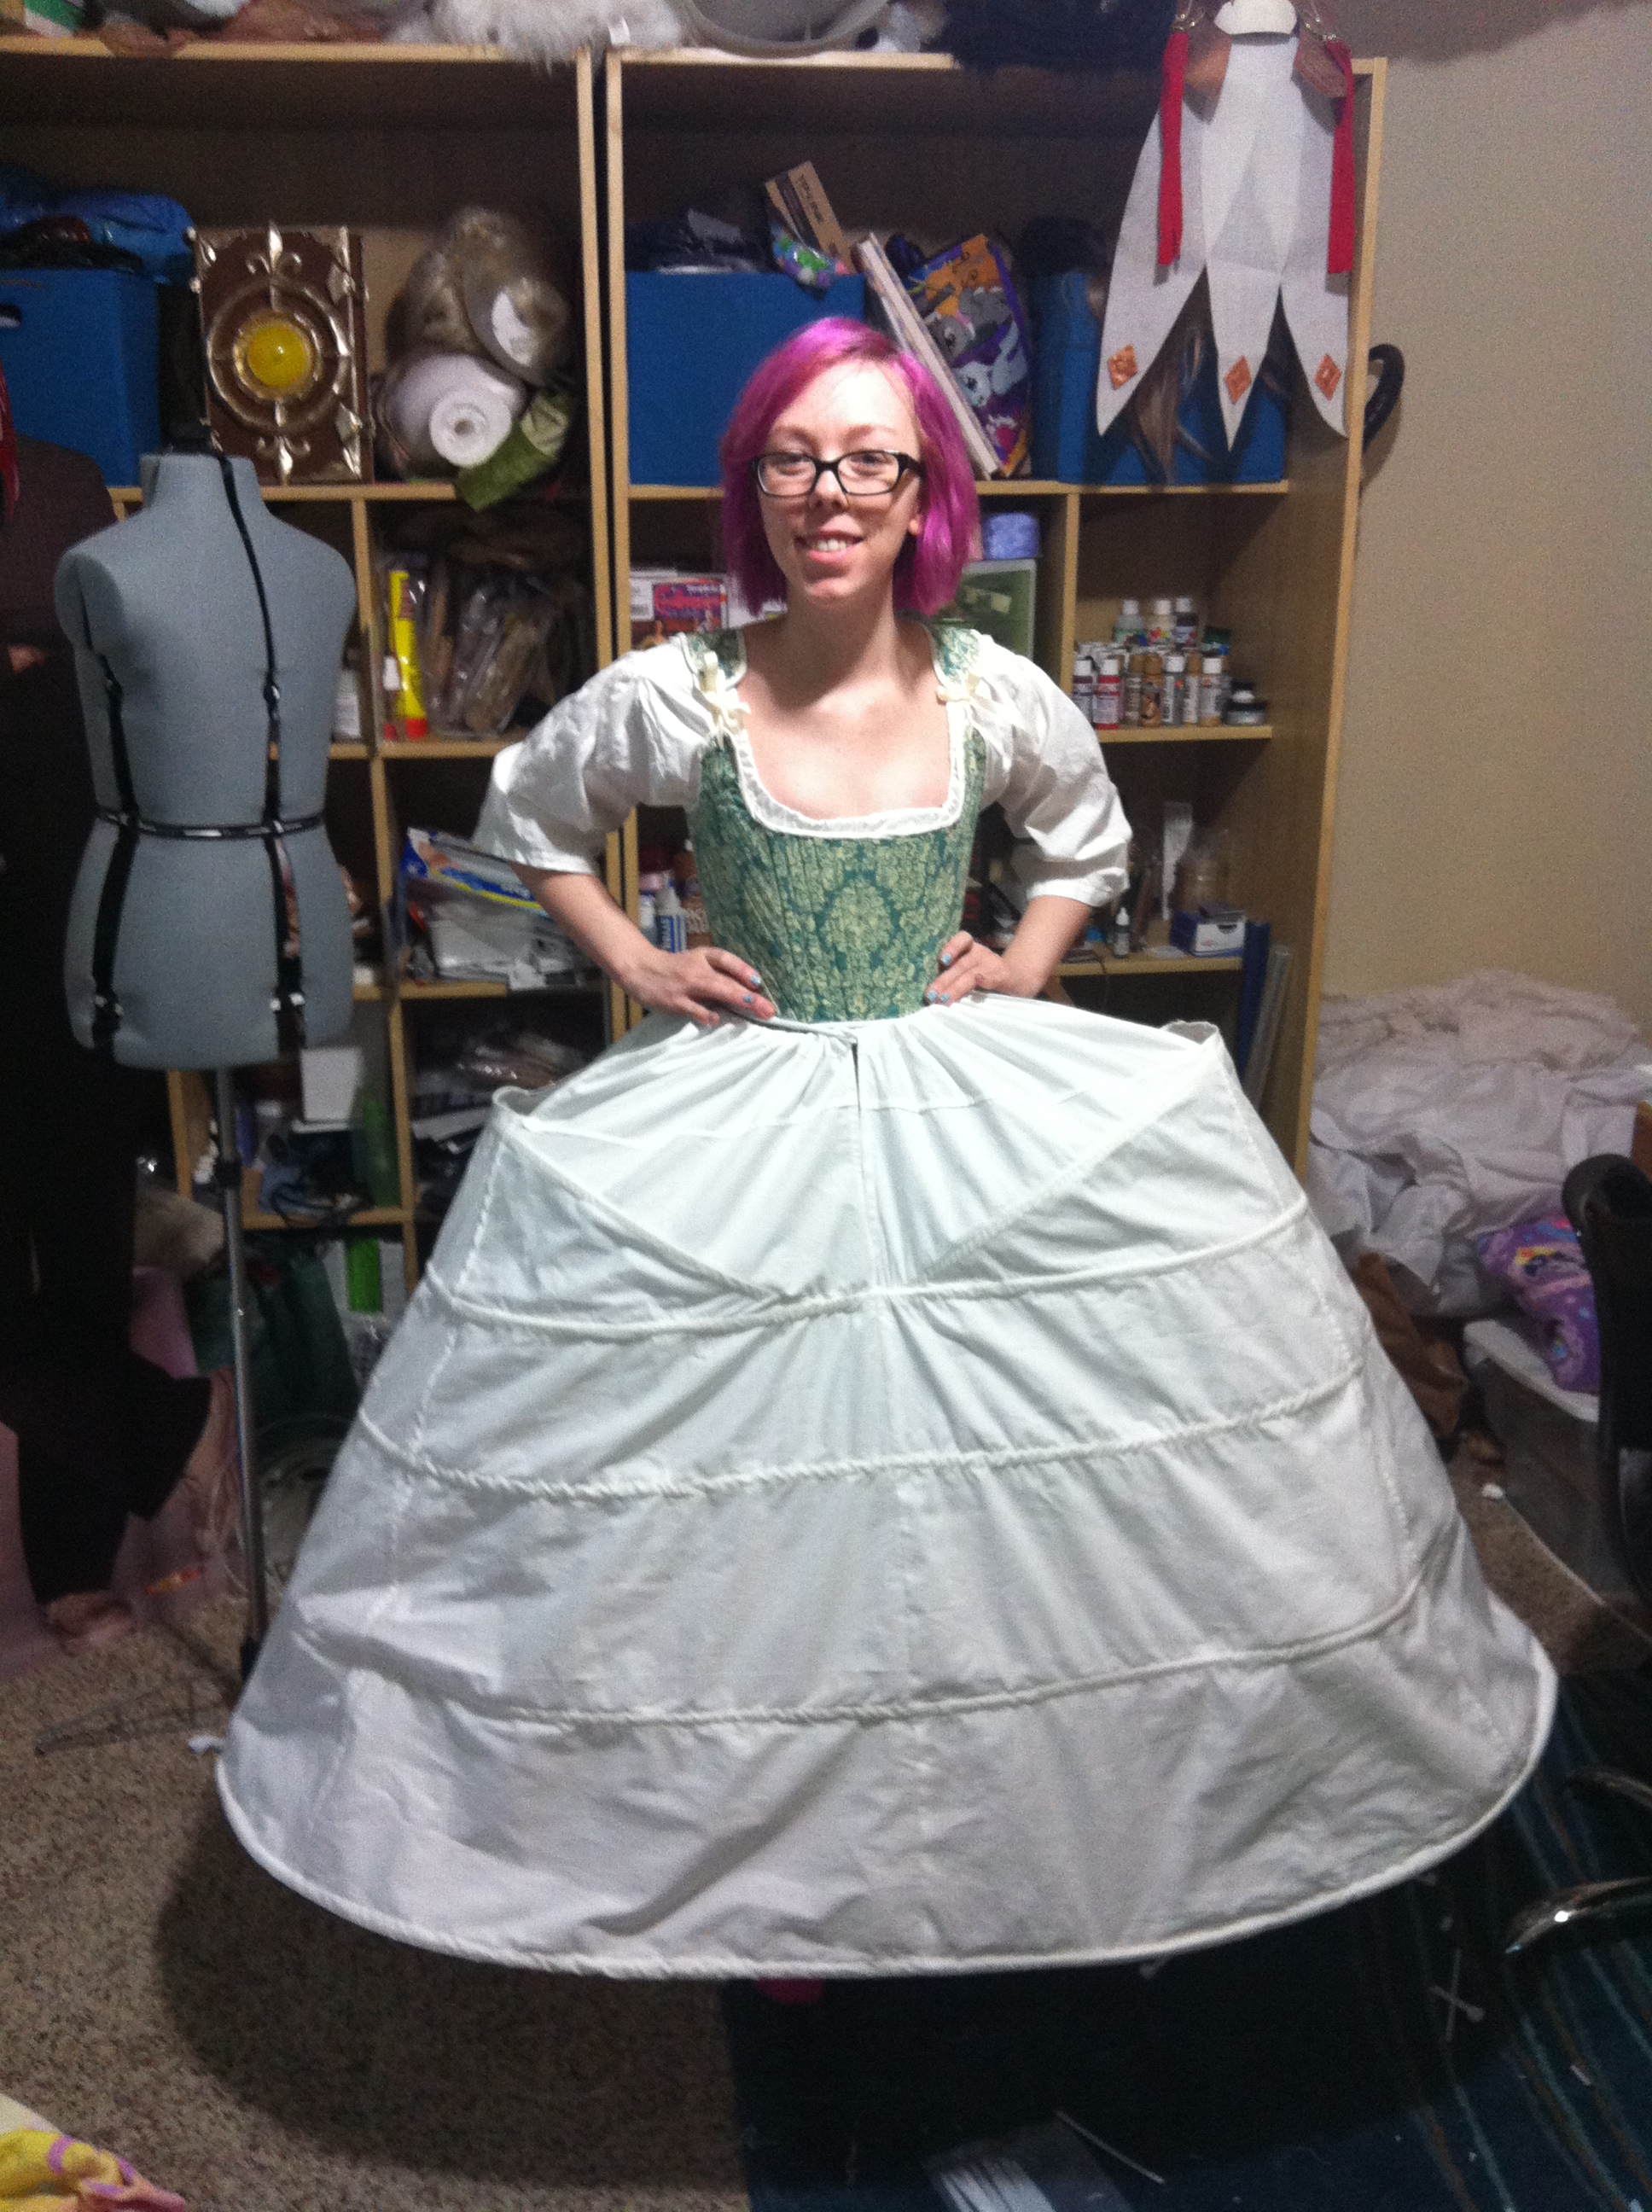
After all that, I learned I had to start with the undergarments. I made my own panniers (hoop skirt) and stays (corset) from Simplicity 3635, which is now unfortunately out of print but can be found online in multiple places.


Trying out the pattern for the stays- I ended up needing to go a size down, so this is important to do!

All of the binding for the stays was hand sewn.

I also sewed a chemise, but it was a bit restricting on the legs so I ended up wearing shorts and a tank top underneath instead.
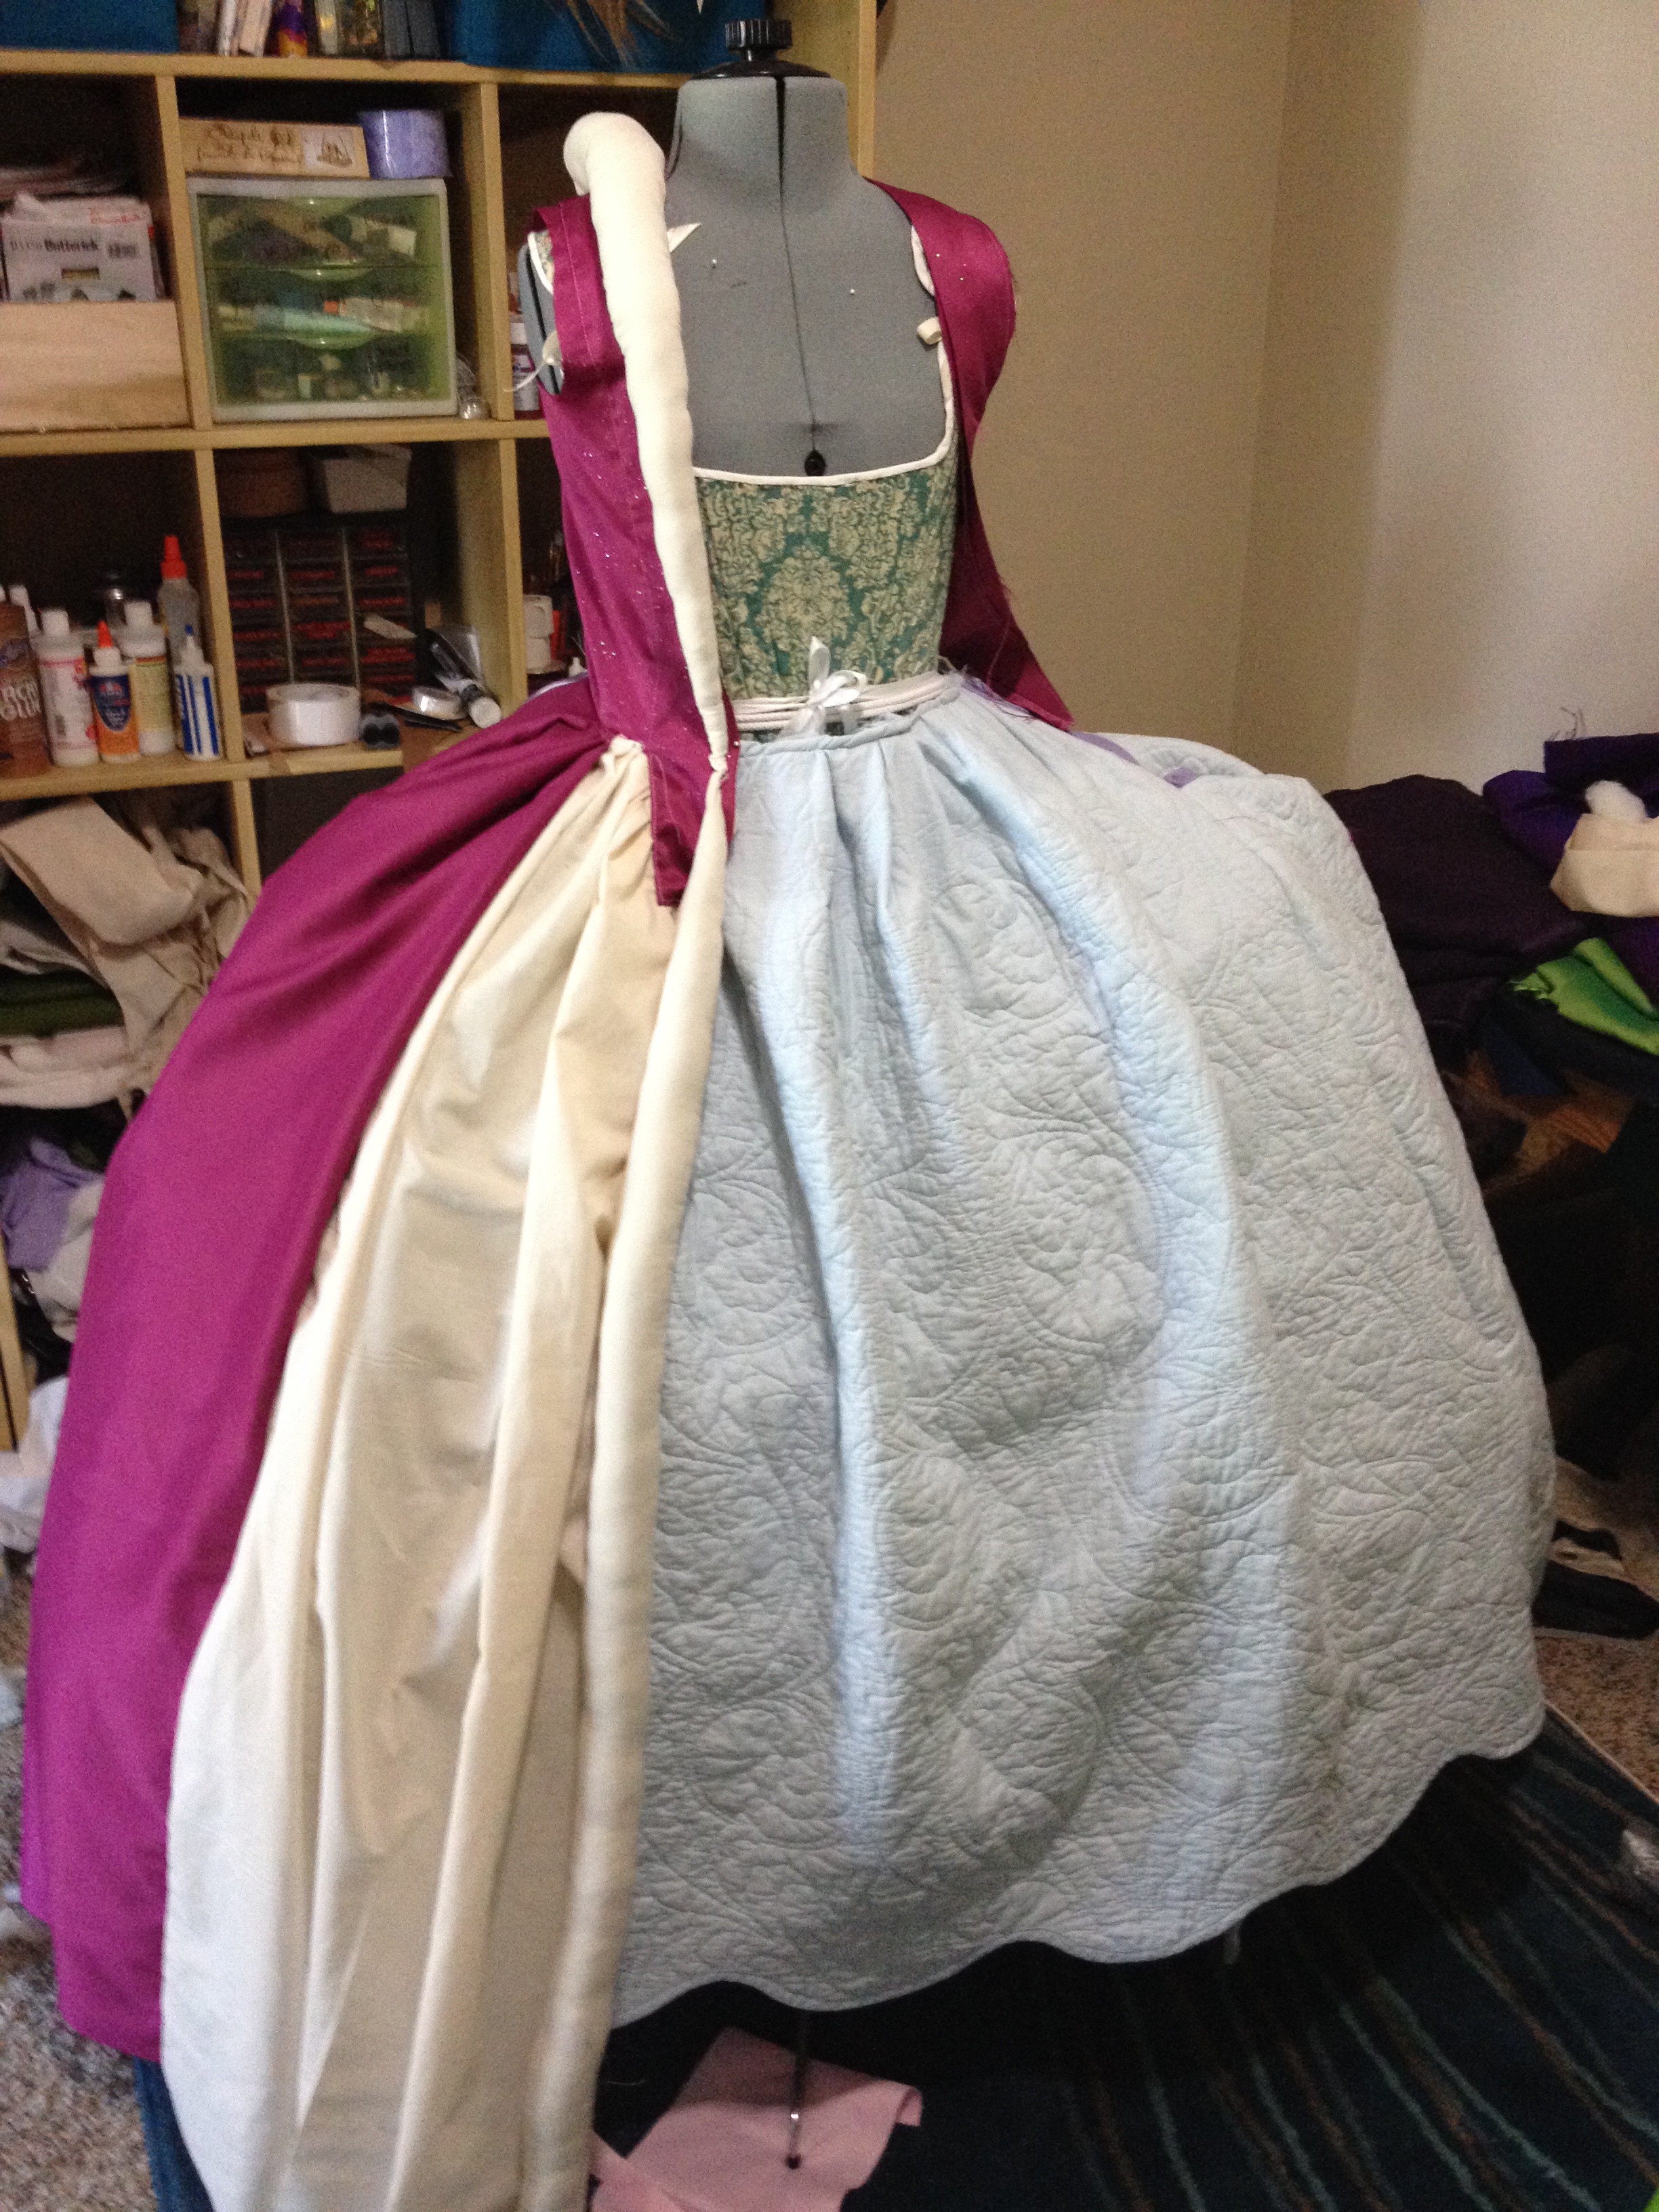
Once the undergarments were done, I needed to make petticoats to help hold the shape and pad the dress so that the boning from the panniers didn’t show through. I decided to go with one petticoat- a quilted one- to do this job. I just bought a quilt from ebay for $20, and turned it into a petticoat!

Before I bought ANY of the fabric for the dress itself, I patterned out the dress. I used this pattern from Mill Farm, and made sure to sew the dress together and try it on first before I figured out how much fabric to get, because I didn’t want to get too little. This pattern was pretty easy to understand, but it took some time since I learn from pictures and there were very few. I’m so glad that I put it together with spare fabric first, because it helped me overcome some issues that I would have had later on (like how to fit together the bodice with the skirt, etc).
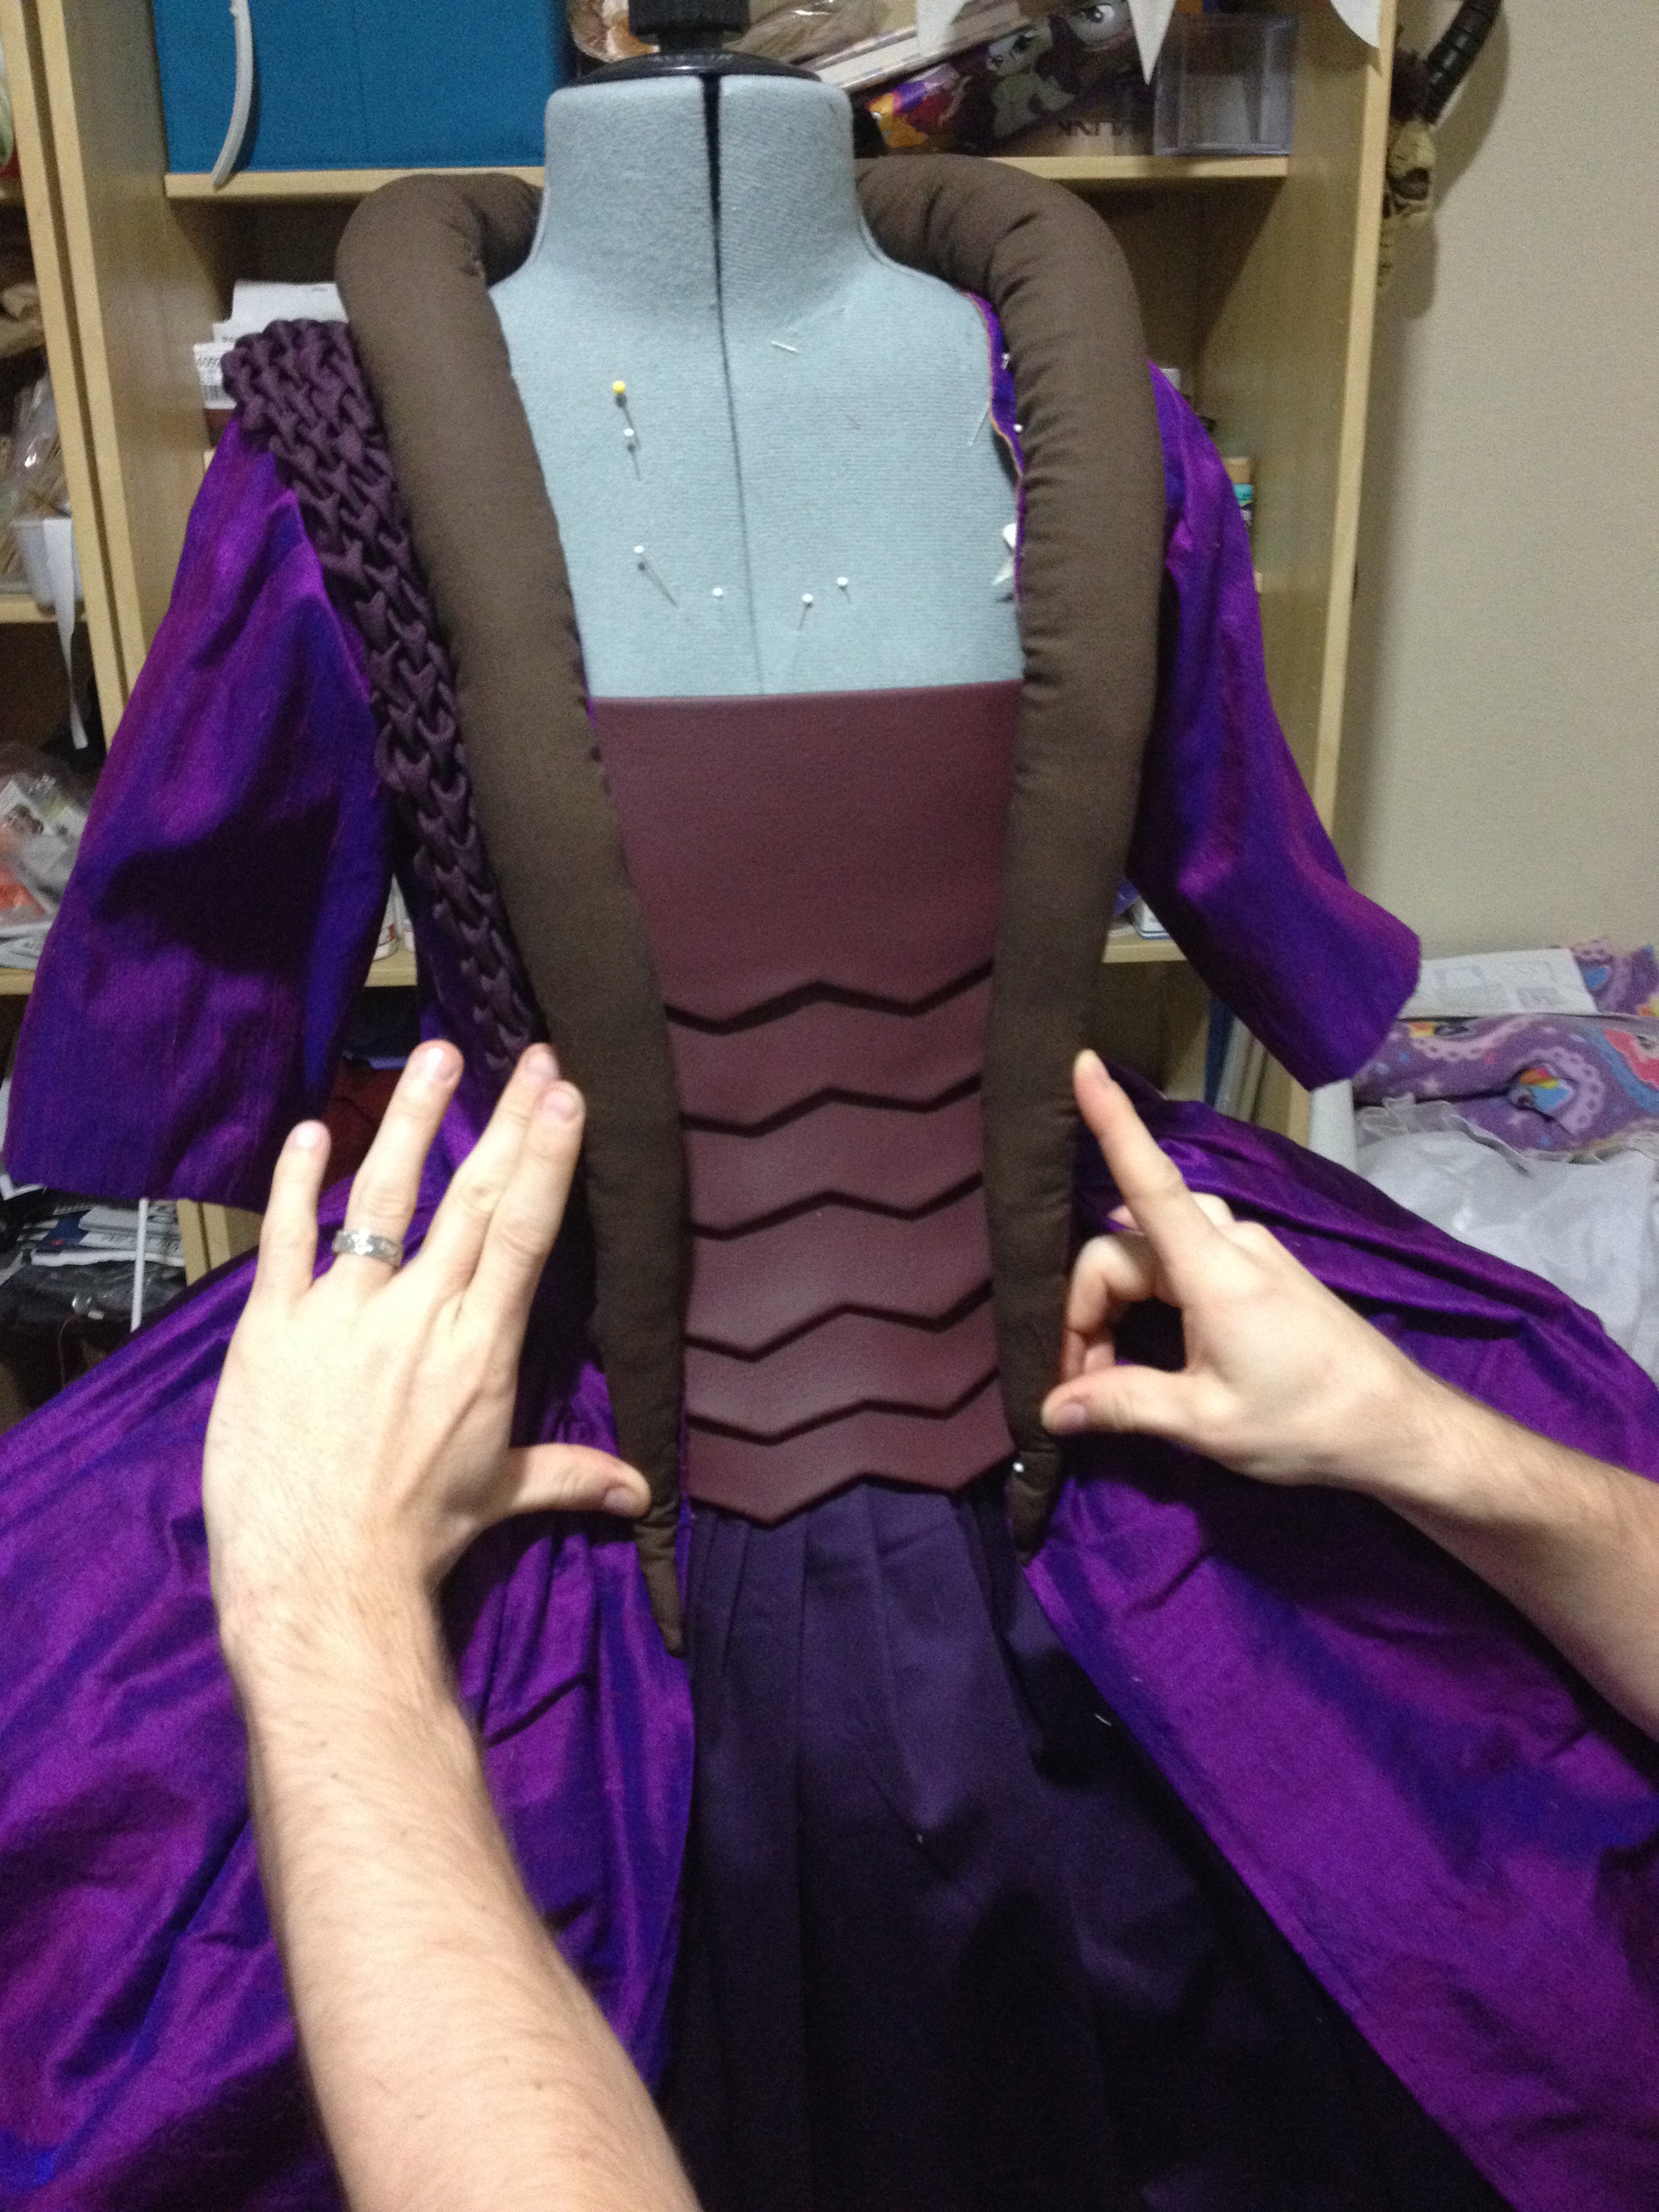
I also patterned out the “legs”, which is the white stuffed thing you see in the photo above.
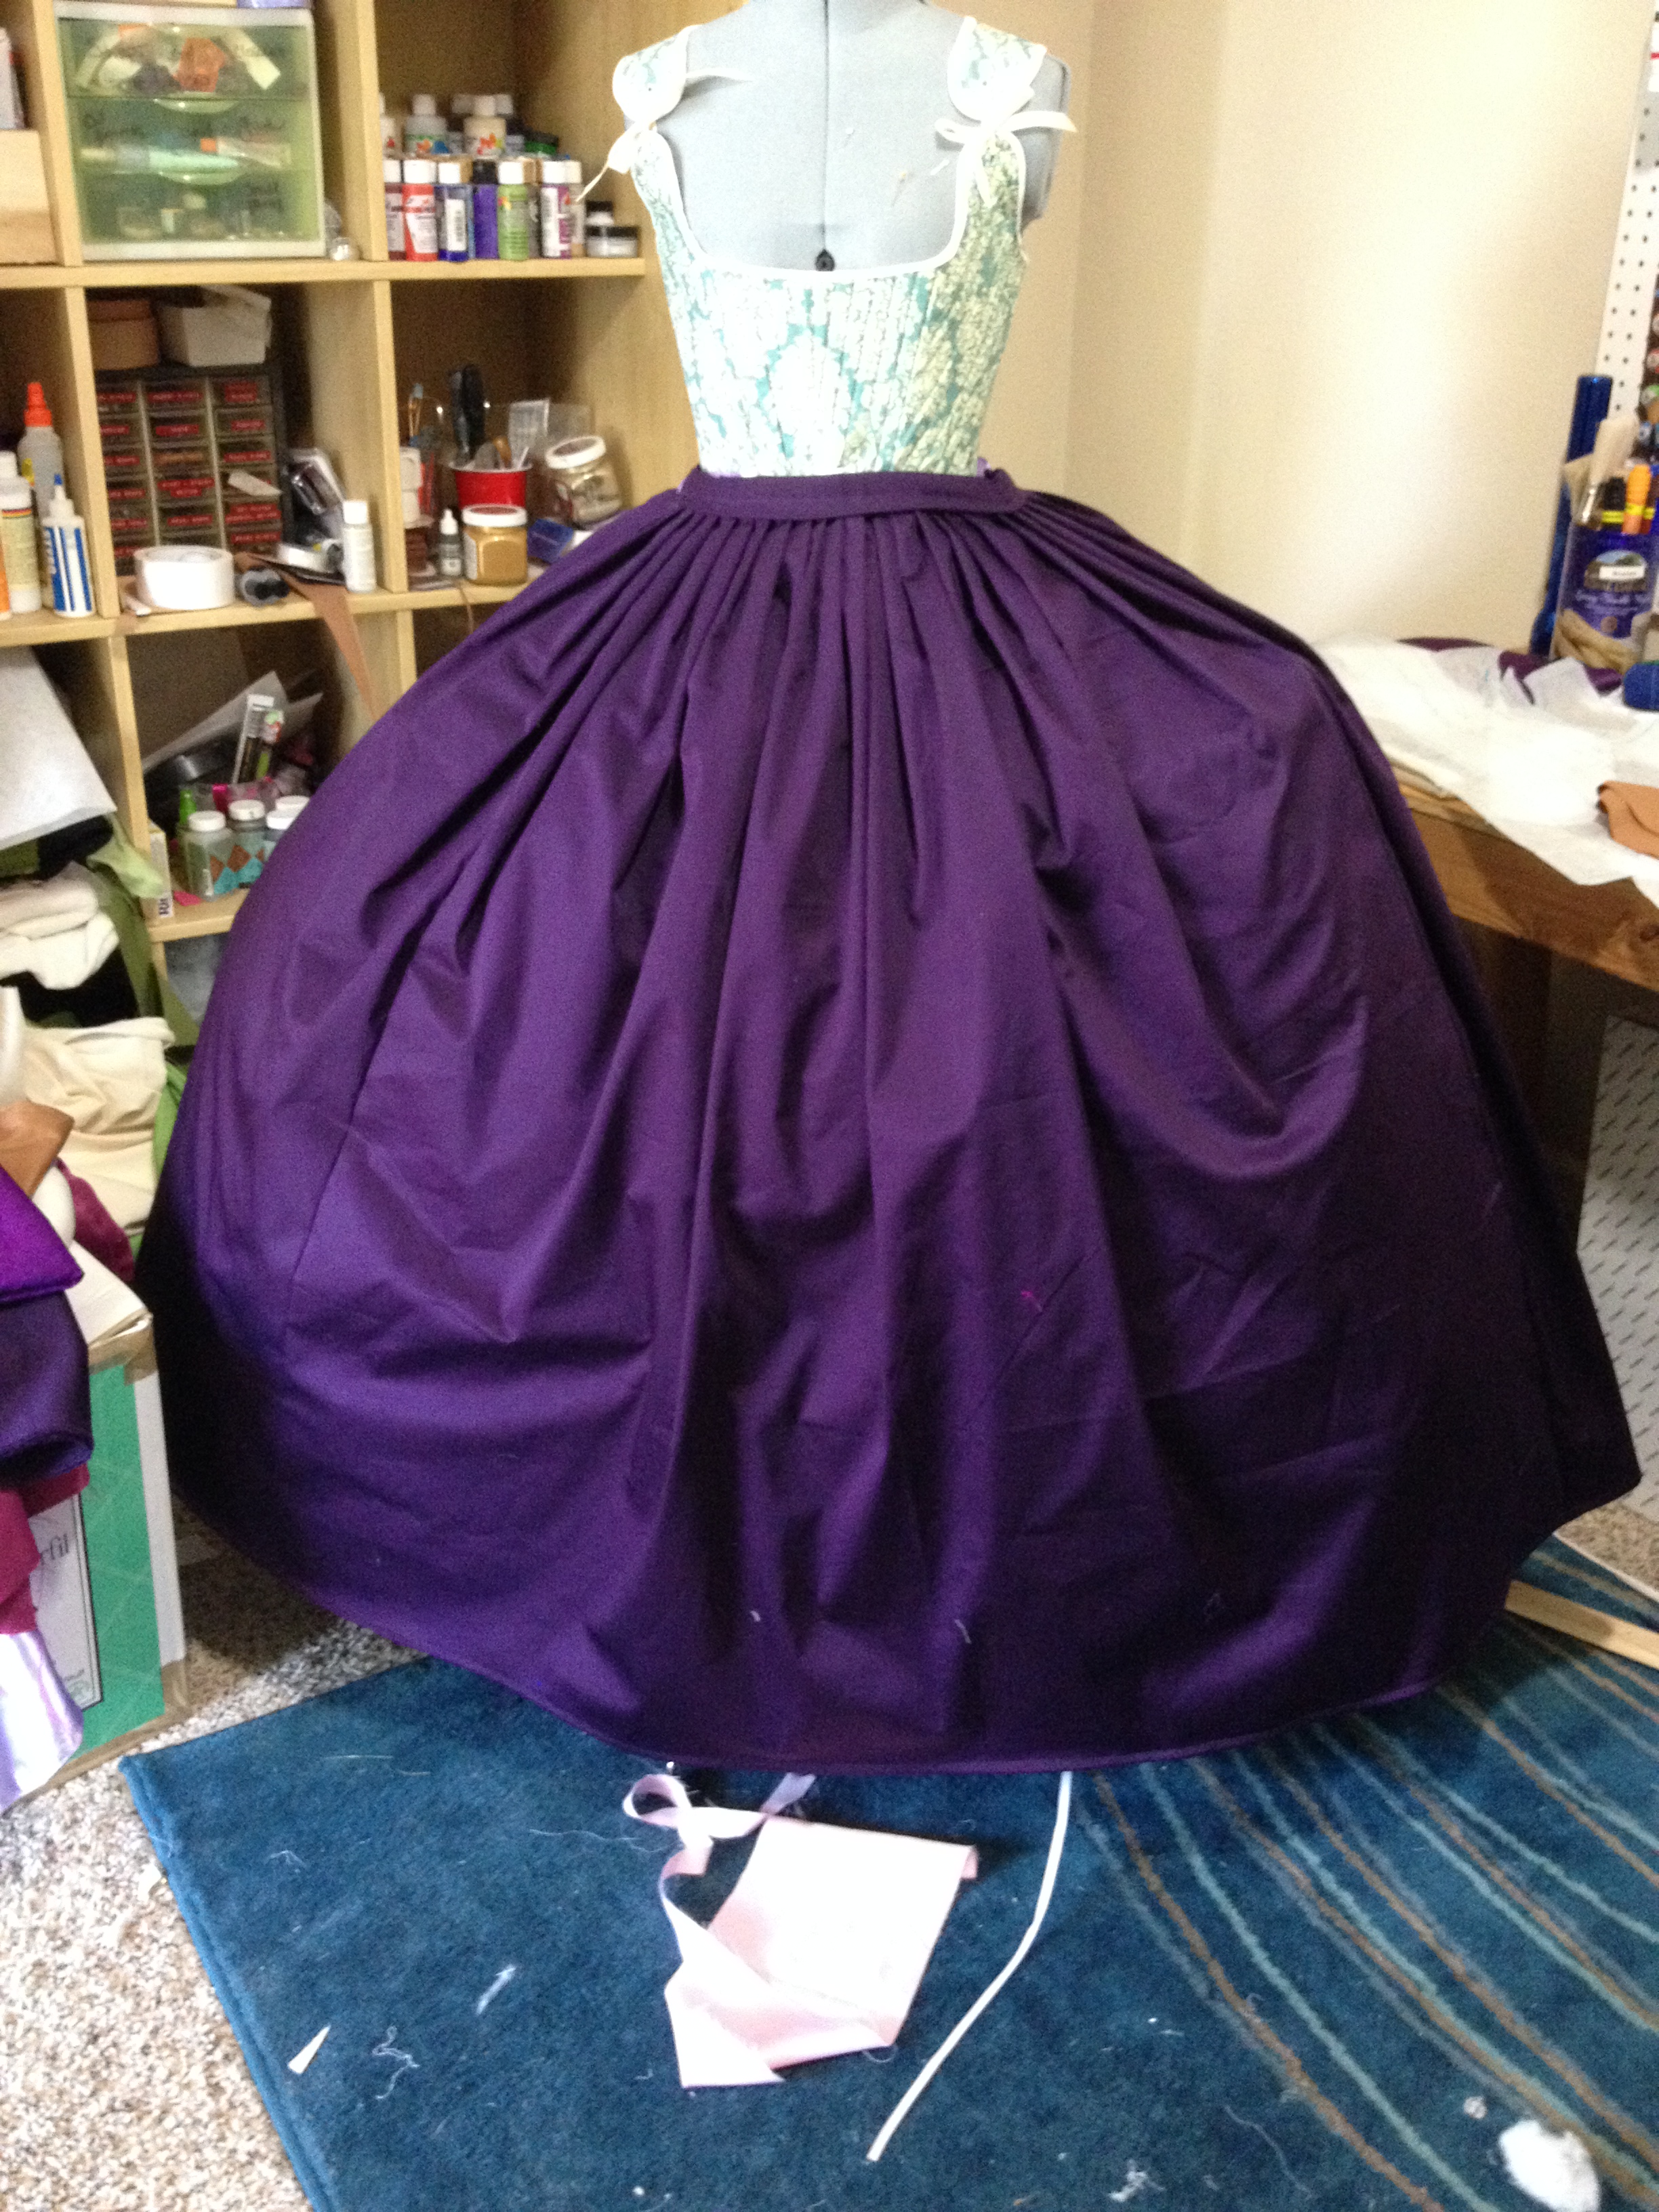
Once that was patterned out, I made the underskirt (or petticoat) that will be right under the dress, with the armored plating attached to the front. I knew the color wouldn’t show, but I still wanted it to be something that matched the dress just in case.

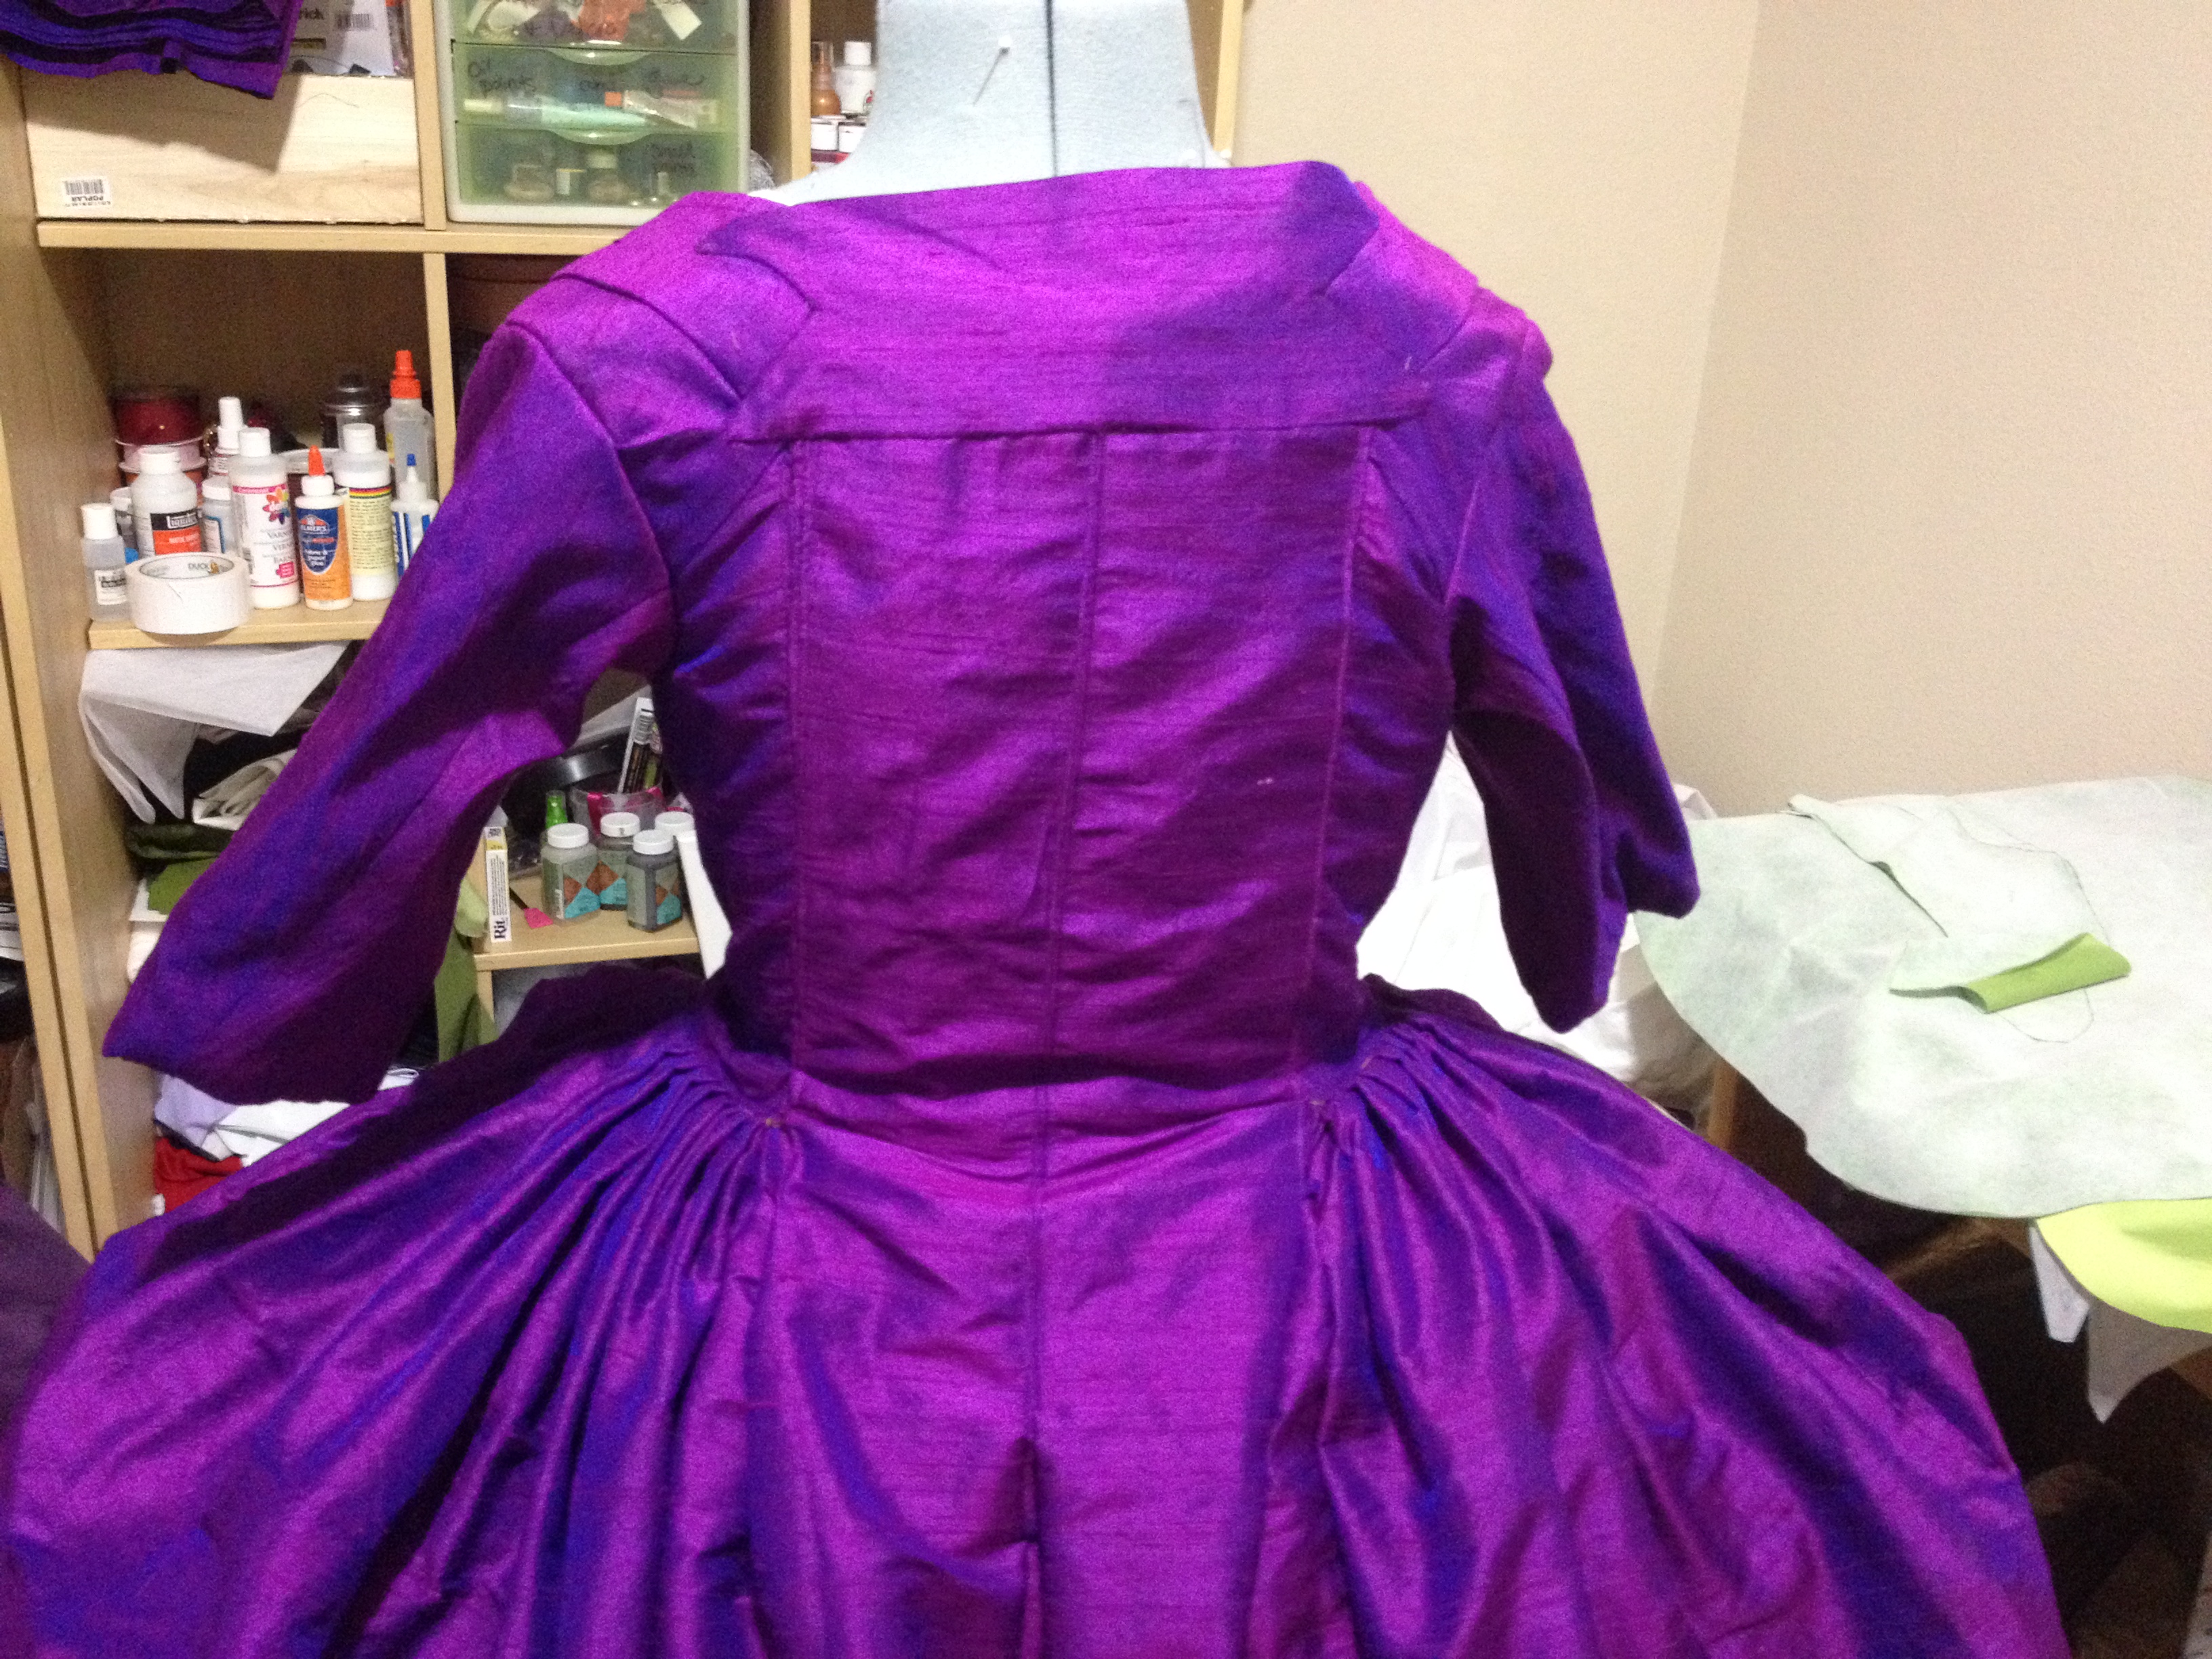
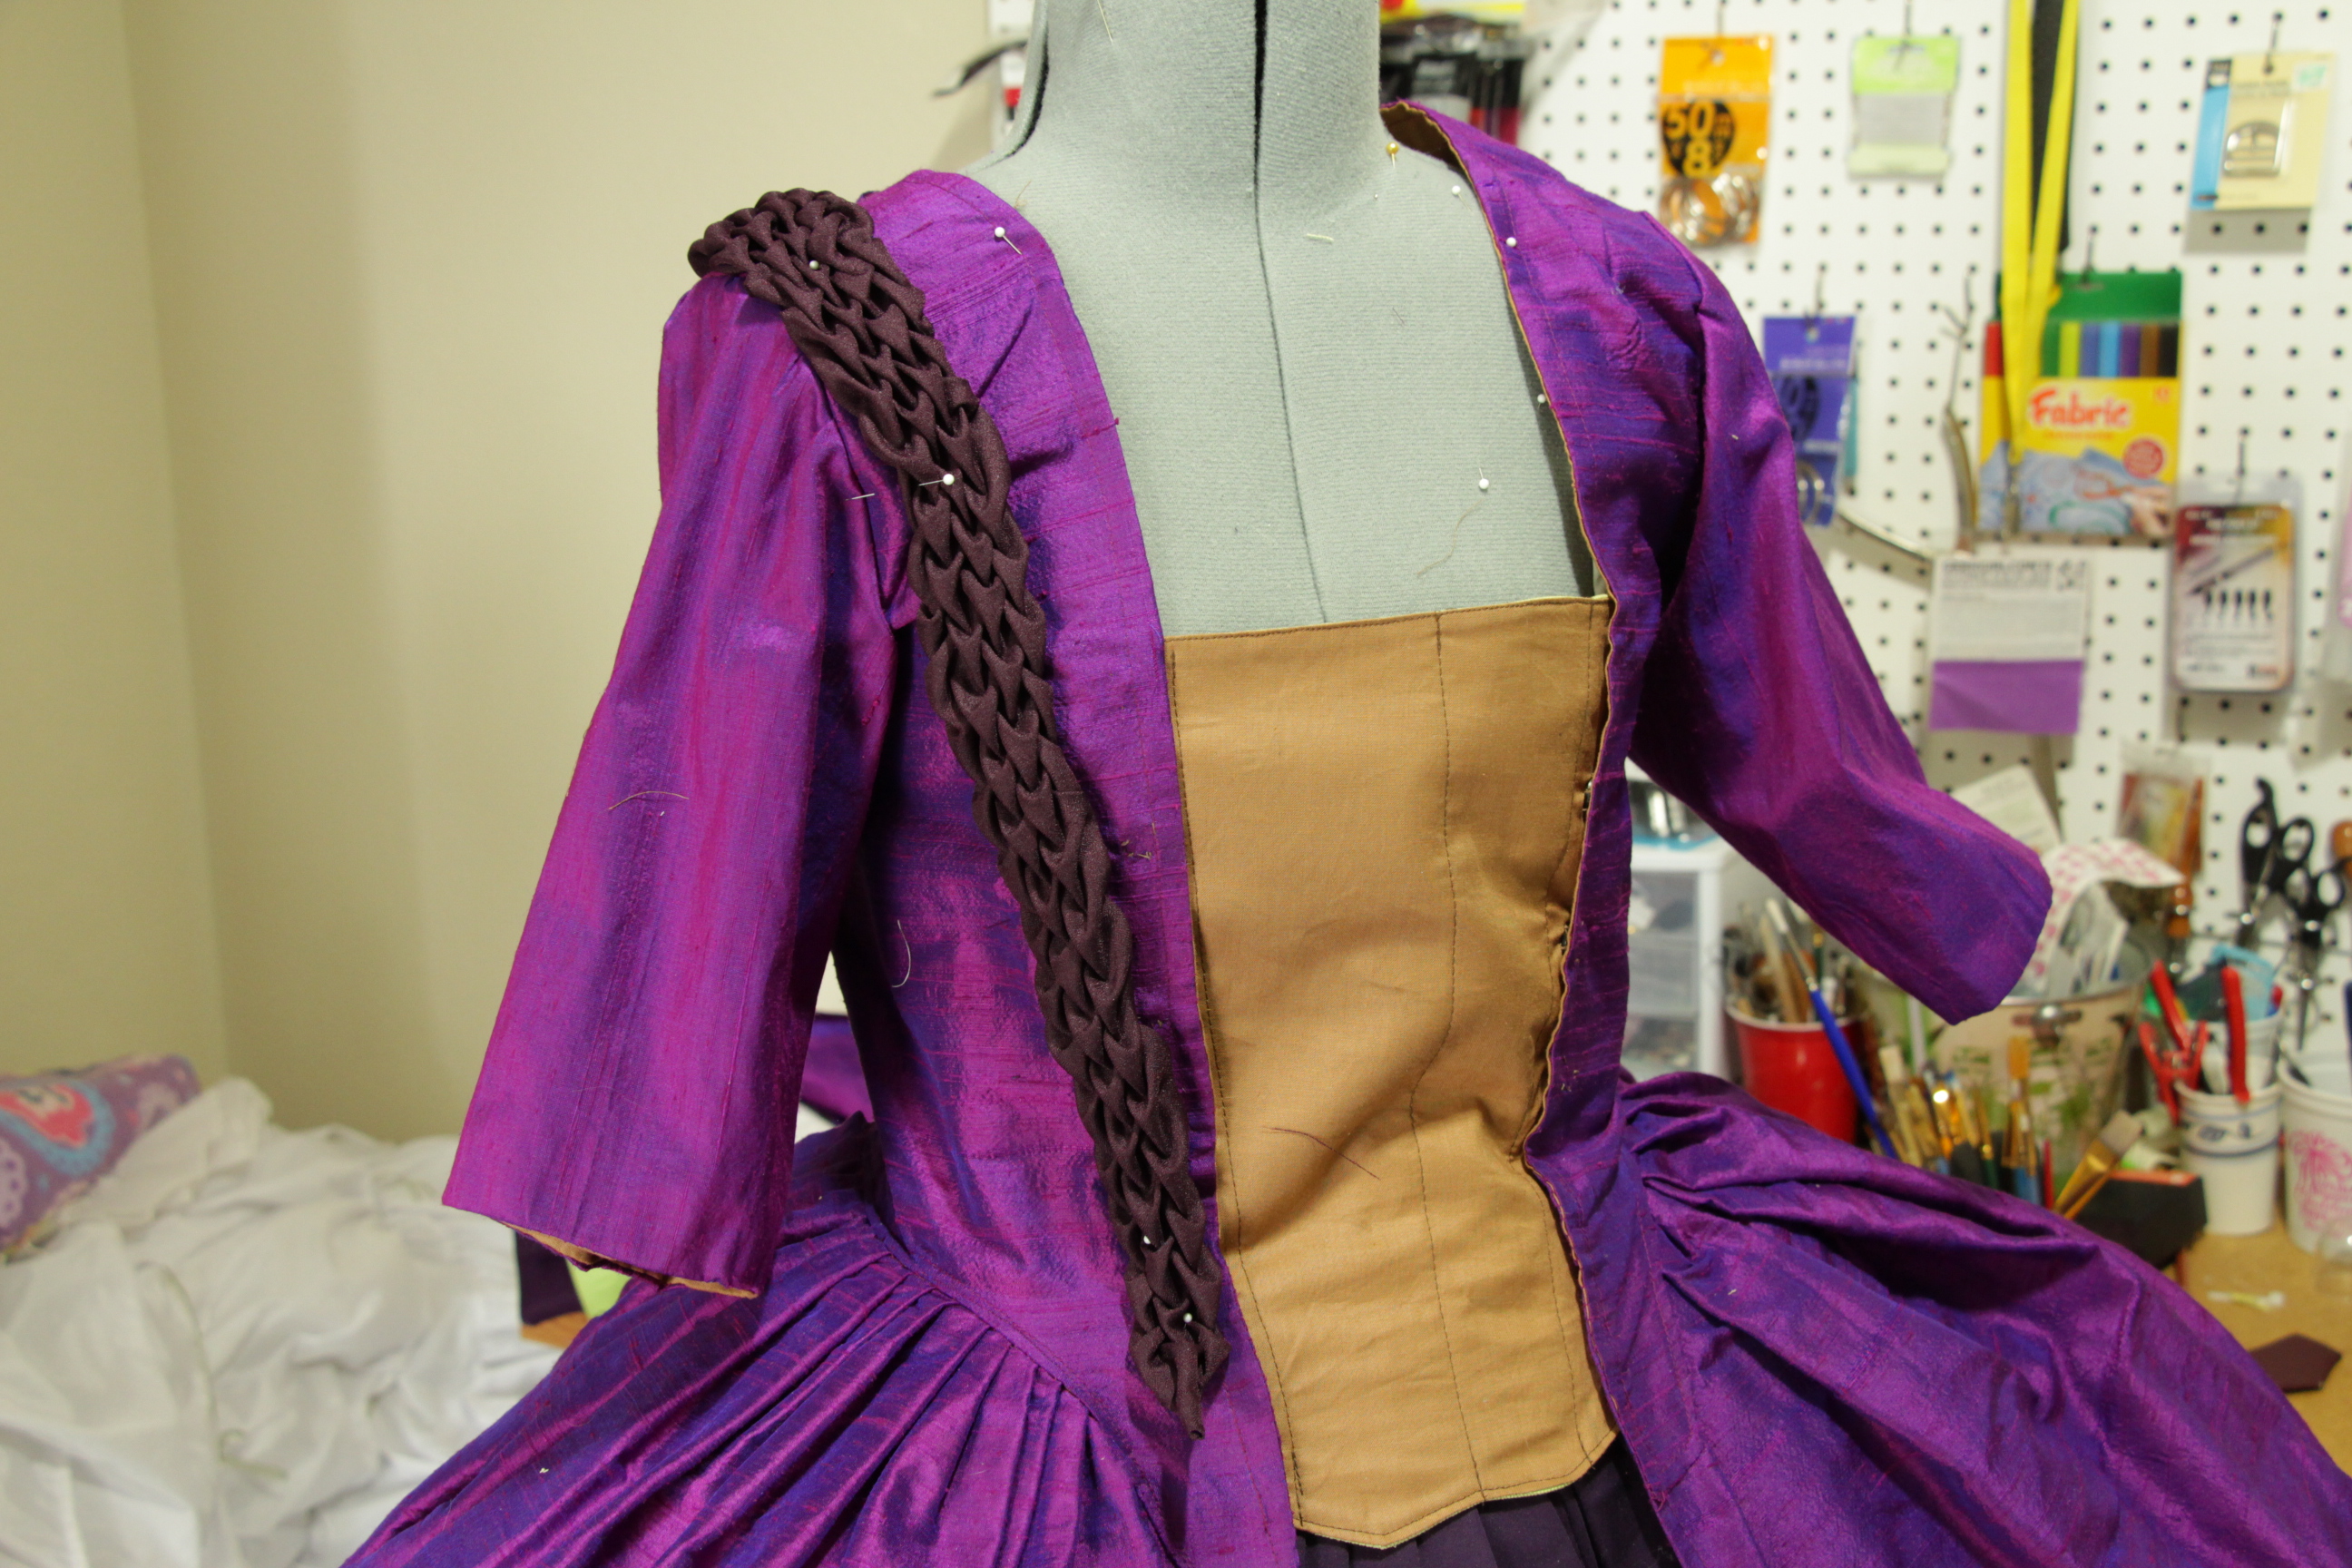
Then it was time to start sewing! We drove 2.5 hours to Portland in the pouring rain just to get this silk dupioni, because I couldn’t find it locally, but I wanted to see it in person first.

Awwww yisss look at that color shift.
The silk dupioni is why the dress never seems to be the same color in any of my photos.

I tried the dress on A LOT during the fitting stages because I wanted everything to sit right, and I didn’t want to depend on the dress form being at exactly the right height… but it took 15 minutes to get me dressed each time, so it kind of sucked.
There was also a lot of hand sewing in this costume, because there were a lot of little hard to reach spaces that I couldn’t have gotten to with the sewing machine, but it was actually pretty nice.

Once the base dress was finished, I started patterning out the scaled armor that went down the front. It was actually pretty easy once I made a template for the angles.


Inspired by the smocking on this 18th century dress, I decided to do something similar and add it in to give it a much more bug-like texture. This kind of smocking is called Canadian or arrow smocking, and I learned about it here.
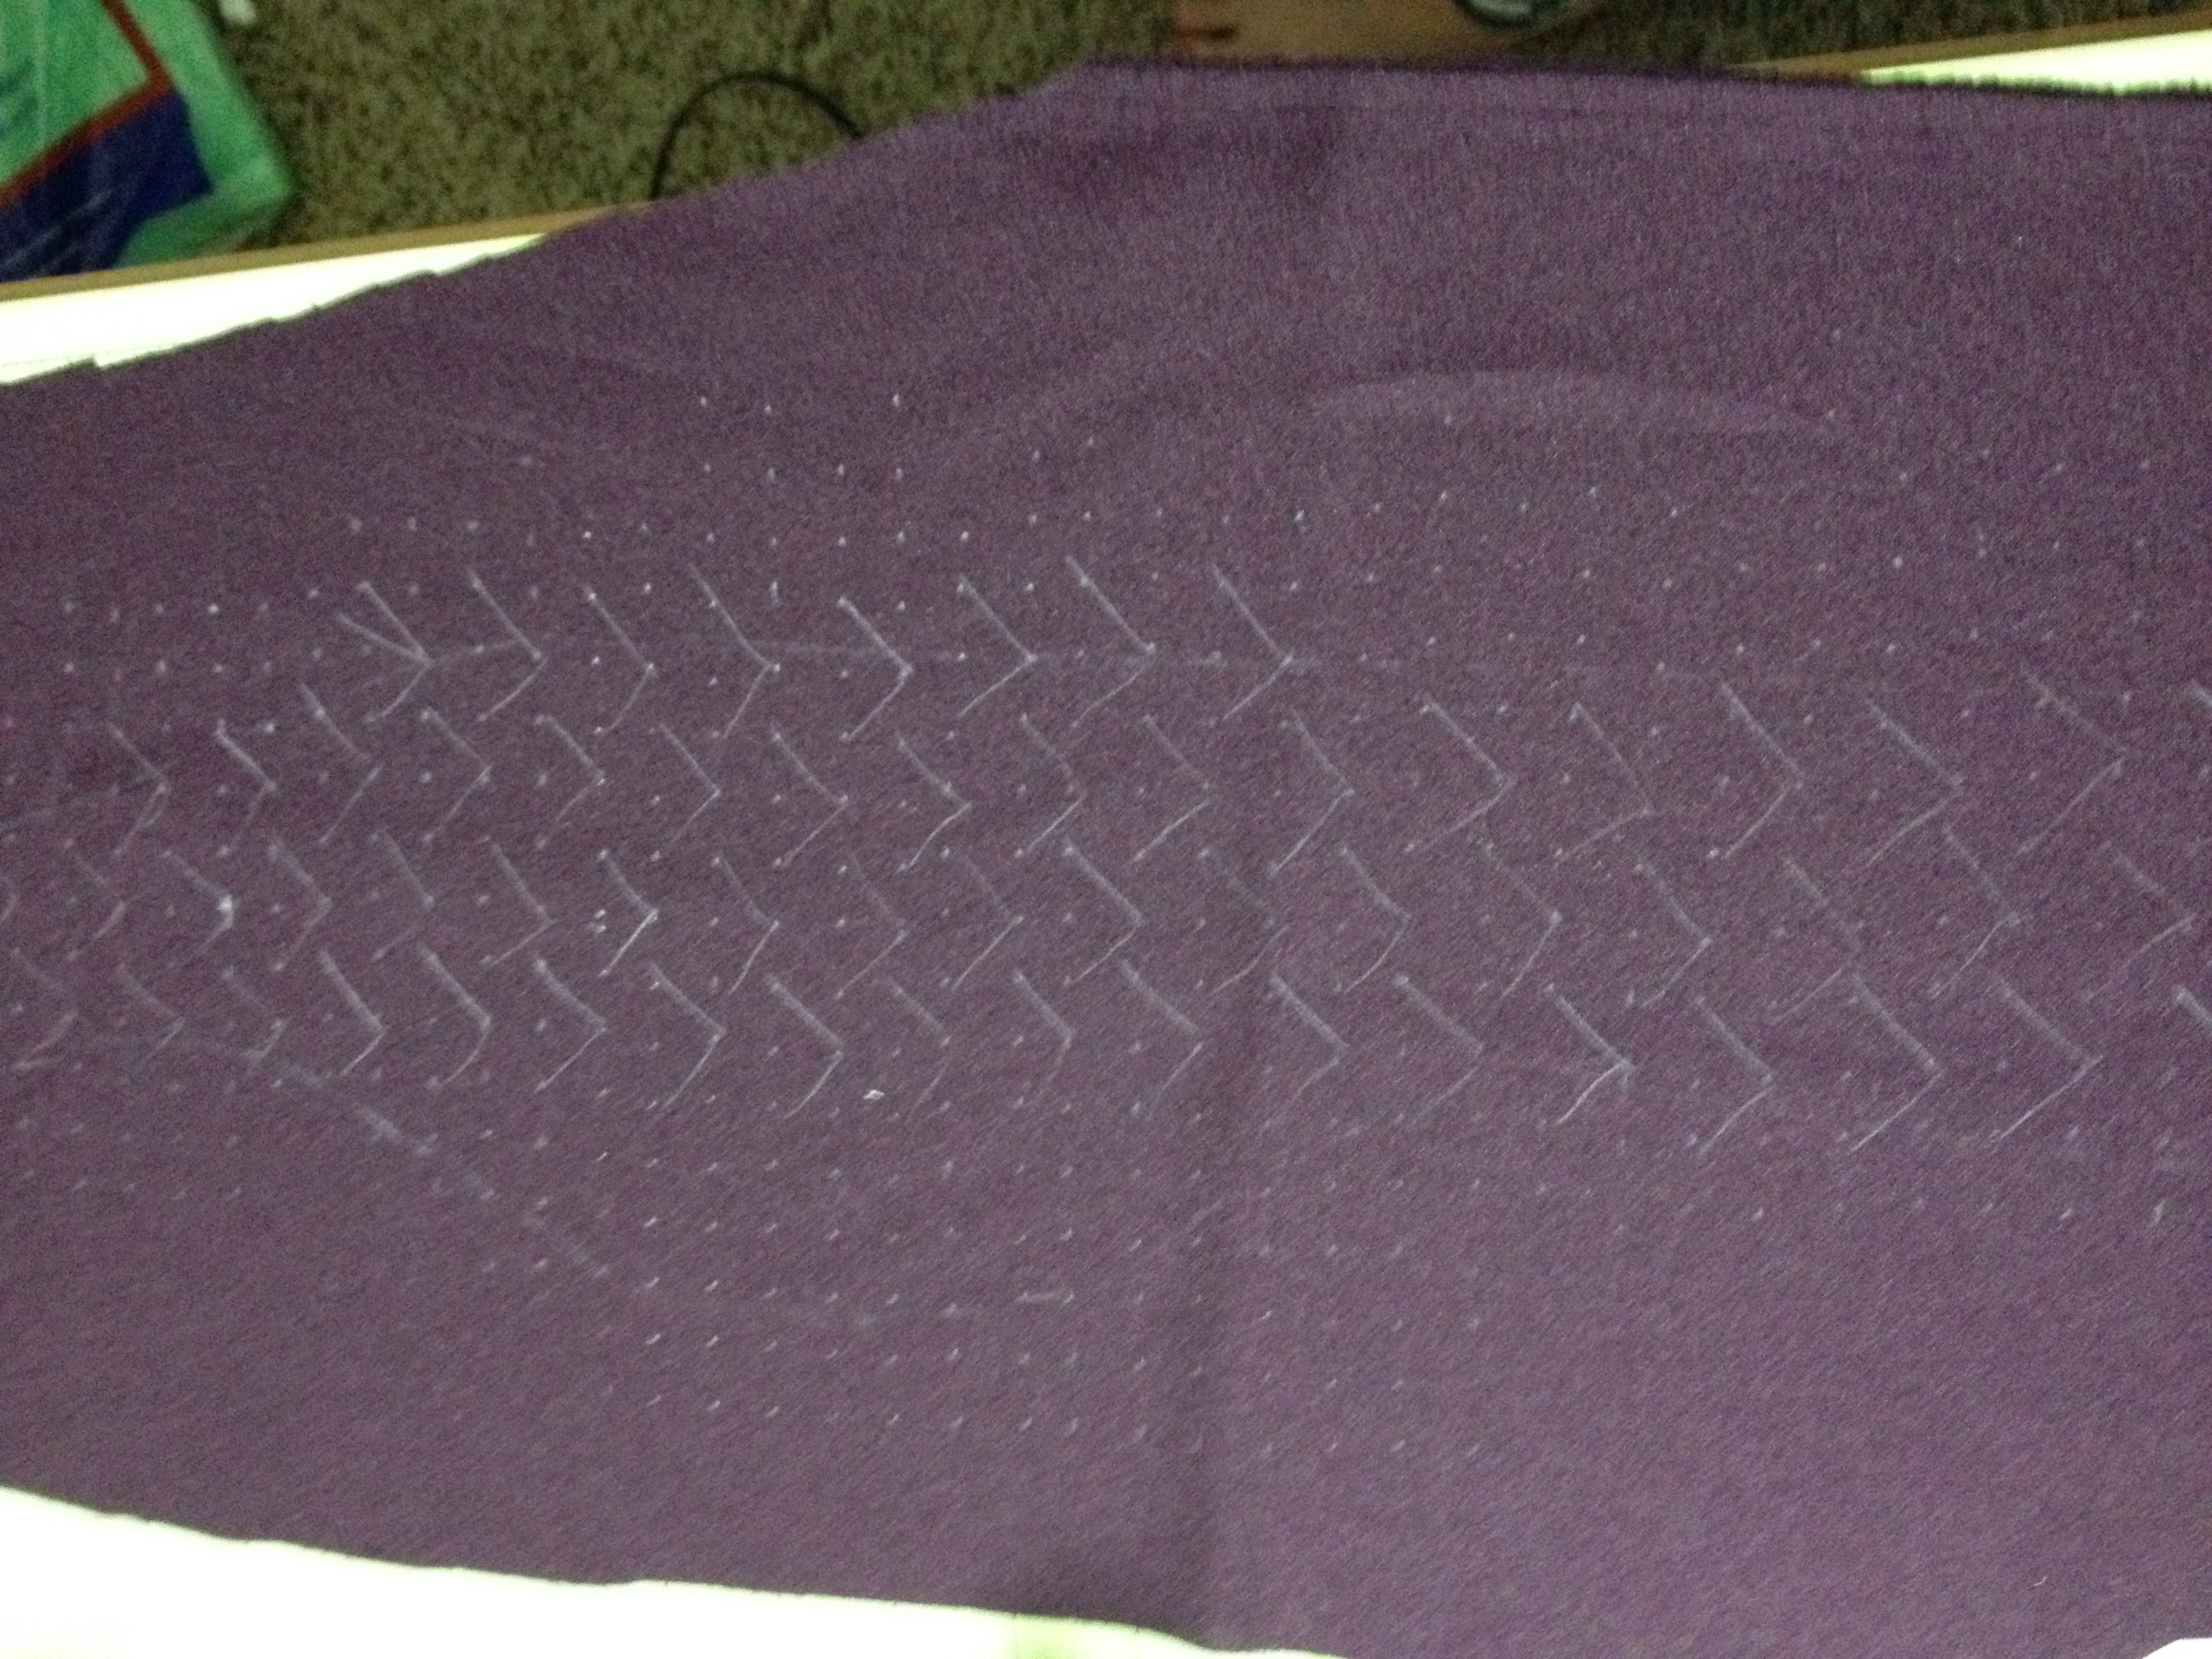
The most time intensive part of this, after figuring out how much the piece shrinks after you smock it, was marking the dots and the pattern out. I used 1/2 inch square dots for mine.
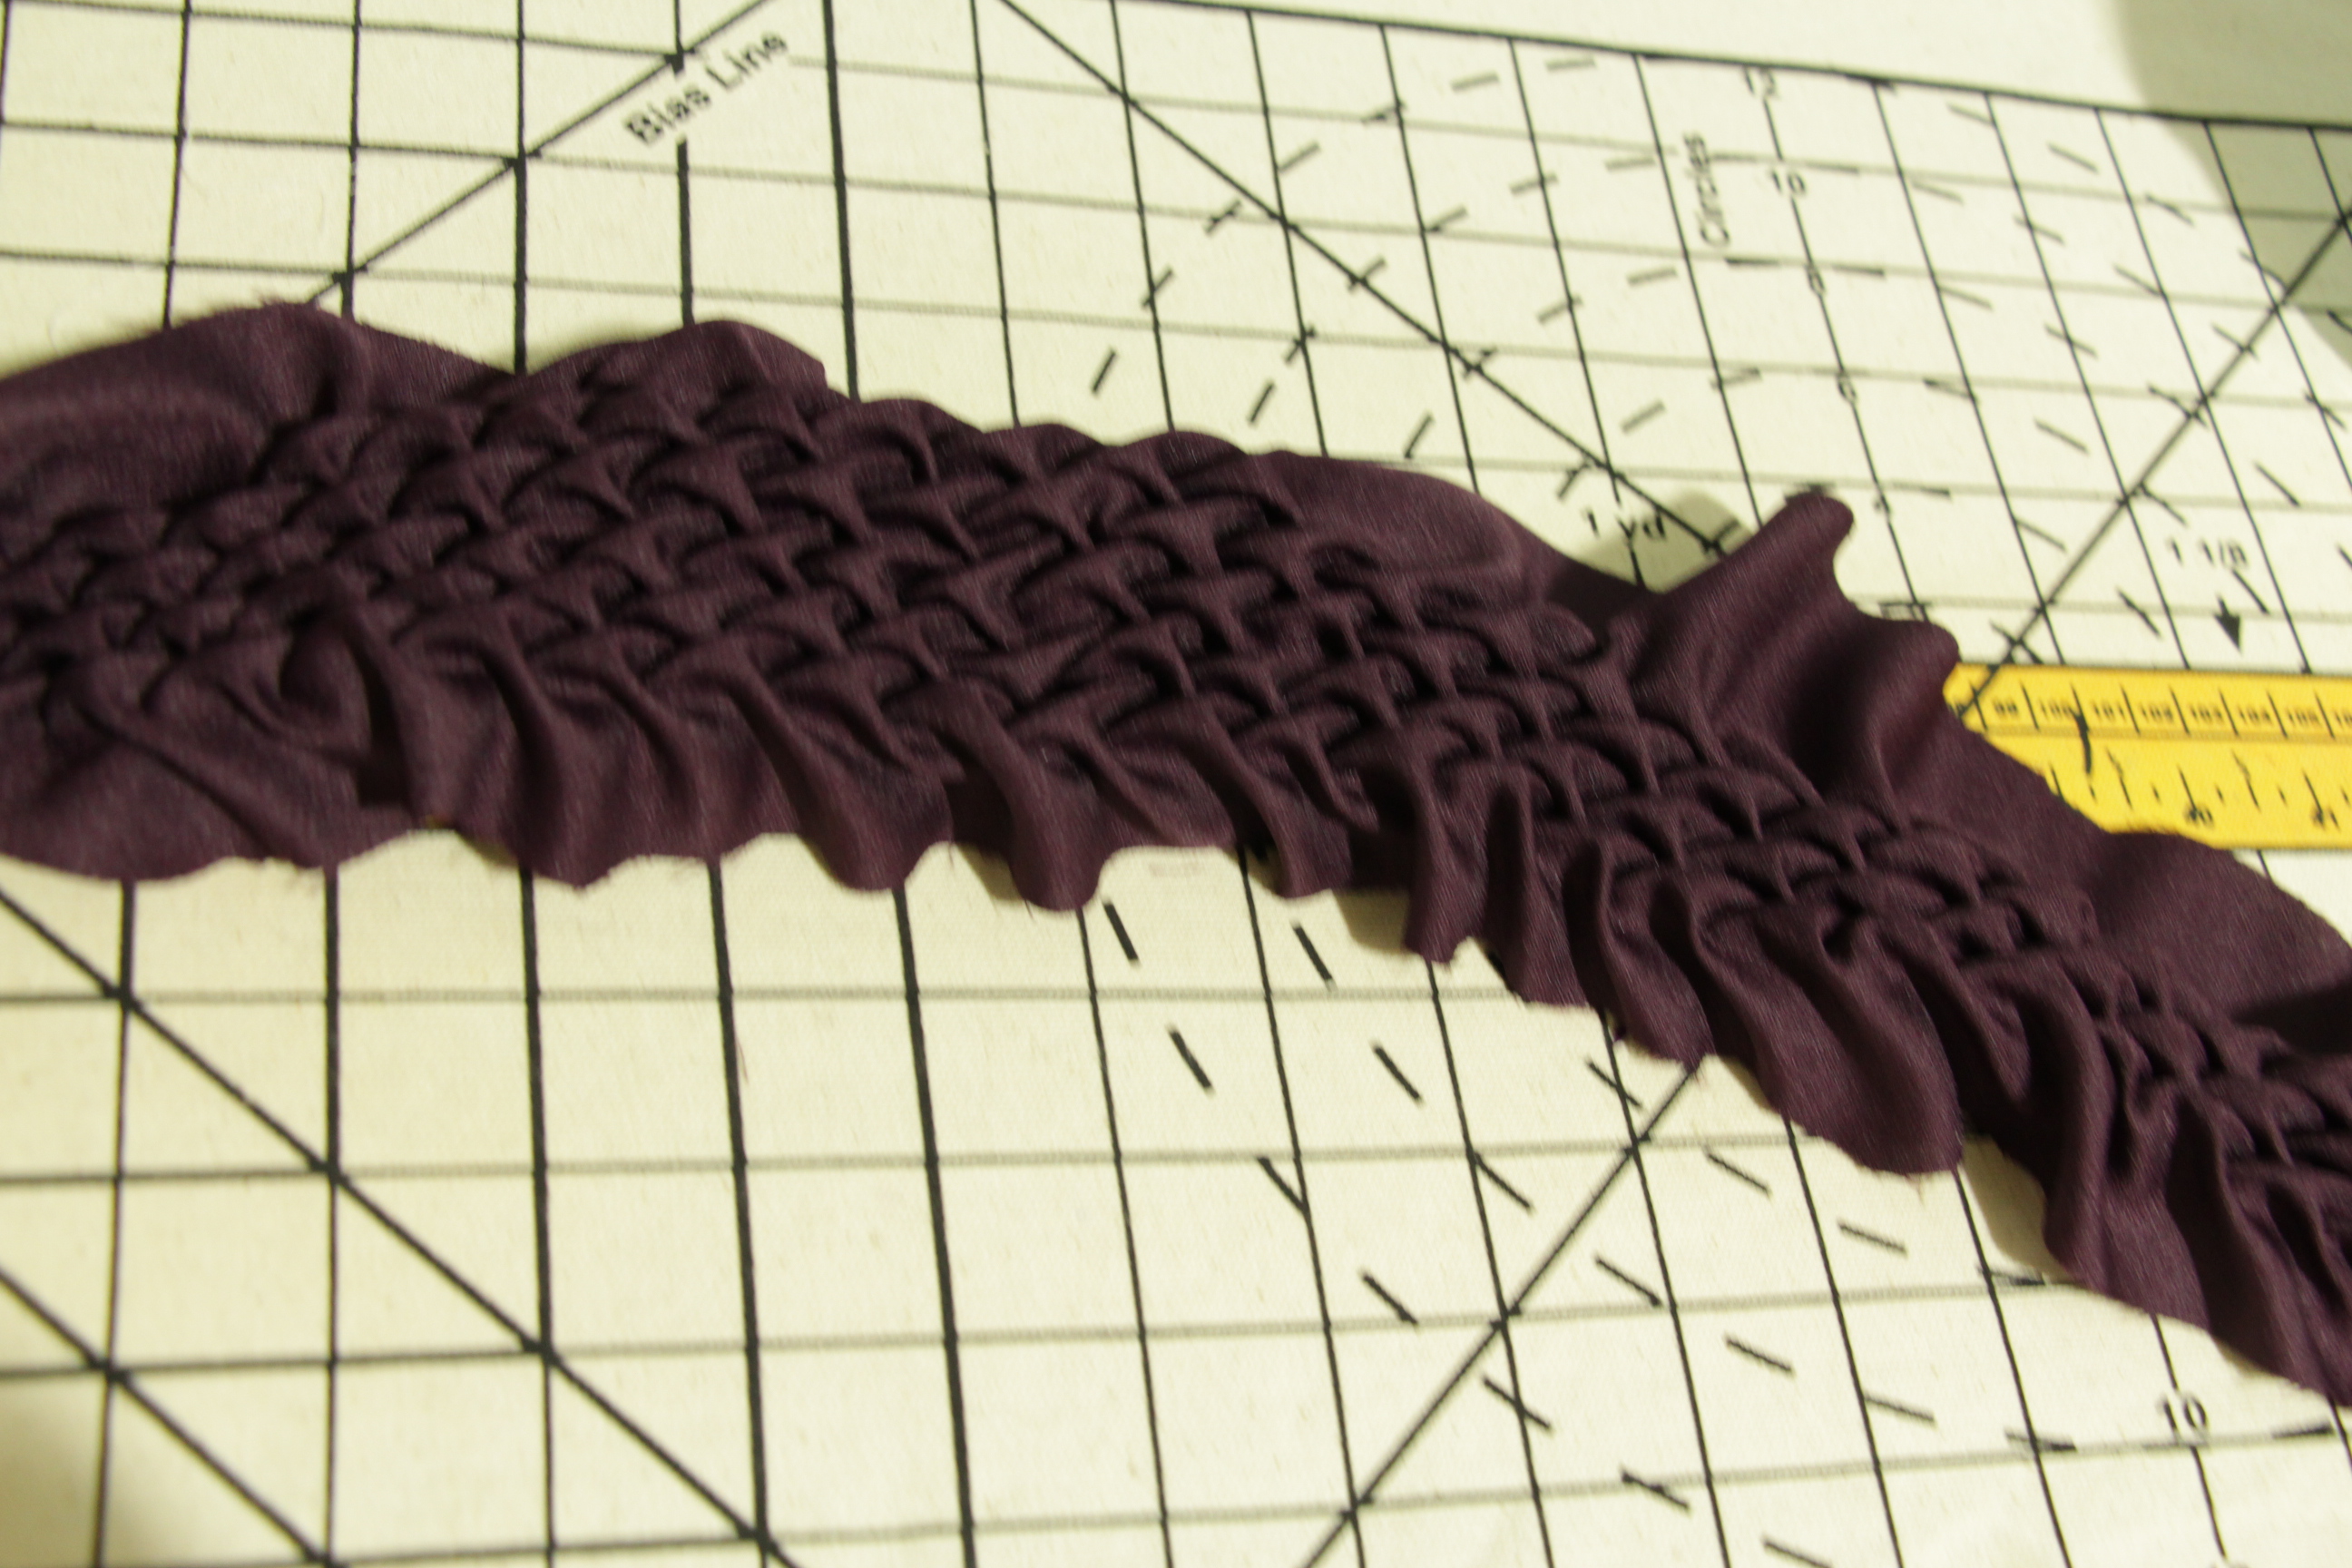
Once I had everything marked, I was actually able to do the hand sewing part of it in about two hours per piece.
I then hand sewed the smocking on, leaving room for the “legs” that would be sewed on later.

Now back to the scaling! I traced the patterns onto foam sheets and then spray glued them to vinyl squares that I then trimmed and carefully folded around the templates.

The top ones were glued onto the stomacher which holds the dress closed in the top, and the bottom ones were sewn onto the skirt (the very bottom scale was glued onto cardboard to help keep it from being floppy).
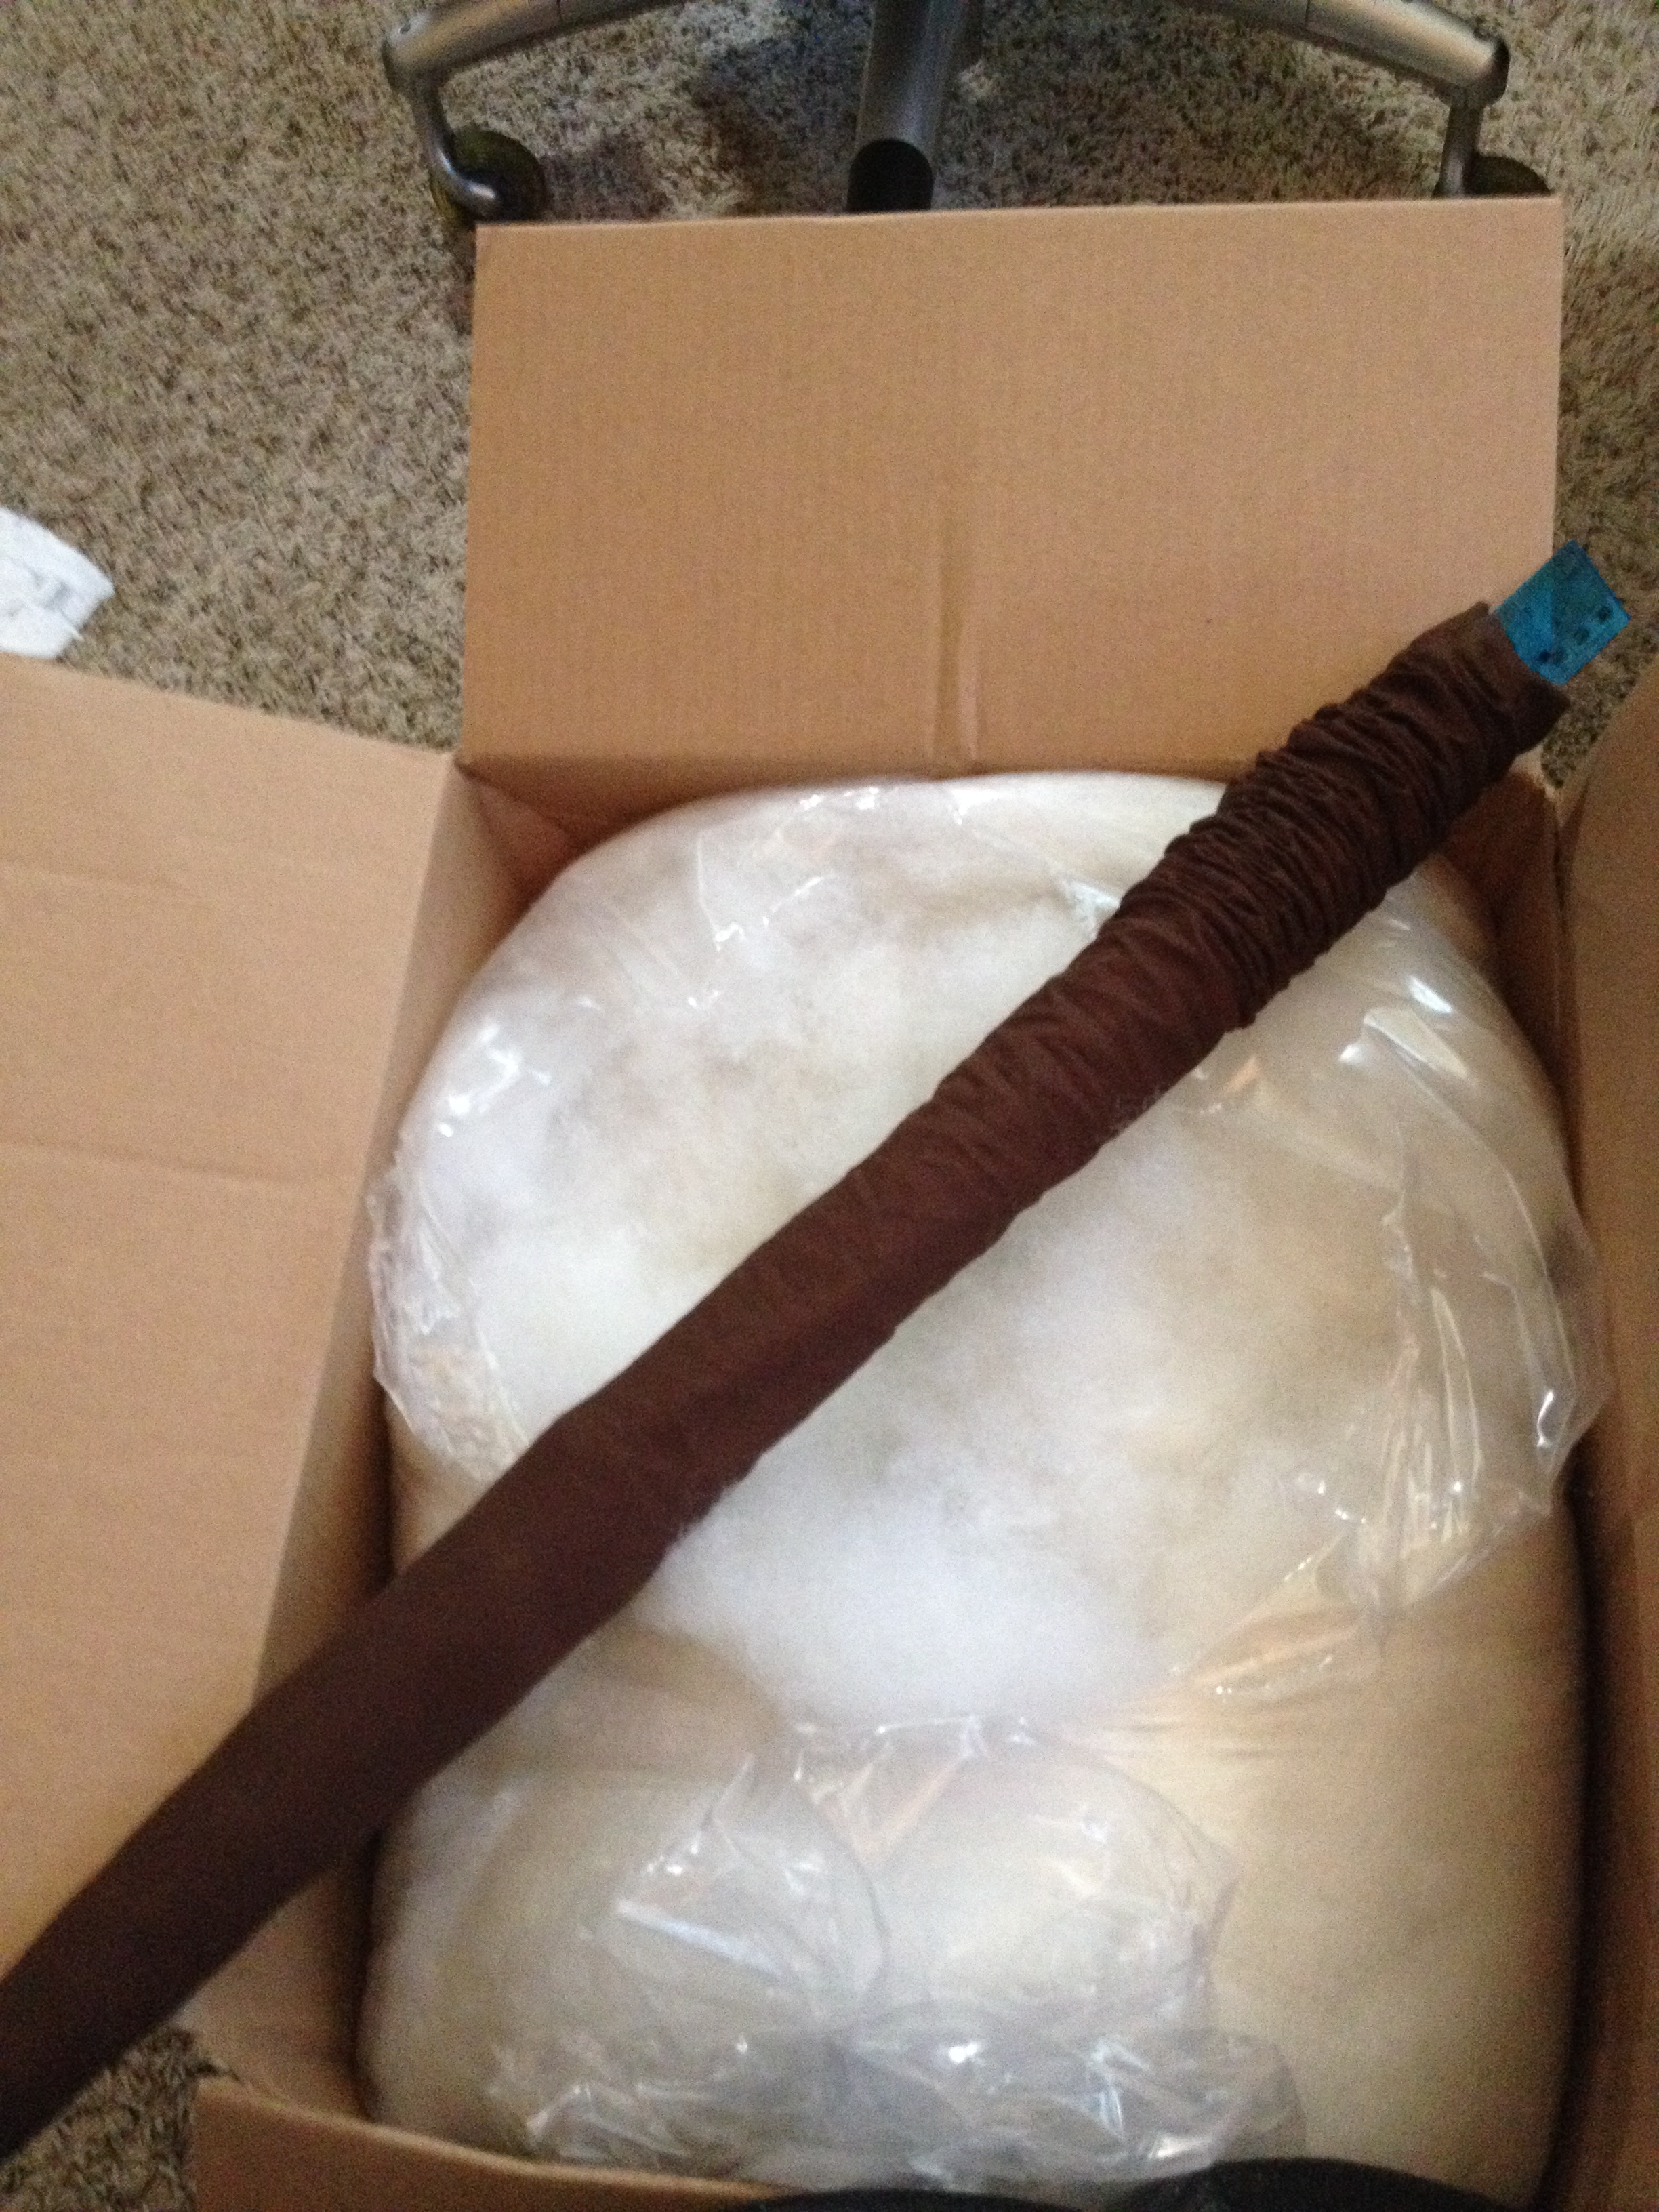
At first, I had issues stuffing these stupid long legs with fiber fill, but then I used a an empty paper towel roll to scrunch up the fabric and hold it steady while I used a ruler to push the filling down into the legs, and it worked great!
The legs were hand sewn onto the dress.

For the cape, I drew up this terrible not symmetrical at all version of what I thought it should look like.

I then patterned out the cape with muslin before I cut out any of my fabric…
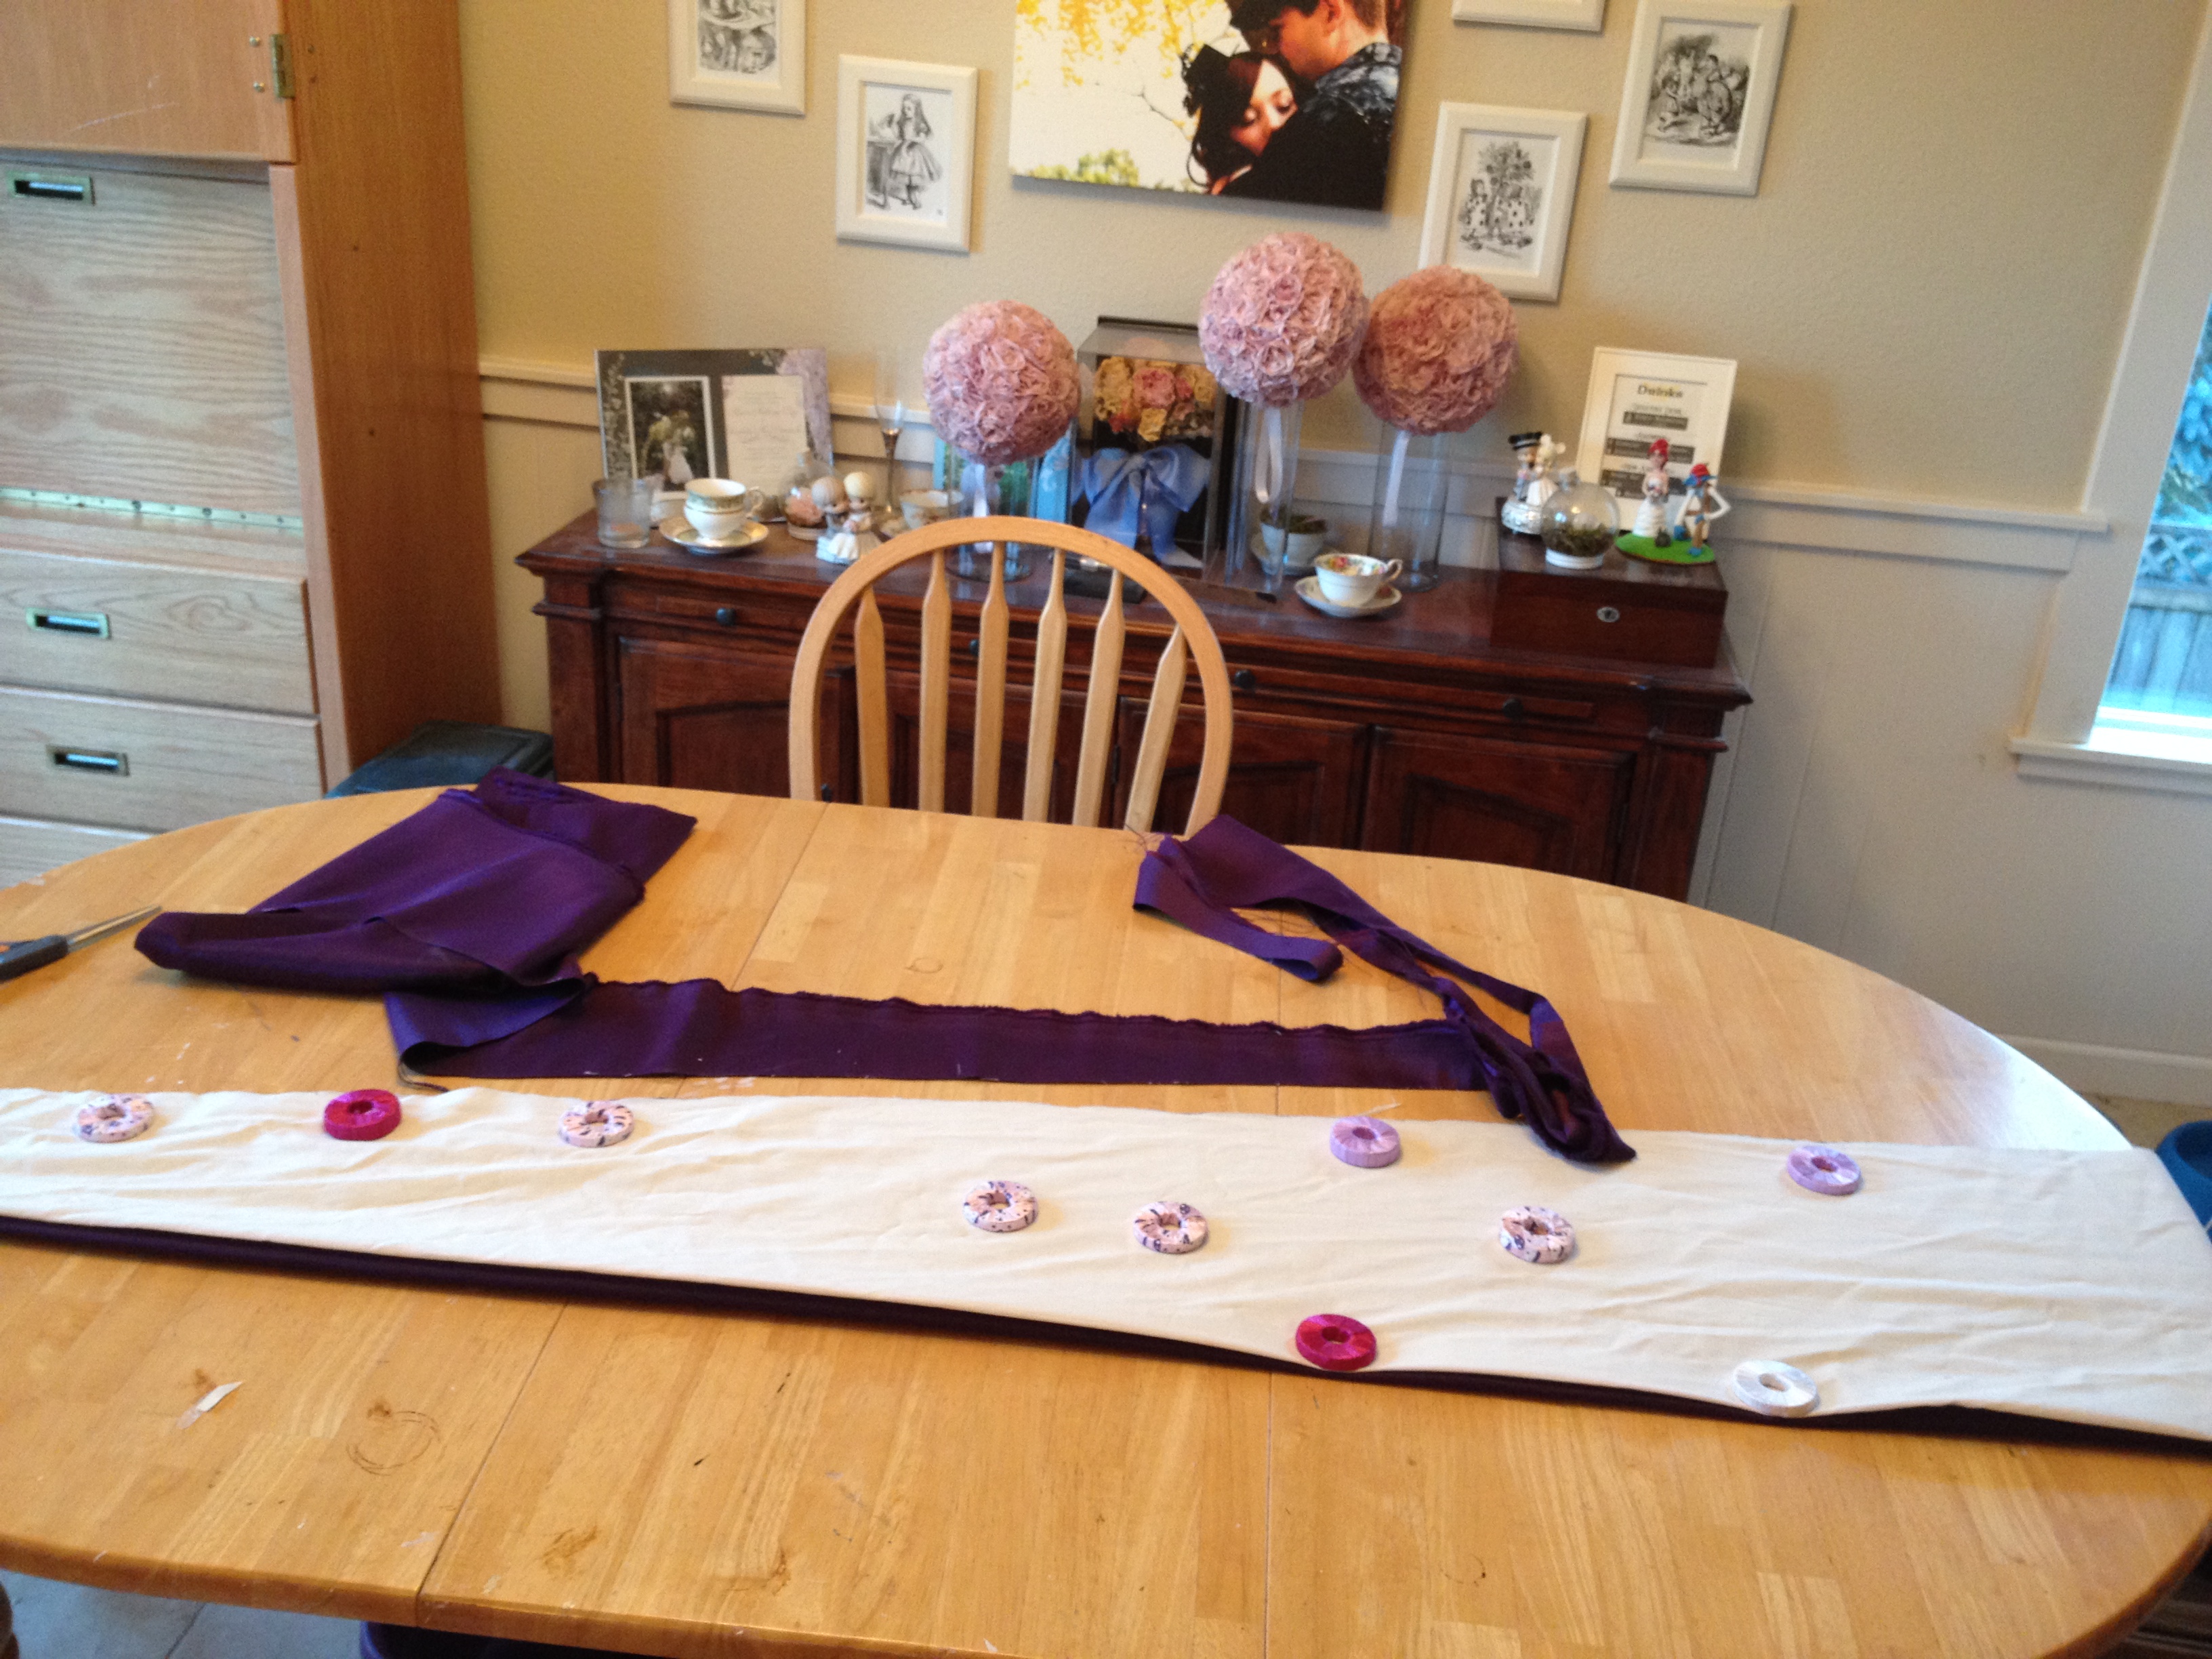
Which took a while because it was long and slippery!

For the circles, I used a huge protractor from Harbor Freight to draw the circles (the largest was 18″) onto a patterning fabric, then traced that onto Wonder Under which was amazing and helped to hold the really delicate green fabric I used for my cape onto the purple base fabric really well.

I waited to cut out the circles until the interfacing was ironed on, since it kept it from deforming!

I then ironed all of the green onto the purple, and satin stitched around every single green piece to hold it secure and make it look more clean and professional.

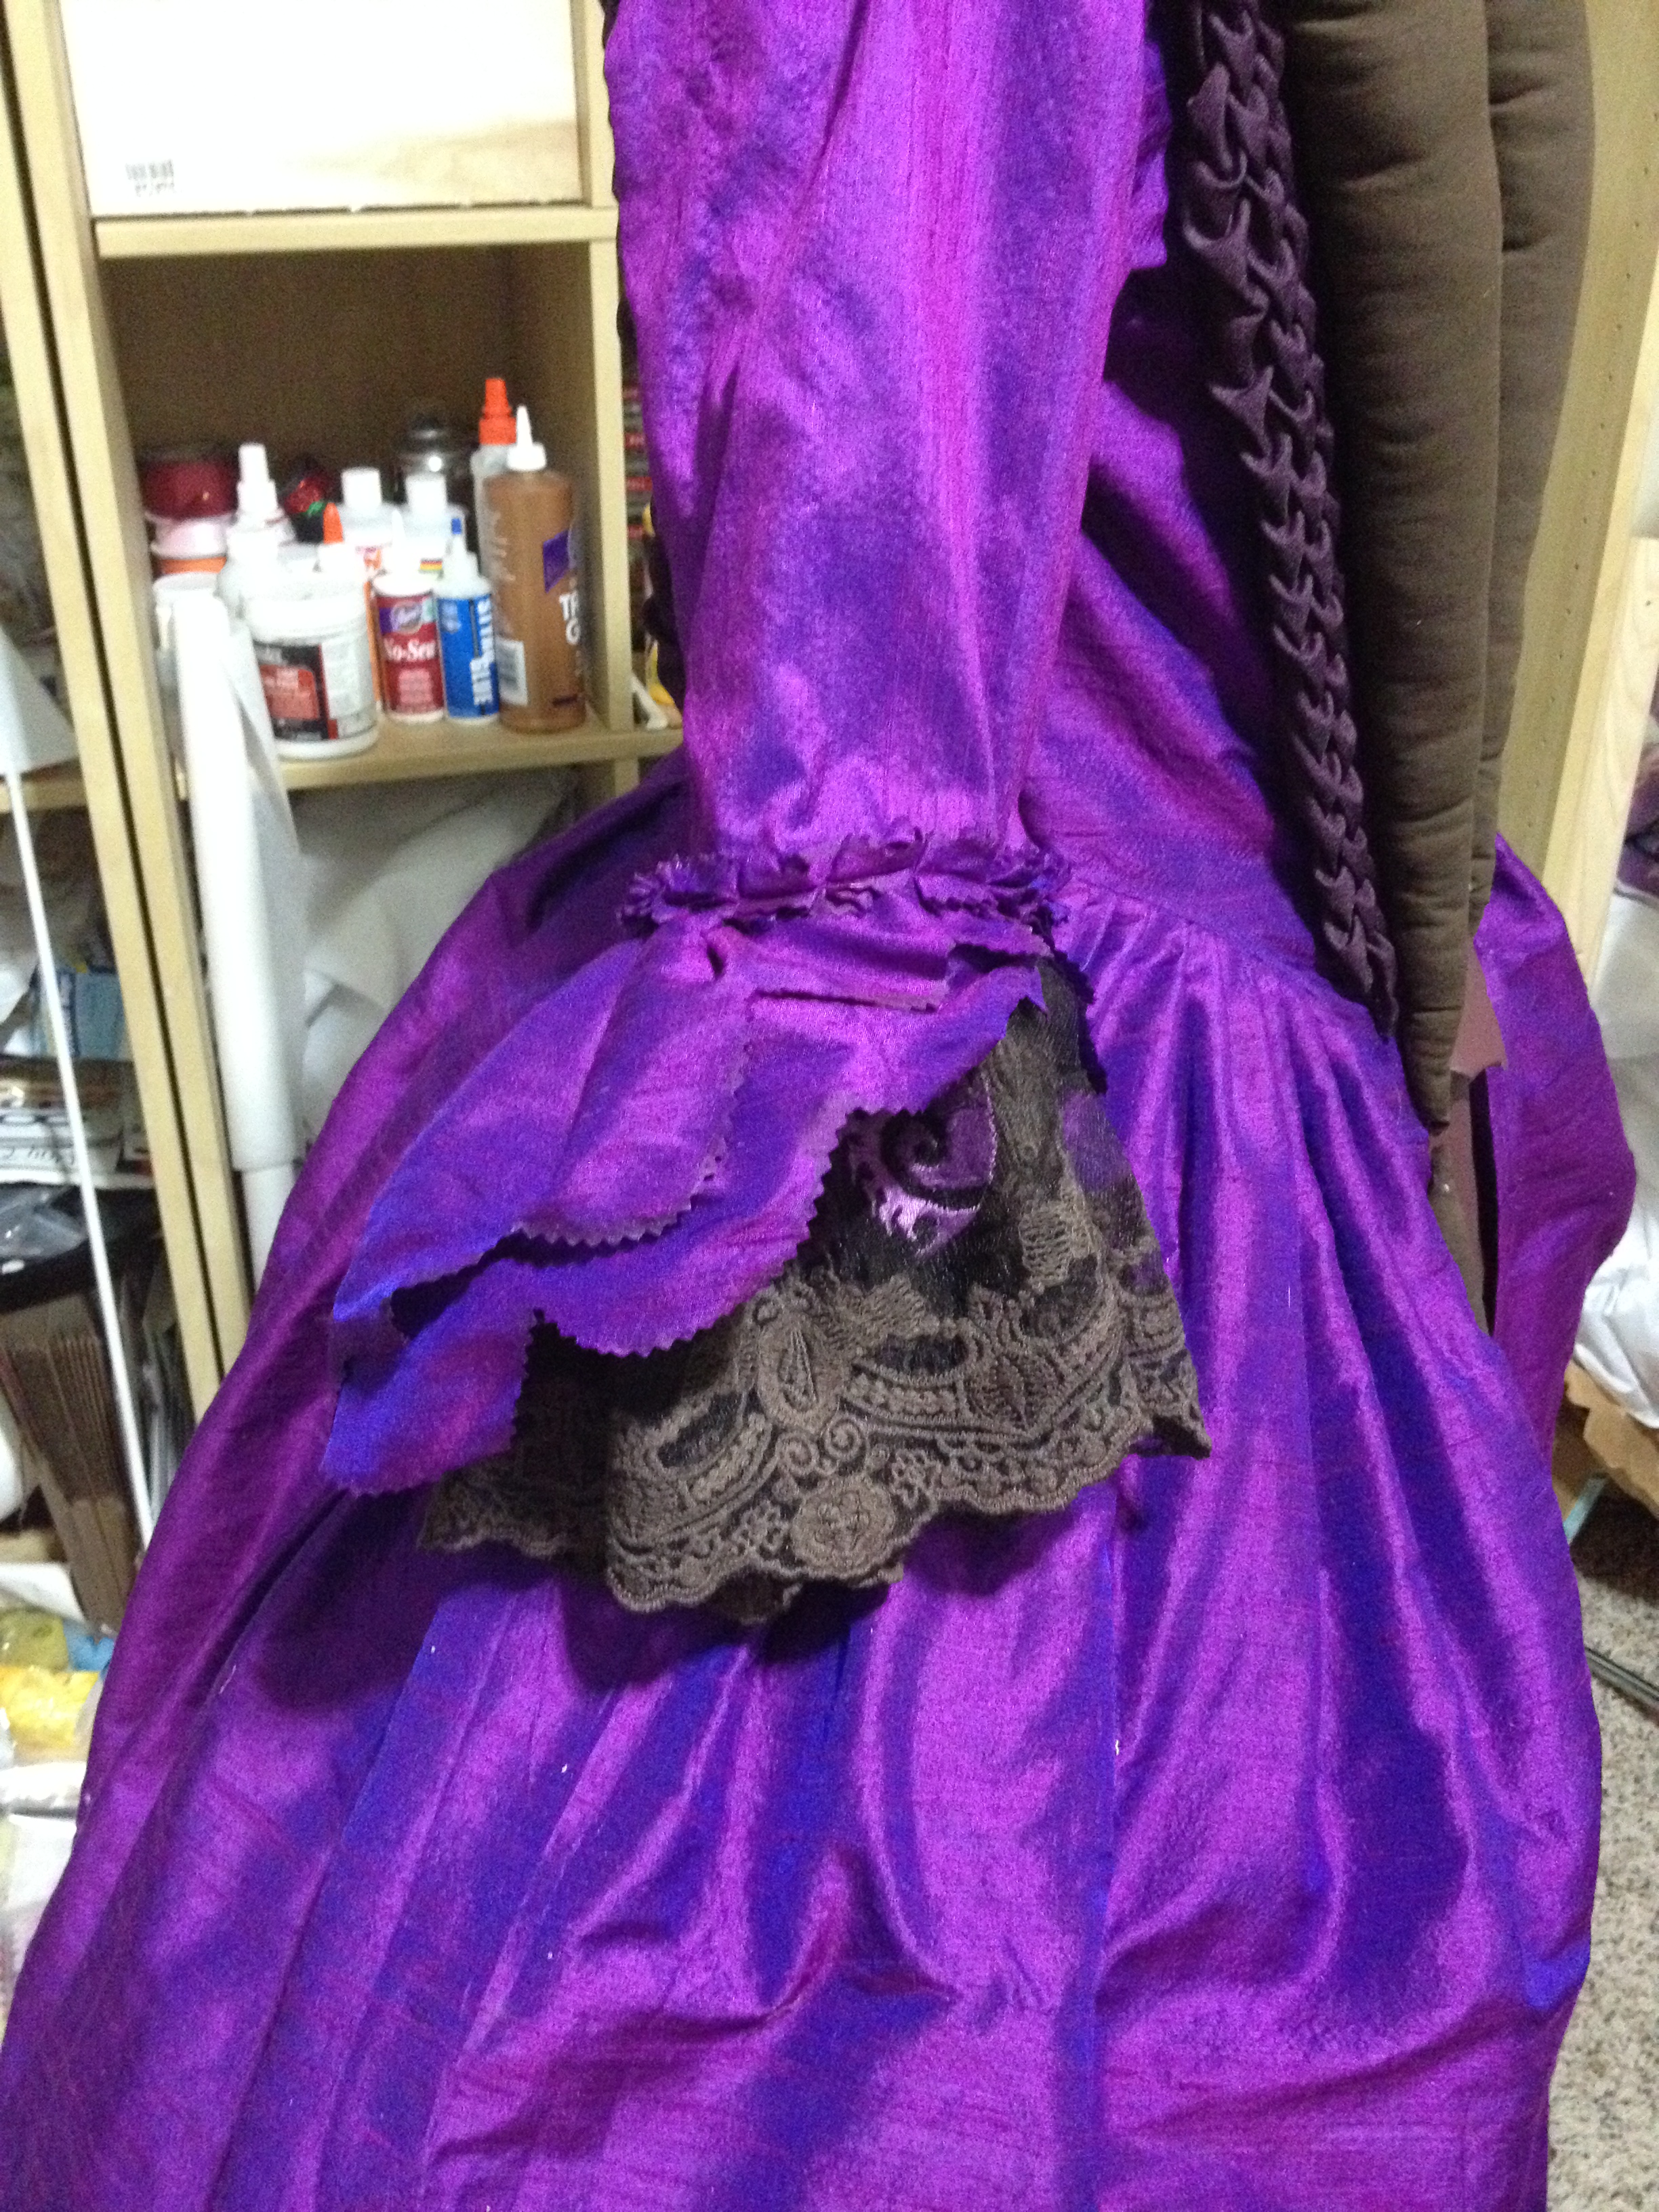
For the sleeves, I wanted a pop of brown to tie them in with the rest of the costume, and got some lace off etsy that I dyed brown and then embroidered Zerg symbols onto them.

I wanted to put some kind of detail at the top of the sleeve where it attaches to the upper sleeve, so I made some pleated ribbon that I hand sewed to the sleeves.

Now, randomly onto my FAVORITE accessory! I wanted huge, amazing ring for this costume, so I got a 3D printed Baneling from Shapeways, and painted it and mounted it onto a ring.
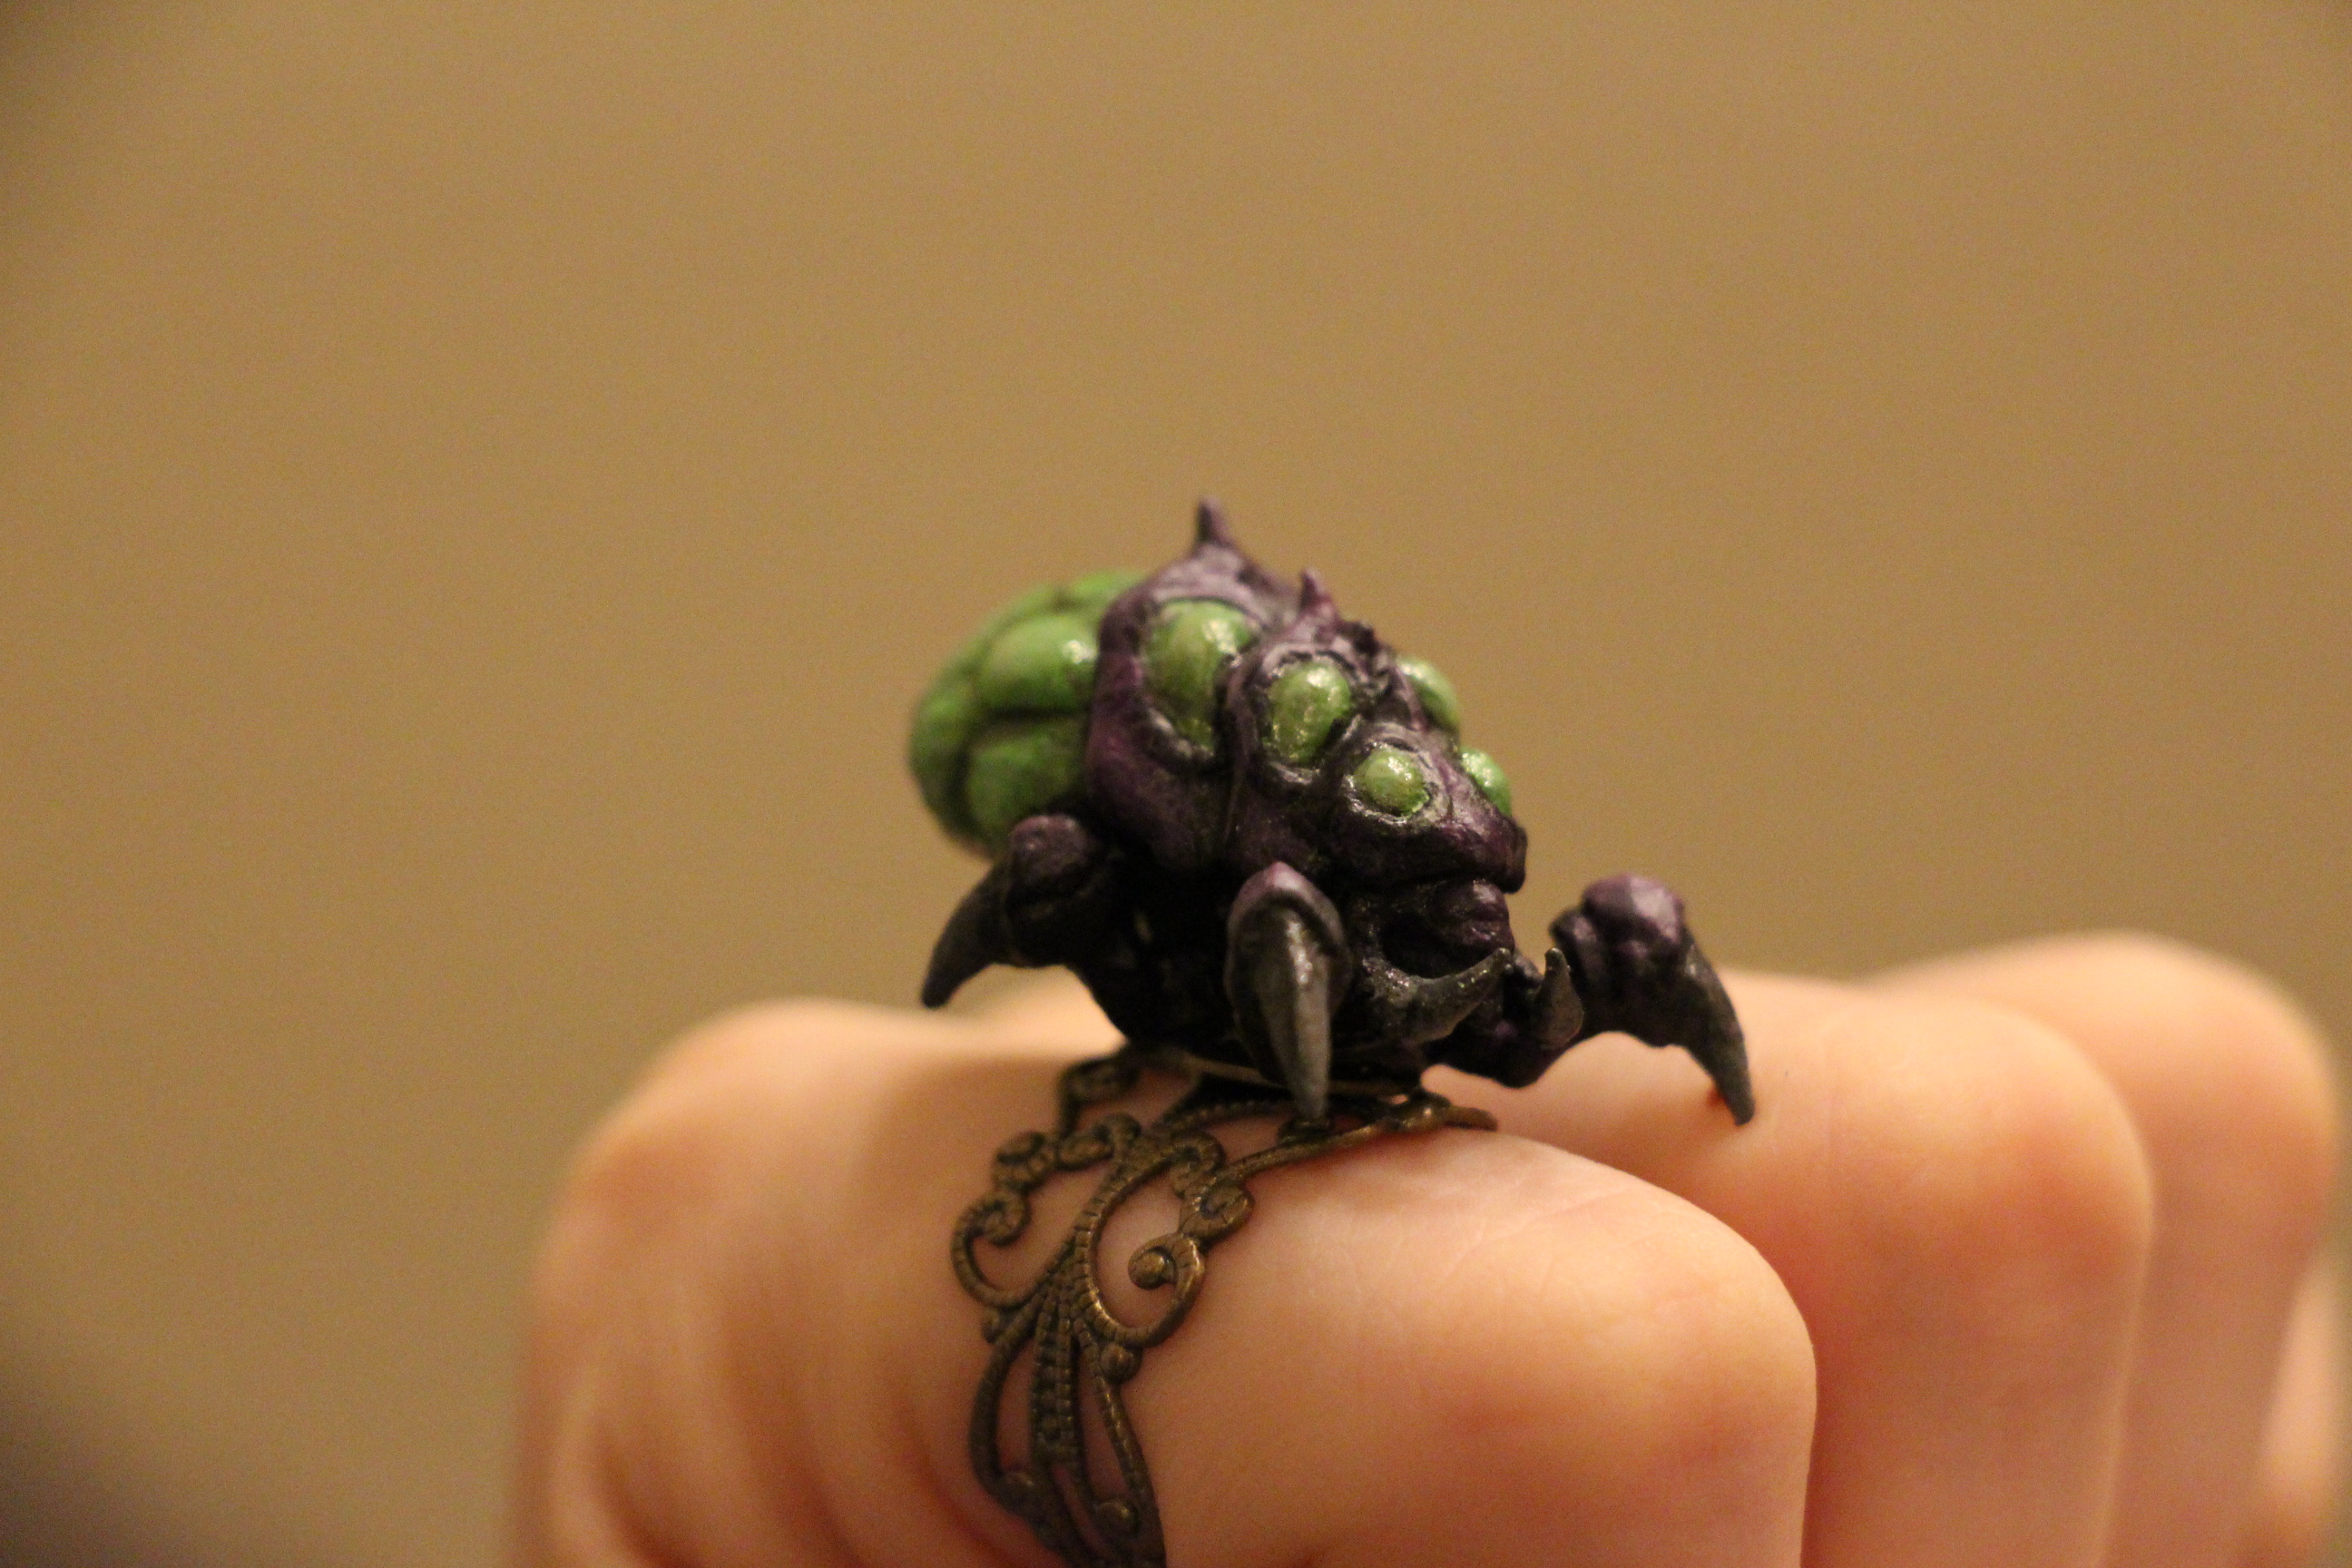
Sooooo cute!
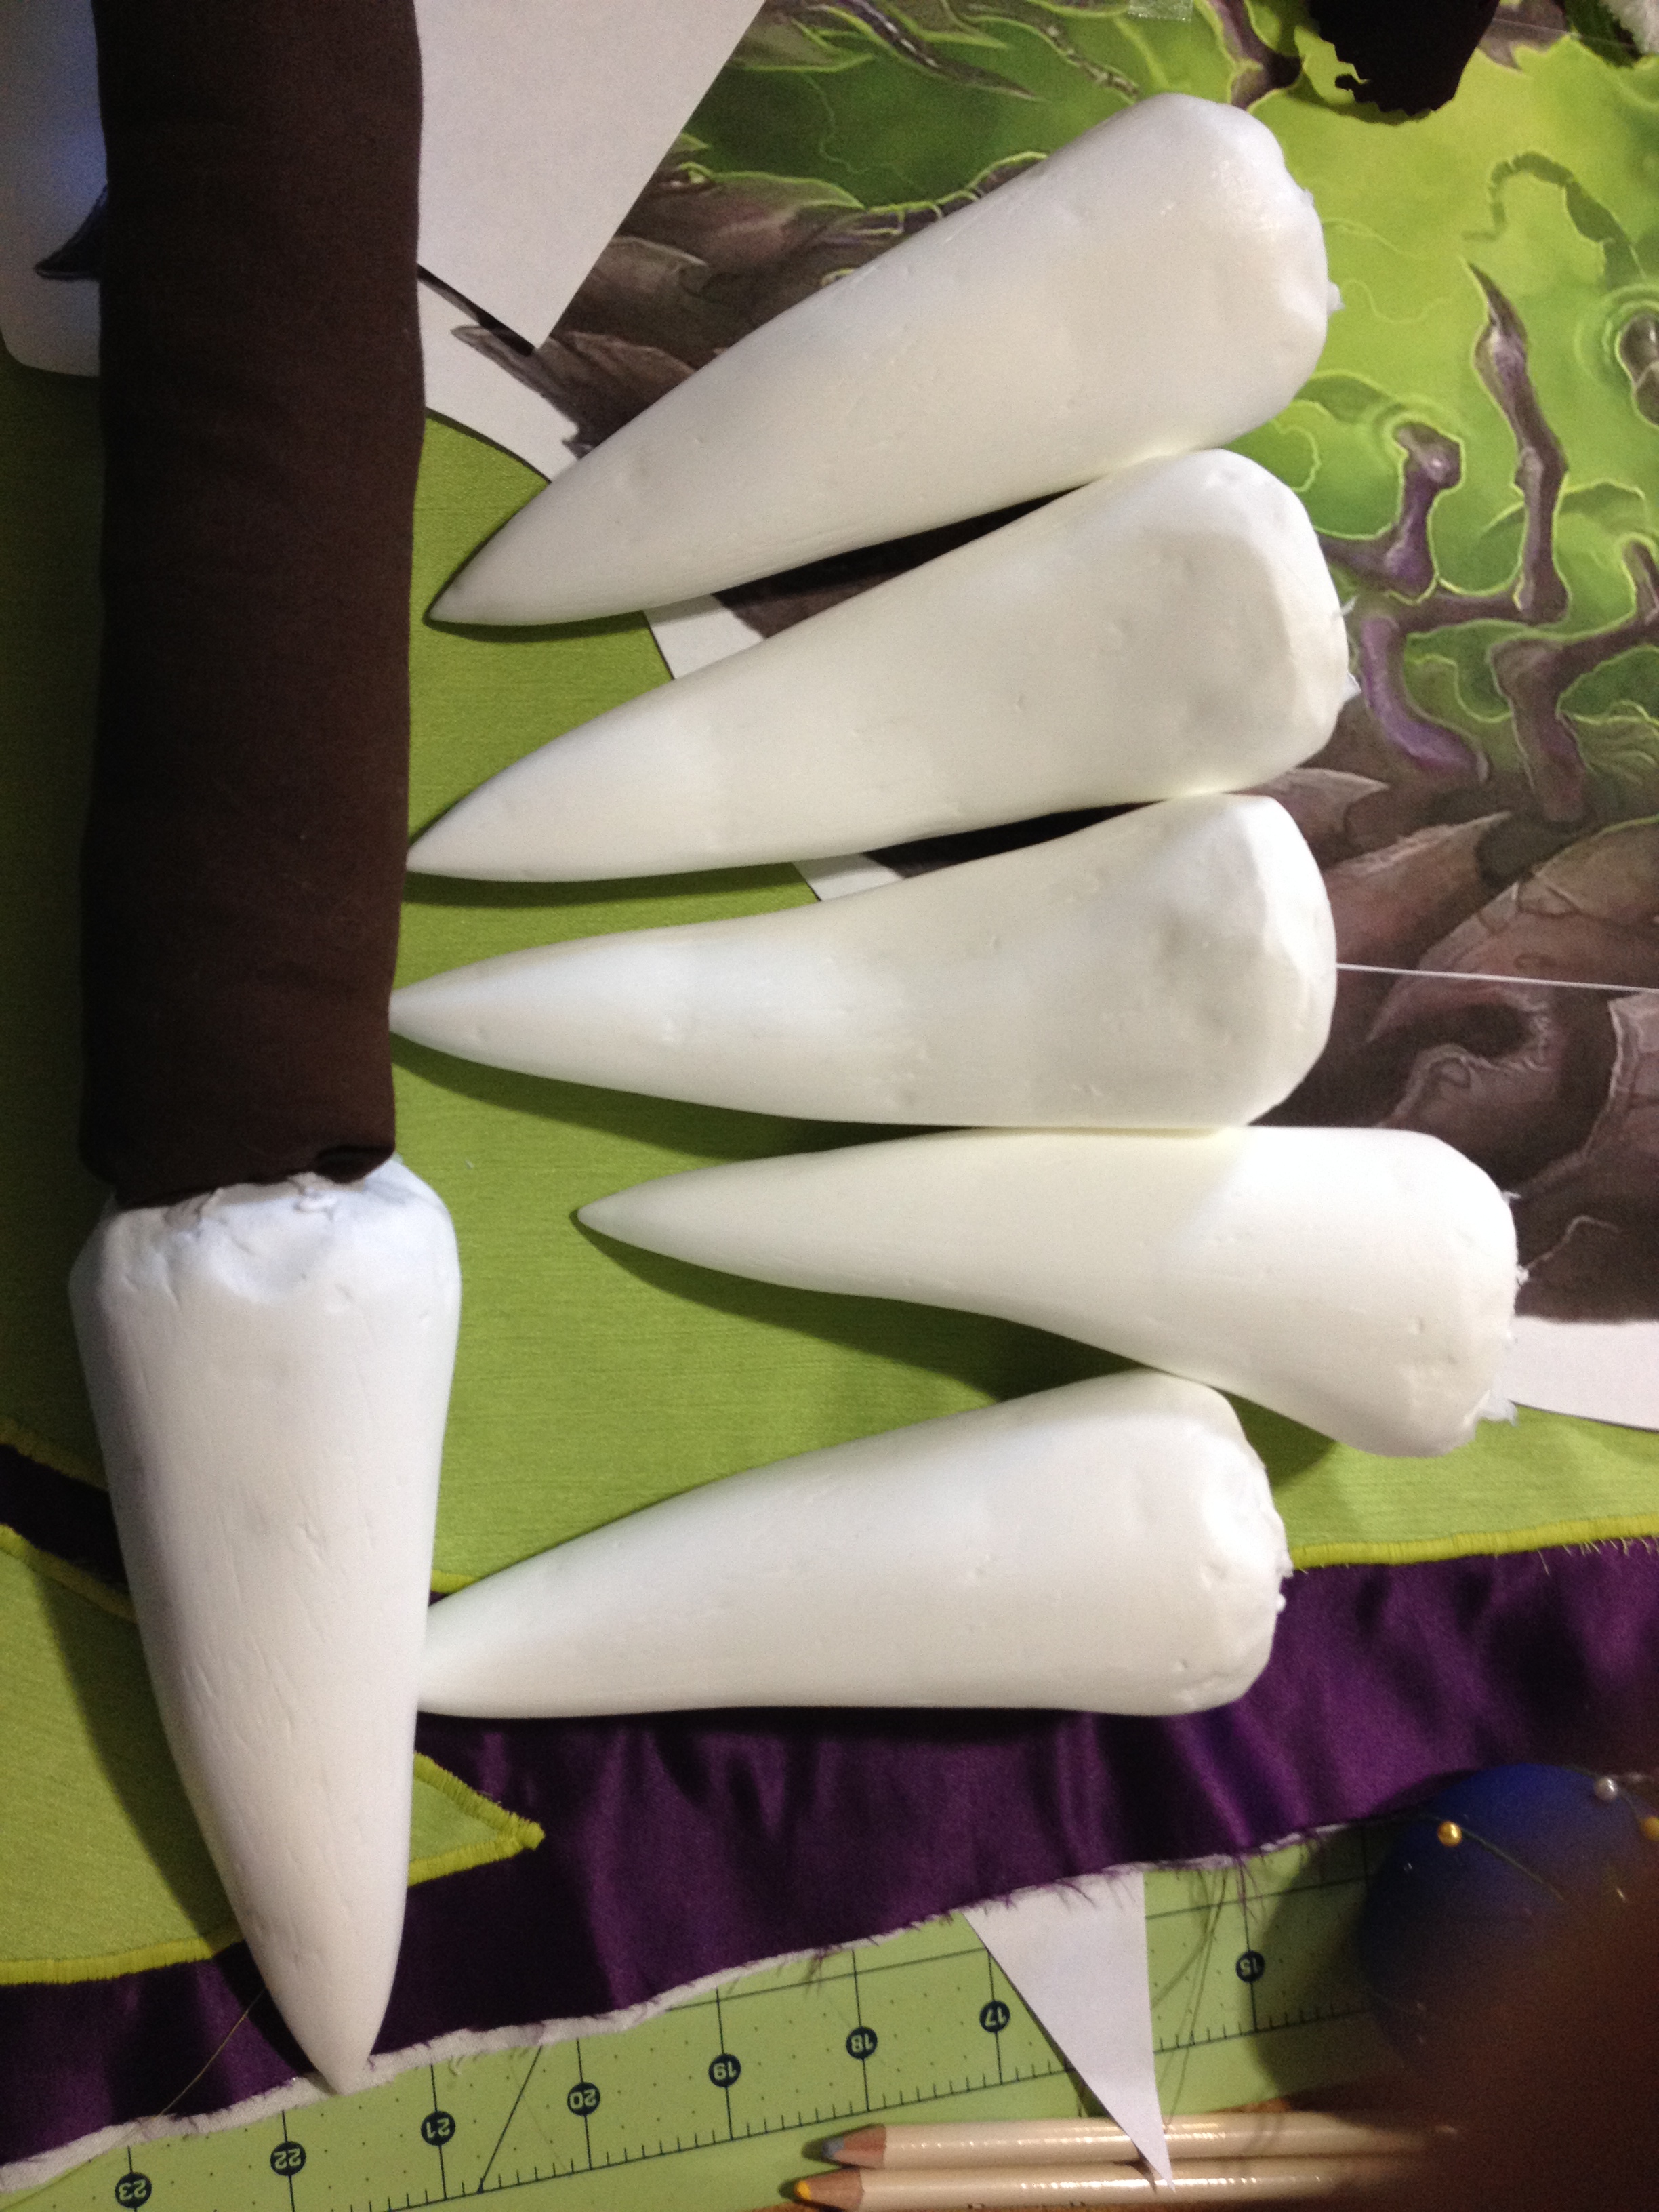
I wanted the spikes on the bottom of the legs to be durable, so I sculpted one out of apoxie sculpt, molded it, and roto cast them in resin (which is good, because them dragging on the concrete outside of BlizzCon did wear them down some). These guys were painted, then hot glued onto the end of the legs.

Okay, back to the cape. I wanted some kind of detail to go on the bottom green shape, and I figured this heart Zerg symbol (which I LOVE) would be a perfect fit.
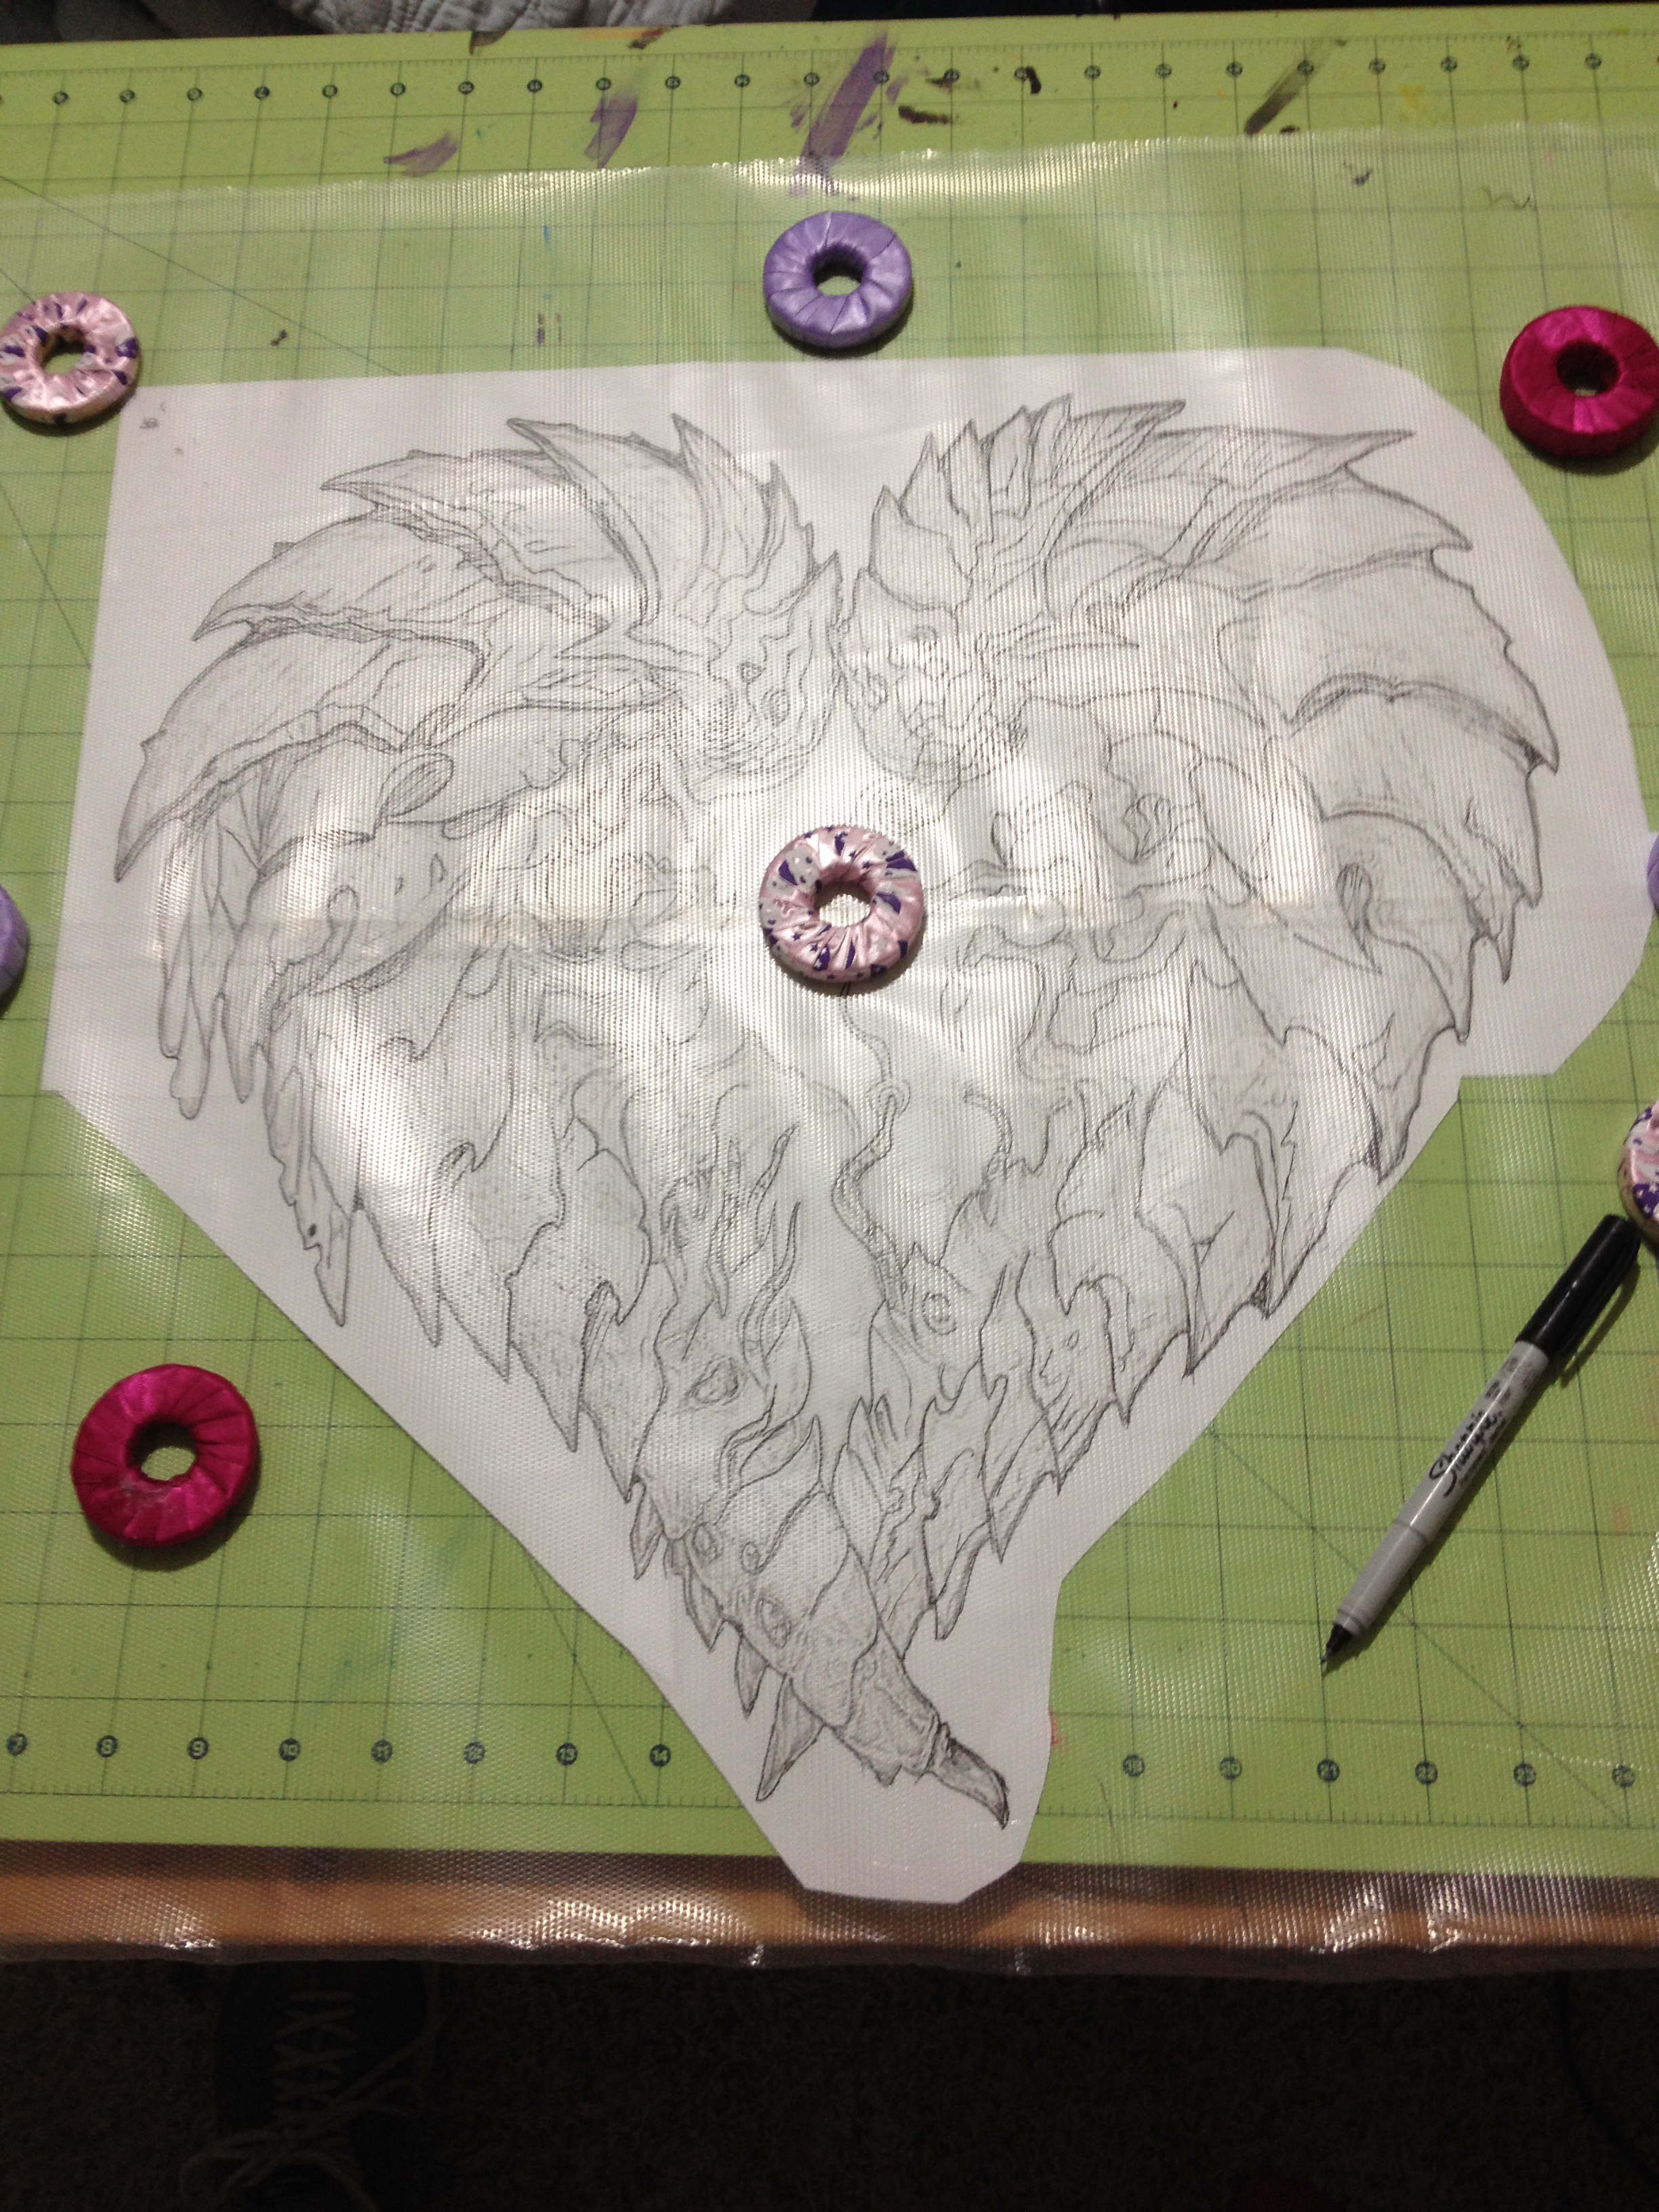
I transferred the line art onto an embroidery interfacing that dissolves with heat…
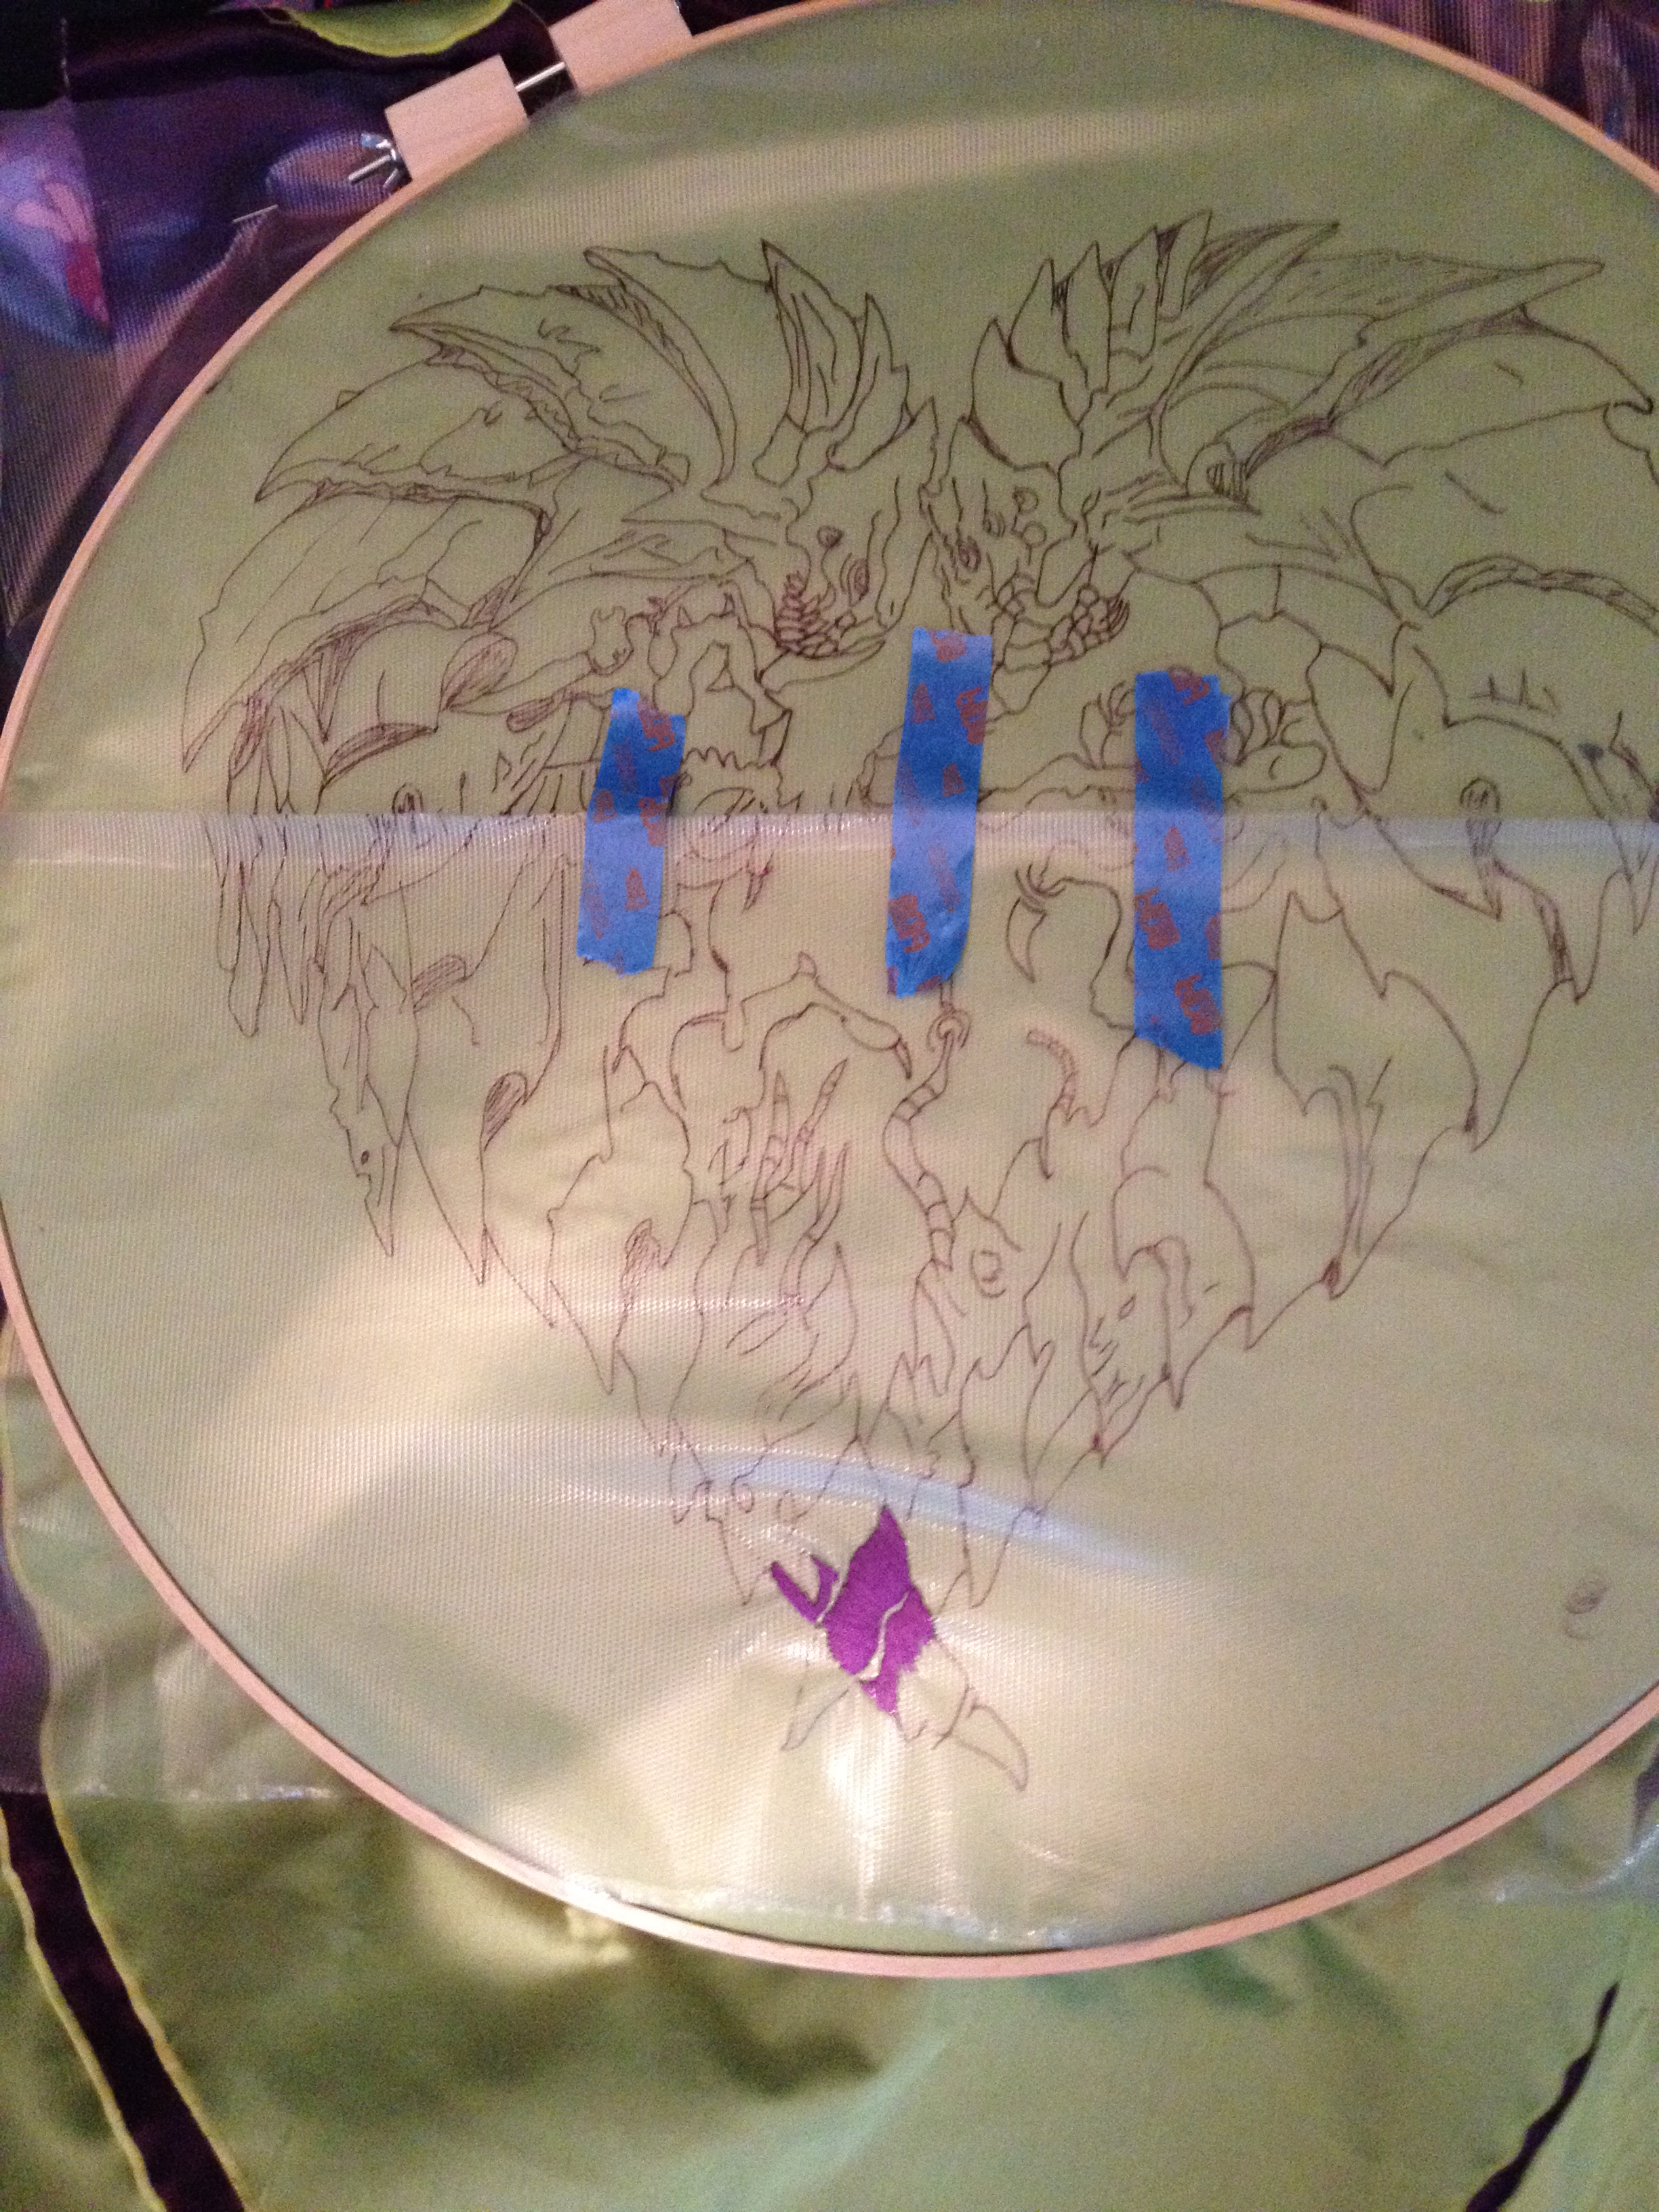
Put it in the embroidery hoop…

And spent 120 hours hand embroidering this monster.
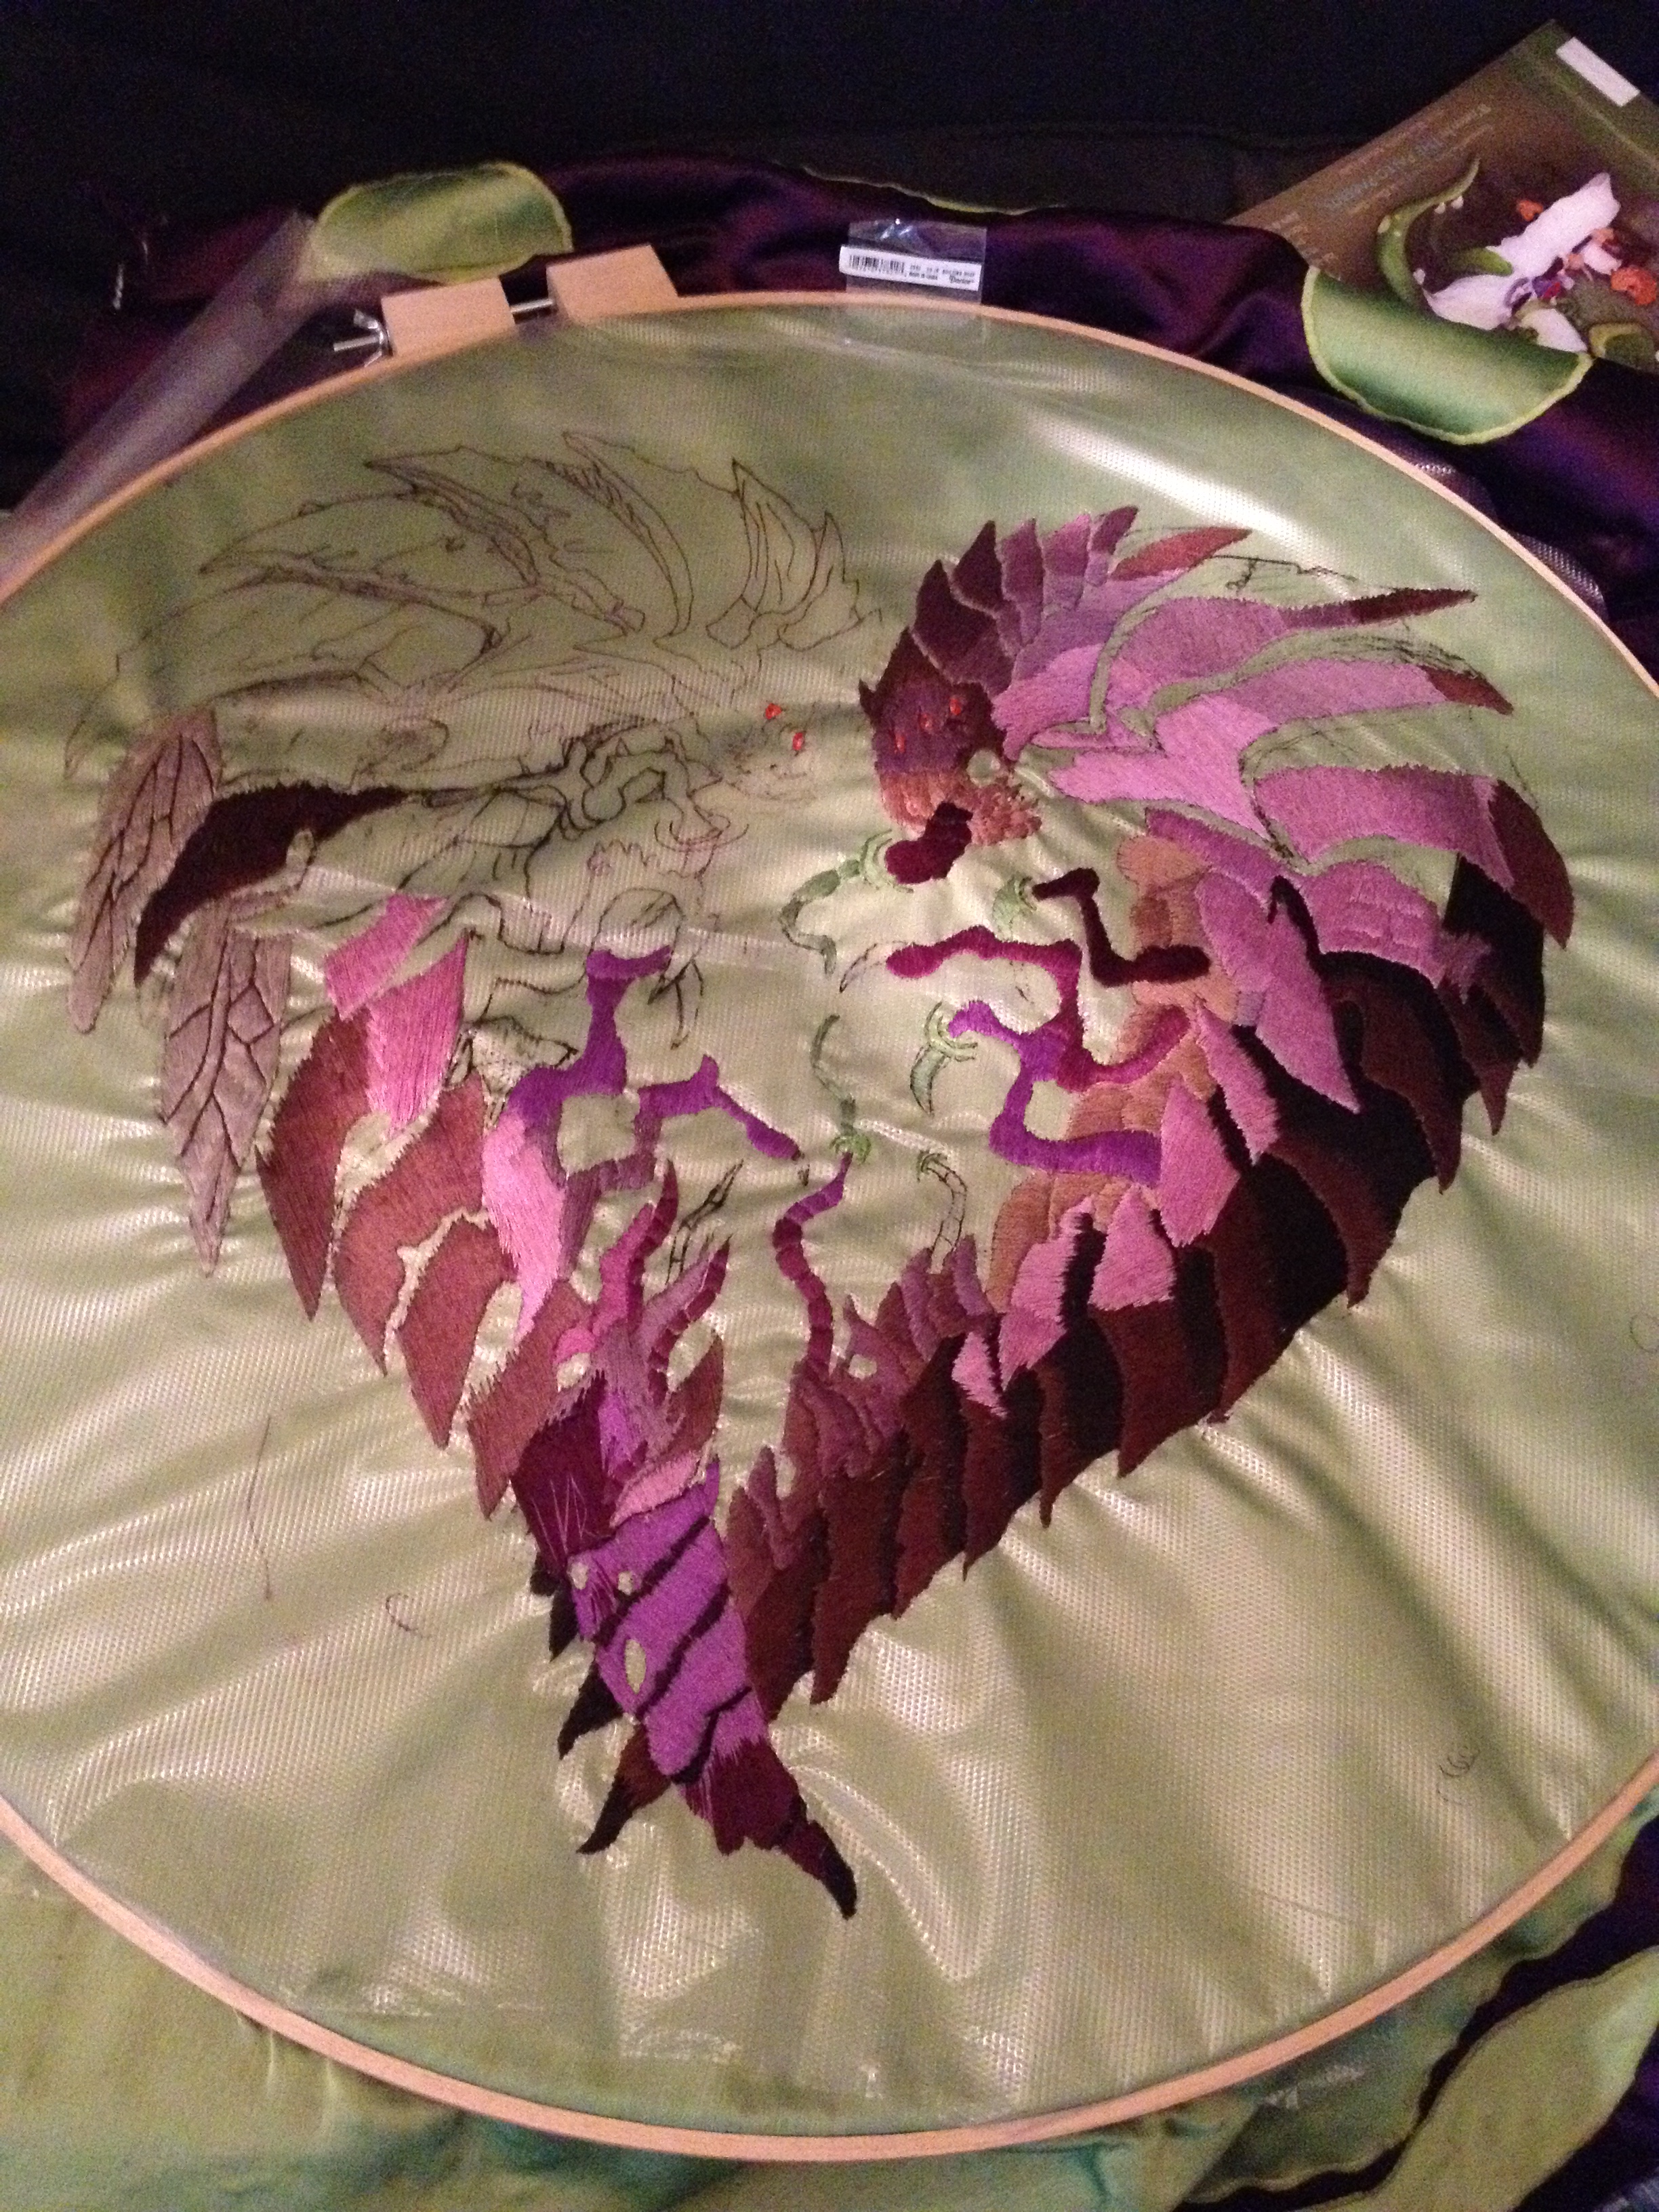
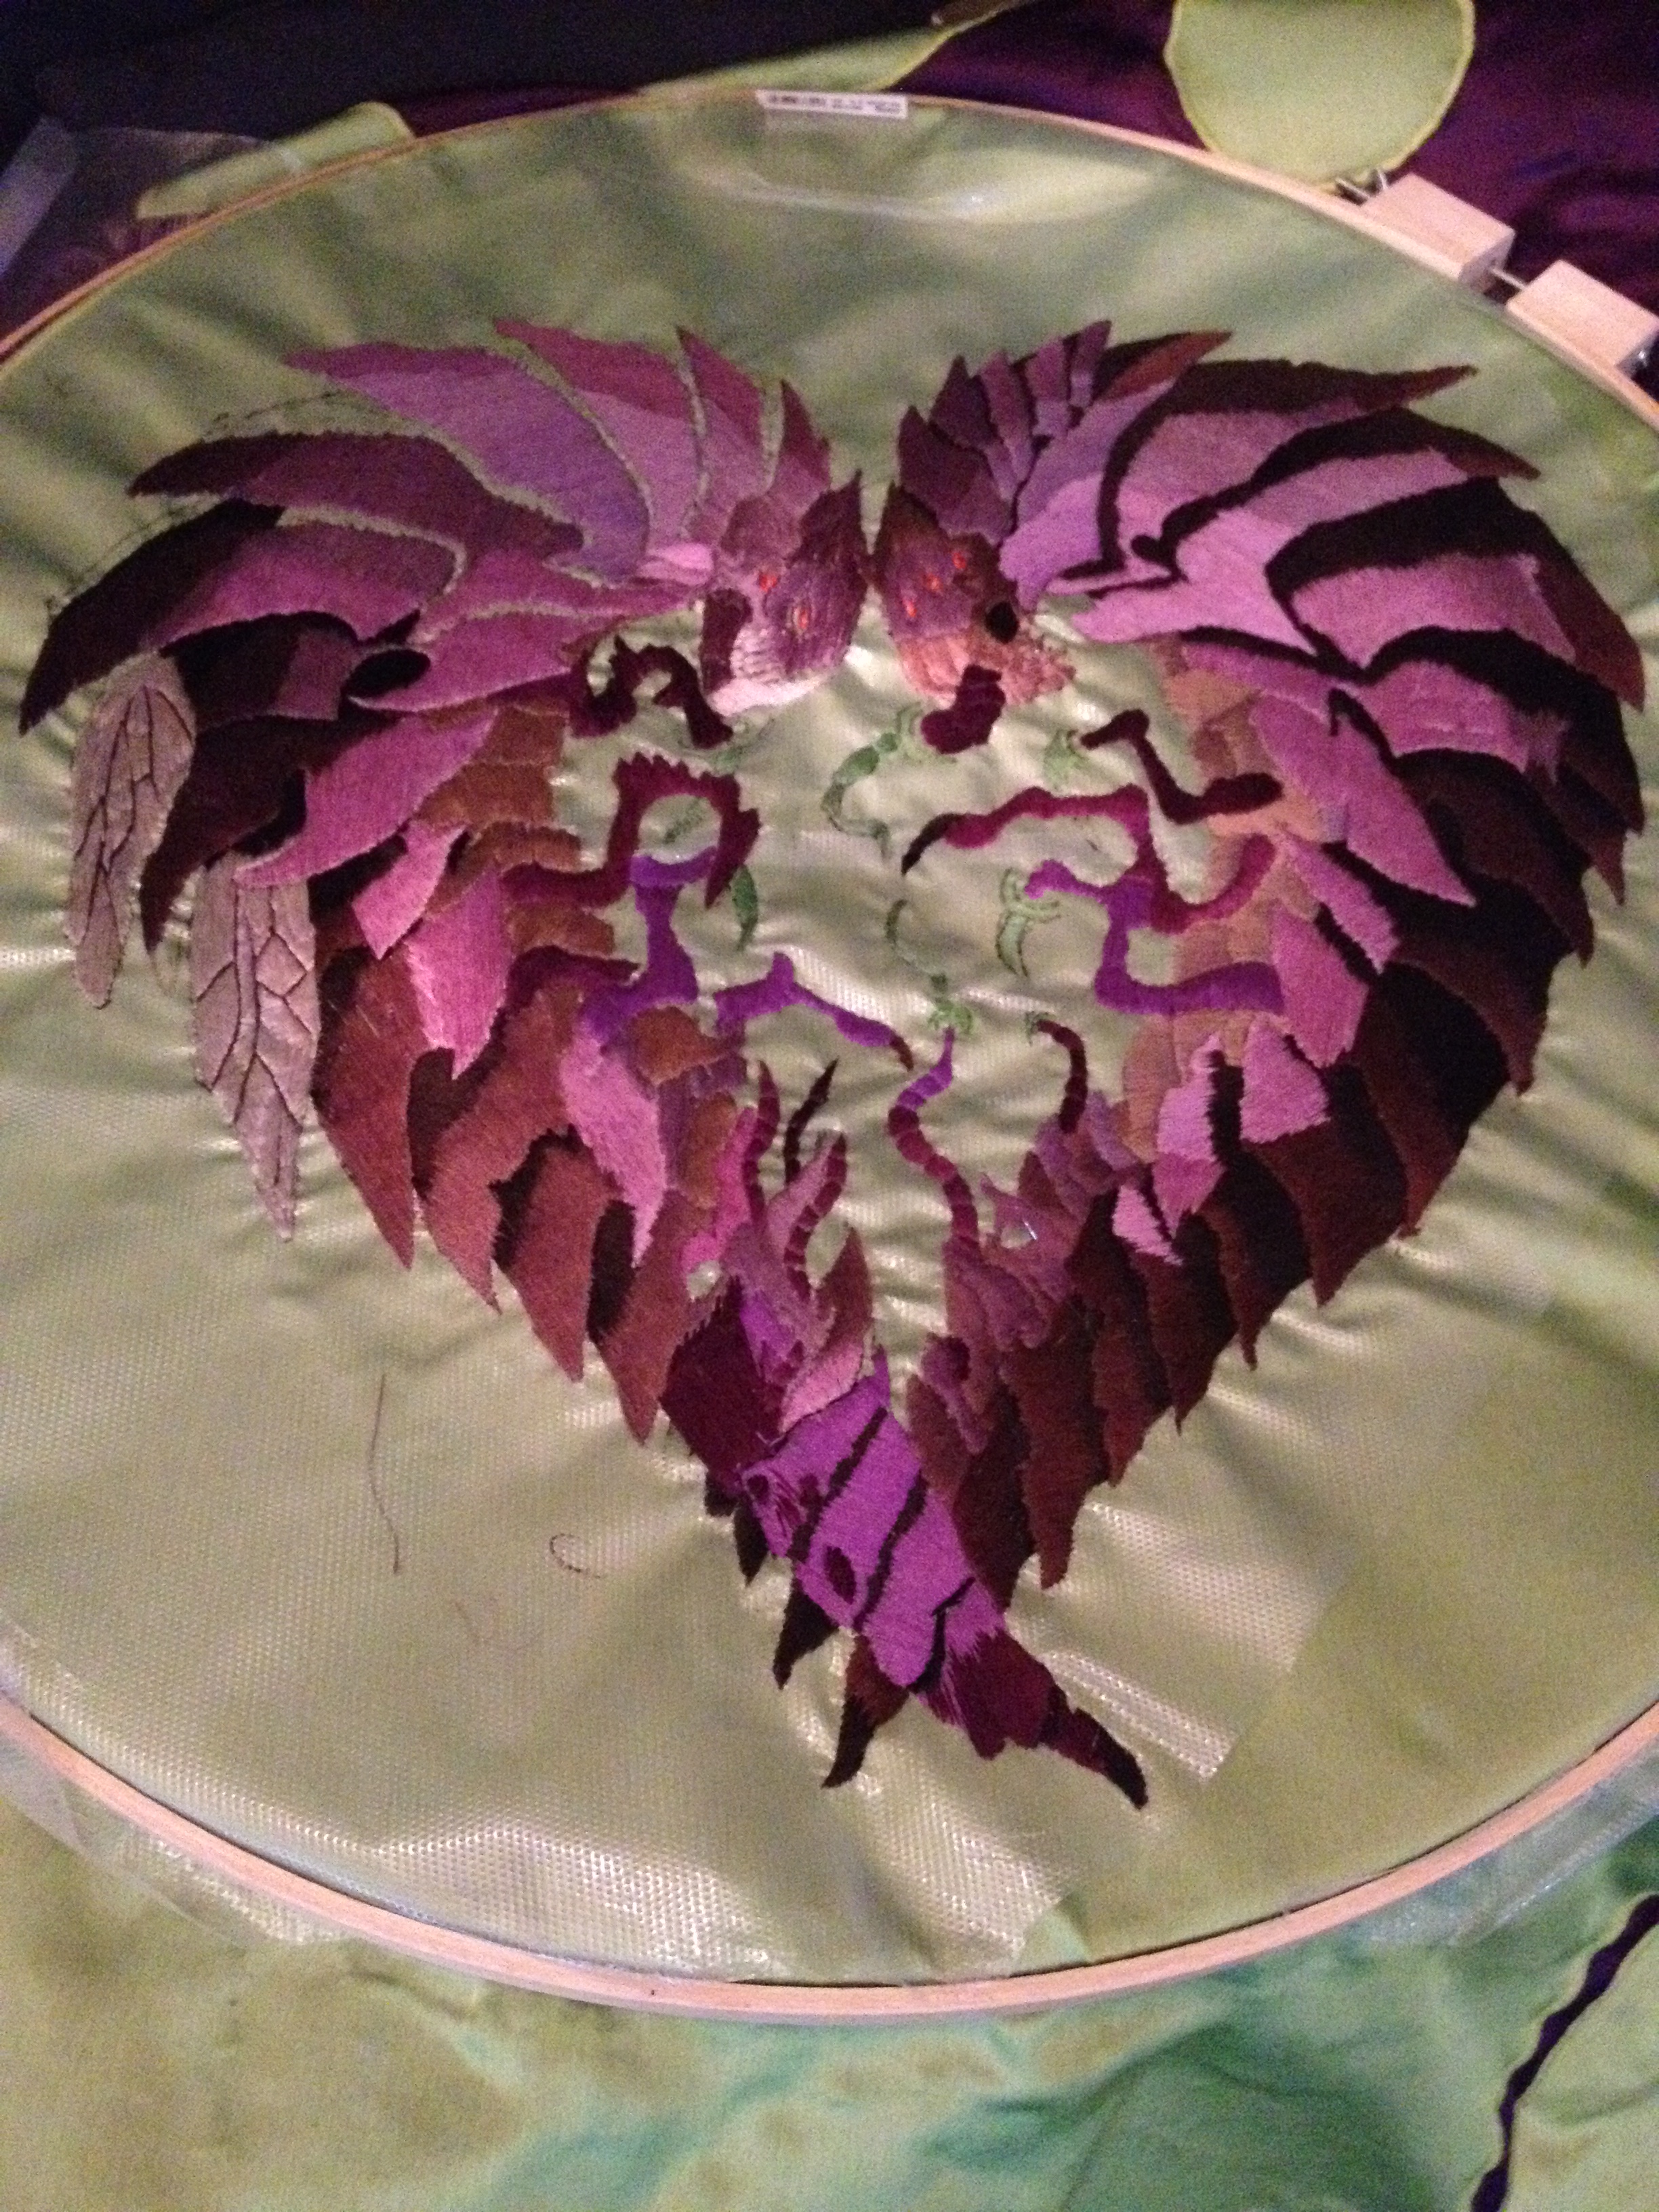
It looks so awesome though, doesn’t it? SO worth it!
 Oh! I also used another interfacing underneath the purple to make it all much more stiff, but it was still very movable. I used Pellon Shape Flex.

I then used a spray interfacing adhesive to help attach both sides of the cape together.


Once the details were sewn on, I felt that the dress was still missing… something. In the concept photo that Carissa drew, the dress has little round green details that are on the smocking on the skirt part of the dress. I used round buttons that took forever to find from Etsy (because I was looking for three different sizes of the same style) and painted them the most perfect green color.

I painted them all white first, though, so they all had the same base color.

Then they were all made green and sewn onto the dress.

See what a huge difference that makes?

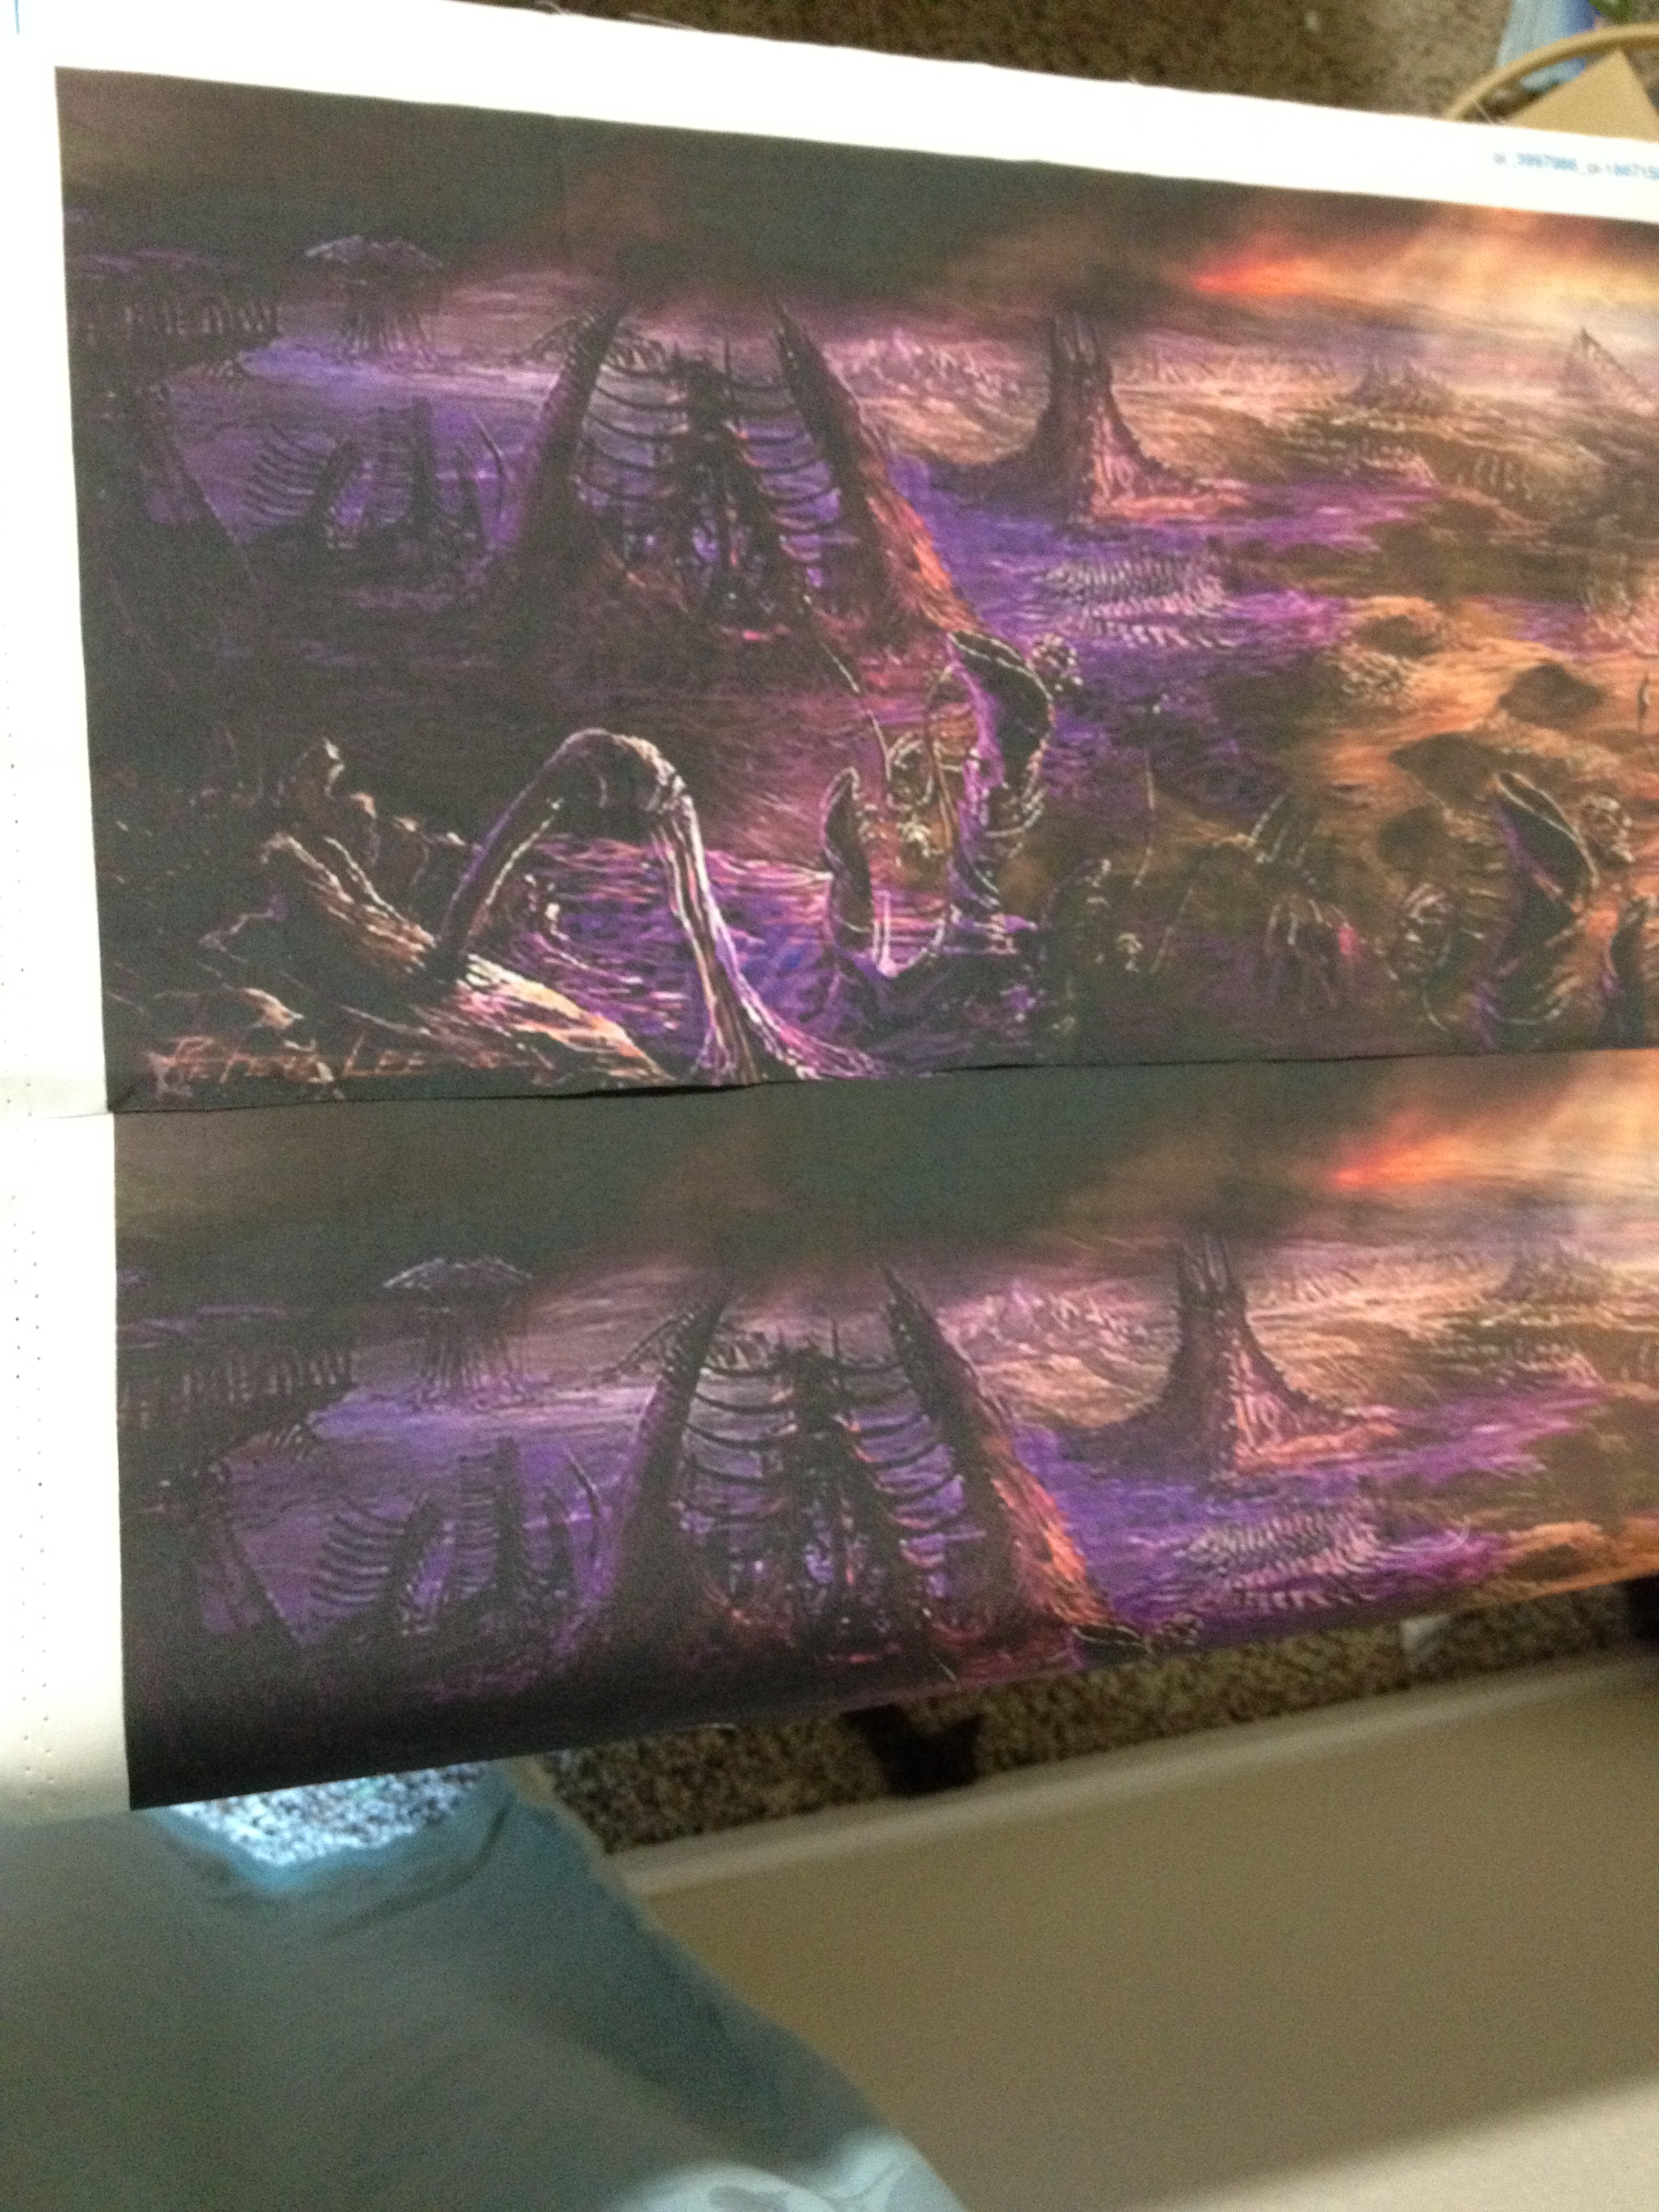
For the fan, I found this gorgeous art by Peter Lee and printed it on fabric at Spoonflower. I did two so that if I messed up one, I’d still have the others.
For the base, I used these fans from Amazon; they came in a 12 pack and I destroyed about 4 of them just figuring out how they were put together and what the best way to paint them was.
I’m sorry that I don’t have photos of this process, but I’ll try and explain it out. I just pulled the fabric off of the fans and ironed it out for a template to cut out the fabric I ordered. I then spread out the sticks of the fan and spray painted the entire fan purple on both sides, and once that was dry I spread the fan out to sit the way it would when it is opened, with all of the sticks spread evenly. I then lay my cut out fabric over top it, and carefully glued the fabric to each stick, using a long-drying glue that didn’t seep through the fabric and putting some weight on top of the fan so that they would adhere. Once dry, I attached the tassels to the bottom ring, and it was done!


Photo by Steve Groves of ESI Media
The cape was held on by three strong sets of magnets sewn into the cape and dress! That way, if someone stepped on it, it would come off. I can also just wear the dress without the cape and you’d never see the attachment, so that’s nice!
Okay. Now for the monster of a wig.
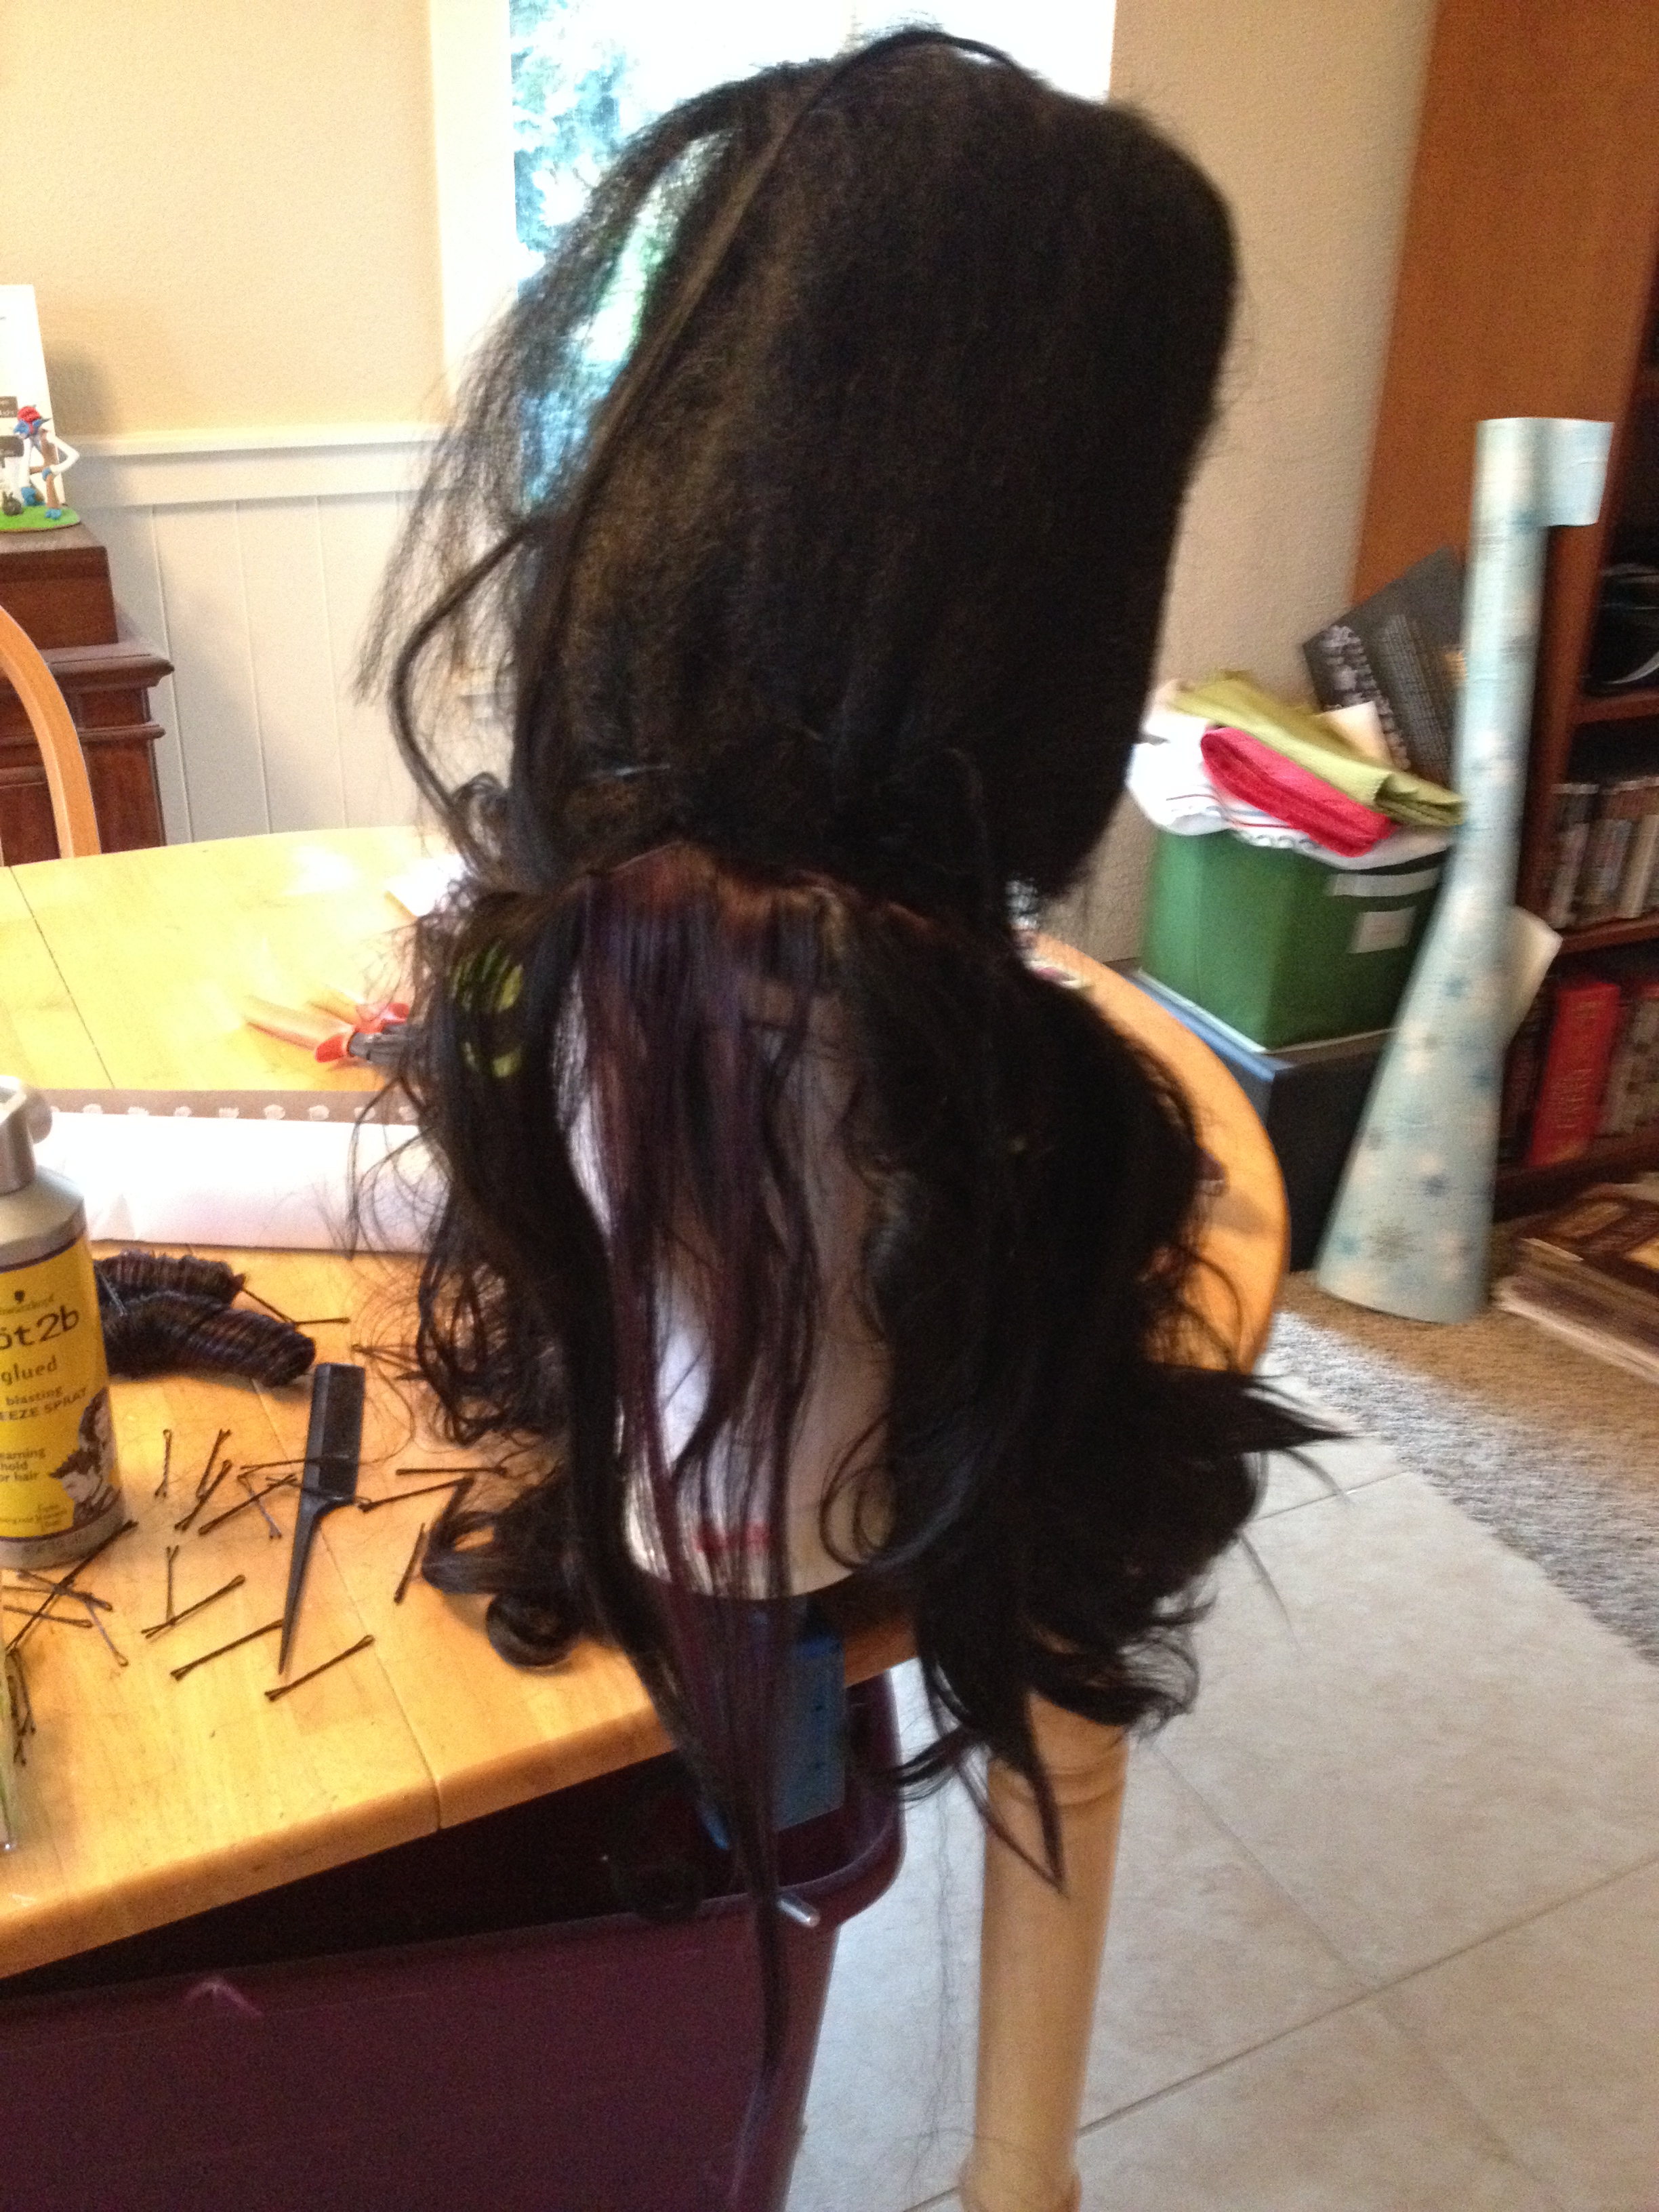
I don’t have photos of the entire process; besides, I followed a tutorial in this book (which is highly, highly recommended). Basically, I started with a Matilda from Arda Wigs in black because I wanted all of the hair to be up in the front, and a lace front is the best way of getting this result. I straightened the wig with a flat iron before I built a base out of chicken wire (note: pad the bottom of the base where it will be near your head. Ouch.) and added in some dark purple wefts before I started covering the wire base with black loose kankelon hair, held in place with bobby pins.

I did a twist thing in the back to help cover up some wefts, and left some hair down to do curls with. I also made a big bow out of my dress fabric to go in the back.

I got the curls by using those little foamy rollers and a hair dryer.
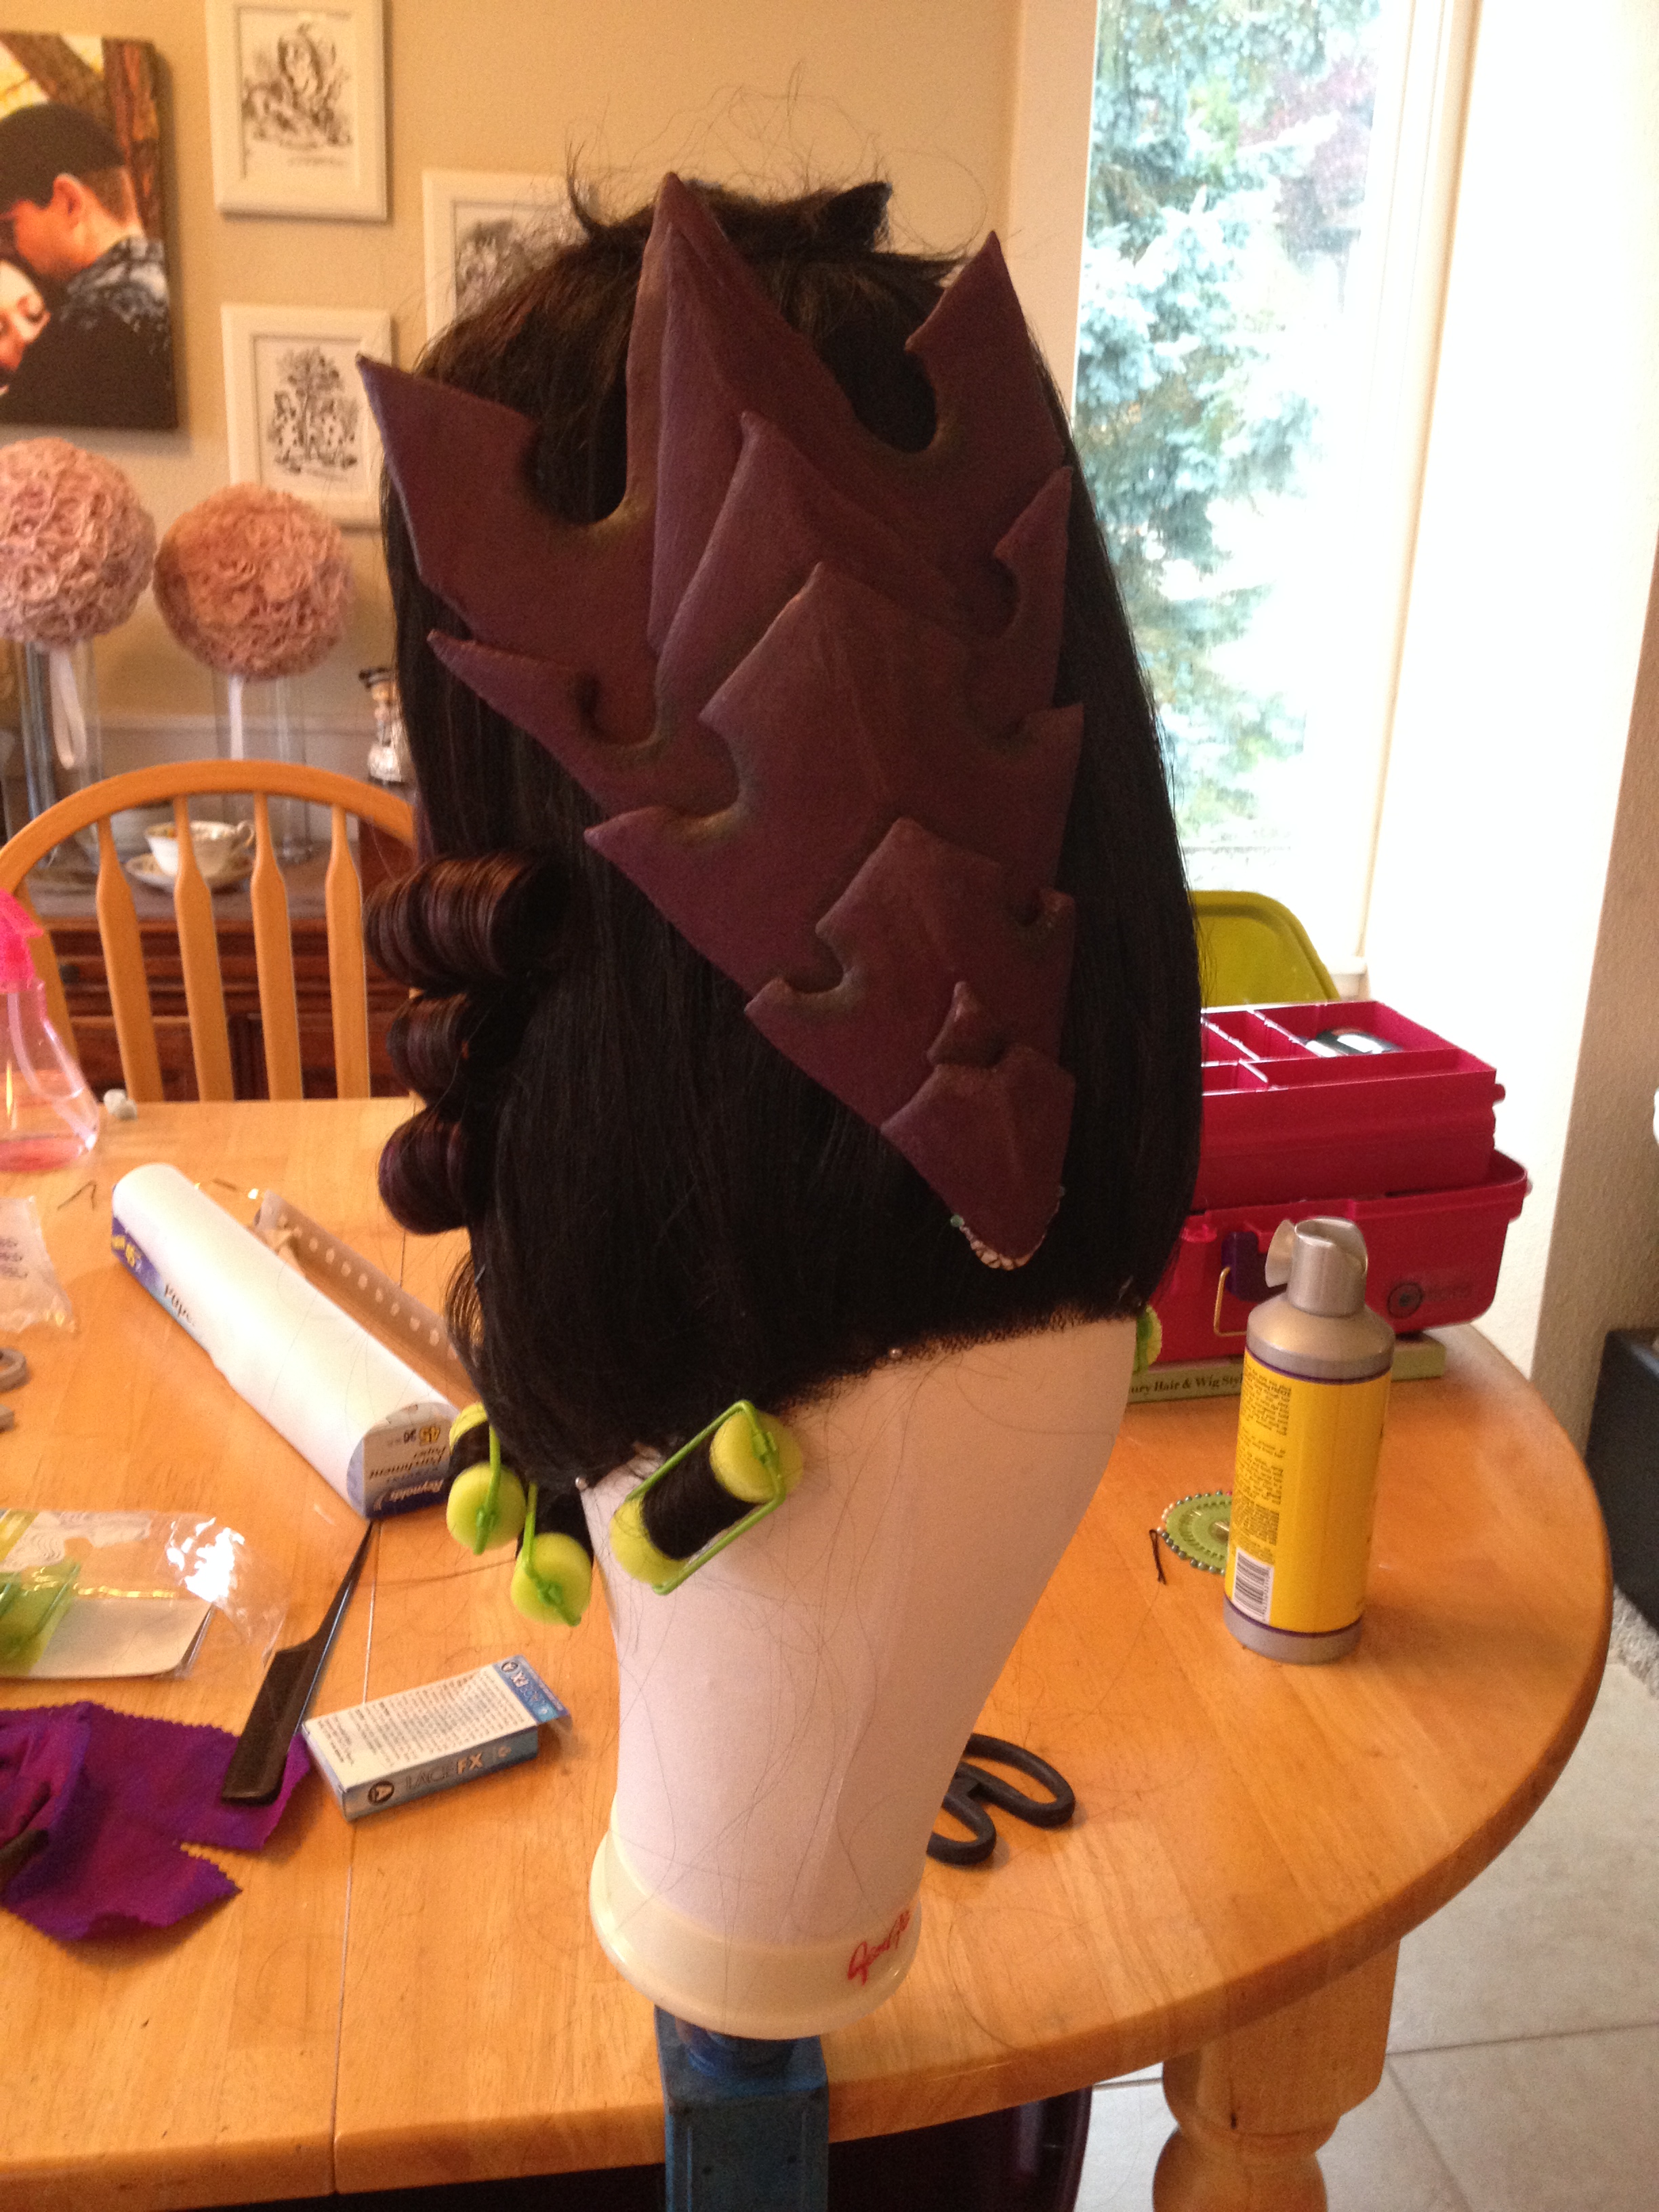
I rolled the curls on the side with the use of some clamps and a 3/4″ pipe that I rolled it around, and they were held on with bobby pins.
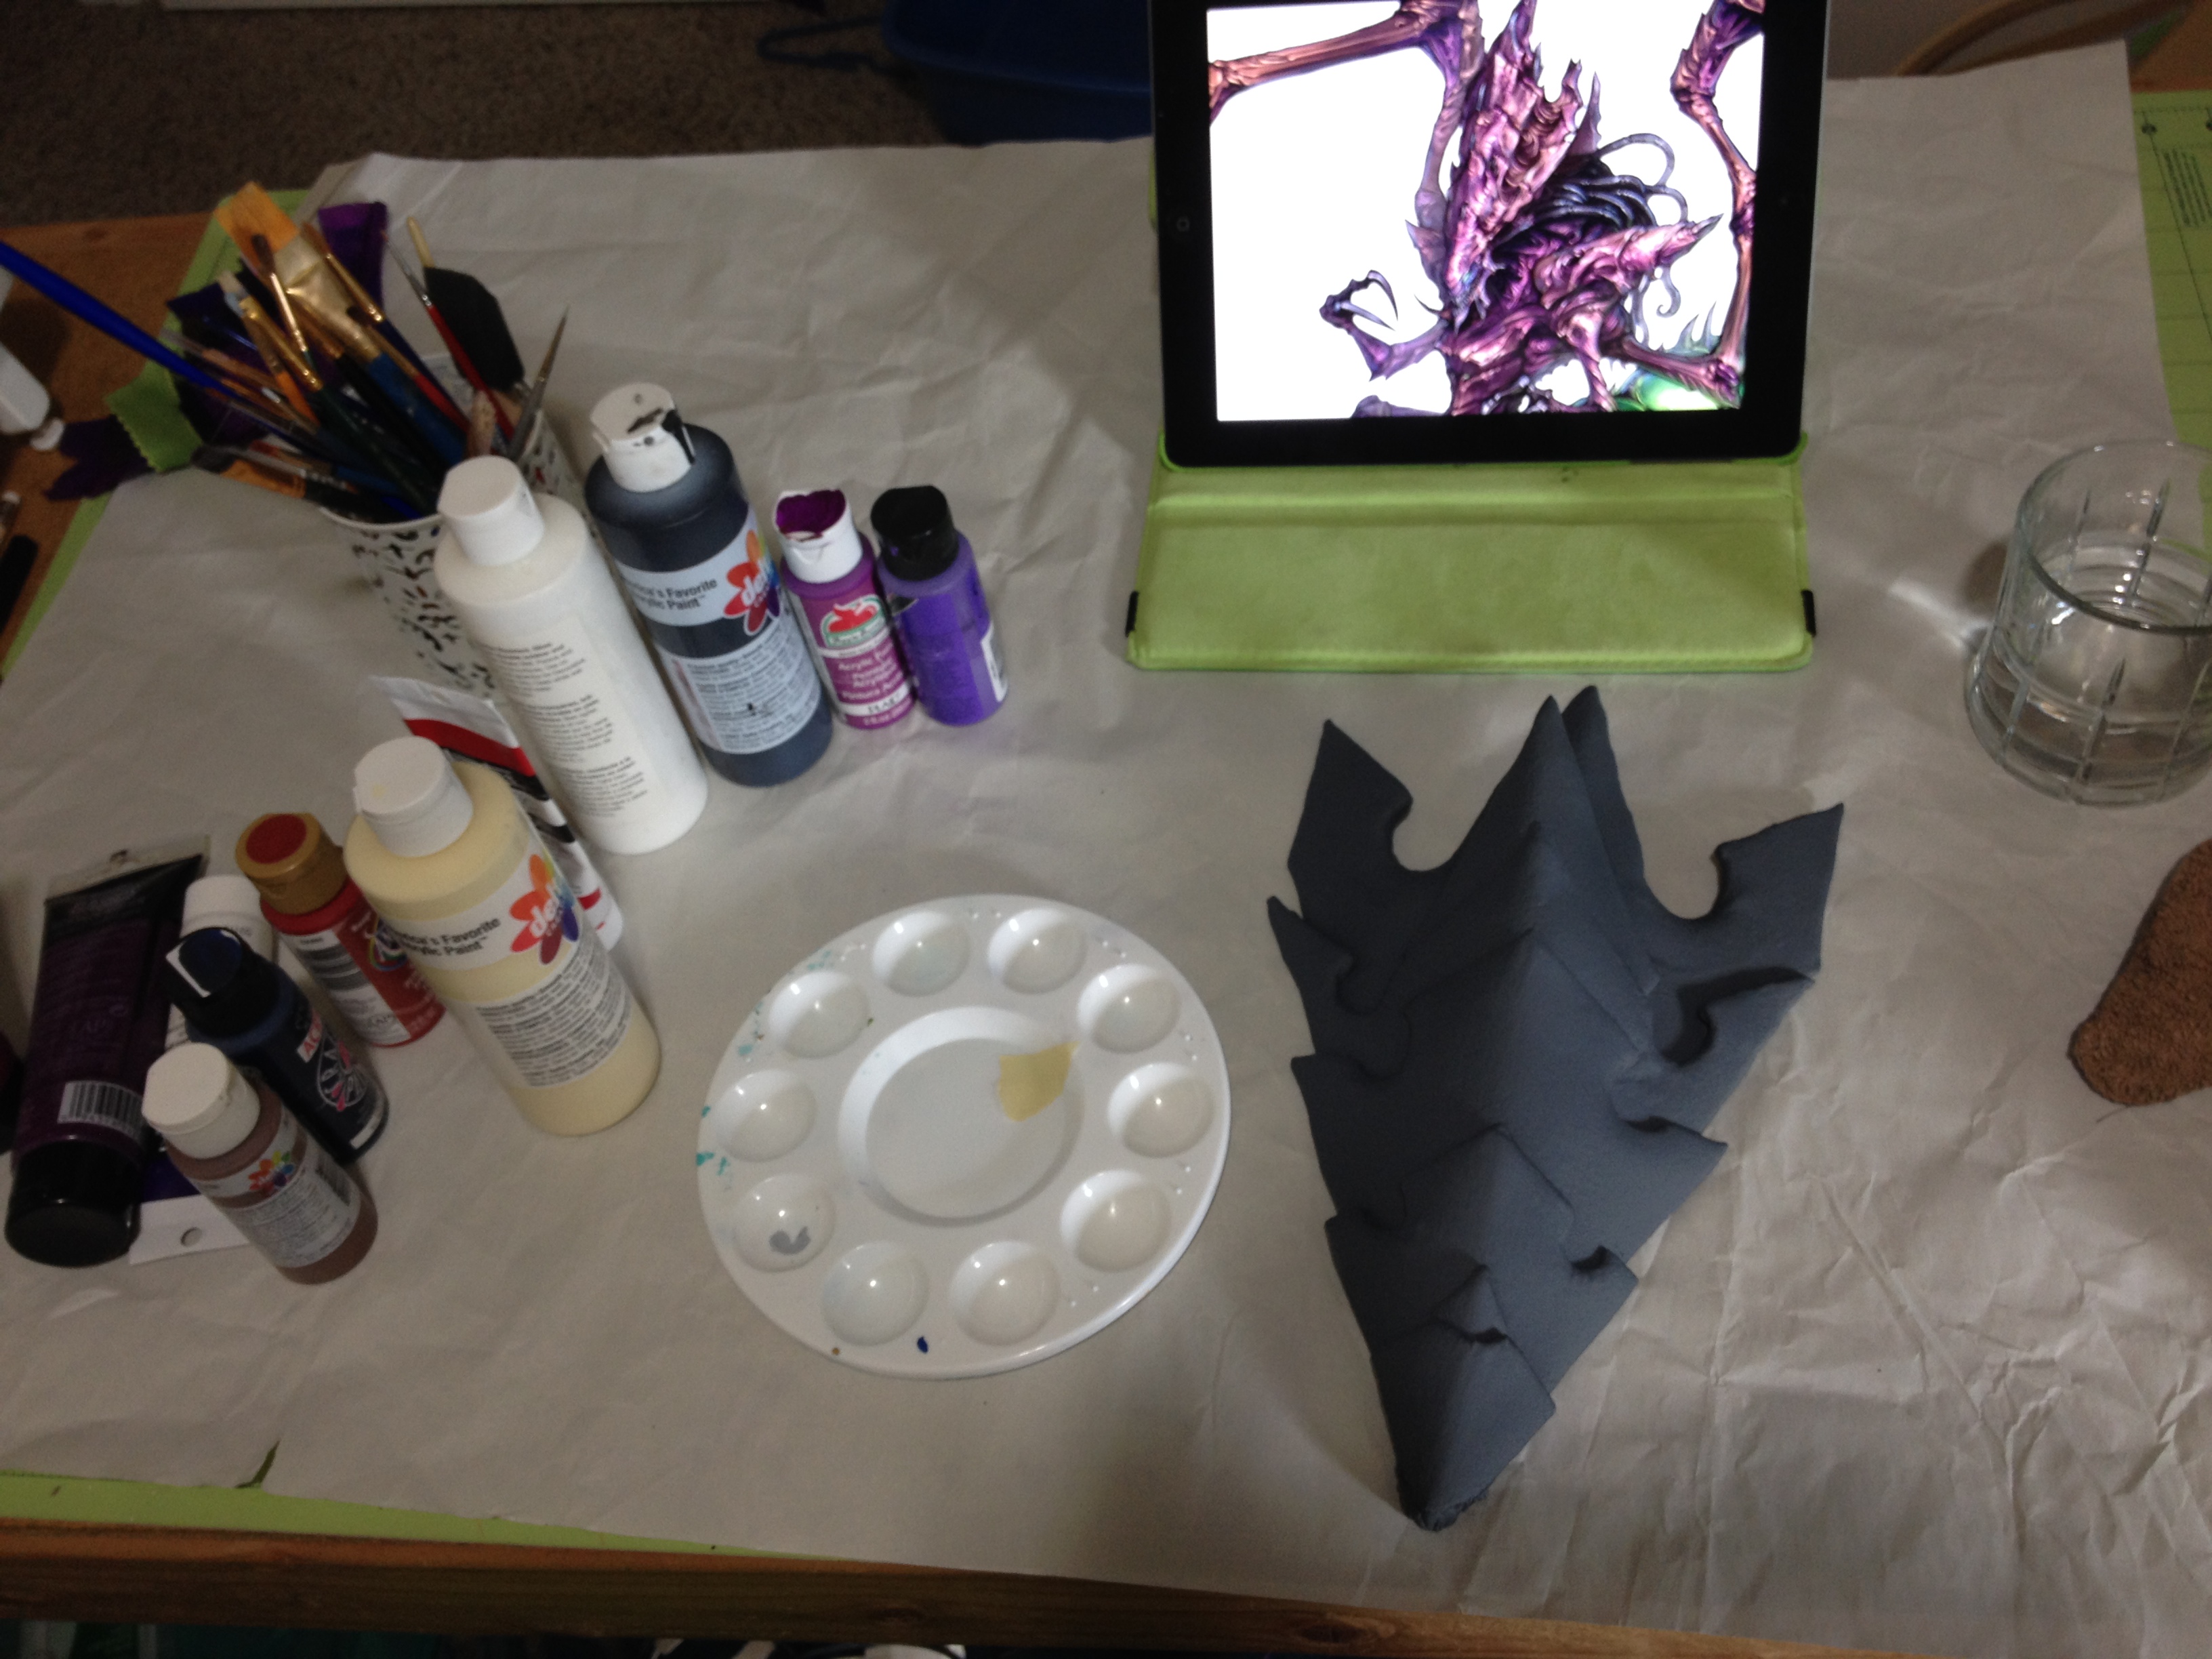
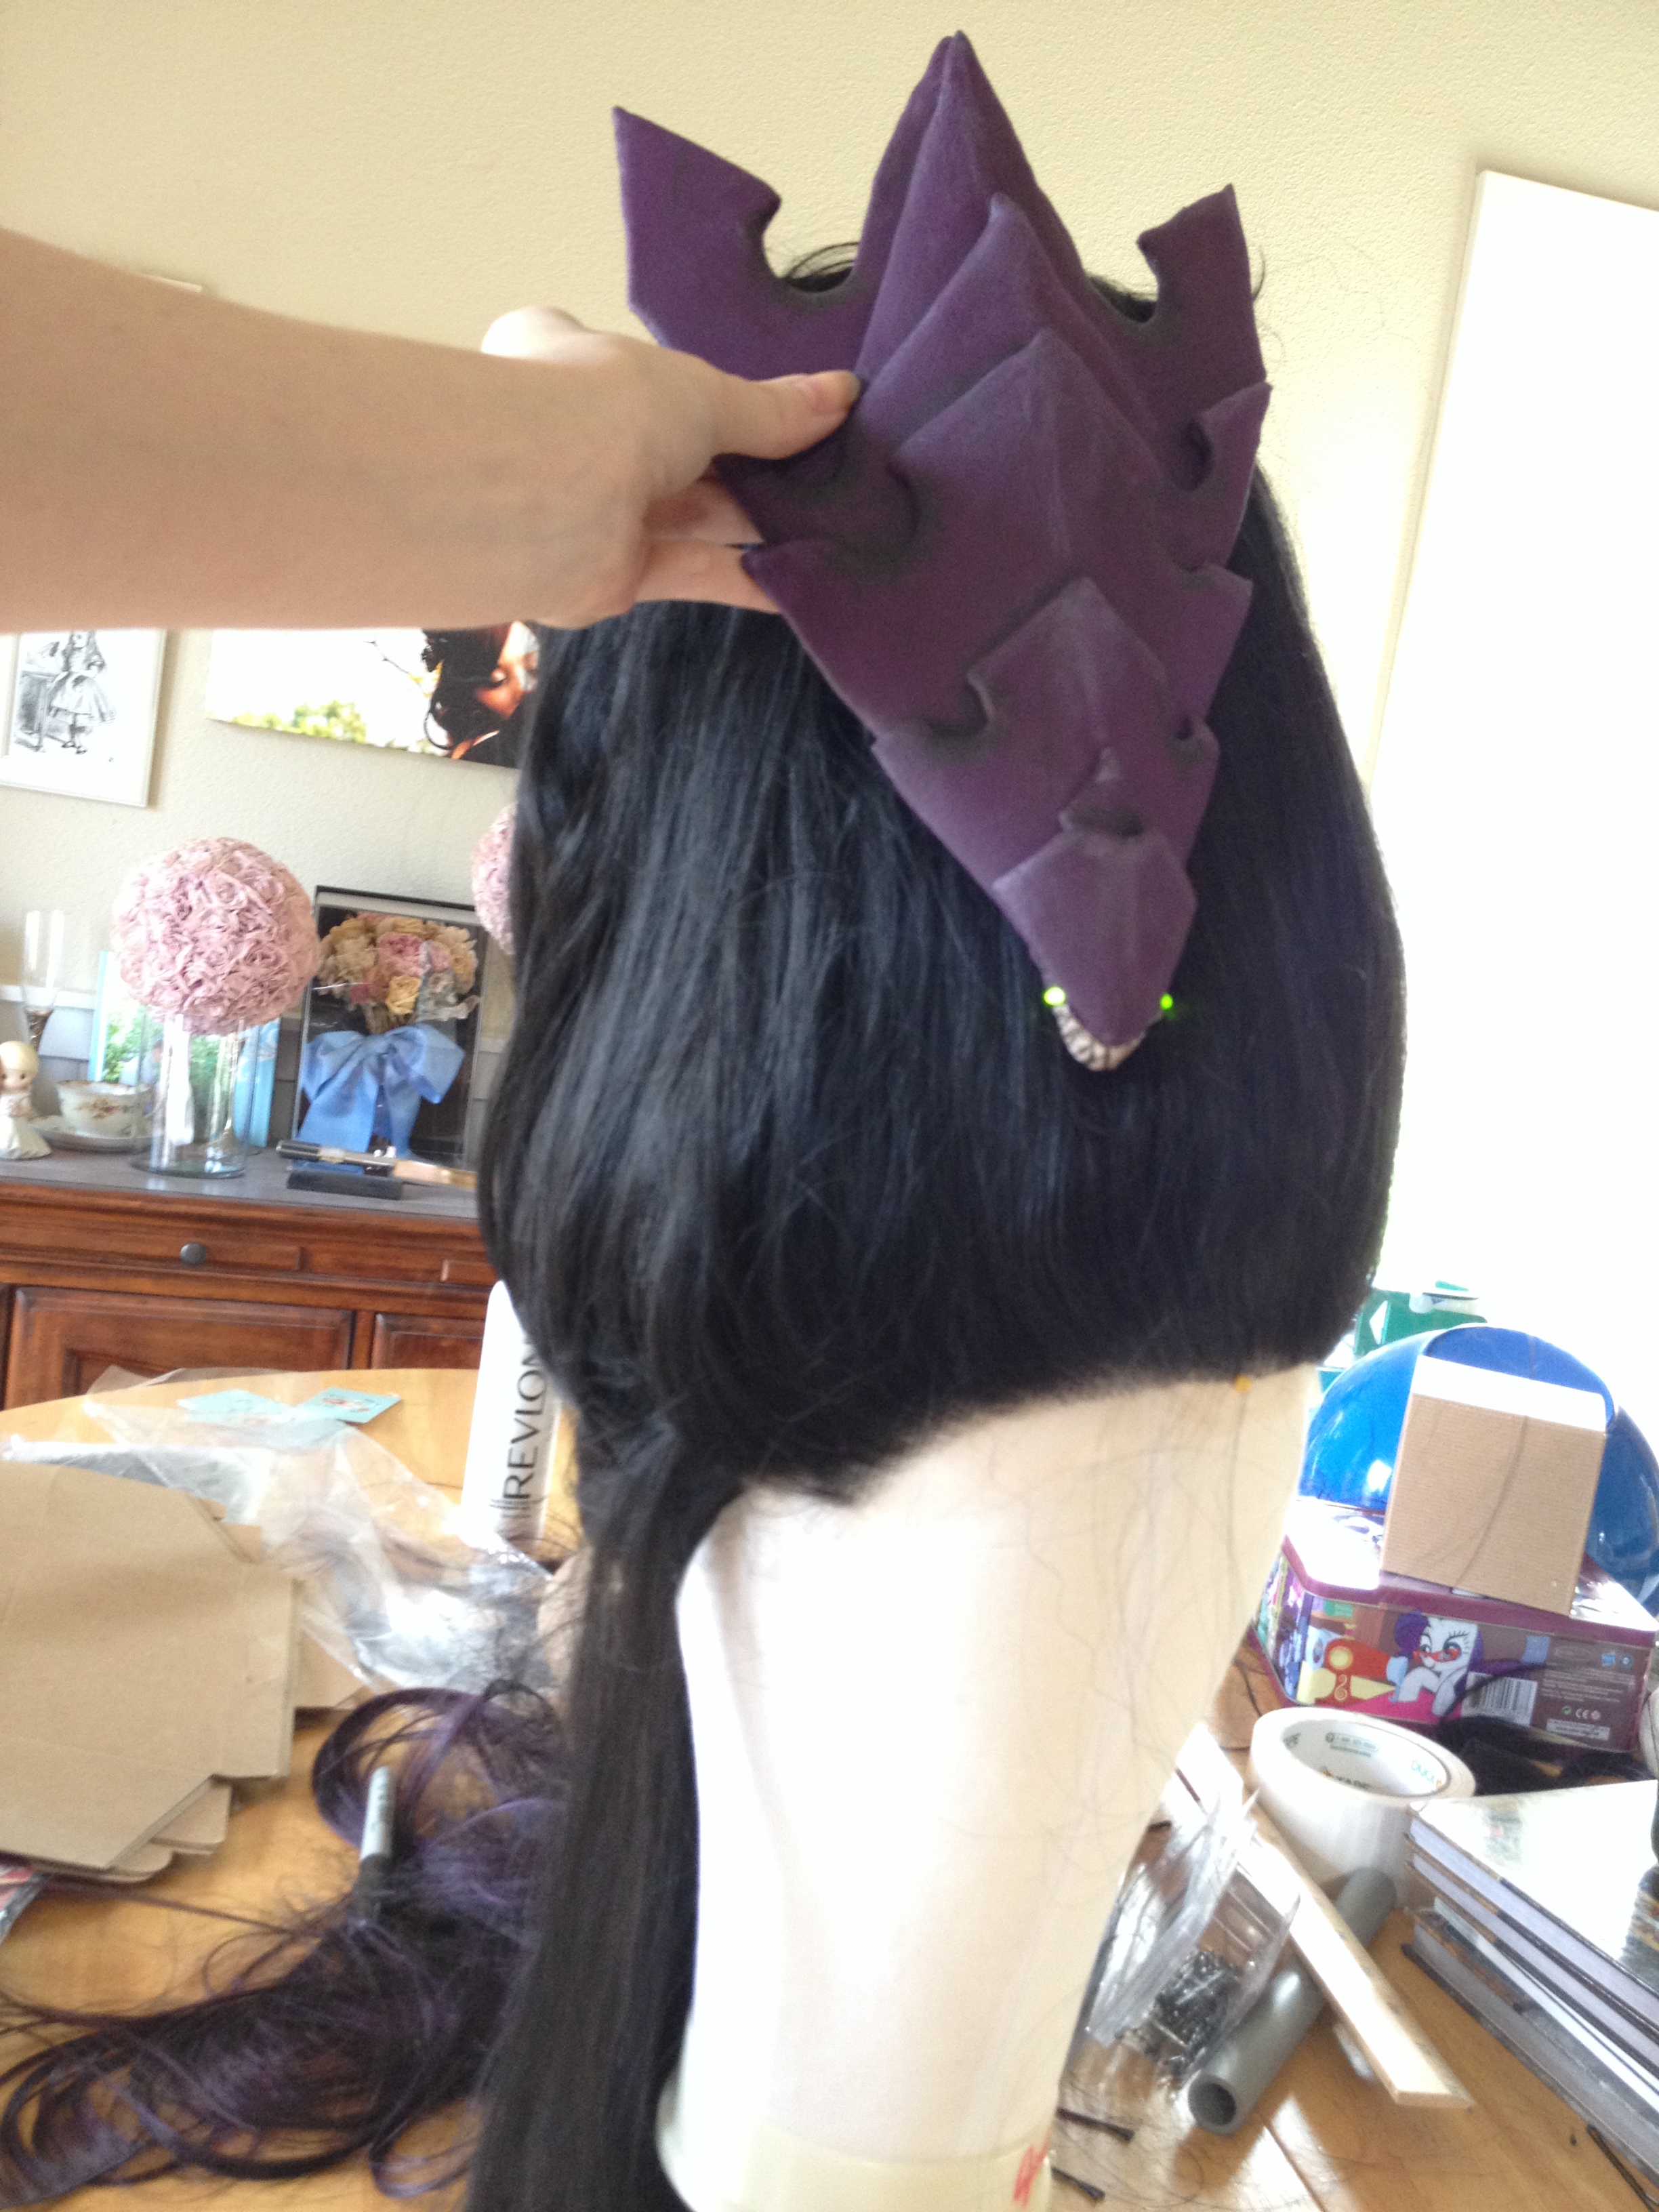
The cute little Zerg head that I used as a hat was first patterned out with a bunch of paper, then the patterns were transferred onto foam sheets that were covered with worbla.

I then covered him with lots of layers of gesso, but I didn’t make it completely smooth- I left some texture since Zergs aren’t smooth.
I then painted him…

And then added some cute little LED eyes- the wiring and the switch are all hidden on the back! He’s held on to the wig by some gorilla hooks we attached to it and then slid through the holes in the wire mesh.
Sooooo cute!

All that’s left are shoes! I got these from American Duchess as a birthday gift (<3 sooo mcuh), and dyed them with Jaquard dye (mixture of violet and magenta, I believe) to match the dress! They have buckles that hold the straps down.
Oh, and the makeup, of course!

It’s important to do a makeup test always- I used a bunch of Coastal Scents hot pots that I chose in greens and pinks/purples. The contacts are from FX Eyes! I have to go through them because I have astigmatism and no other place has awesome green contacts that come in toric prescriptions, but it’s definitely worth every penny.

Oh, and my necklace was just sculpted worbla, covered with gesso and painted. I used this type of spring hinge to hold it on my neck and take it on/off- it was really useful!
That ADORABLE hydralisk was made for me by my friend Fiendle!
The paint that I used was a mix of olive toner and lite toner; I used about 2 oz of it per application.
The last touch was my nails! I had these done at a salon and they looked soooo cool!
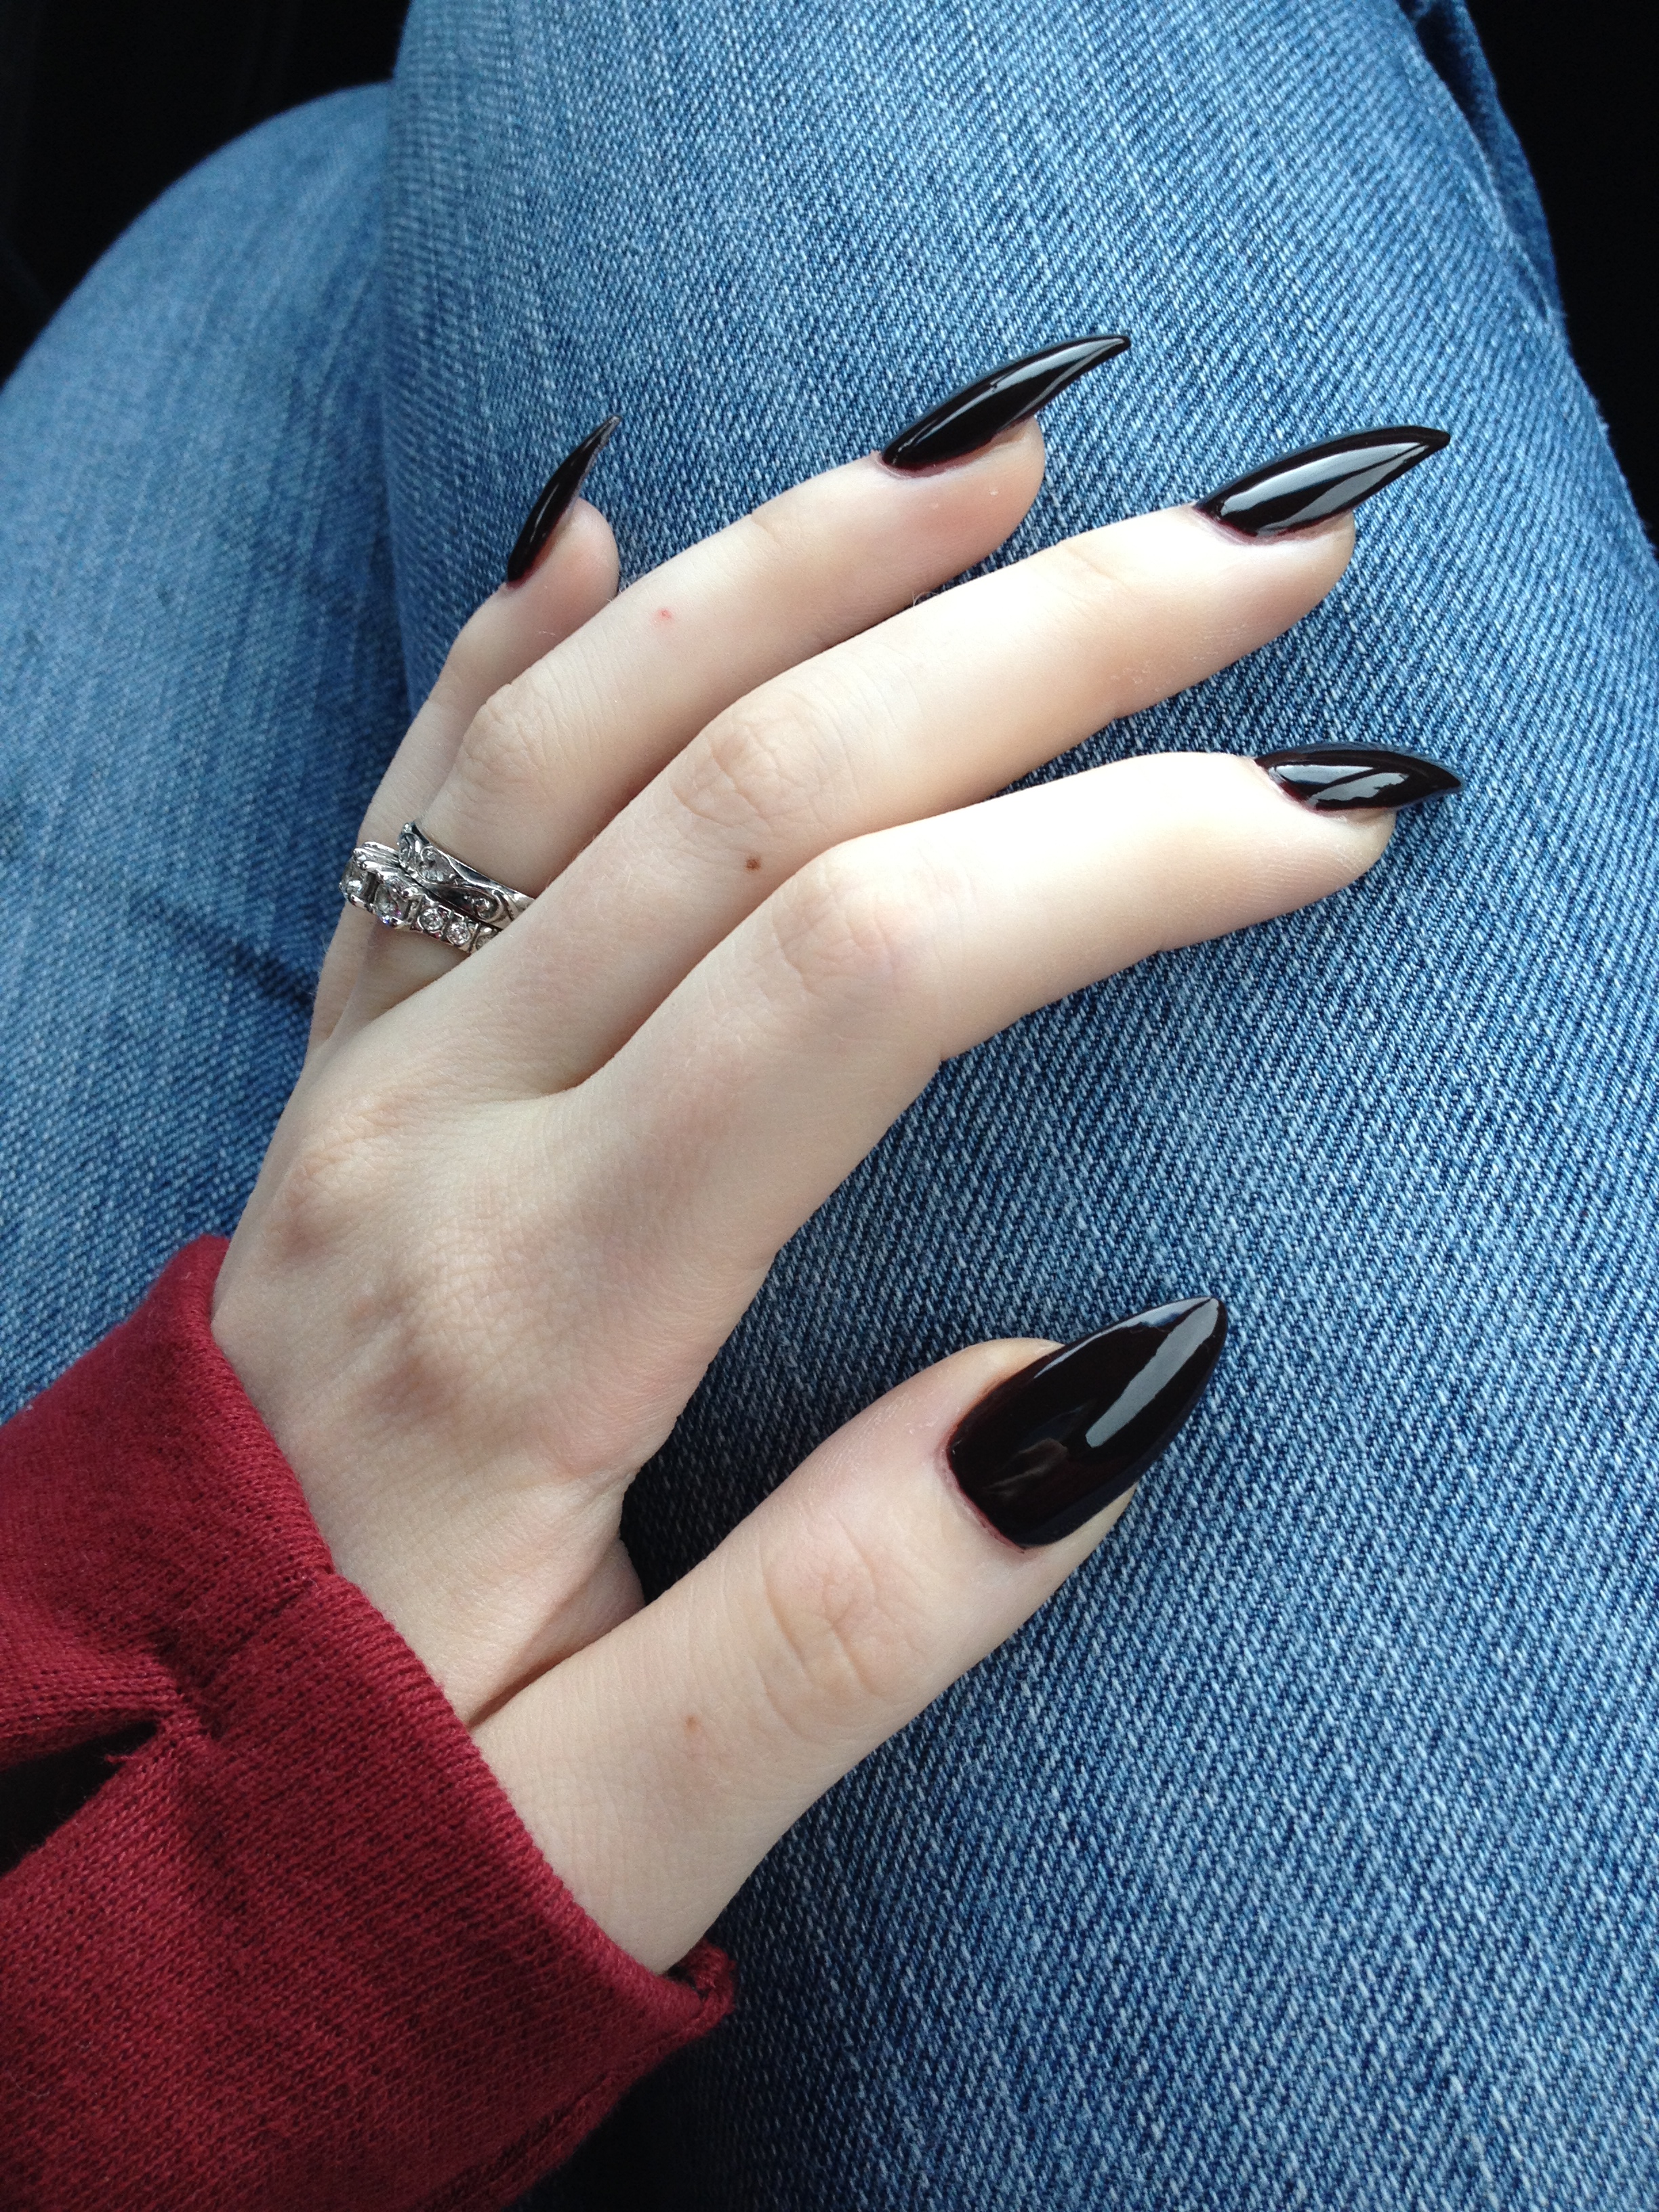
I painted the underside of them green- I really loved these, but I couldn’t do my school work online with them so they got cut right after the con.
Okay! Finally, we’re finished with the tutorial! I really hope this was helpful to you guys for seeing how I put together this monster of a costume; it was really the first one that I loved all the way through and I still just love it so much, despite the wig wire giving me some bad pains on Friday at BlizzCon.
Hopefully we’ll have costume write ups on the other two costumes for BlizzCon soon for you guys! Thanks for reading!

This is AMAZING. I have to say there is SO much more detail than I was able to see on stage. The embroidery is astounding, I can’t believe you did that by hand! Beautiful dress and amazing cosplay! Can I asked what you used for the ribbing in the hoop skirt? I think I’m going to need to make one and I heard that craft store ribbing isn’t really sturdy enough.
I just found “Arms Armor and Amazing” today and I keep looking and seeing costumes and was like OMG i love that one, and had no idea you guys were behind so many costumes I’ve admired!
Aww, thank you! For the hoop skirt, I used some hoop steel I got from etsy but the shop has since been closed. I think this hoop steel is similar: http://www.farthingalesla.com/hoopsteel.html
I did try using very heavy duty zip ties first because I heard it had worked for some other people, but it didn’t work for me.
Absolutely stunning! You did an amazing job– so talented!