

Photo by OTL and MLZ studios
(Note: this isn’t going to be a full blown, step by step tutorial because I don’t have that many photos, but I’m going to try to cover everything I did! Feel free to ask questions in the comments, we’re always happy to help!)
So, Auriel! This costume was made for Blizzcon 2014, and based off of Auriel, Archangel of Hope from Diablo III.

Though, I didn’t go straight from the in game model. I had seen some fan art that I fell in love with and made me want to do the costume, so I decided to base the chest piece off of that:
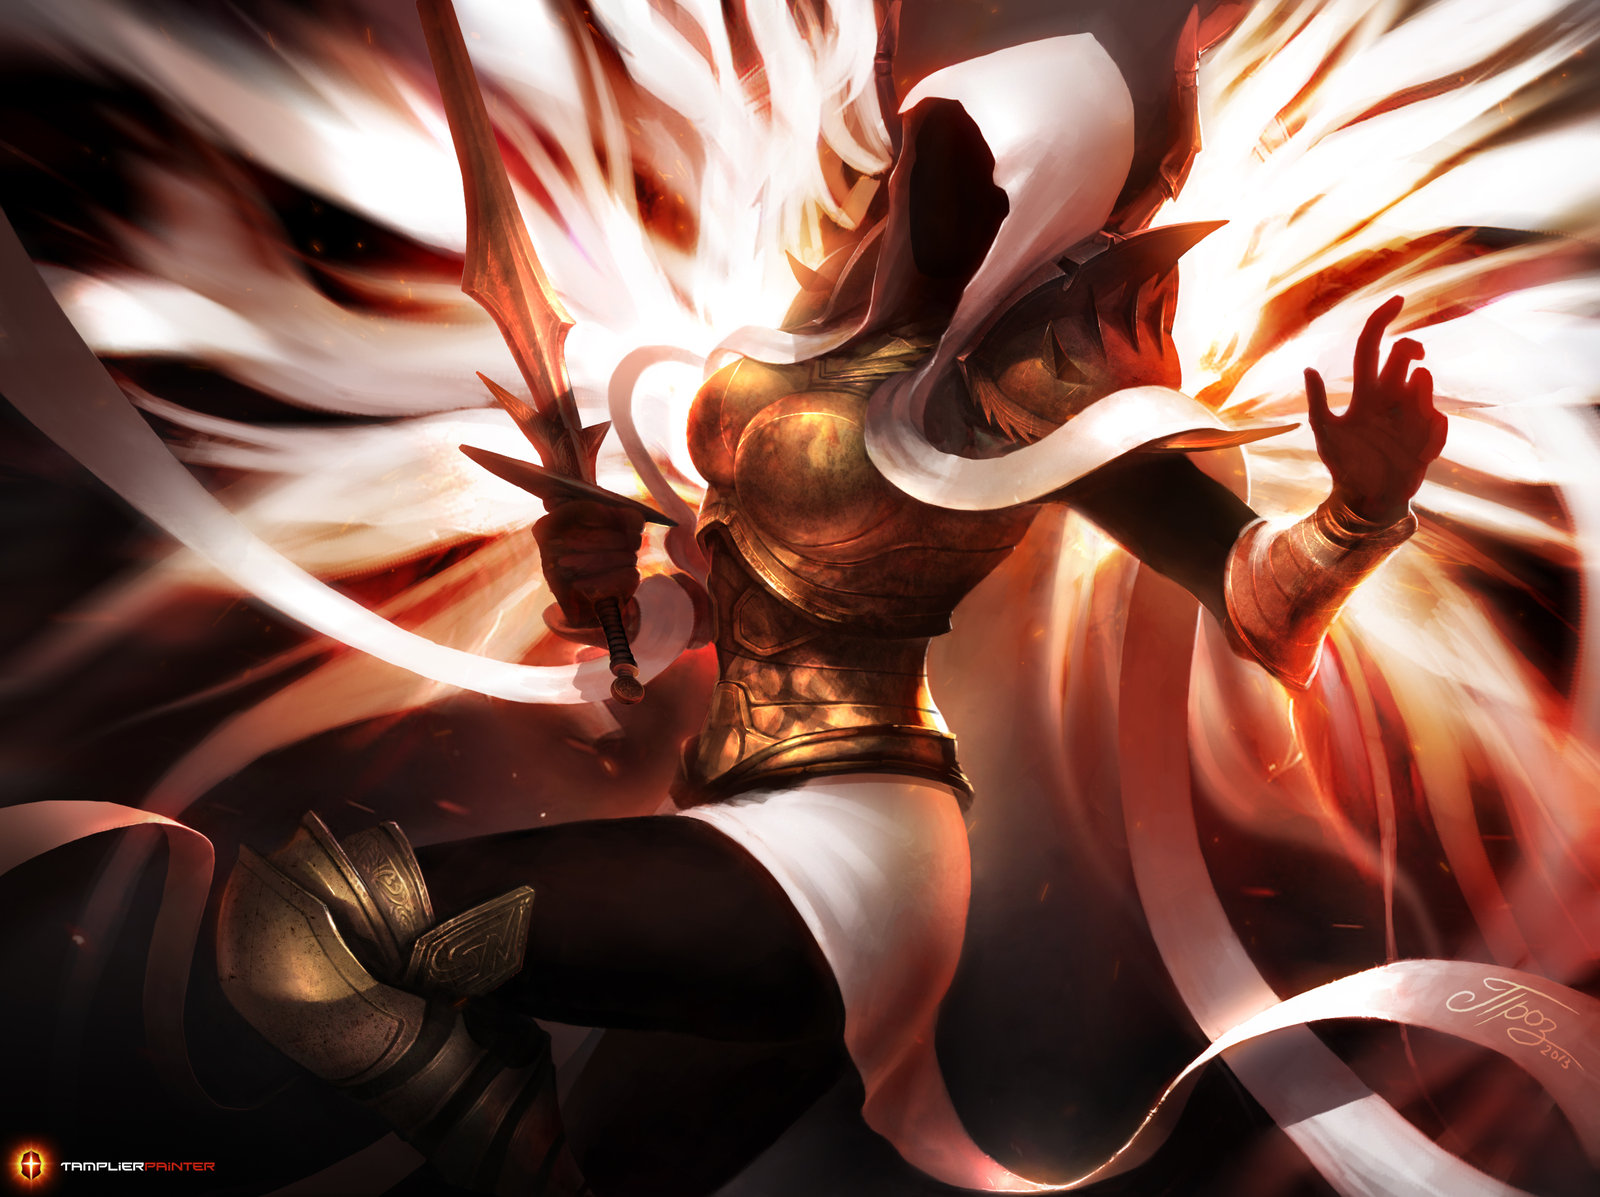
by Tamplier painter
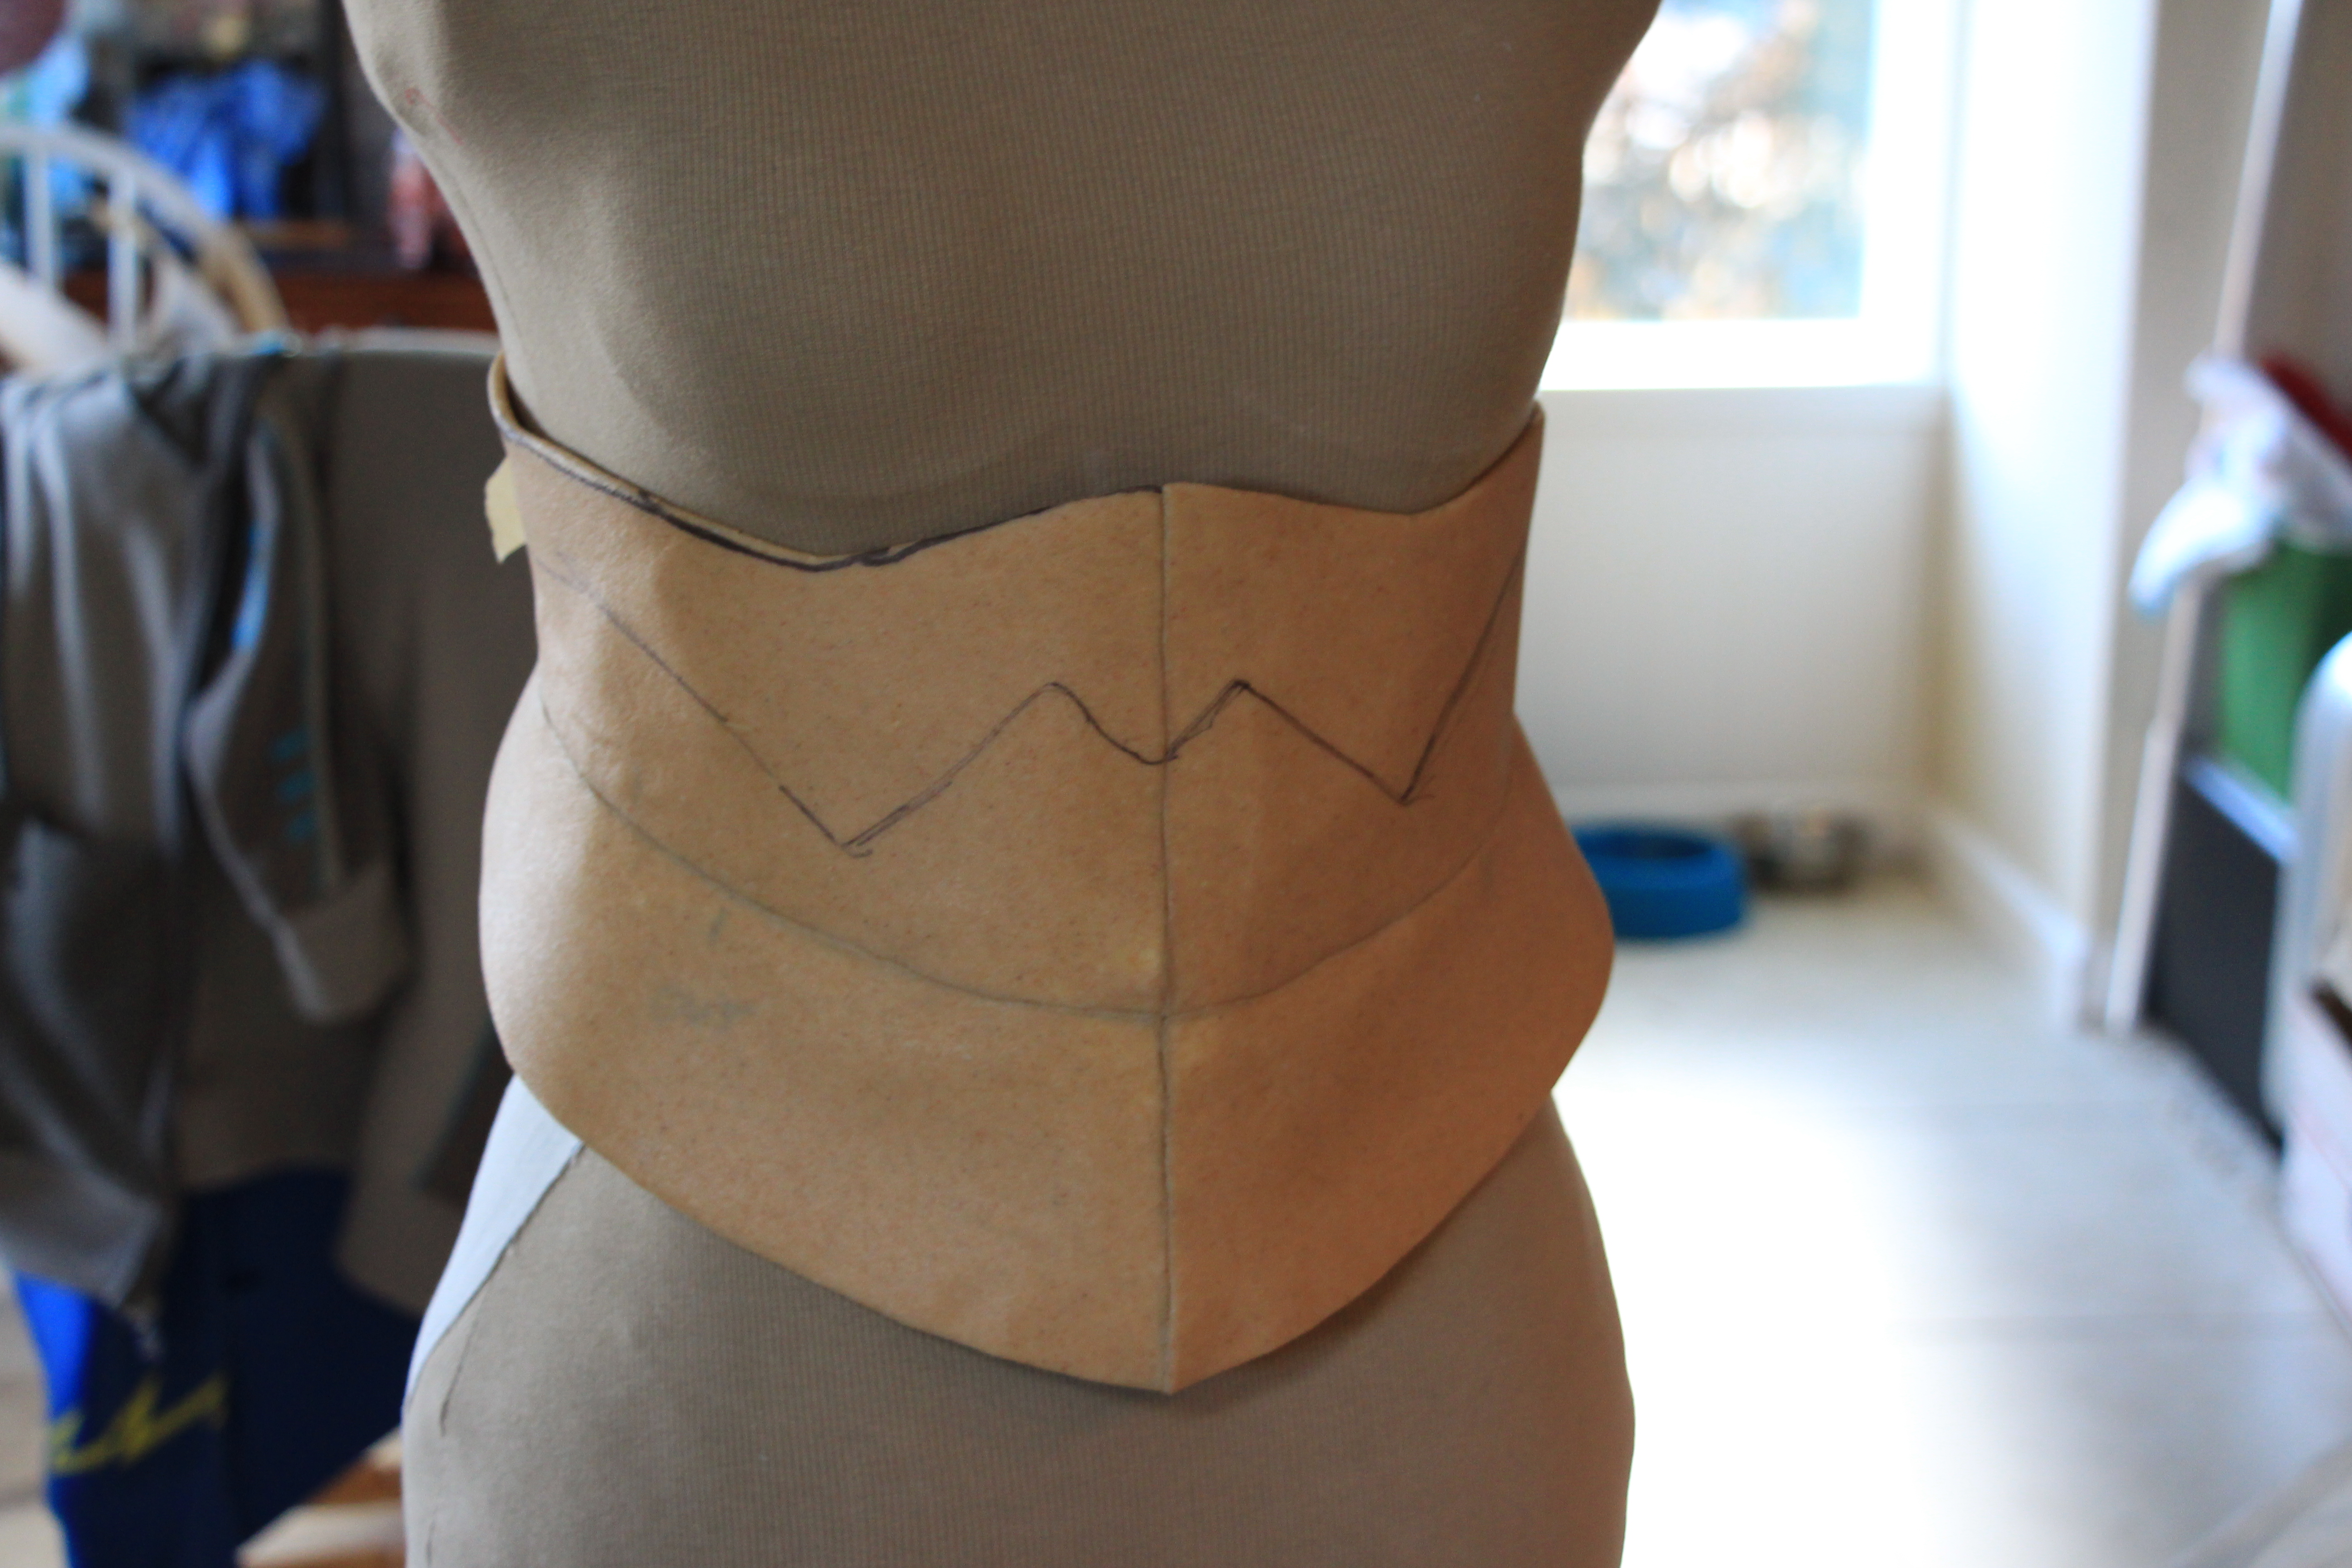
I really liked how the stomach part, kind of shaped like a corset, looked like a separate part and tucked under the top part of the chest plate, so Mario and I drew out the patterns based on that:

Here’s what the pattern looked like once it was cut out and put on foam. Remember to mark your patterns, folks!
The breastplate consists of four separate pieces that were seamed together with the worbla to make the shape that goes around me, and the boob parts were made by forming the worbla over a large plastic dome (well, pick one according to your shape, since you don’t want it to look really weird). A note about forming worbla over things: Make sure it’s at least double thick, because worbla will tear if it’s stretched too much. The pattern for the breastplate was made by wrapping my upper torso (and over my shoulders) with saran wrap and then with tape. We actually avoided the areas where my boobs are, though, so that we could shape the worbla in there correctly. We did the same thing to make the corset.

This looks like crap right now but I promise once it’s all together it looks awesome. It was taped together to make sure it looked okay and fit my dress form, and underneath you can see the beginning of my skirt being patterned out.

We only did one layer of worbla over a layer of craft foam, but if you’ve got the money to use two, then two layers is doubly strong. One layer worked just fine for us, though. The photo above shows Mario pushing together two pieces; we didn’t make them overlap at all, if you heat up the worbla and push the two pieces together, they’re strong.

See! Doesn’t look terrible anymore. This is also with the boob cups added in. (I don’t know what to call those. What are they called that doesn’t sound completely silly?)
 Those seam lines are where we broke up the pattern to make it easier to shape, and it seriously helps. Don’t try to shape your worbla in one big piece, it won’t shape nearly as nicely if you break it up (just like with sewing!) and you can easily cover the seams later if you want.

I was pretty obsessive about exactly how the corset needed to sit so it actually took us a little while to get to this point. Here we’ve finally got it to where I wanted it, and those lines you see are where the chest piece overlap the corset.
 I then just built up on the corset, mostly taking the details from the in-game model, which we also used the colors from.
 And same for the corset, I drew in some details, made a pattern with paper, and cut out the worbla and attached!
 I don’t have a photo of it with all of the details on it unpainted, but I was starting to build up the details here.
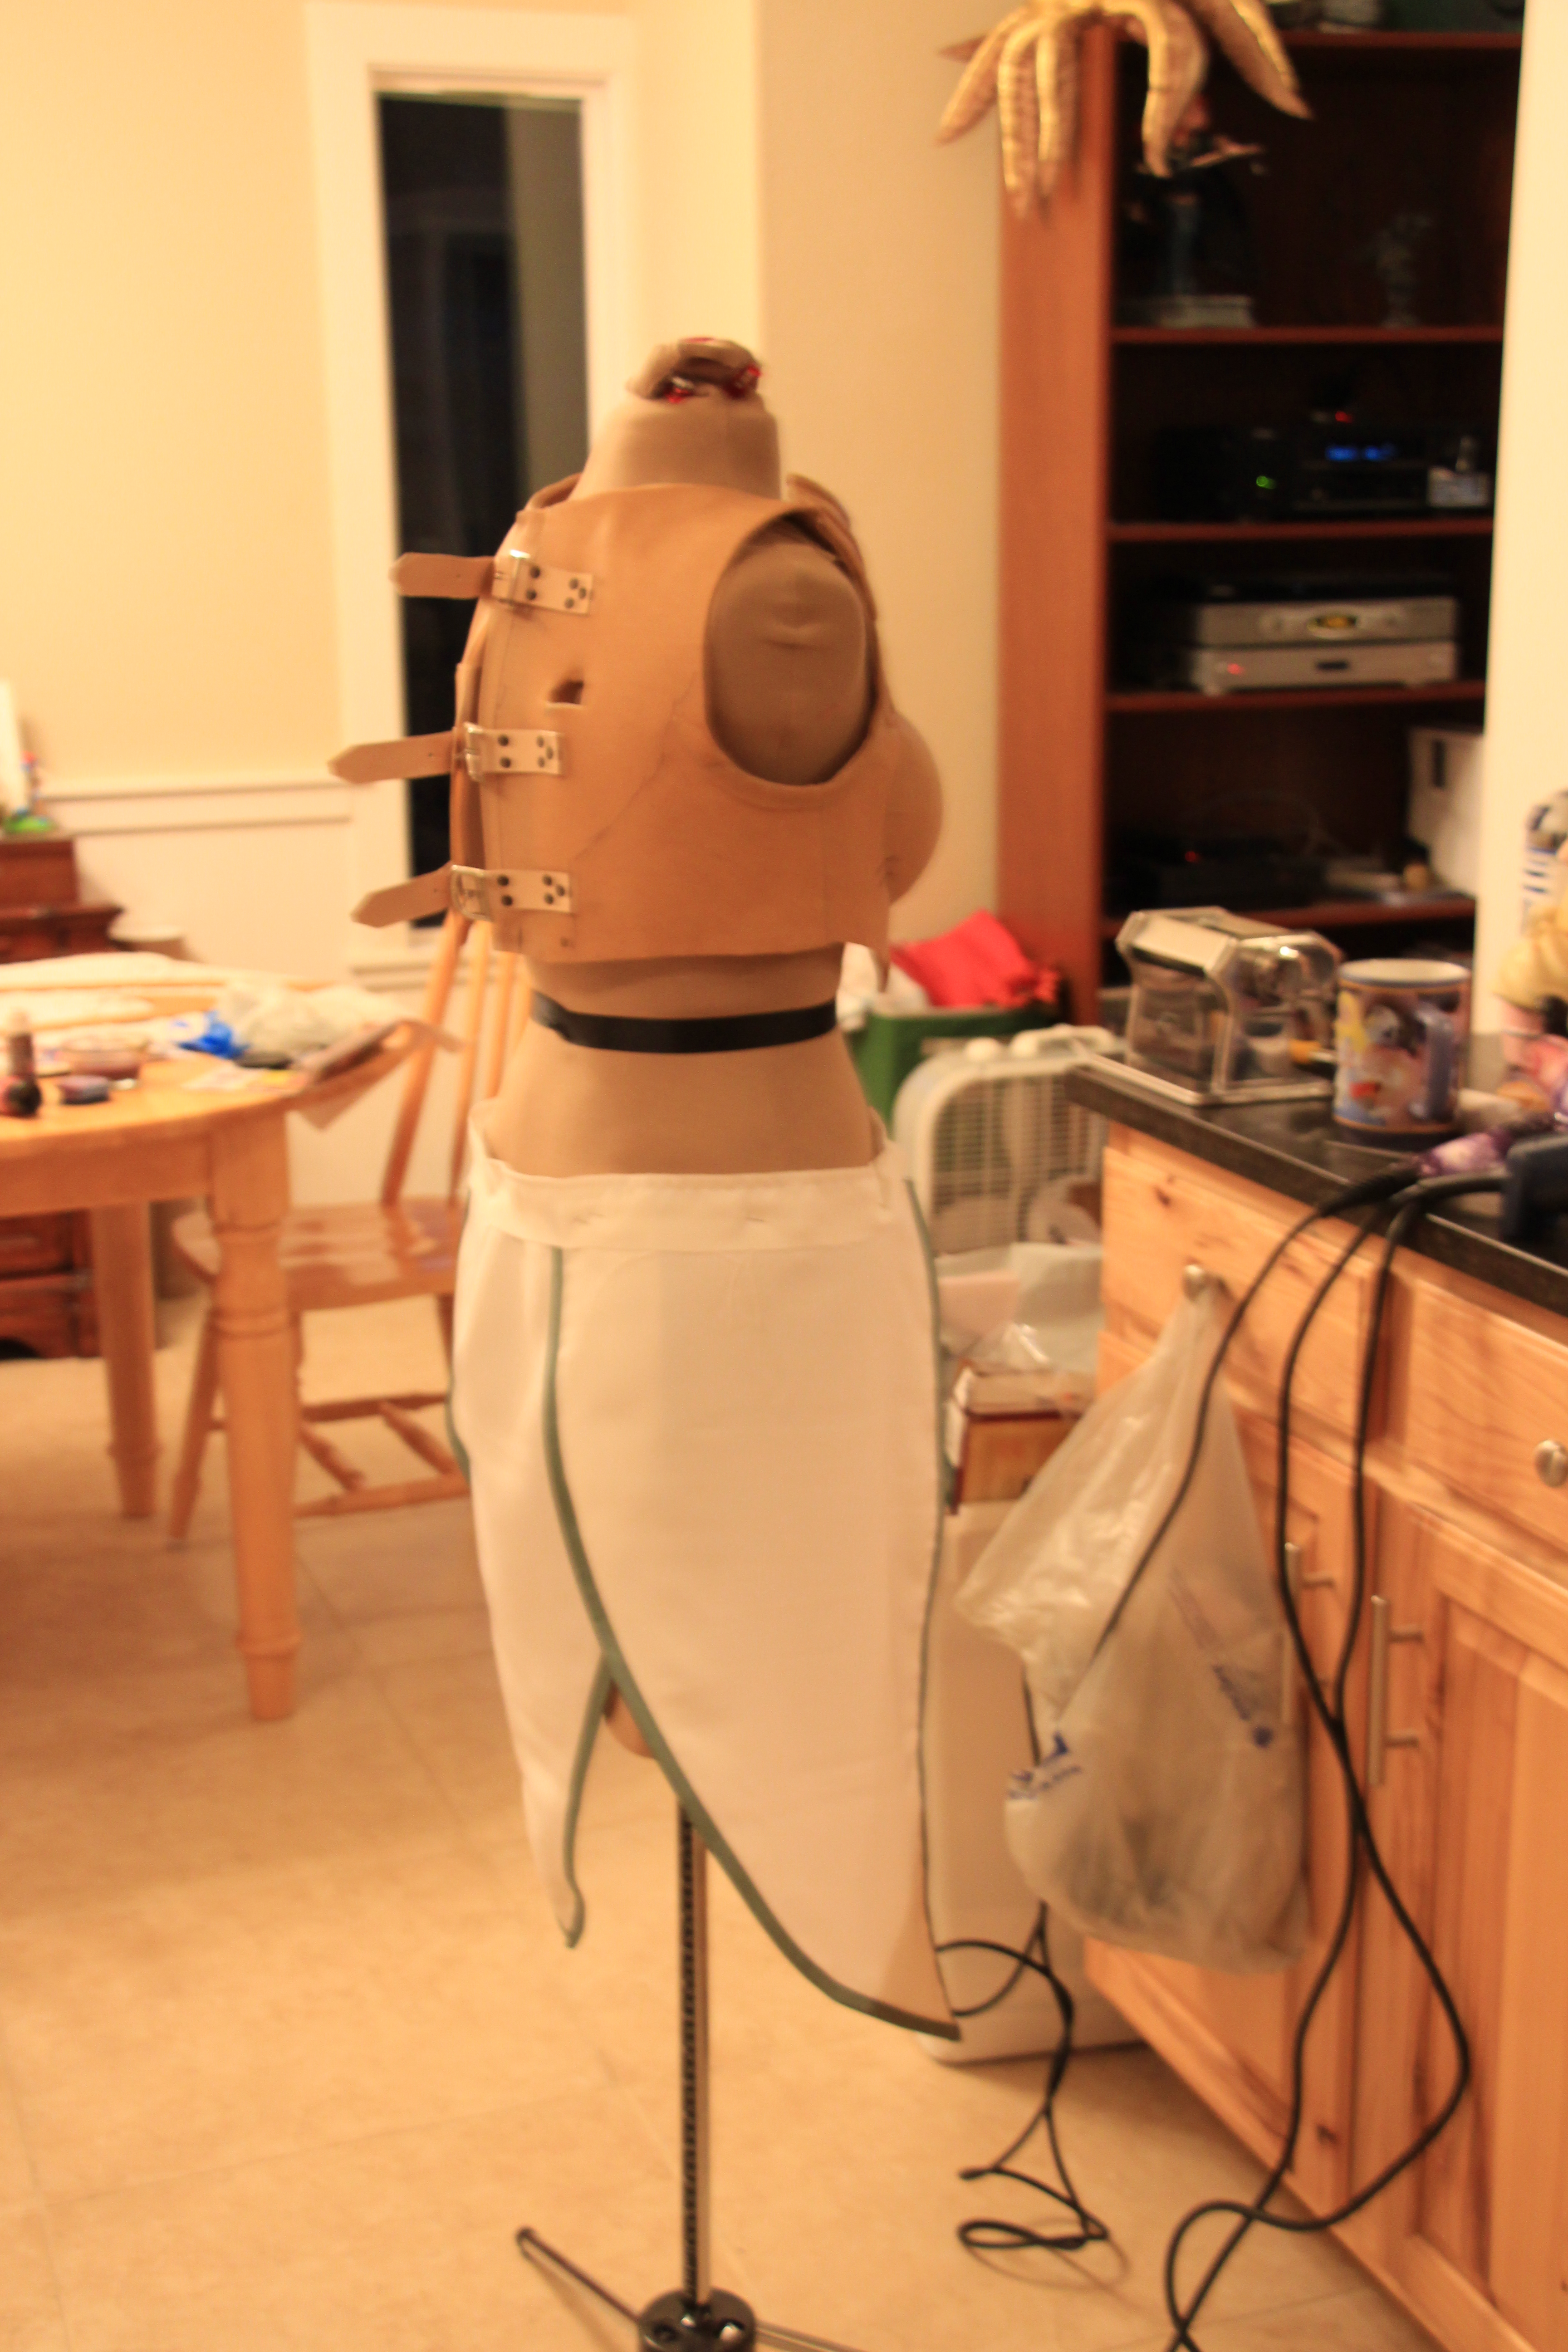 Mario punched rivets and leather straps into the back so that it could be strapped shut, and here you see the easiest part of the costume: the skirt. I don’t have any other progress photos of it, sorry.
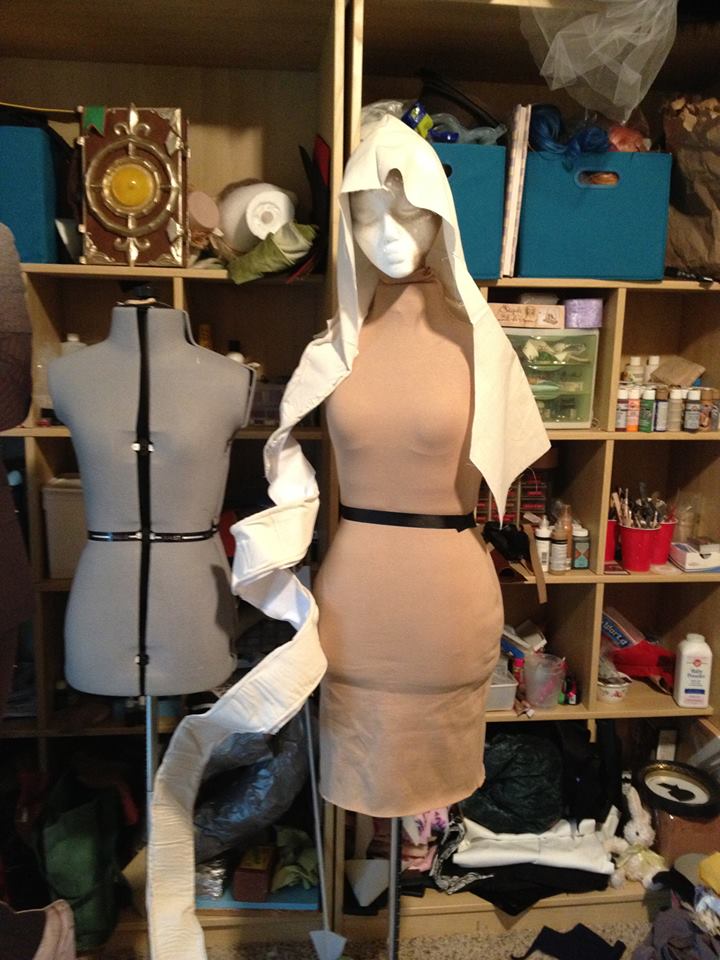
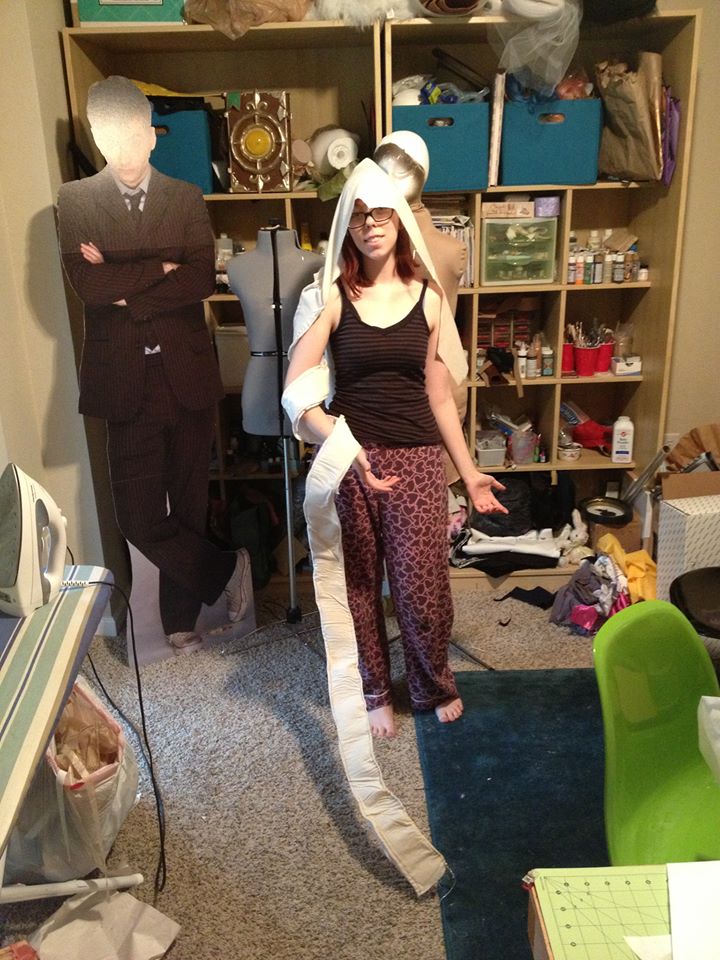 Oh my gosh. The hood/flowy arm things. This was easily the most difficult part of this costume, I wanted it to be as seamless as possible so I did it in two long pieces. What you see above was the practice with the pattern, and with wire all the way down it. I later decided to only put wire on the parts that wrapped around my arms, since the wire is really hard to control and it can look really wonky if it’s too long.
 Here’s a crappy illustration of roughly what the hood pattern looked like. I altered the hood several times on me, and when I sewed it, I top stitched far enough away so there was a kind of channel for the wire to go down into, and then sewed it shut after that.
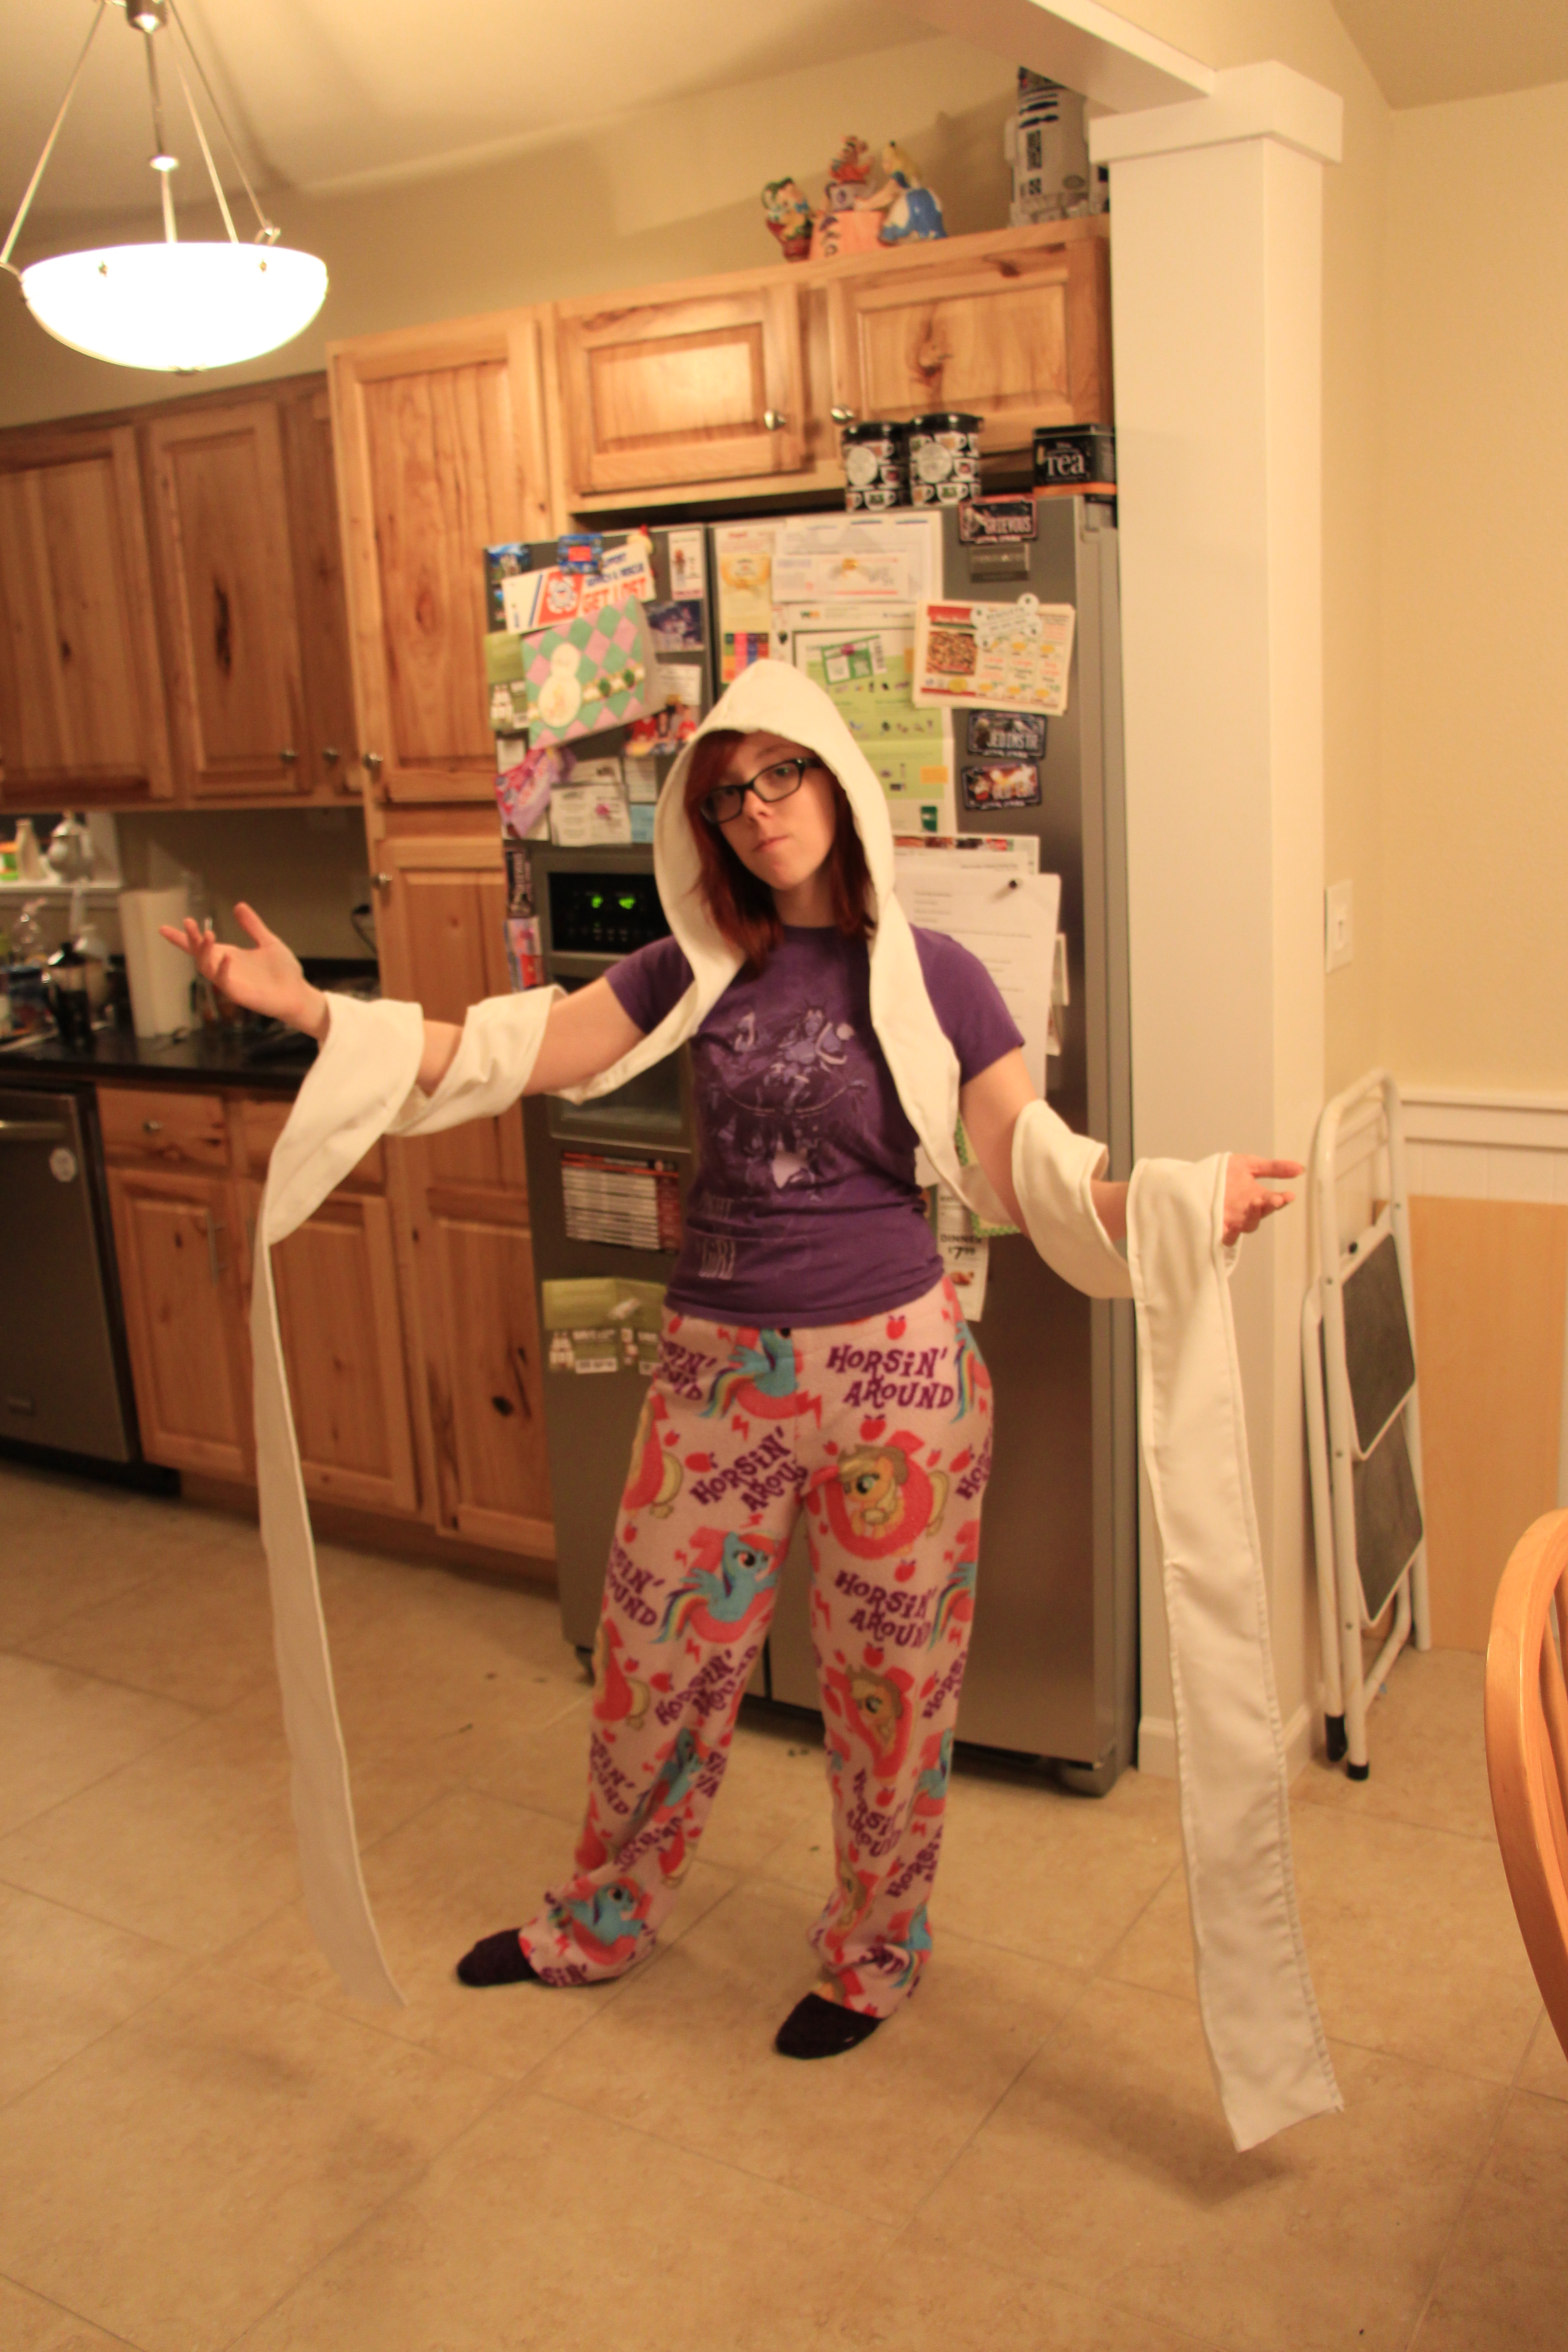 Ugh seriously, I cried over this thing so many times.
 Since we like making me suffer with wings, we modified a sports bra and added on worbla covered steel square rods that the wings would lock into. We cut holes in the back of the chest piece to allow the wings to go through.


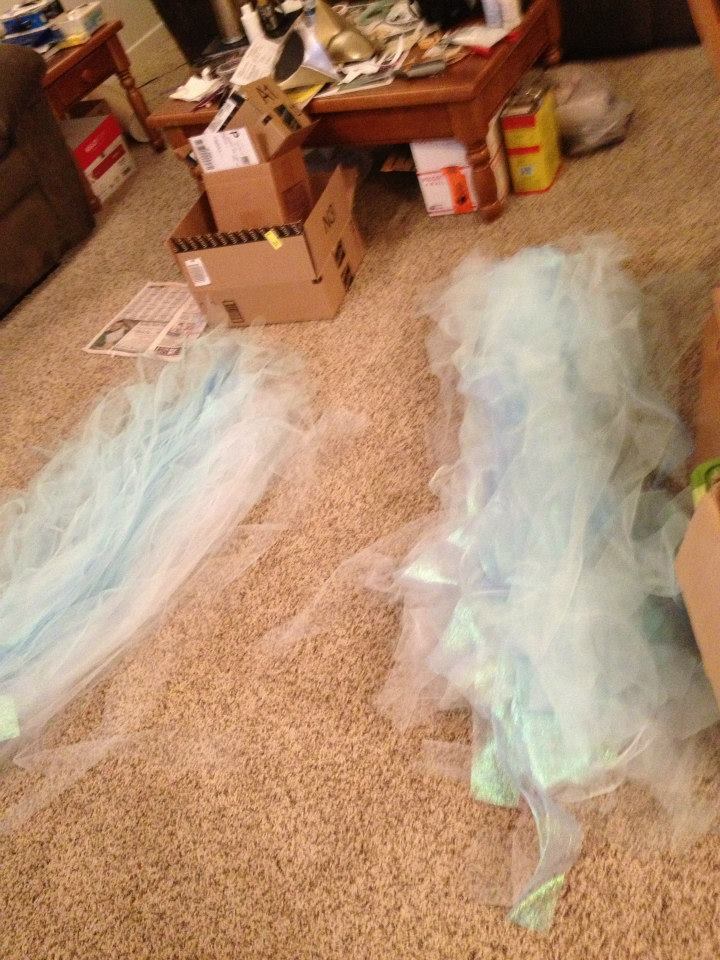

 So, yes. Wings. These have a skeleton of wood, actually, with worbla covering them, but first Mario did some electrical stuff and attached LED strips to the underside of the wood, where it’d be shining down on the wings, and we made it so that the wiring would be able to connect and disconnect from the wiring in the chest plate. We used a little push button so I didn’t have to do much to turn it on and off, and put it in the top of the chest plate. Then, (after a wonderful friend helped cut like 30 yards of tulle) I stapled three different shades of tulle (white, light blue, and a opalescent blue/purple onto the wood on either side so that it flowed down on either side of the LED strip. (We used this strip, by the way.) Then we put a cover of worbla over top of that!
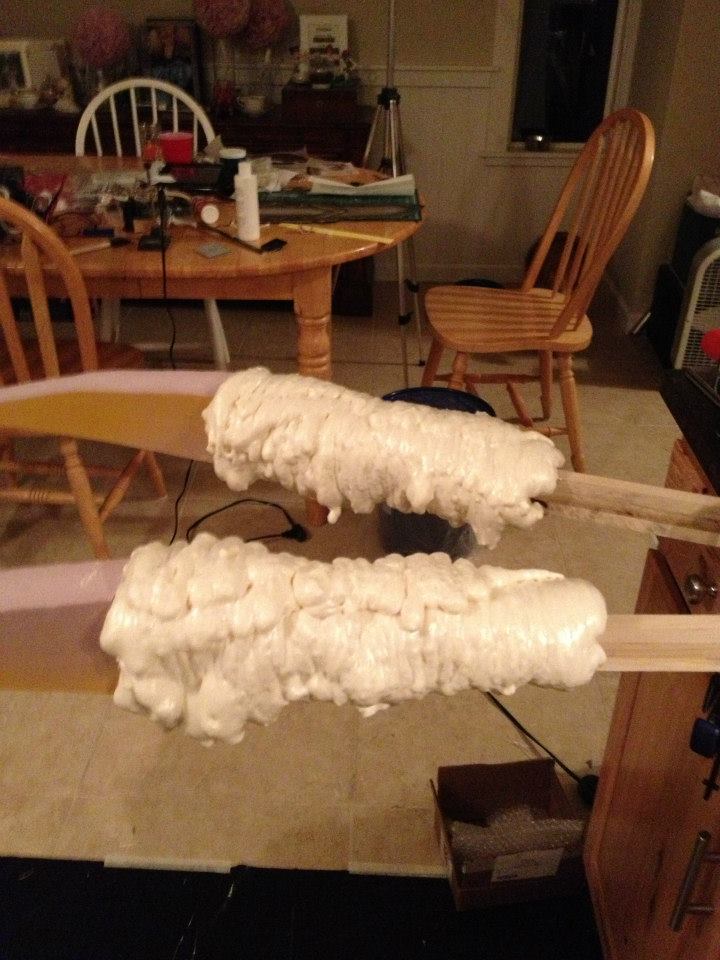

And to cover the worbla and give it a lot more shape and depth, we covered it in foam and shaped out the tips of the wings.
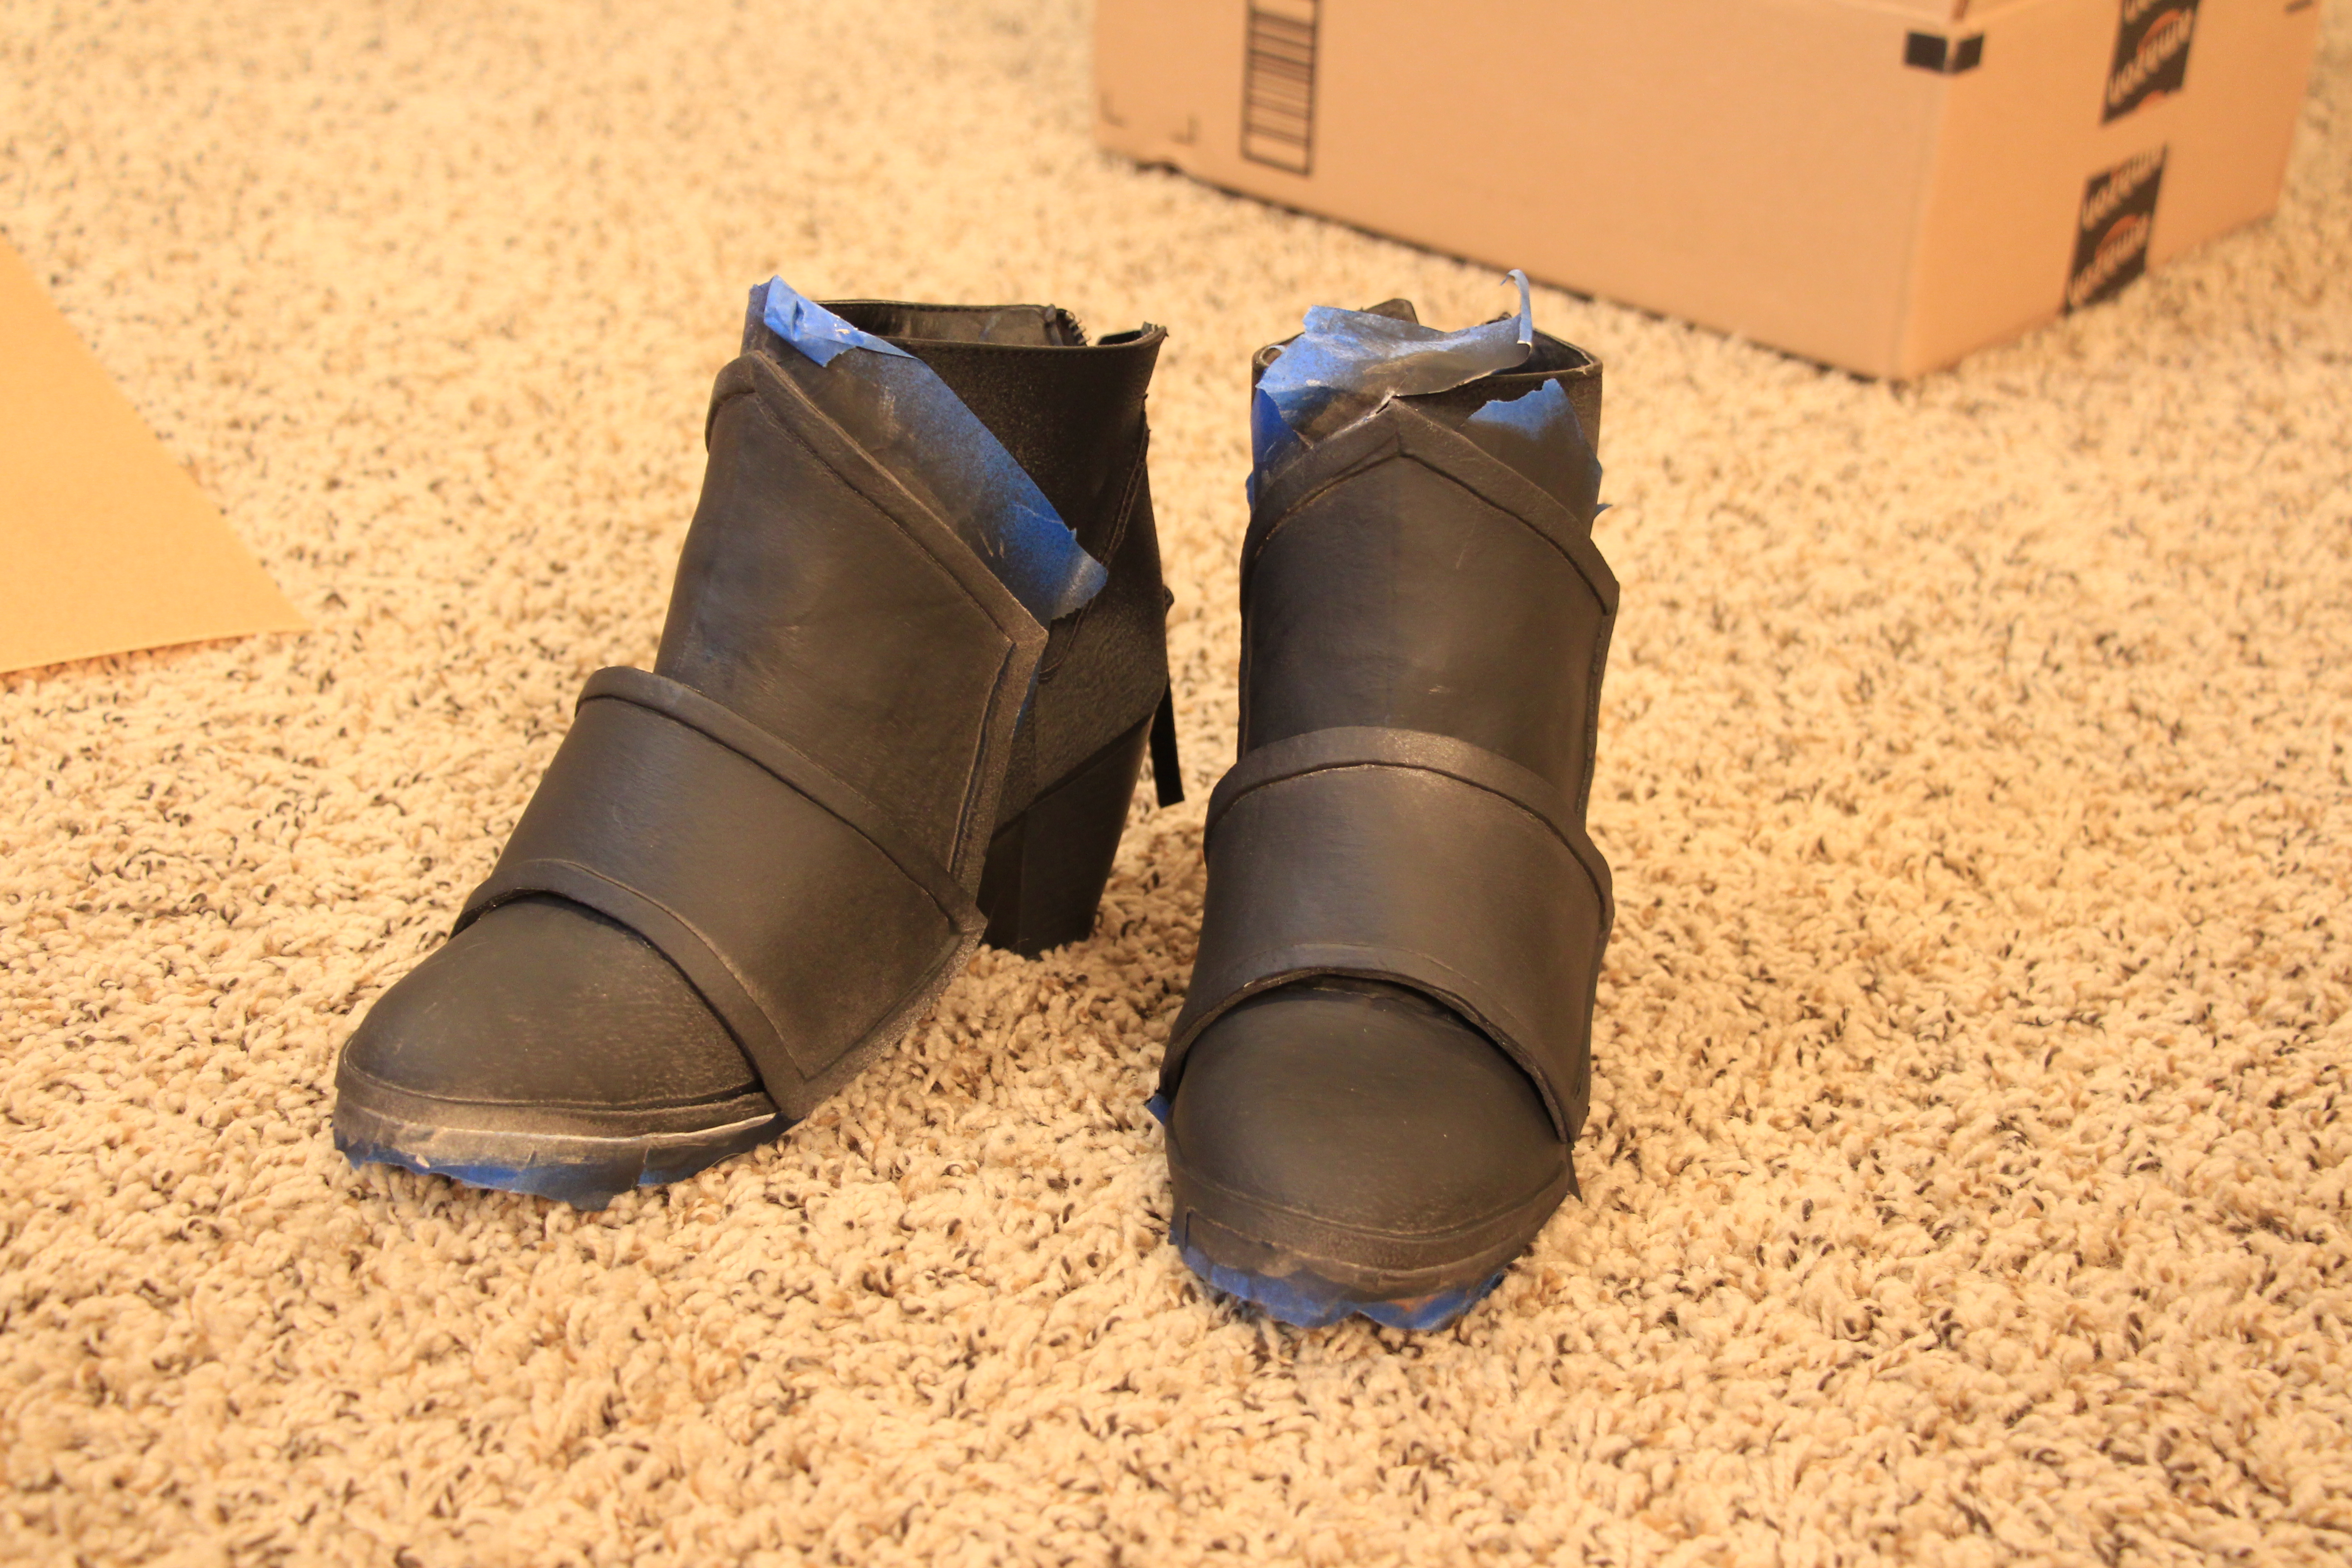
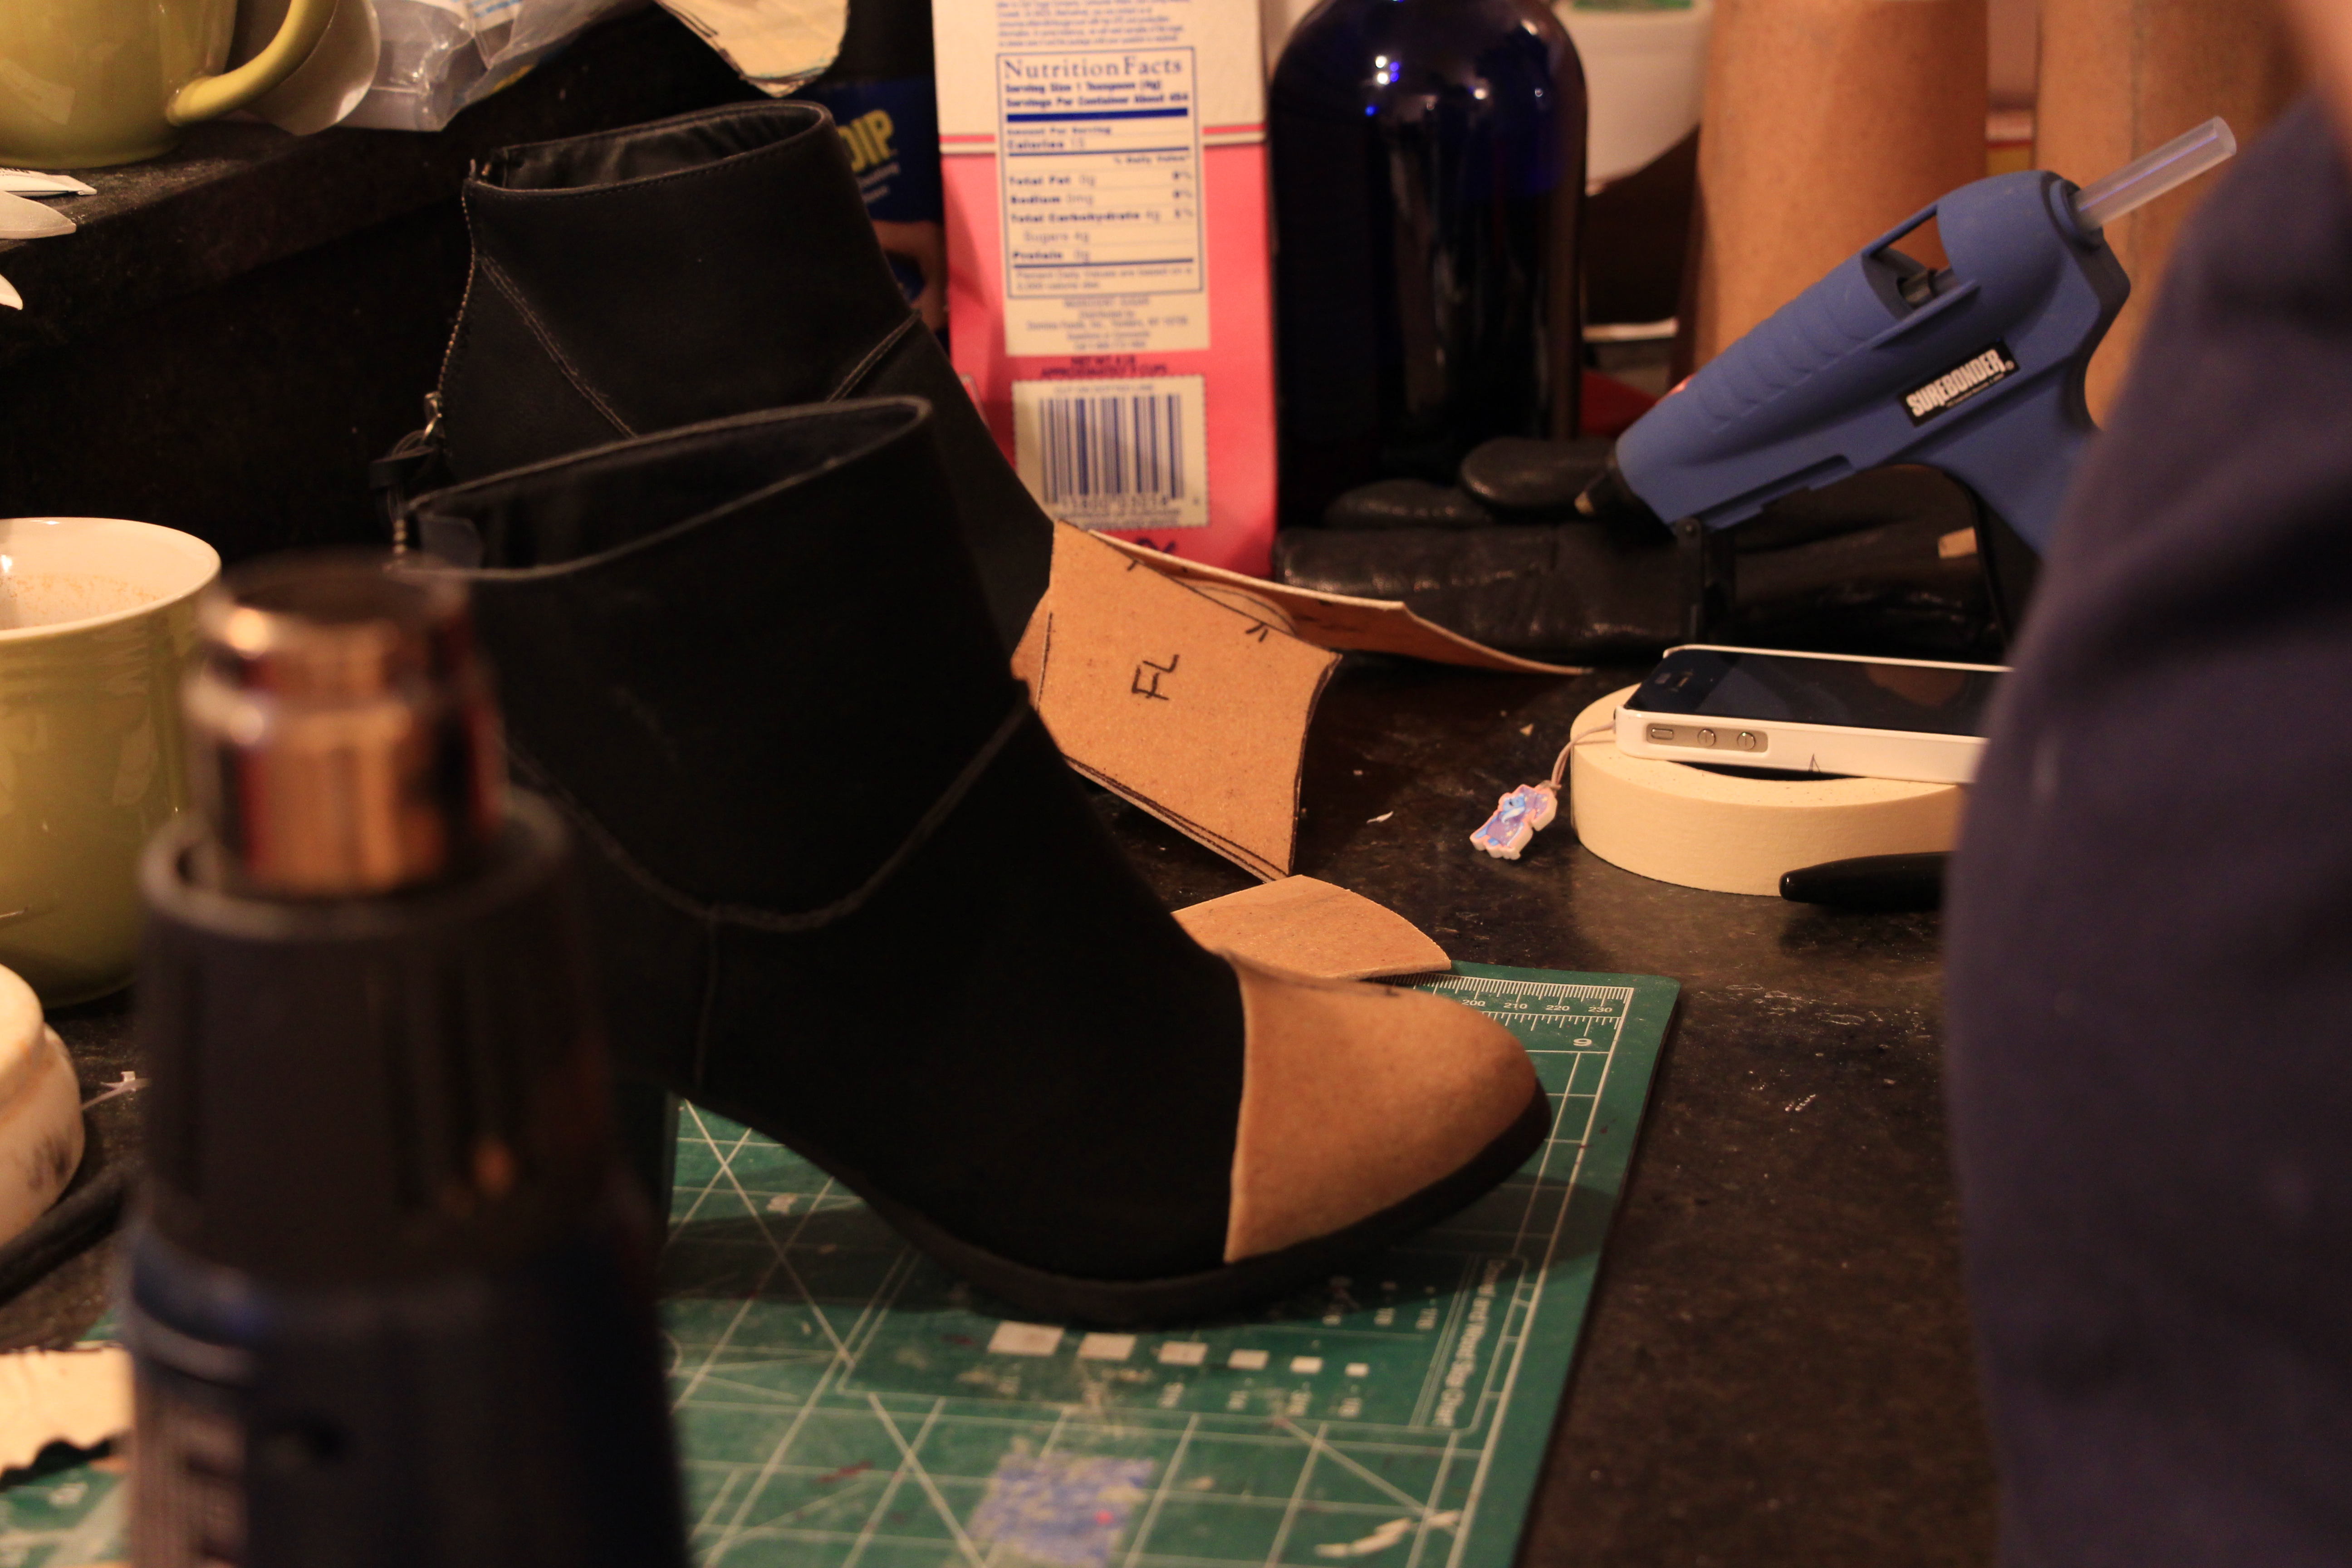 For the shoes, I wanted three layers of worbla, with the middle layer being on top of the other two. They were glued on, but also tied underneath the shoes to be sure.
 Also, I cannot say it enough, make sure you have comfortable shoes. Please. For your own sake. Because I don’t know how to follow my own advice. I thought these were comfortable but not after 12 hours (though, are any shoes comfortable after that long?) and with the weight of the wings and armor and everything bearing down on them.
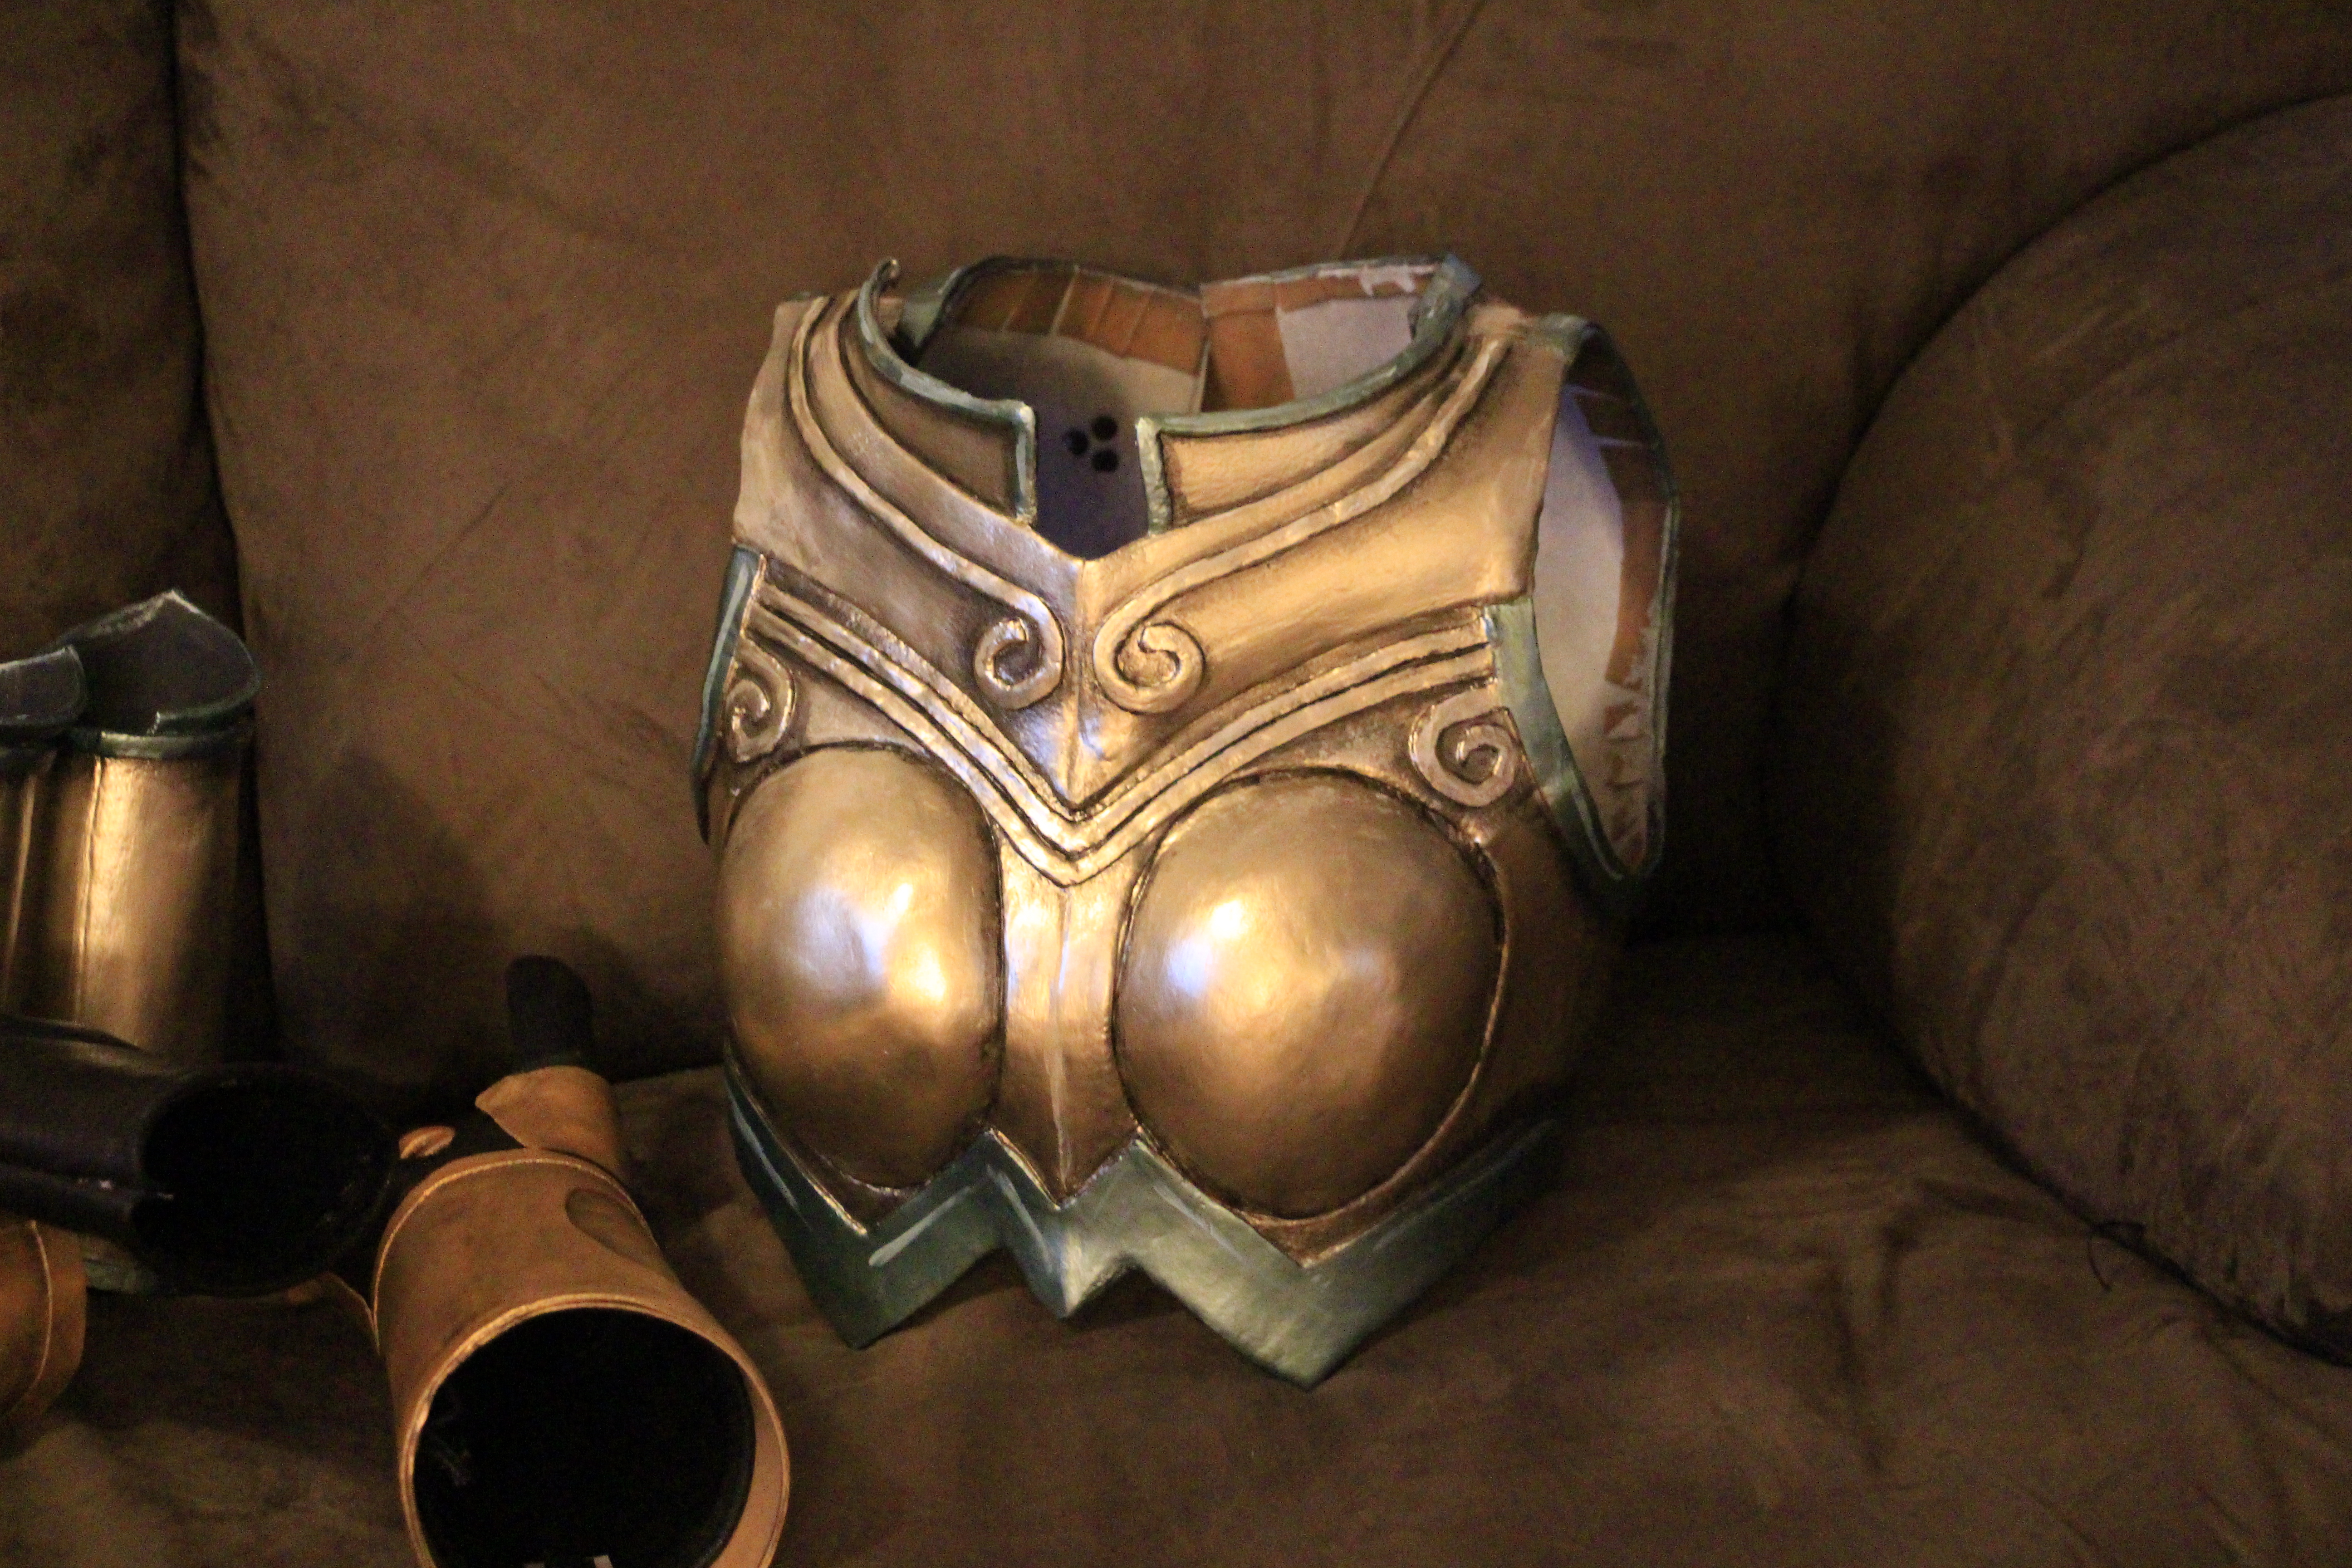
 I put trim on the worbla, and primed with black primer. (all of my pieces were primed with black primer, because black is supposed to be easier to paint over than white when you’re painting golds.)
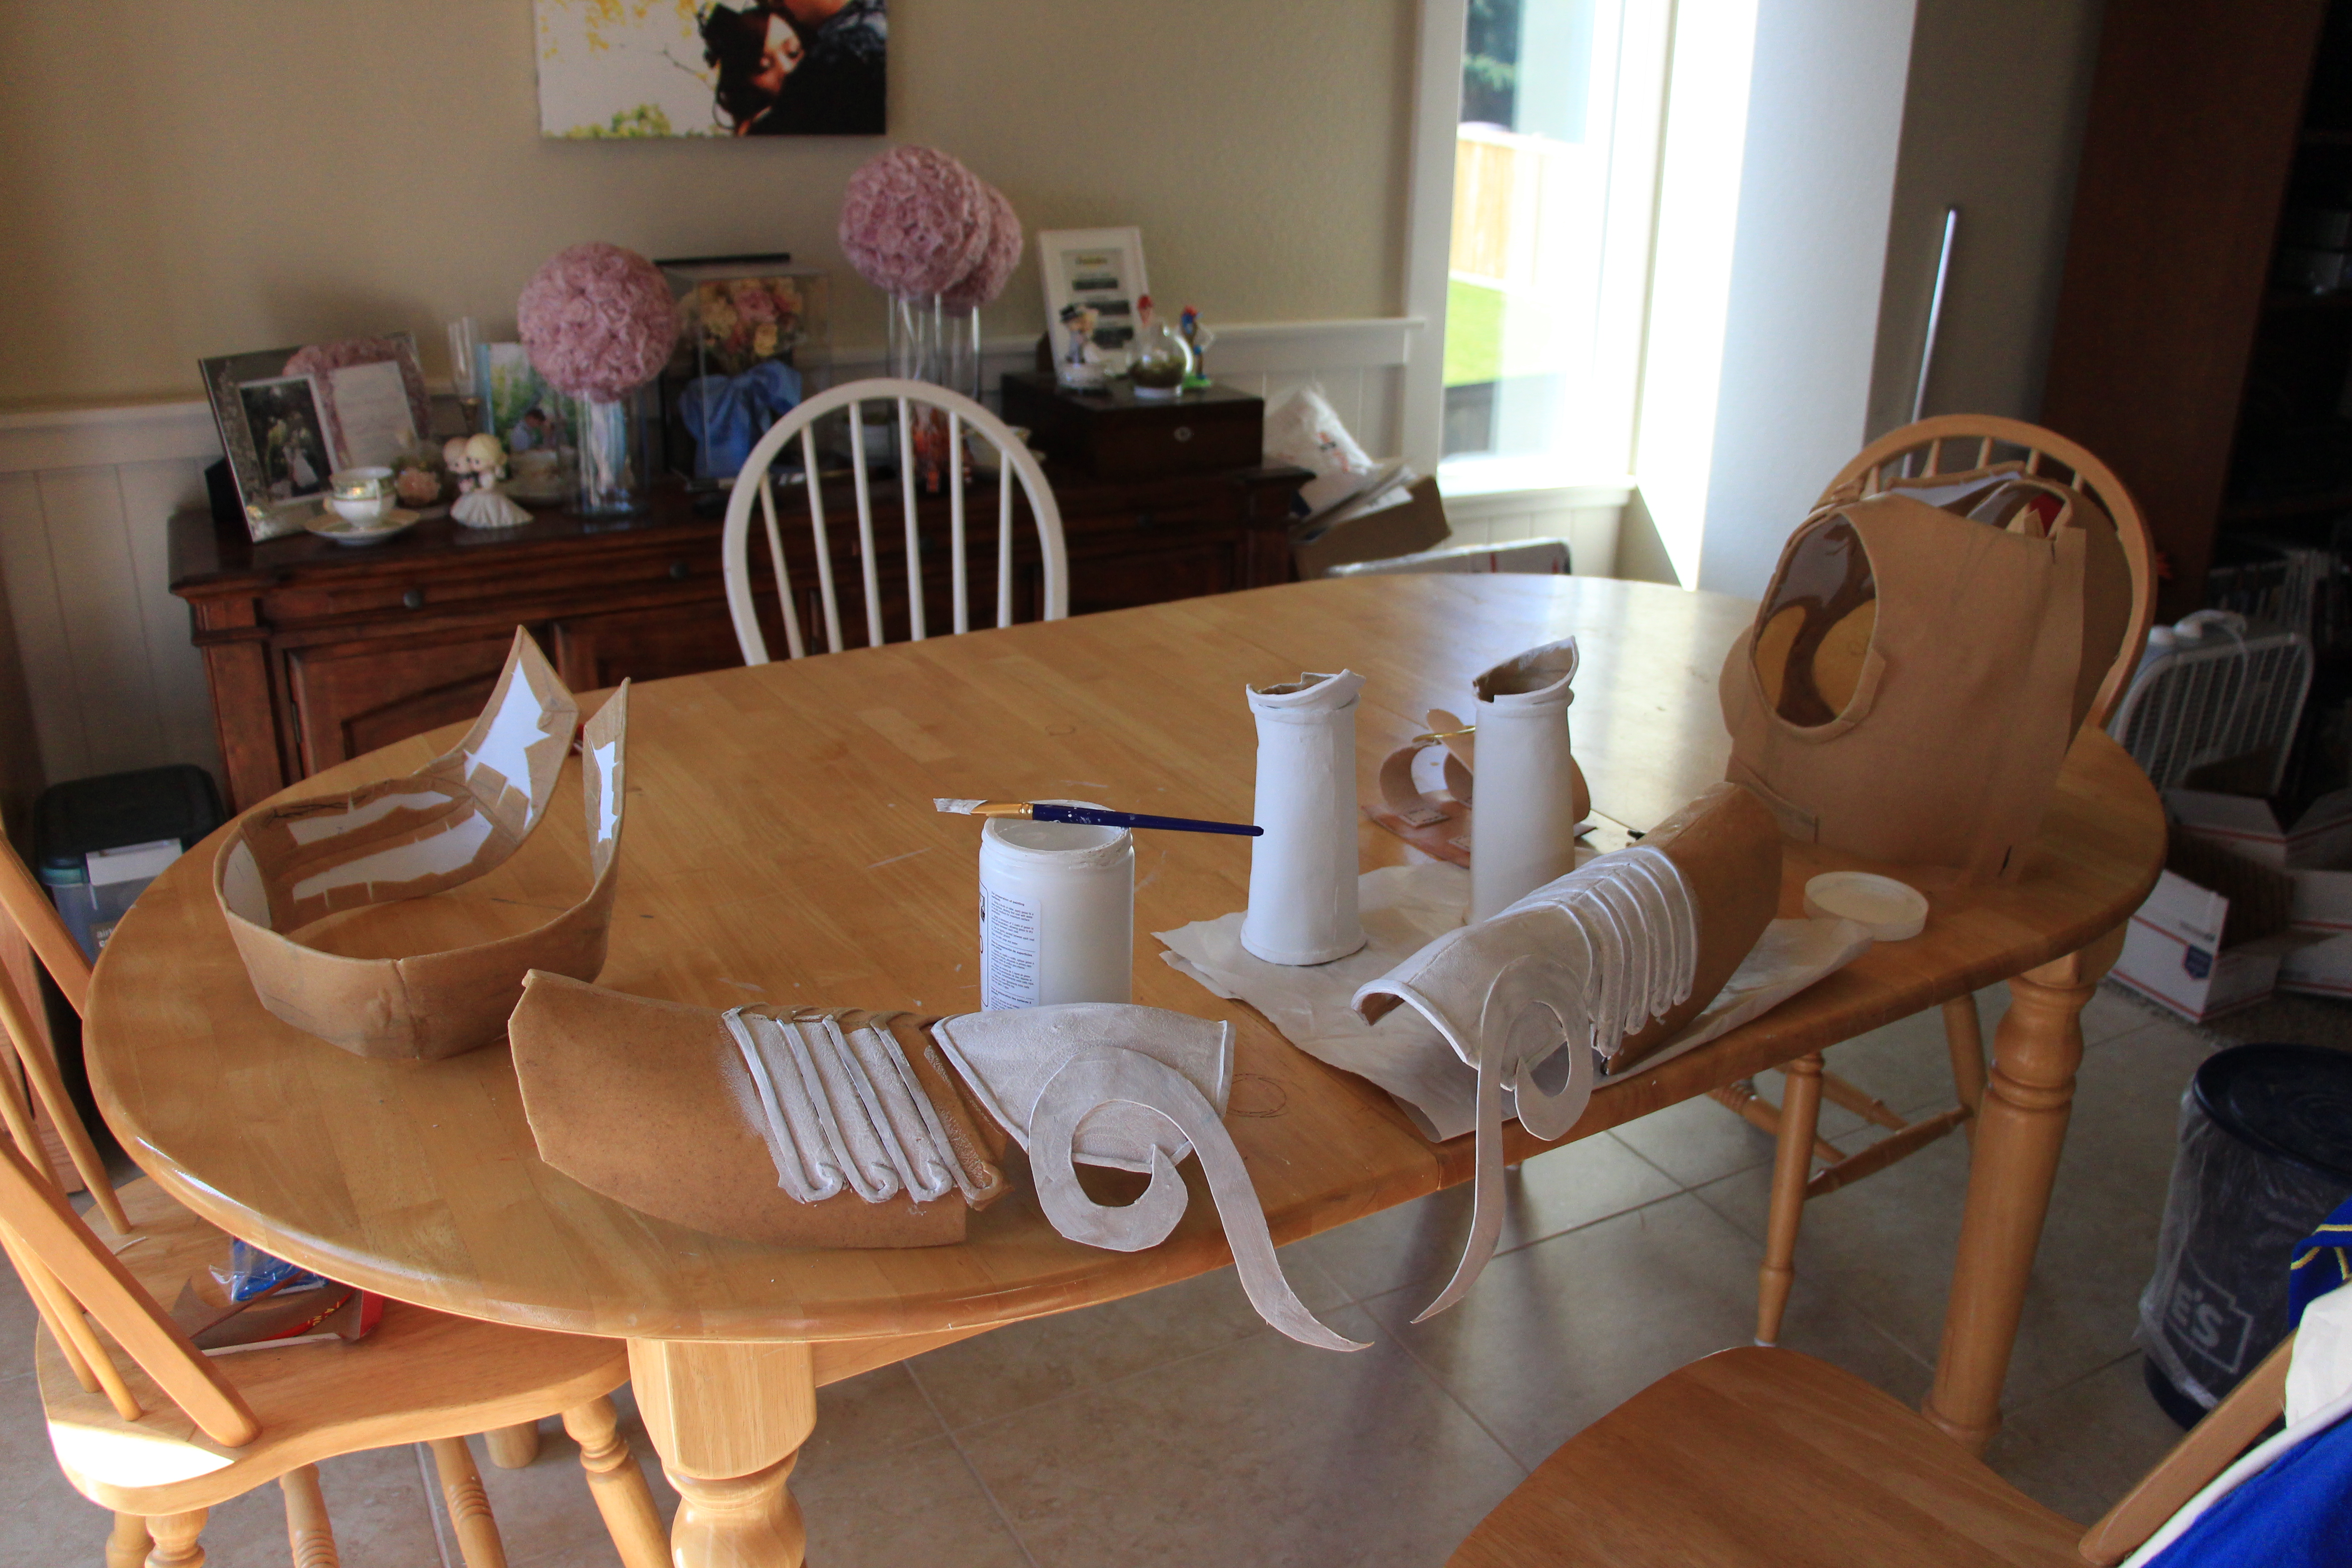
 I have tiny wrists, so we used a paper cup to make the template for the bracers. We just kept cutting it further up until I could fit my hand in comfortably.
 This is the pattern, I put on the gloves just to make sure the extra fabric wouldn’t make it too small.
 I decided I wanted a little triangle part to come over the top of my hand a bit, so that’s what that is. I didn’t really give these much detail, just some trim.
 For the leg armor, I put on the bodysuit and shoes (always important, when you’re wearing other items of clothing with your costume, to wear those if they’re going to affect your pattern) and Mario wrapped my leg in saran wrap and tape and drew out the design.
 Wow, they look really short here. I’m pretty short, so whatever. Here’s the leg armor before priming, and before the big swirly bit on the legs.
 See? Swirly bit. Here you also see the belt, which I don’t think we took any progress photos of, It’s on the left, and we made it by having me wear the corset and chest piece, and shaping the belt so that it had the right curve around my hips and the corset, and lay just right in the front.
 The shoulders were made by first shaping the round part over the top of a wig head, since it was about the size of my shoulder and had the shape I wanted, and then adding on the spiky bits because I really liked the shoulders in the fan art over the ones in game.
 Then it was painting time!

 The paint we used is seriously amazing for metallic looking costumes, seriously, give it a go if you need something that looks like metal:


The tabard was a piece of leather looking vinyl that I added trim and painted the details on to. It’s held onto the corset with snaps.

I think that’s it? The corset was glued onto the chest piece, and had snaps attached to it that the belt attached to (not that good of a plan, the snaps would come undone if I tried to bend at the waist). I glued the skirt onto the belt. The shoulders are held on by a strip of velcro that is attached to the underside of the shoulder and goes around the top of the shoulder on the chest piece.
 Then it was just time for a test run, the night before we left for Blizzcon! The leg armor is held on by straps of velcro, and you can’t even see it against the black bodysuit.
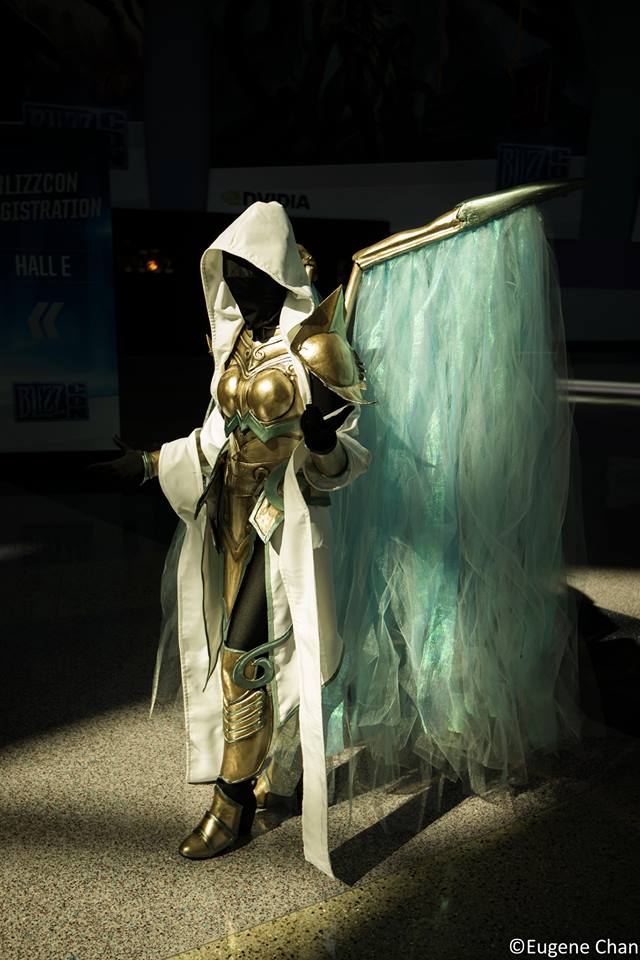
Photo by Eugene Chan
I am seriously in love with this costume. It photographs so beautifully… but it doesn’t feel awesome when I’m wearing it. I had to do a lot of padding to make sure that the armor wasn’t rubbing on my skin, the wings were bearing down on my back (I have scoliosis, and I don’t have a very strong back, anyway) so it felt like I was wearing a very heavy backpack. We’re going to hopefully fix that by the next time I wear it, at Emerald City Comic Con.
I hope this was helpful, and as always, let us know if you have any questions!

Gorgeous! I’m my jaw dropped lower every time I scrolled further haha.
We follow you guys on Facebo ok as well and really enjoyed the progress posts. This turned out beautifully! I have a question for you about that metallic glaze you used. I looked it up and I wasn’t sure if it would work as a straight up paint or if it’s intended to use as a finish. How did you like using it as a straight up paint and how much of it did you have to use? While you might have felt like this was a bare-bones tutorial, I thought it was super helpful! I can’t wait for what’s next for you guys! — Sara
Thank you! I suppose the paint does say finish, but I just used it as straight paint over the black primer. It only took maybe three or four coats to cover it completely? So yup, it can work as a straight up paint! For the entire costume, I didn’t even go through one container, maybe 2/3 of the way through. A little bit definitely goes a long way! Glad you found it helpful!
About how much of the Worbla did you use? Im new to cosplay, this specific character is what is going to get me into it! I had never heard of Worbla until I read this, so I’m wondering about how much I’m going to need to buy…The only cosplay I’ve attempted was Anya Stroud from Gears of War and I did her entire armor suit in Cardboard, hahaha! It was a pain in the ass! and didn’t end up looking very good.This Worbla looks like something I’m going to fall in love with, if I can afford the amount of it needed!!
It’s a bit hard to say since we also used worbla for Mario’s costume, but I would say definitely less than a large sheet of worbla. We re-use a lot of our scraps for things like trim, so it goes a long way!
This is beautiful! I love seeing your work.
One question I have is about covering the wood with Worbla. I’m about to make a mage staff from Dragon Age, and doing some of my first Worbla work. I want to attach the Worbla to the dowel that is the main part of the staff. How did you get the Worbla to cover the wood on the wing frame, and remain adhered to it? I know Worbla can stick to itself, but how about keeping it stuck to other materials? THANK YOU!
Aw, thank you!
The worbla is covering the wood a bit roughly, since we did two half-circle shaped lengths of worbla overlapping each other, but the answer is: hot glue! Just make sure to test it beforehand because if it’s too hot, the hot glue will warp the worbla if it’s not thick enough. We used some of the worbla that we rolled out from scraps, so it was about double thick instead of the usual thickness. Either way, if we’re attaching worbla to anything and it needs to be quick, we use hot glue, but otherwise you can use two-part epoxy if you’re comfortable with it!
Excellent! Thank you for such a speedy reply, as well. I will test my glue gun on a small portion of the material first. I’m excited to work with this material, and so glad I have so many resources to go to! Thank you again!!
Good luck! I’m sure it will turn out wonderful!