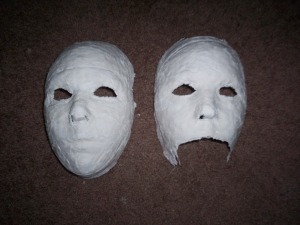
(Today’s tutorial is a guest tutorial brought to you by a good friend of mine, DracaDiosa!)
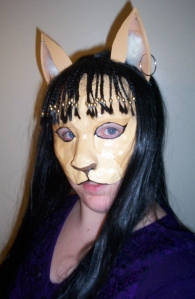
I’ve been a seamstress for years and recently got into plaster lifecast mask making. My most recent and best mask is the Egyptian goddess, Bastet in lion form.
These masks are very inexpensive to make and today I want to teach you all my method for creating the lifecast of your face!
MATERIALS:
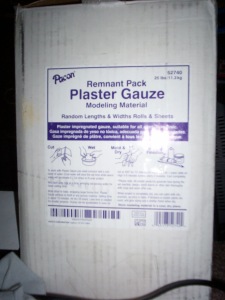
Plaster Gauze (I got a 25lb box off of ebay about about $30)
Scissors
Vasoline
Plastic Wrap
A decent sized bowl filled 1/2 way to 3/4 full of warm water
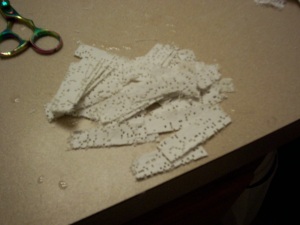
1) Take roll of plaster gauze and cut it into strips. The roll in the picture is about 8″ wide. I usually cut the entire roll in about 8″ x 1″ strips. Then take half of those and cut them in half making them 8″ x 1/2″. Then cut some of the 1/2in strips into about 2″ x 1/2″. I prefer having TONS of the 2″ x 1/2″ strips because of how useful they end up being!
2) Take a decent length of plastic wrap and wrap it around your head like a bandana. This is to cover the majority of your hair and your ears. Tie it in the back and make sure it’s secure.
3) Open up the vasoline and smear it generously all over your face. (If you’re a guy doing this I can’t stress how important it is to shave off any beard/mustache/or sideburns you might have before starting this project.) Make sure to get any facial fair covered that you can’t shave off (like eyebrows and wisps of hair that didn’t get covered by the plastic wrap.
4) Add warm water to the bowl filling it about 1/2 way to 3/4 full. (Temperature doesn’t affect the plaster, but warm water feels alot better on your face through this project than cold water would)
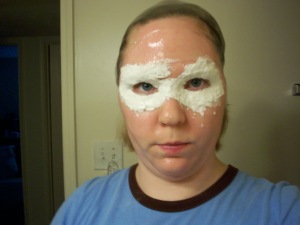
5) Start with the smallest plaster strips, dip them in water and start putting them around your eyes as close as you’re comfortable with.
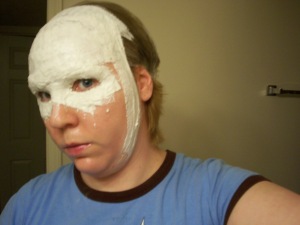
6) Once you have your “superhero” mask done start branching off to your forehead and then the rest of your face.
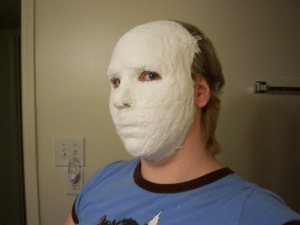
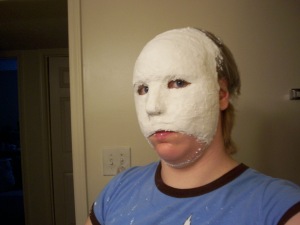
7) This is the starting of a full face mask (I’ll cover the halfmask used in my Bastet mask in a bit.) Safety warning! Make sure you can still breathe! Never cover your nostrils while doing this. Cover your entire face with the plaster, including your lips and nose. Now you can see why you want different lengths and widths! Smooth the plaster as you go to make it solid.
8) Make sure your mask is nice and thick. This way it is strong and won’t break easily. Leave the mask on to dry for about 30 minutes after you put the last strip on.
9) Once the outer layer is completely dry, start wiggling your face muscles to break free from the plaster. Very carefully hold the mask with both hands and pull gently to release it from your face completely. If you’ve missed a spot on your face with the vasoline, here’s where you will notice it and I promise it will hurt a bit!
10) For the halfmask take a piece of the 8″ x 1/2″ plaster and place it along your lip and curve it downward. This creates your stop point.
11) Once you have the mask released from your face you’ll notice the inside is still very wet. Place your mask somewhere safe to dry. Out of humidity is best. This will be the ideal time to pull the plastic off of your hair and take a shower. If you’ve gotten plaster drips on your clothes not to worry! It all disolves and comes out in the laundry. :) Let your mask dry for quite a while. I usually leave mine for a day before I start working on them again.
That concludes the first part of this tutorial. I’ll share another with sculpting with paper clay and paper mache to form the features soon!
