

Photo by Ed Tan
Cassandra was originally going to be finished for Emerald City Comic Con, but we got caught up with Jayce and didn’t want to sacrifice quality on either one. I decided to put off Cassandra until Anime Expo! I did the sewing, and Mario did the props, with some of the pieces coming from Volpin Props.
When I’m making my own costume and can’t find a pattern, I do my best to make my own. This generally consists of draping fabric over my dress form, and drawing out the costume as I see it.
 As you can see here, I used some spare fabric I had, and then drew and cut out the shape of the costume, leaving room for hems and seams. This is important, though: if your body is not exactly the same size as your dress form, then make sure to try on your pattern before you start sewing. My issue is I’m pear shaped and I can get the top of the dress form OR the bottom of the dress form to match my measurements, but never both. So, I had to try on the pattern and get Mario to trace how it SHOULD lay because if I just drew out the back of the costume on the dress form as it was, it would look way too small and really strange. Believe me, I’m speaking from experience, but I won’t subject you guys to that terrible photo. Just take my word for it
 I figured the best way to make the collar would be to modify an existing collar, so I used an old collared shirt that I found at a thrift store. It worked great! The pattern was in two pieces: the actual collar that’s around the neck, and the part that is draped around the shoulders.

Here the collar is sewn together with the white fabric, and with the mock up for the jabot!
 For the trim, I put together a bunch of pieces of tracing paper, and used a measuring tool to help me draw the trim equally all the way around.
 Then I cut it out of white vinyl! (Disclaimer: our awesome friend Sarah helped draw out the design for the back of the top, and the design for the boots!)
 I did the same thing for the top (keeping it in one continuous piece was tricky but totally worth it!)

…and also the pieces for the boots, which were patterned in the same way as everything else- by drawing out the shape on fabric and draping on the boots!
 Speaking of boots, I painted these gray boots (they were the light gray ones) white with Angelus leather paint. It took nearly two bottles but you can’t even tell they were painted! I definitely recommend and would definitely use again in the future.
 Then I got tired of trying to hand paint gold on all these, and airbrushed the gold on instead! I chose to do this instead of getting a gold vinyl because I couldn’t find a gold vinyl that I was happy with, so this is the next best thing.
Before I sewed the trim onto the costume, I hand sewed clasps to the top so that it snapped closed.

I used a very close zig zag stitch all the way around the trim to sew it onto the costume!
 I didn’t find a big pink ribbon that I was happy with for the jabot, so sewed one myself.
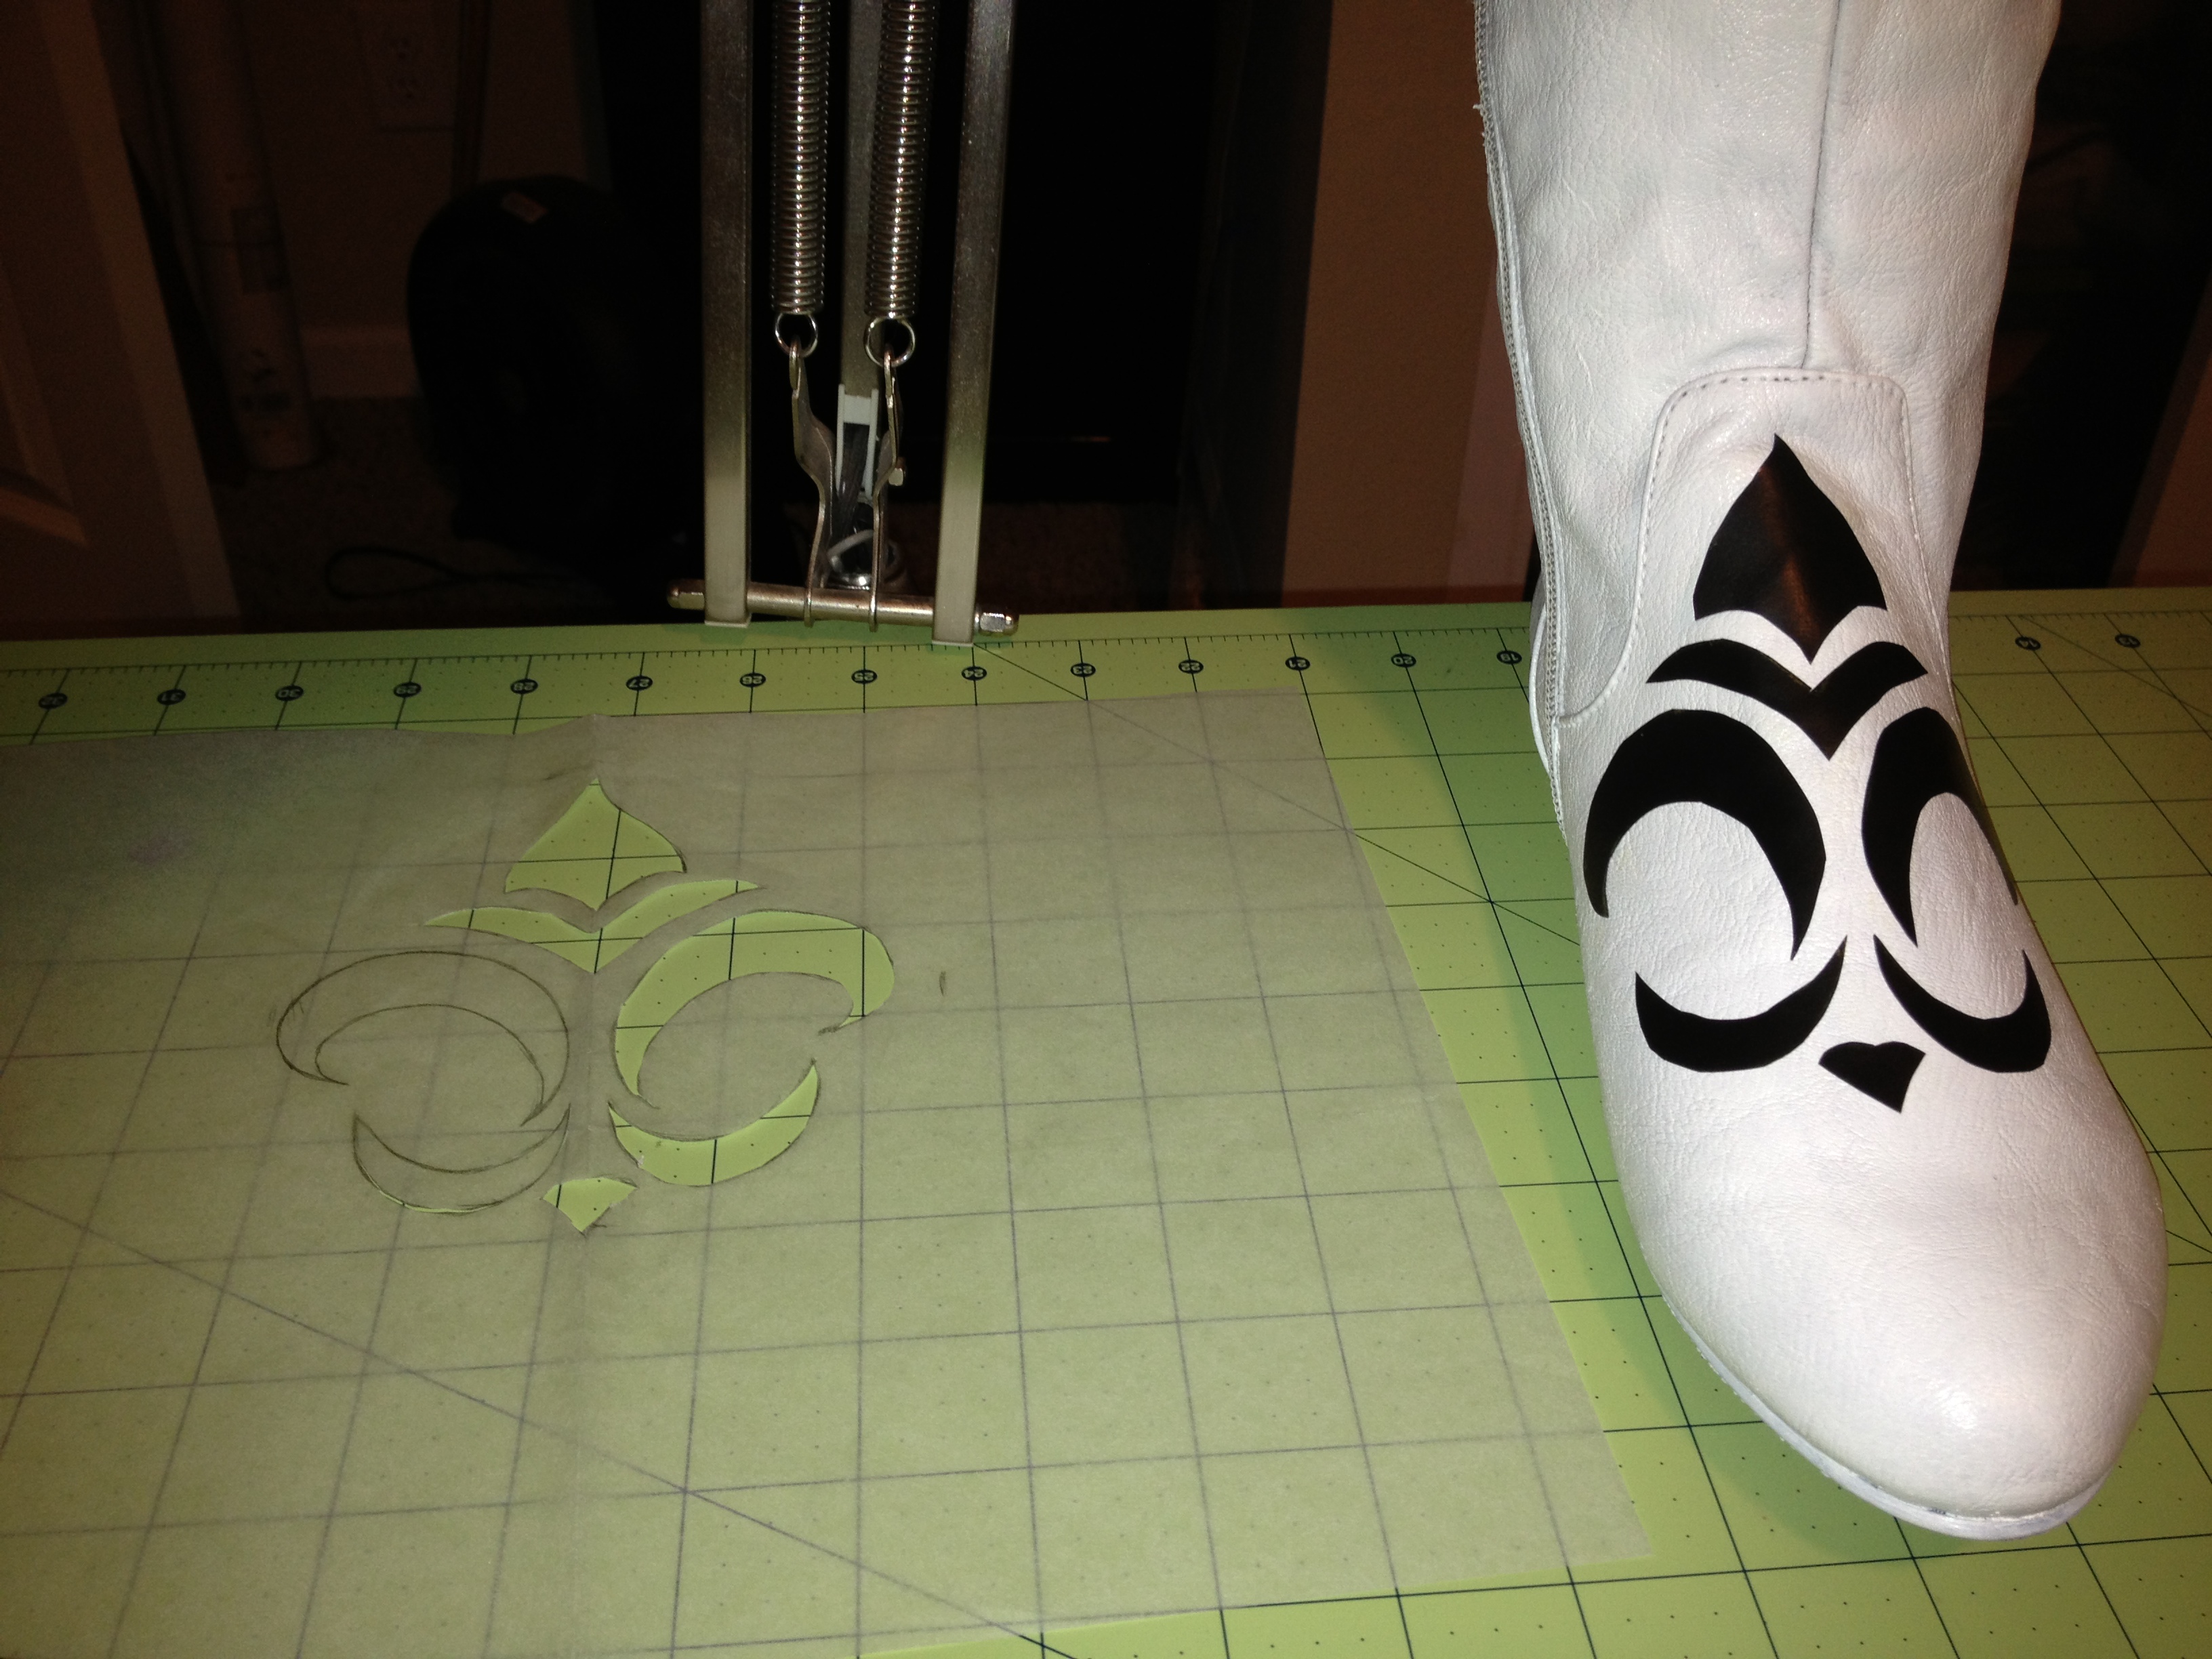 Using the pattern Sarah drew for the boots, I cut out the same pattern out of sticky stencil paper and traced it onto the boot with a paint pen.
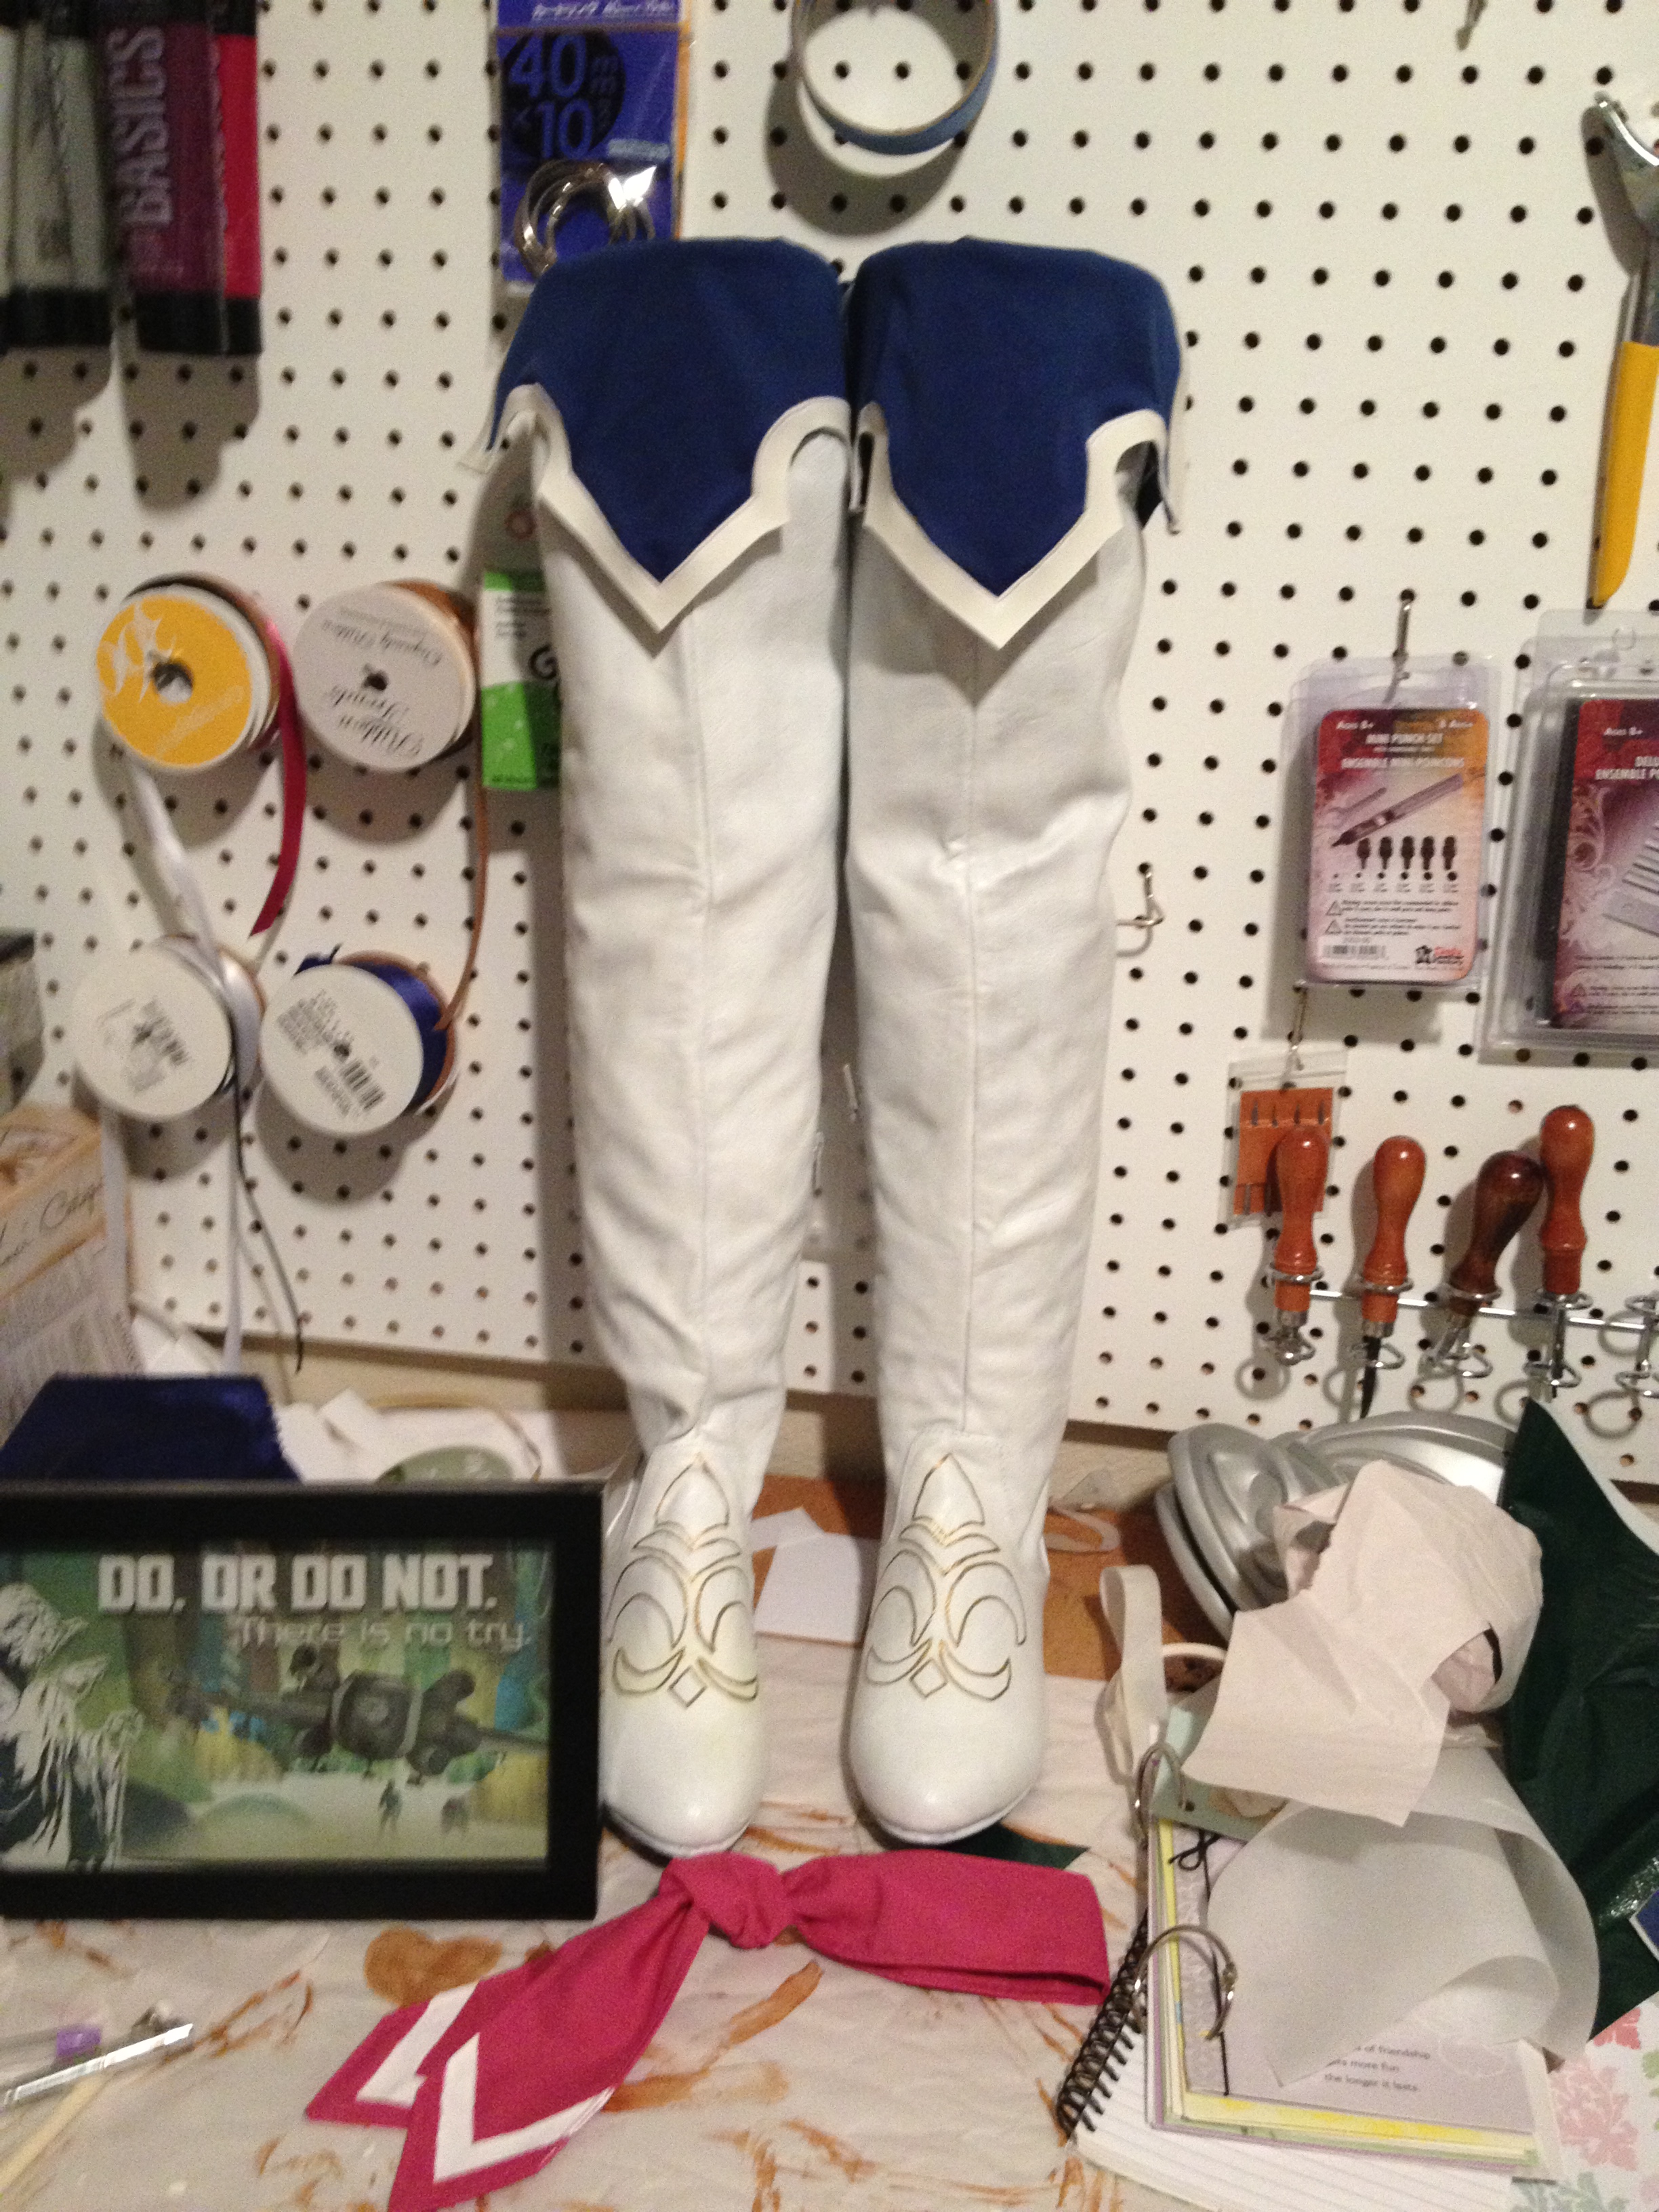 The white stripe on the jabot was painted on with white fabric paint, and the blue boot tops were just glued into the inside of the boots.
 This wig was such a pain. I soon learned that there was no way I was going to make it game accurate…
 because it looks terrible. Terrible, I say! So I just made the bangs straight across, and it looks so much better.
 For the ribbon in the back, I think it’s like a reddish color in game but it’s hard to get a good picture of it, so I just made it blue to match the rest of the costume. I hand drew on the pattern with a paint pen.

Photo by Ed Tan
The white gloves were just bought from a store, and the maroon ‘panties’ were pretty simple to sew together. The maroon straps across the chest and back were sewn on one side, and attached with velcro on the other in the front, and just sewn on in the back.

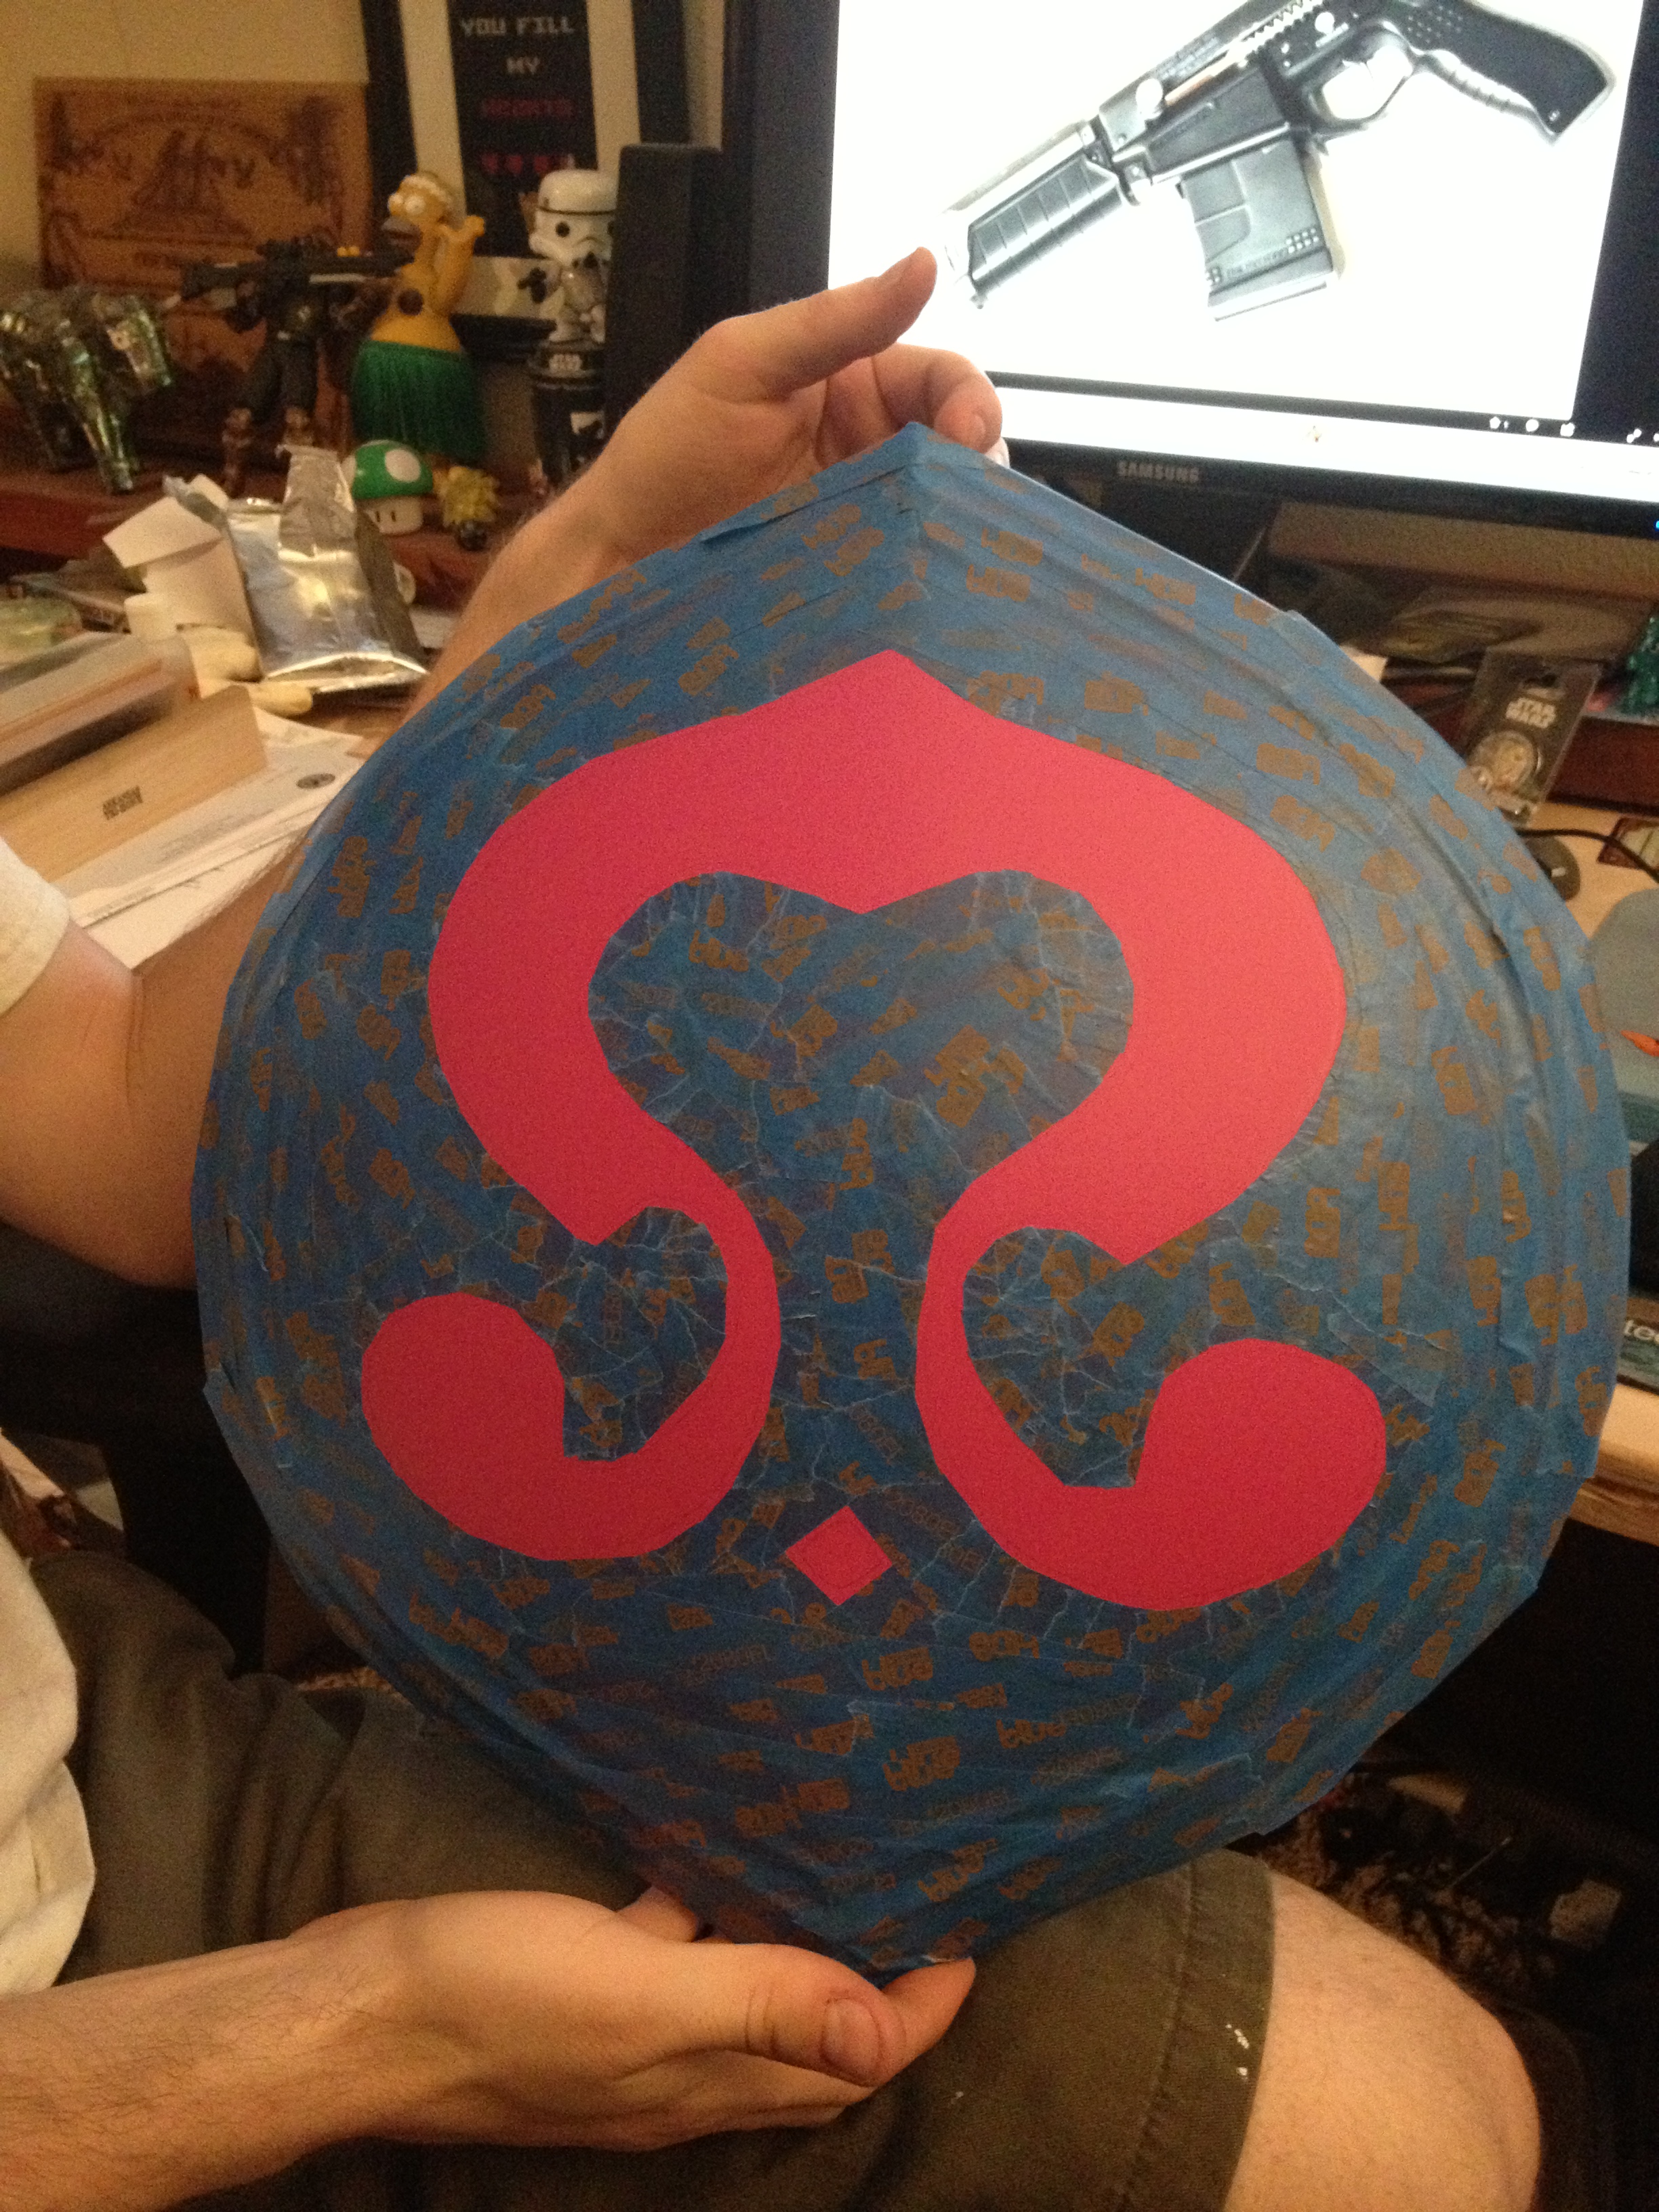
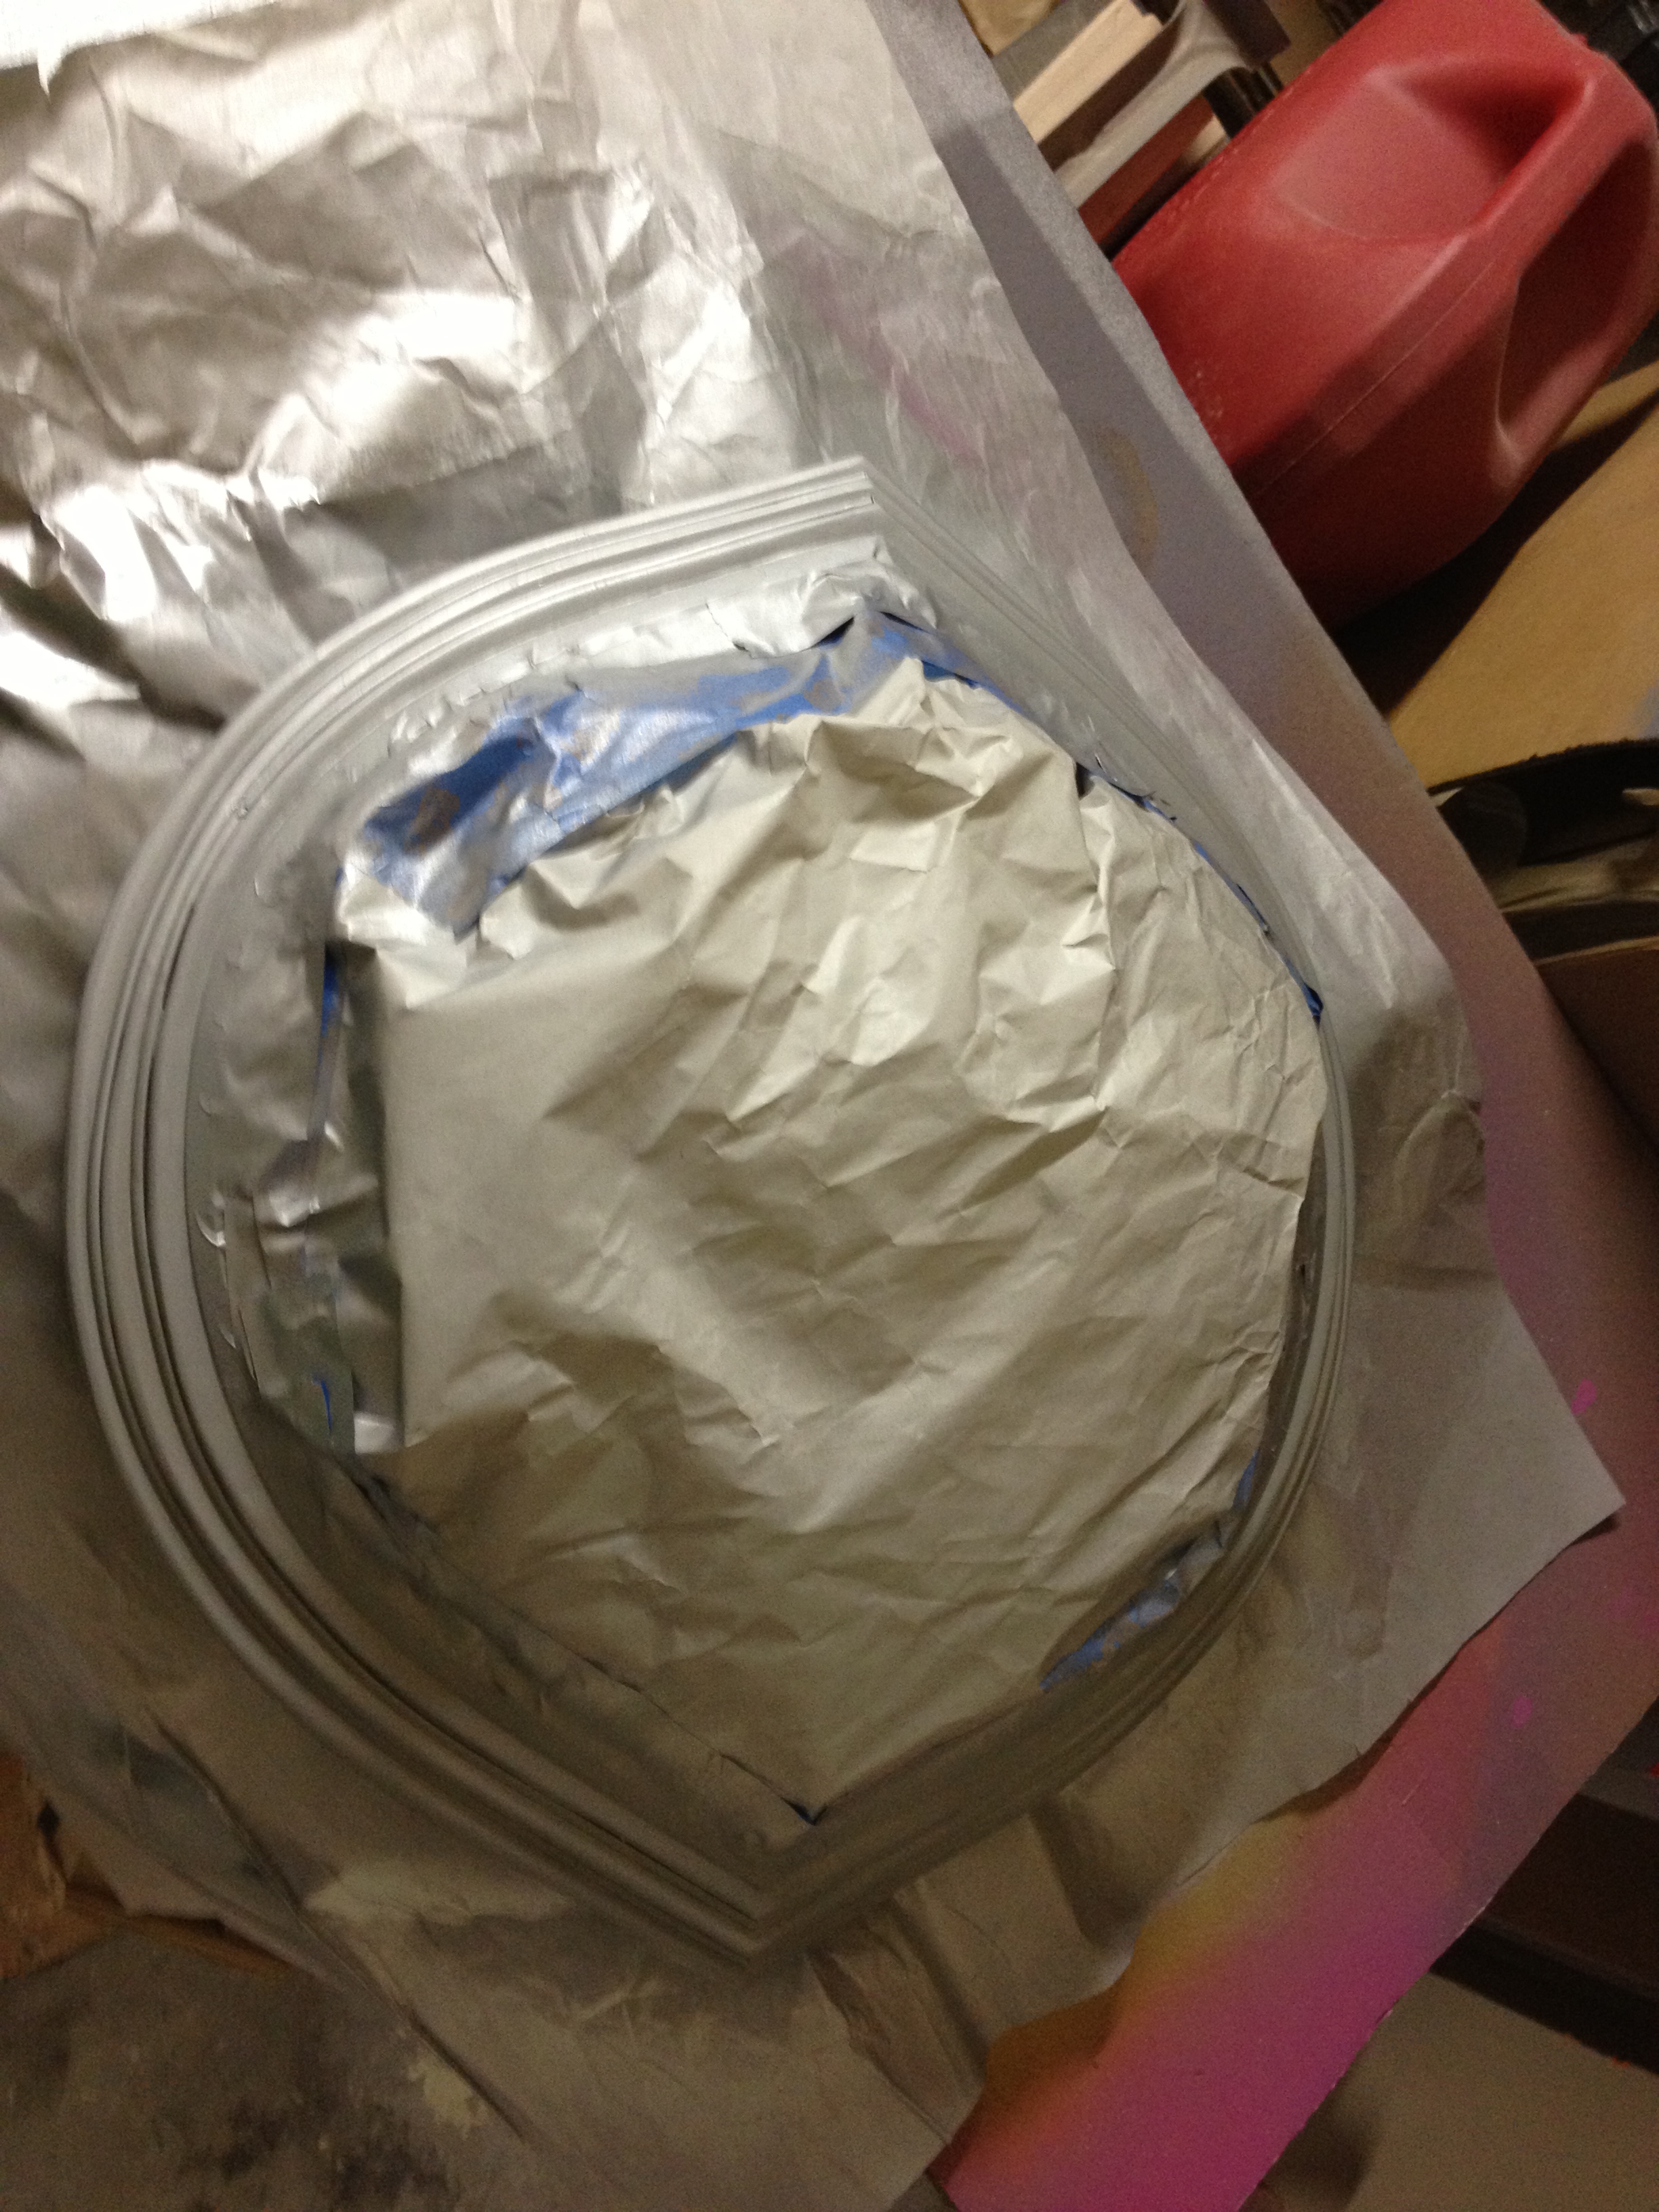
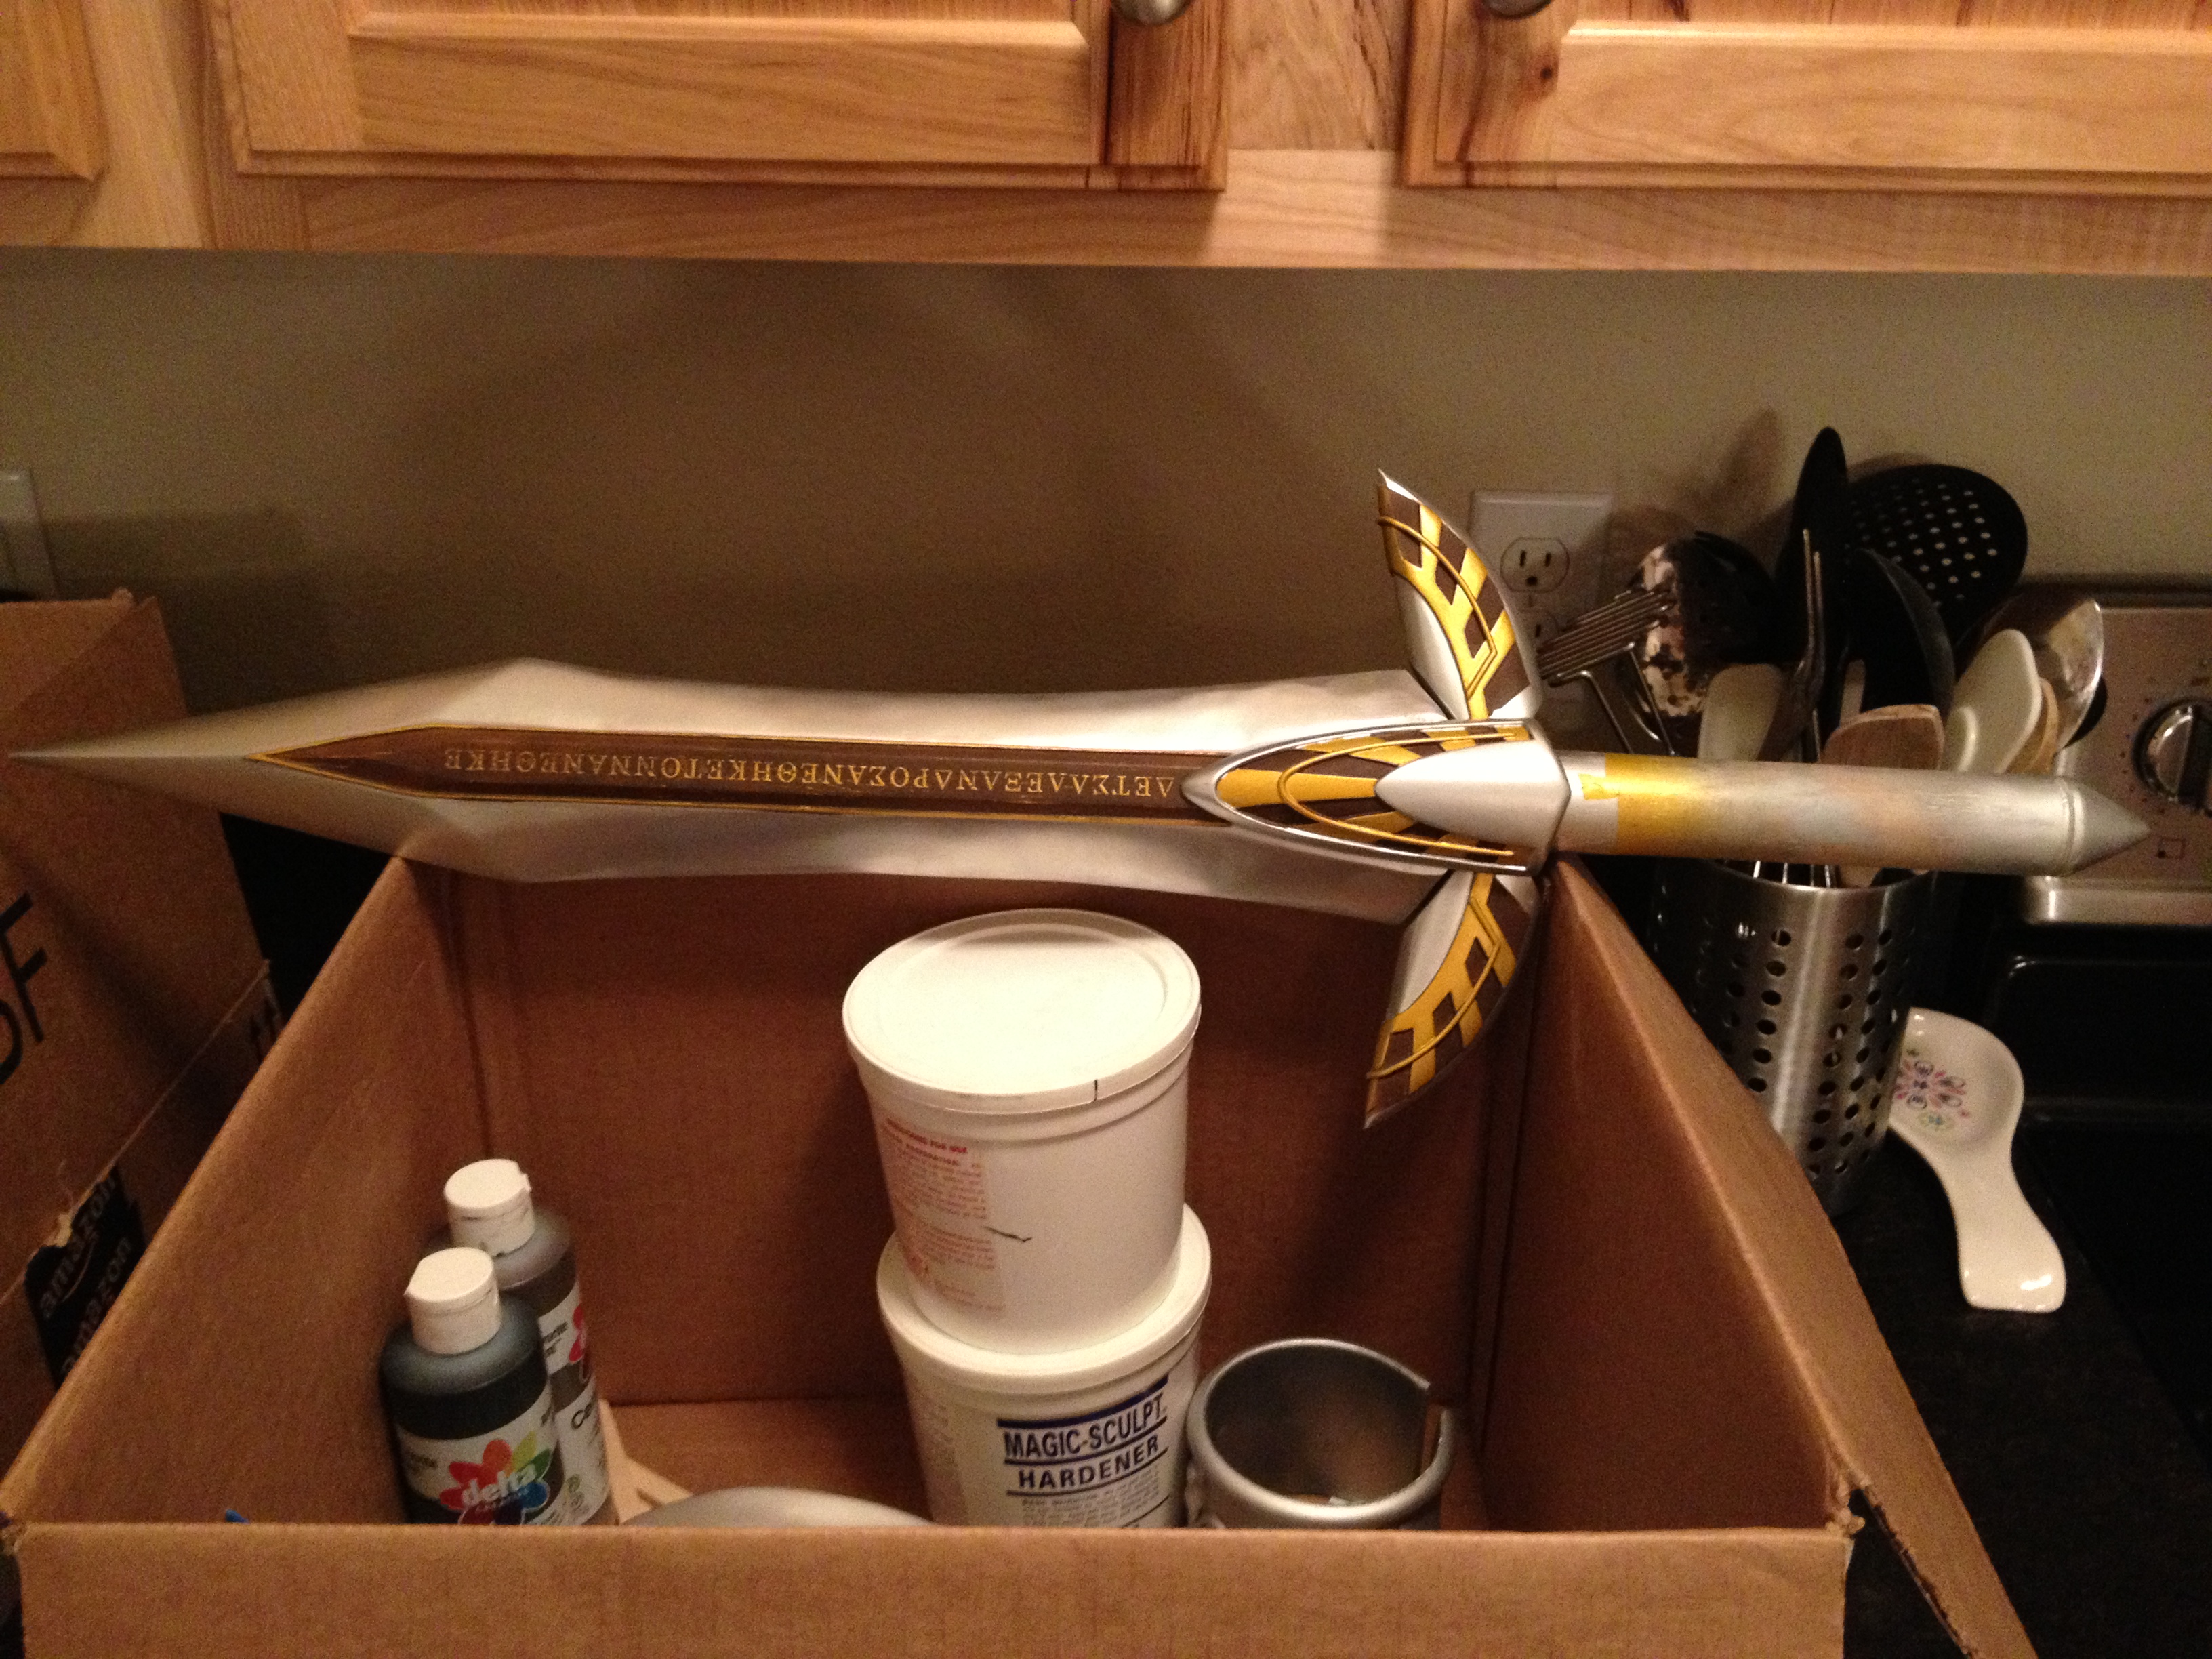
I’m not really comfortable writing up a tutorial for the props, since we literally just followed Volpins picture tutorials, which you can find here for the shield, here for the sword, and here for the pauldrons. We even bought the blueprints for the sword and shield to better put together the design! I will share some progress photos though, and you can see more on our Facebook page.

Oh, and the little emblems that are on the boot tops were just glued in place, and the pink ribbons off of my pauldrons were just stuffed up there, no glue or anything!

Photo by Ed Tan
As a note, I am wearing dance tights and underwear underneath the ‘pants’ of the costume, and used some cosplay magic to um… make my chest match hers. To make sure that the straps didn’t show in the back, I had the bra straps pinned up in an X pattern so that they were hidden by the collar.

Photo taken by Cosplay Photographers at Anime Expo
Is that it? I think that’s it! It’s really a simple costume when you break it down, with just a few pieces to it. As always, feel free to comment with any questions or concerns, and make sure to check out our Facebook page!
