
If you want to know how we made the Jayce from League of Legends costume, then read up!

Photo by Ed Tan
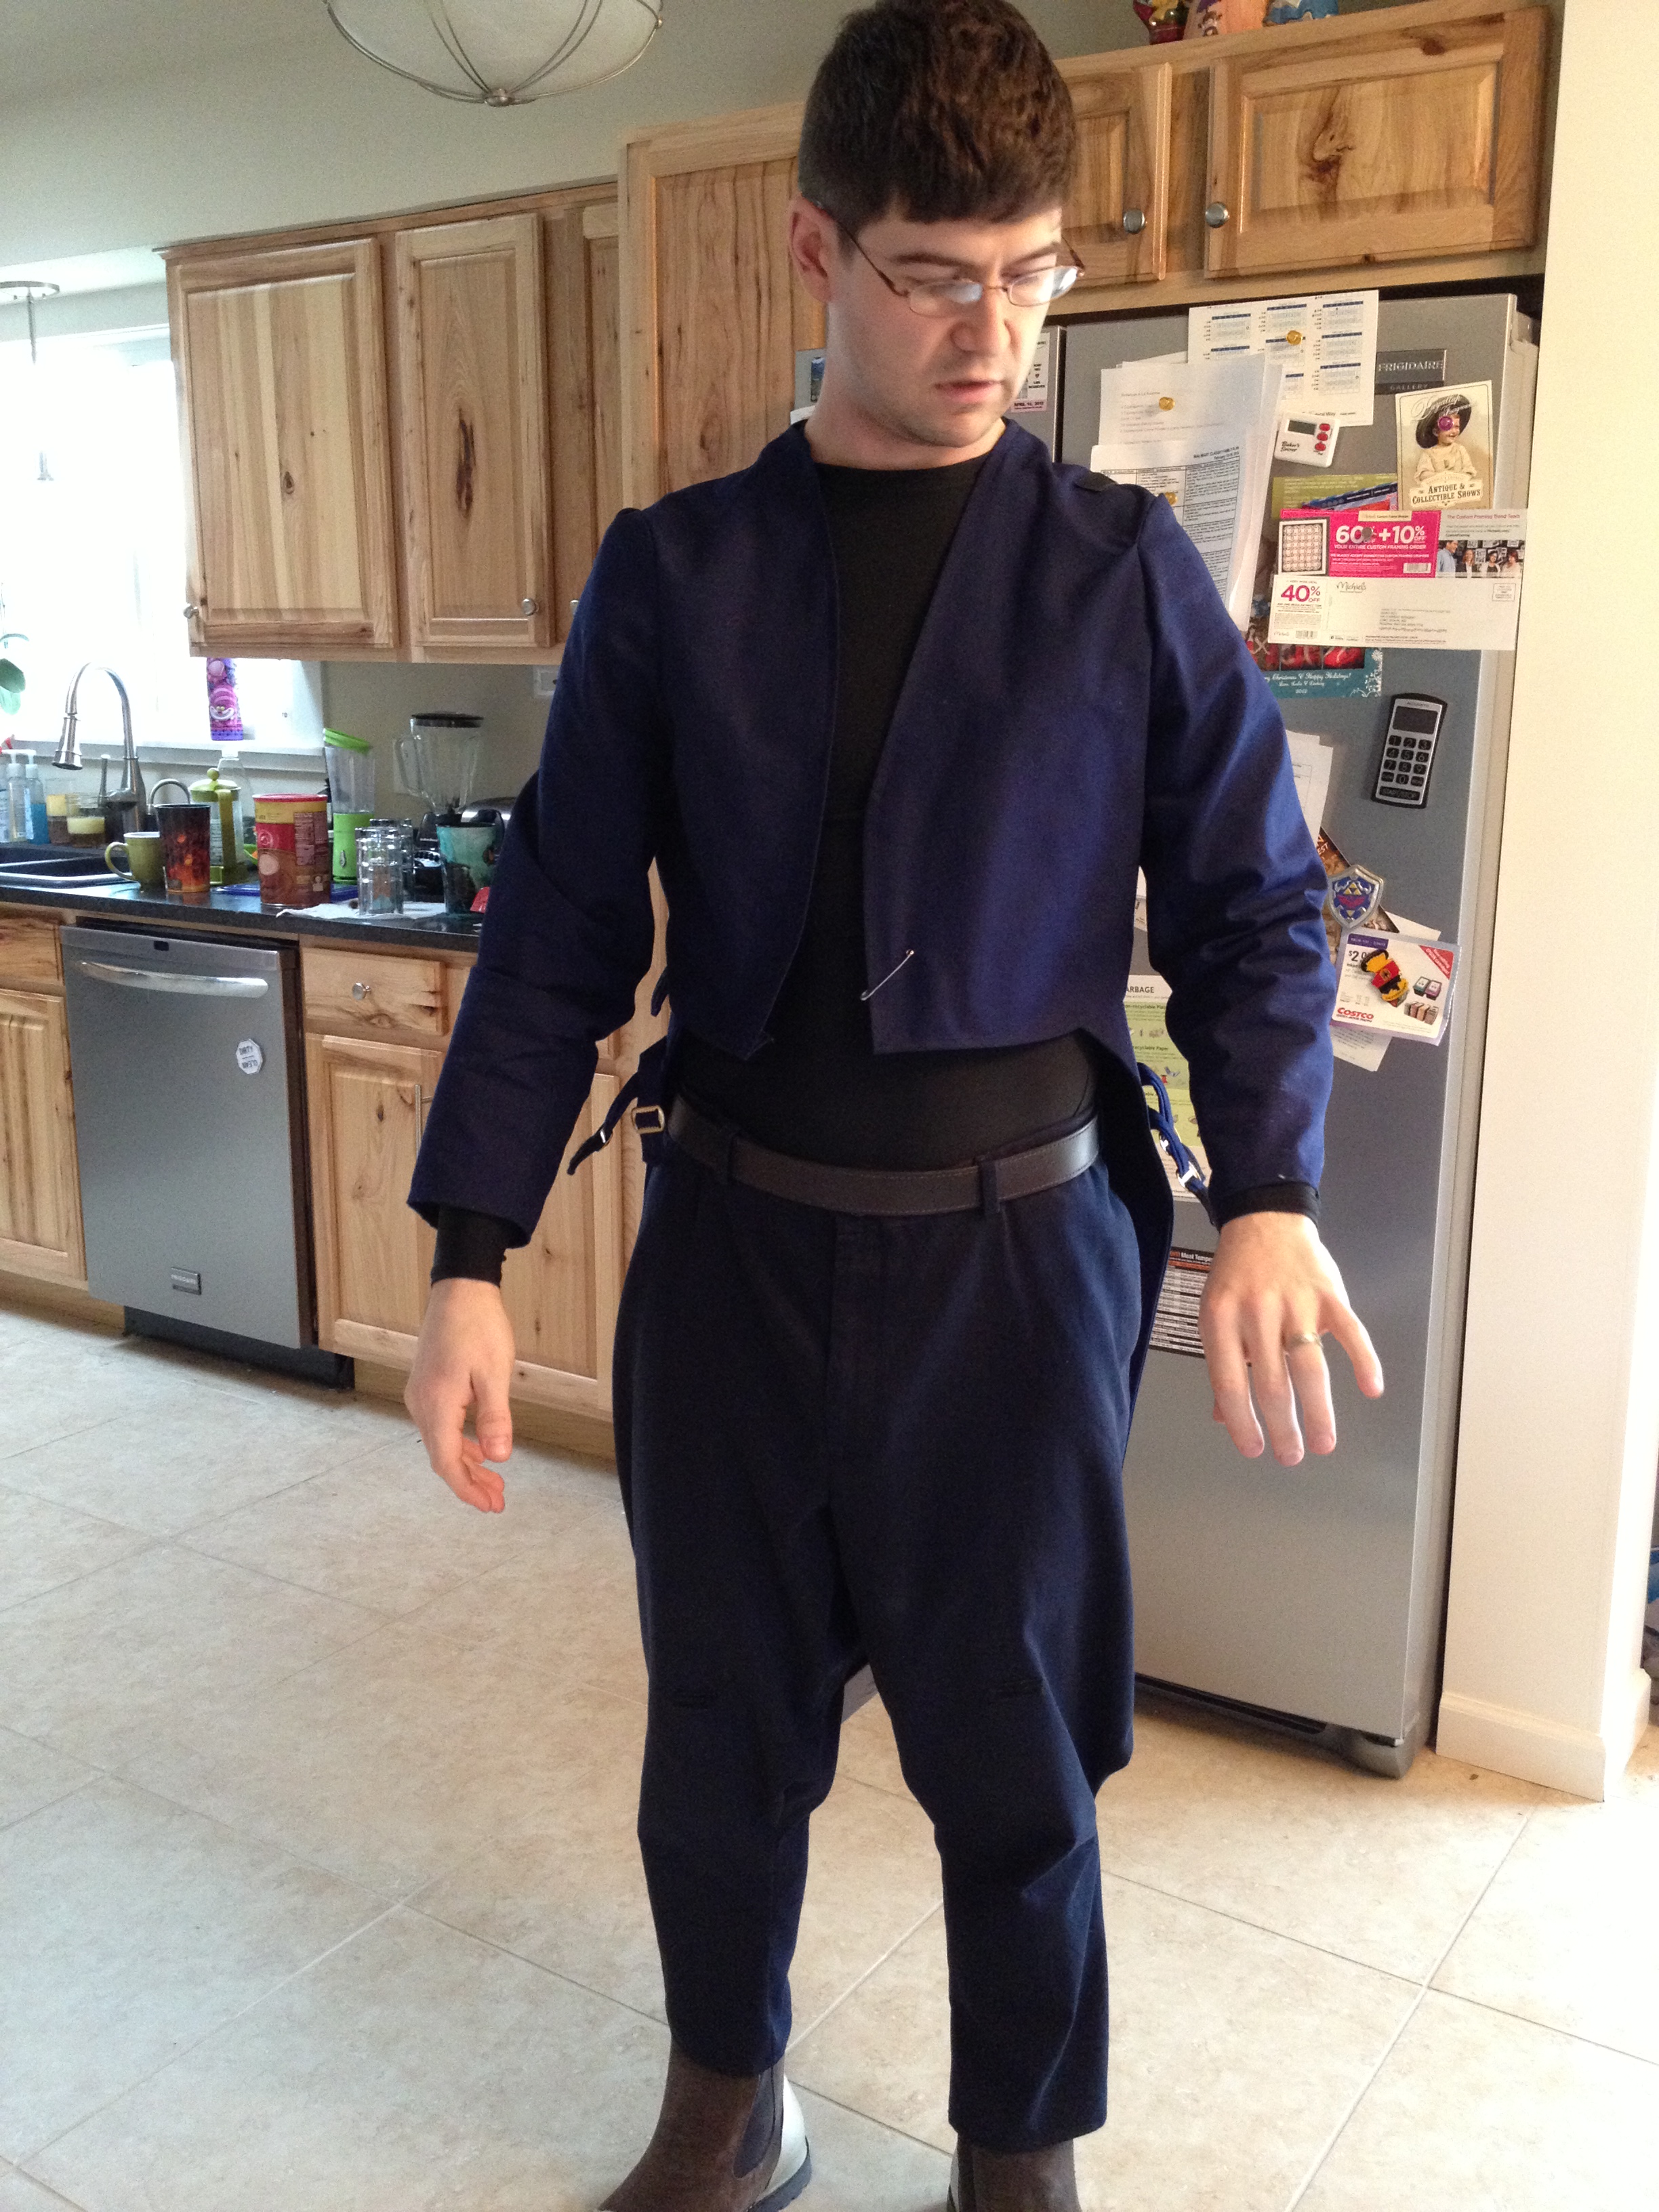
For the coat portion, I used McCall’s M6143 as a base. I used the Uncle Sam coat, and left off the lapels since the coat was under the chest piece. I also lengthened the tails and made them a slightly different shape to fit what we were looking for.

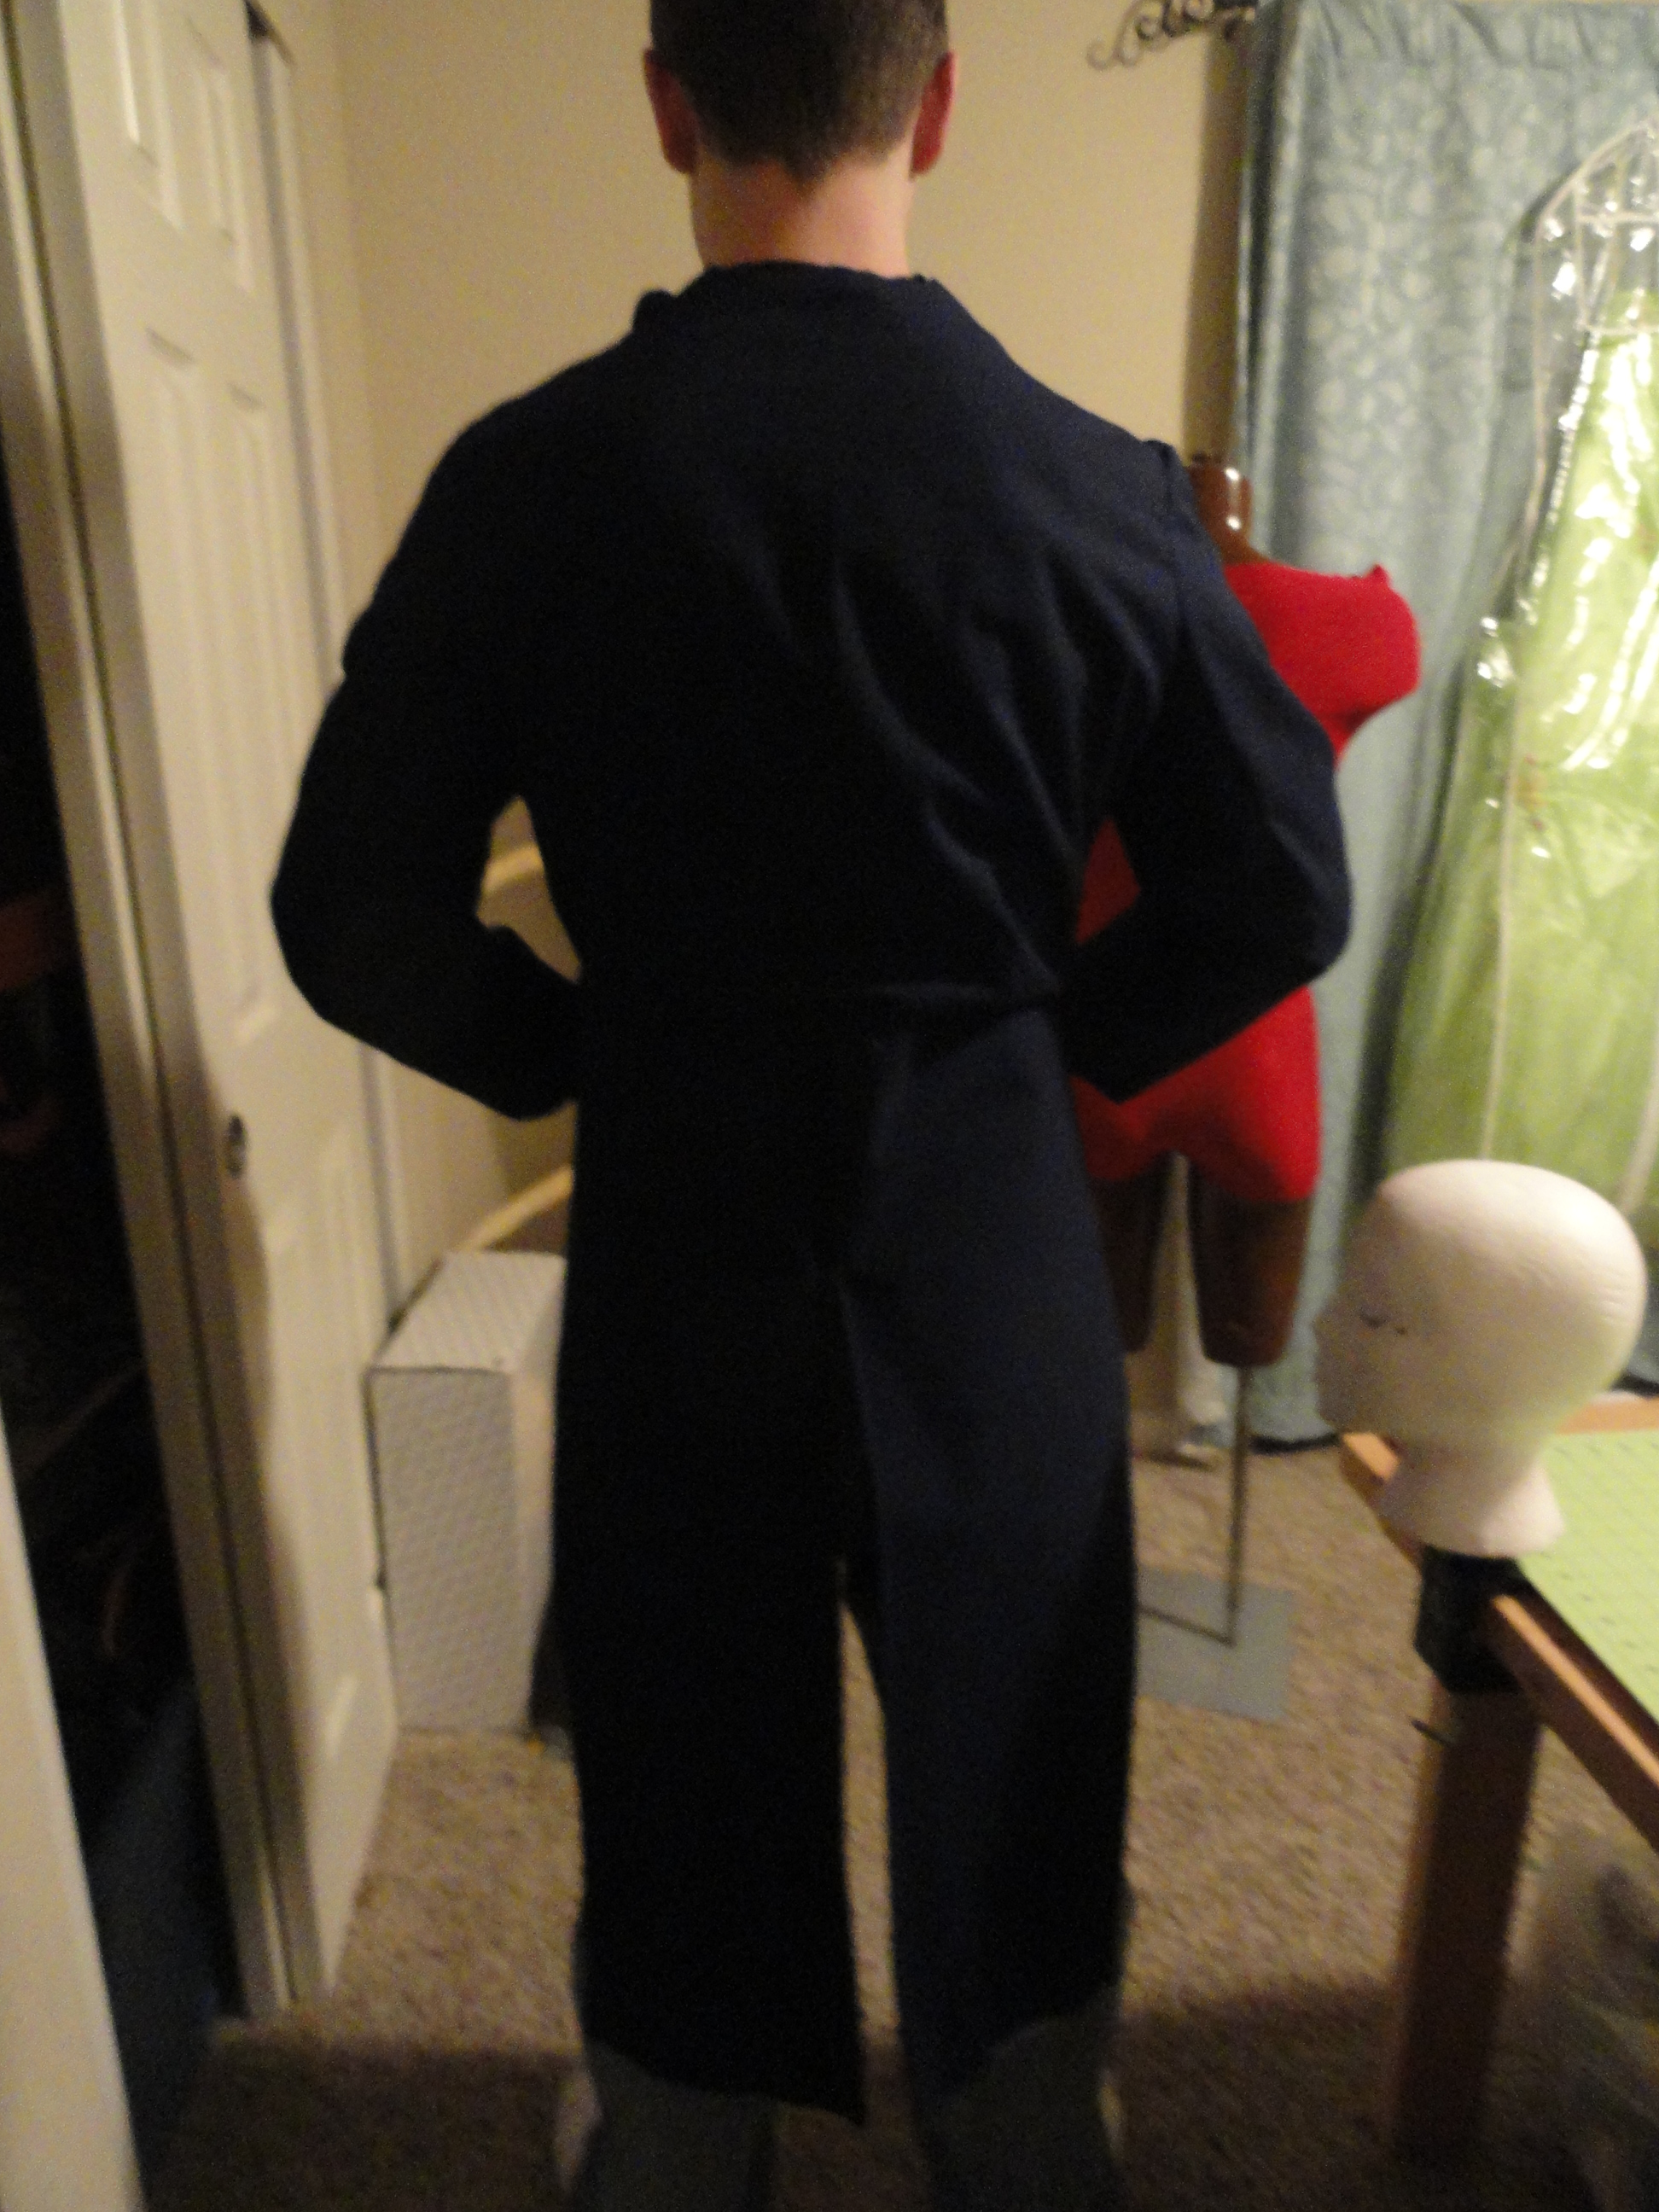
Our camera is seriously terrible, and I really am sorry about these pictures, but none of them are really color accurate. That blue was hard to pick up and in cloudy Seattle, we had no good sunlight for photos.
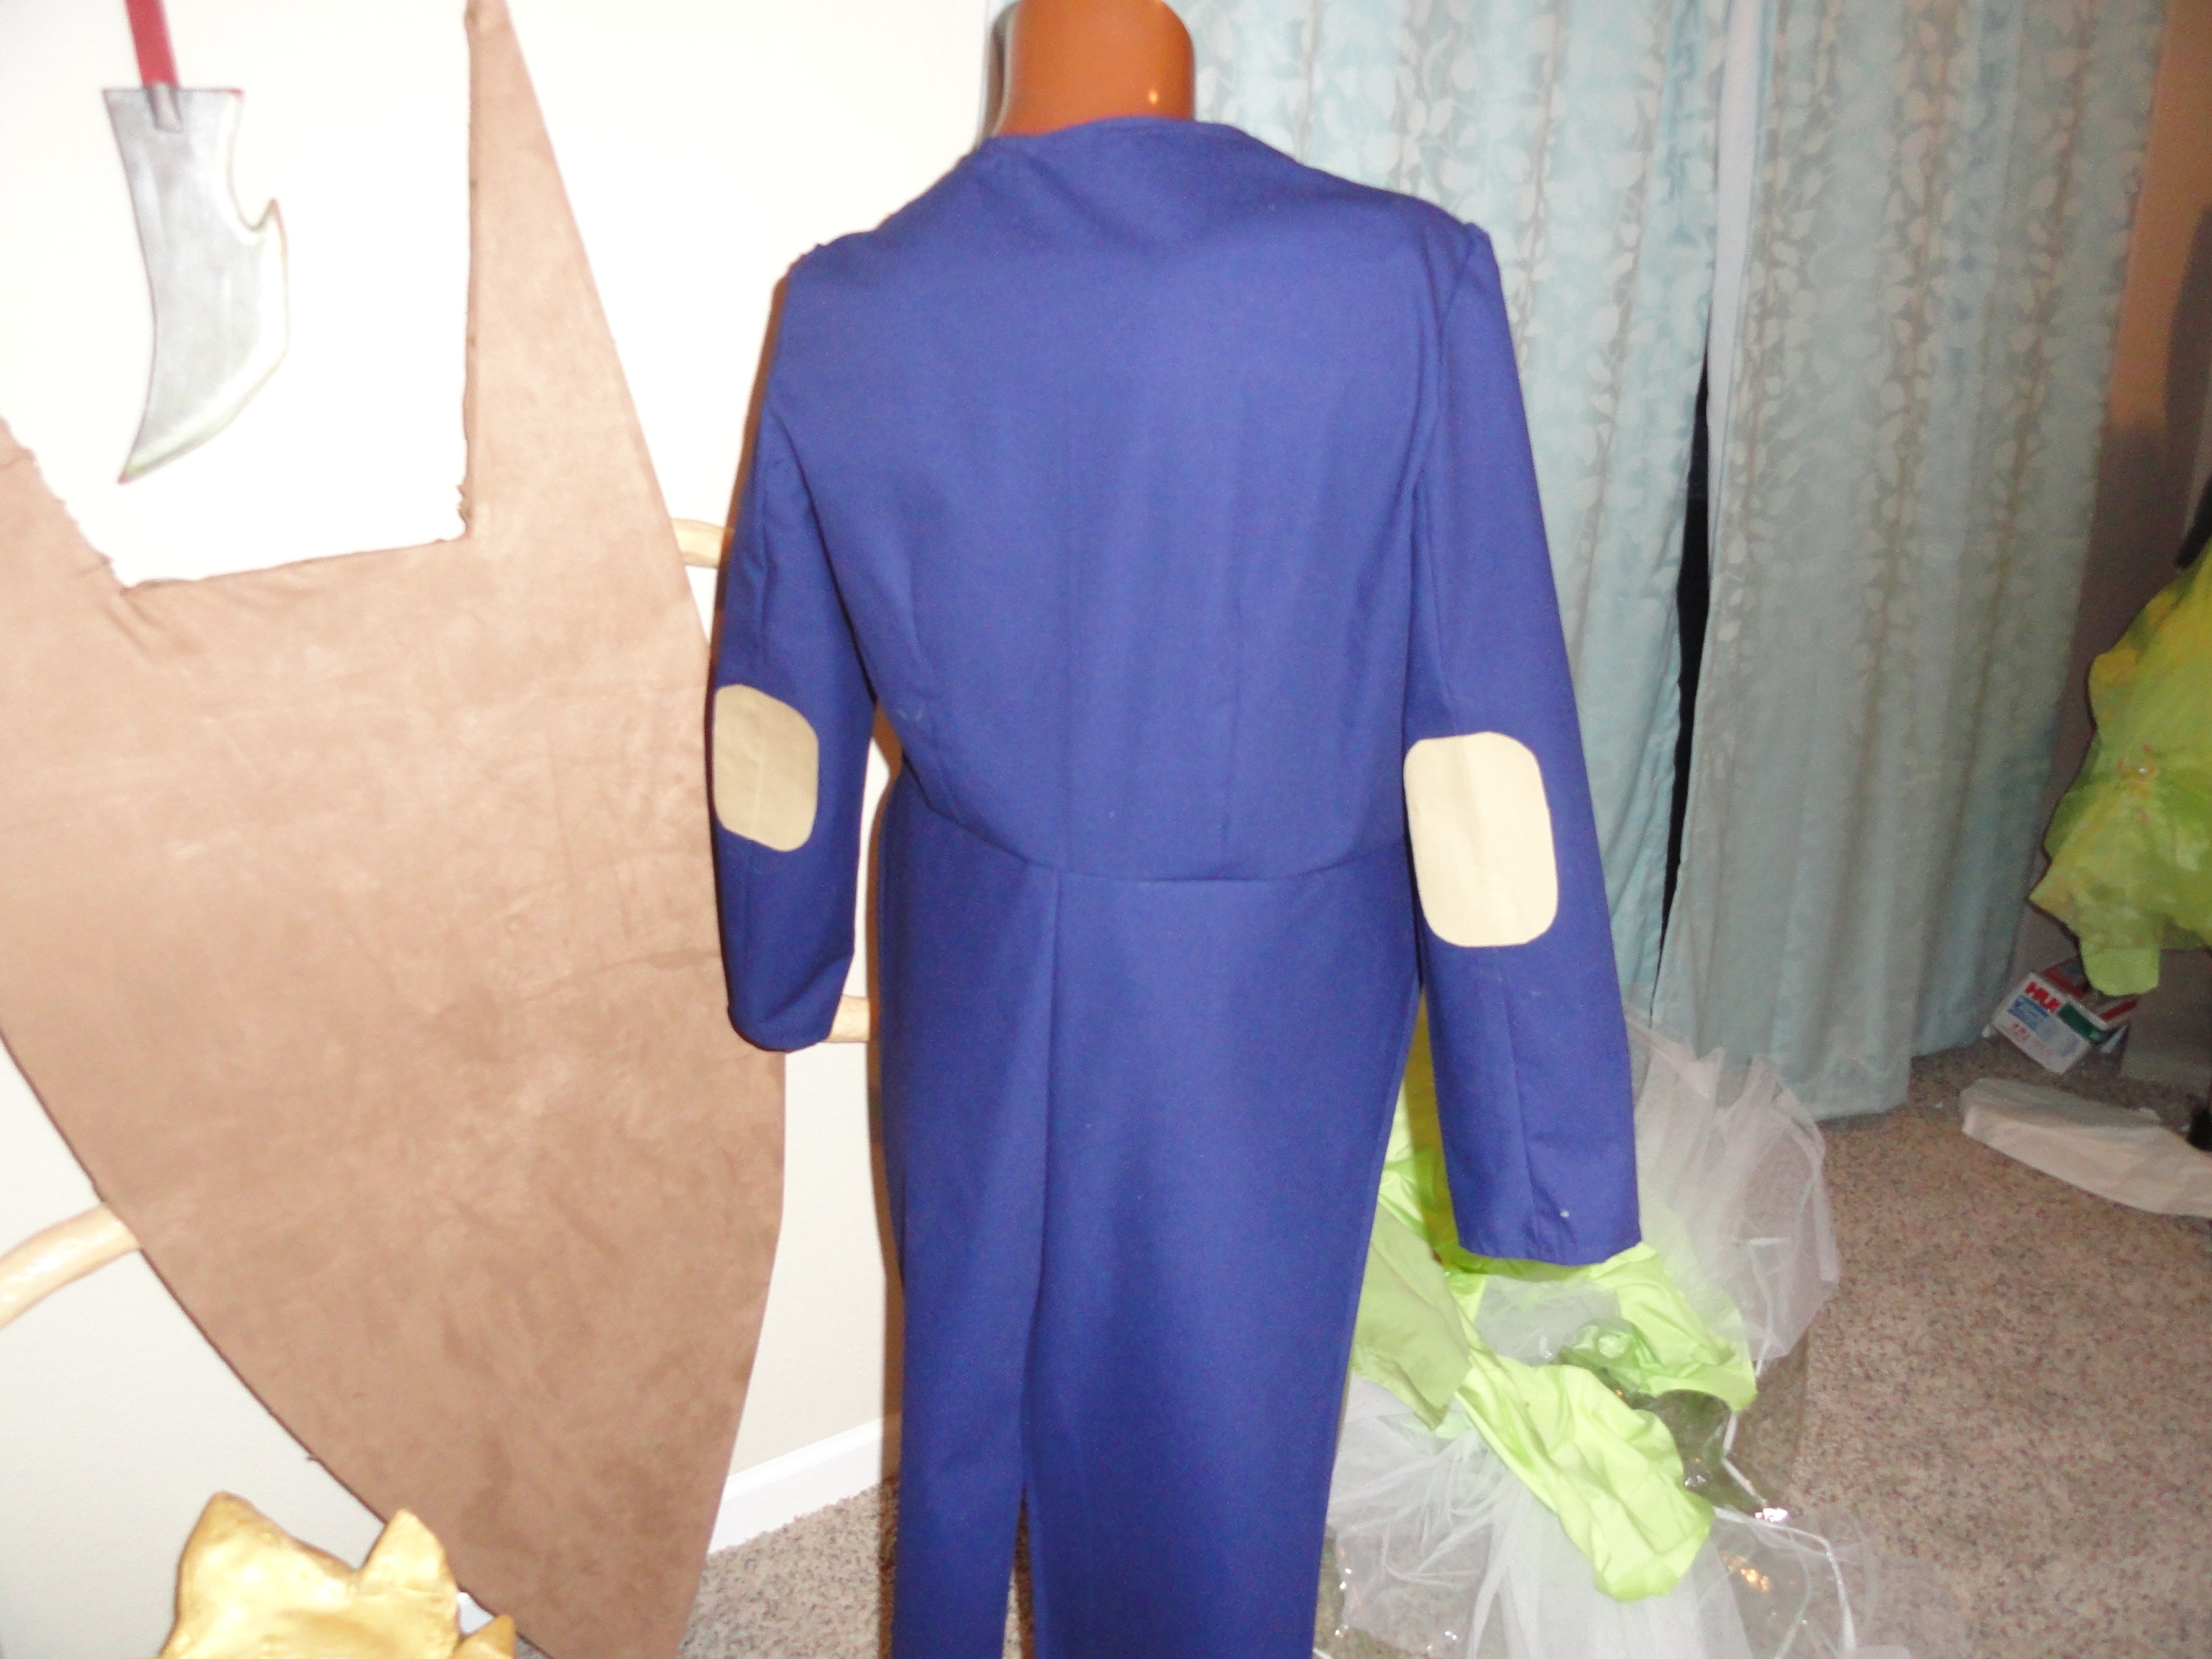
I drafted out the back red piece with some spare cloth:
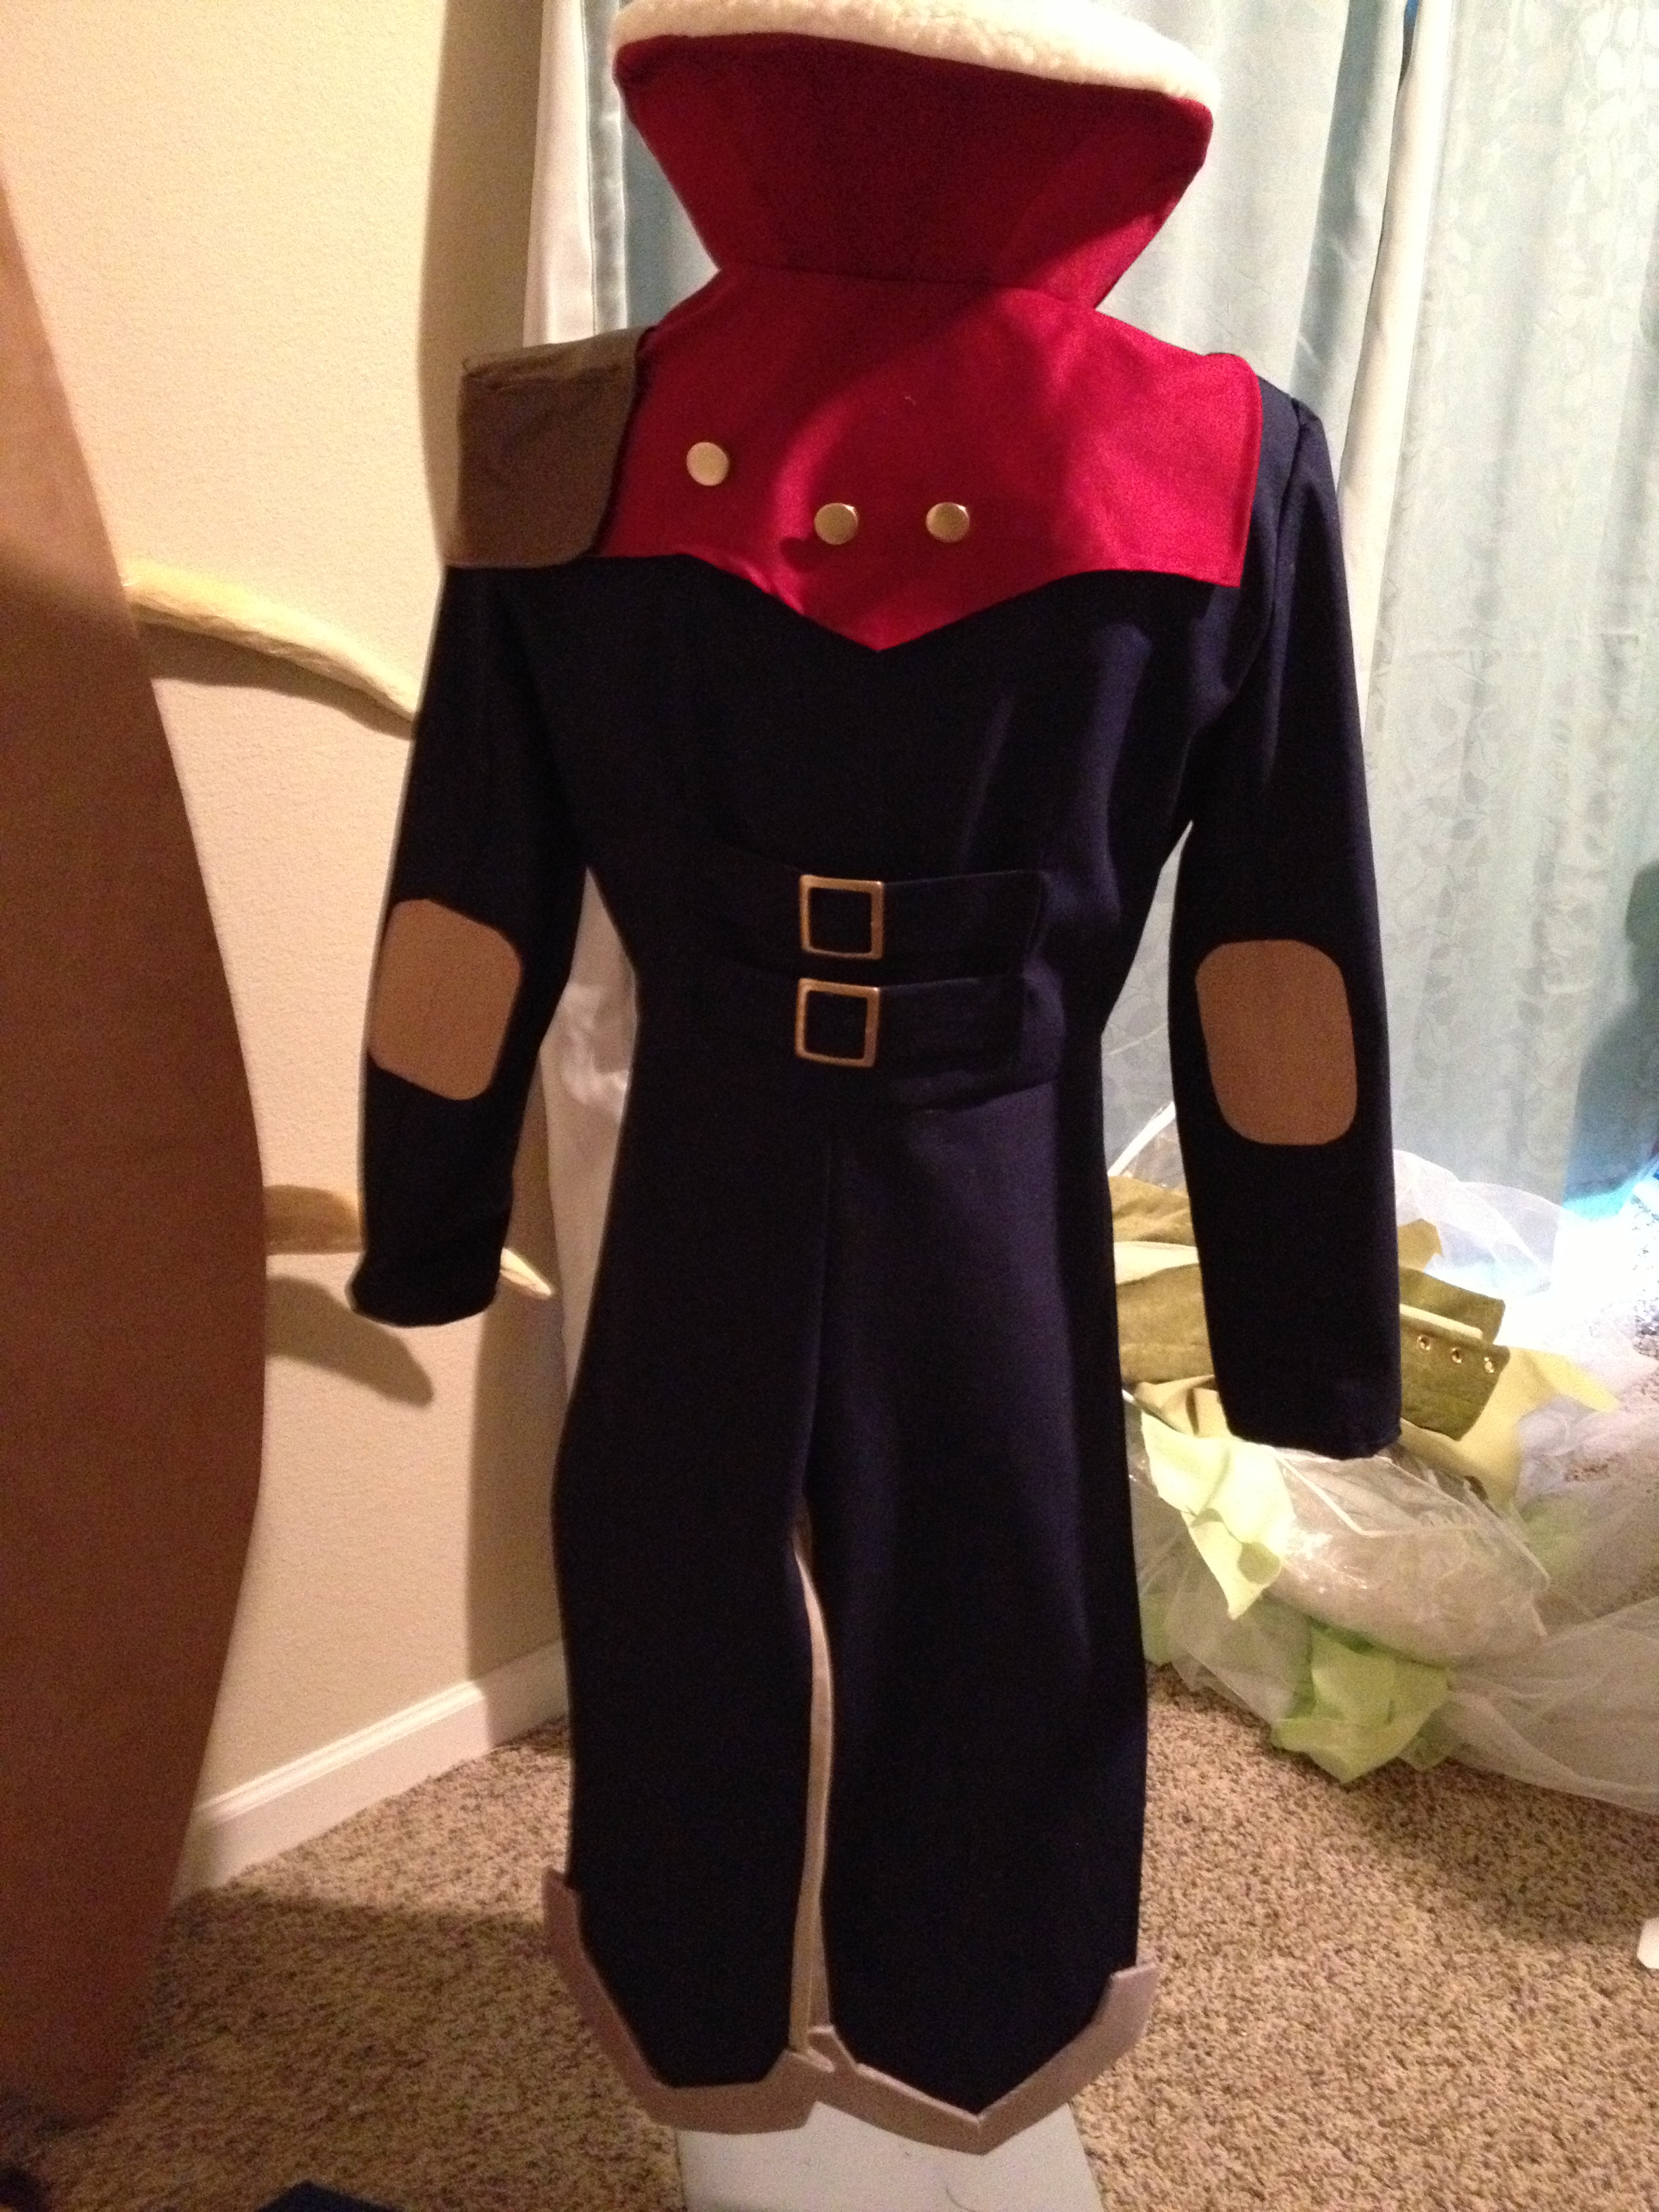
 Then ironed on some elbow patches for the elbows:
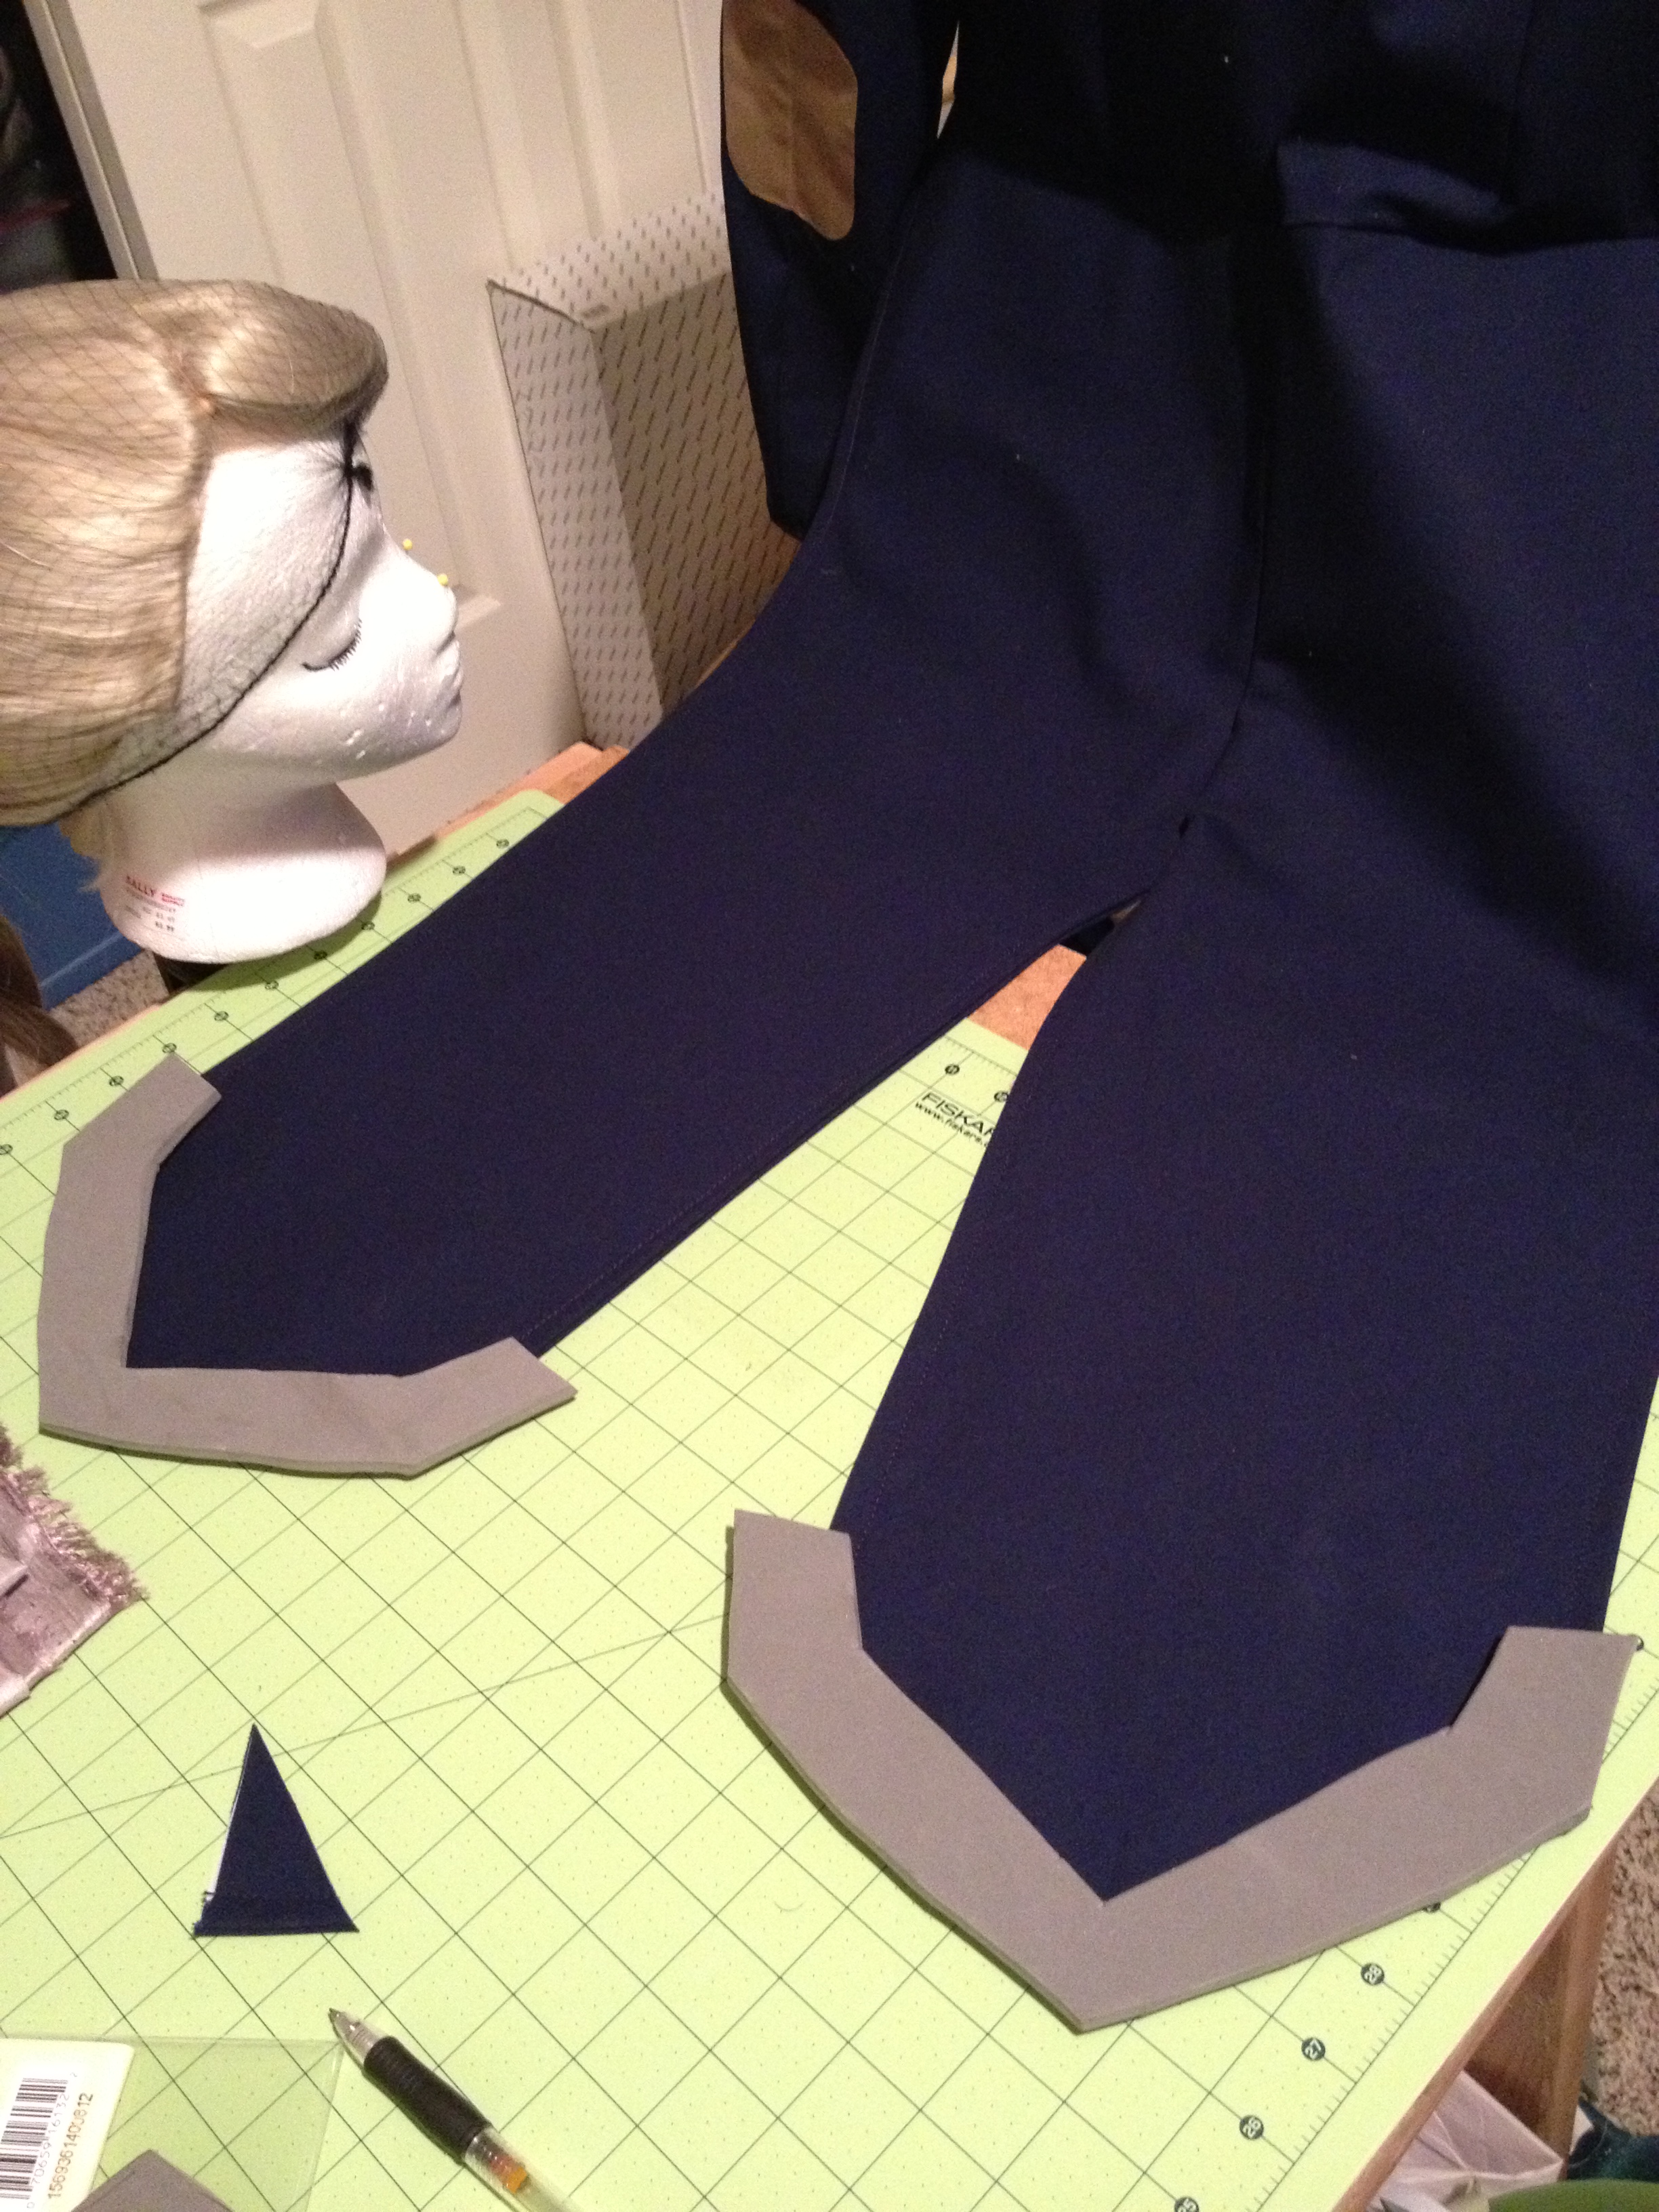 I laid out the tails onto a large cutting mat, and drew out a rough shape for the ‘armor’ on the tails out of paper. Once I was happy with the shape, I replicated it onto four pieces of thick eva foam, covered them in fabric, and glued them to the ends of the tails.
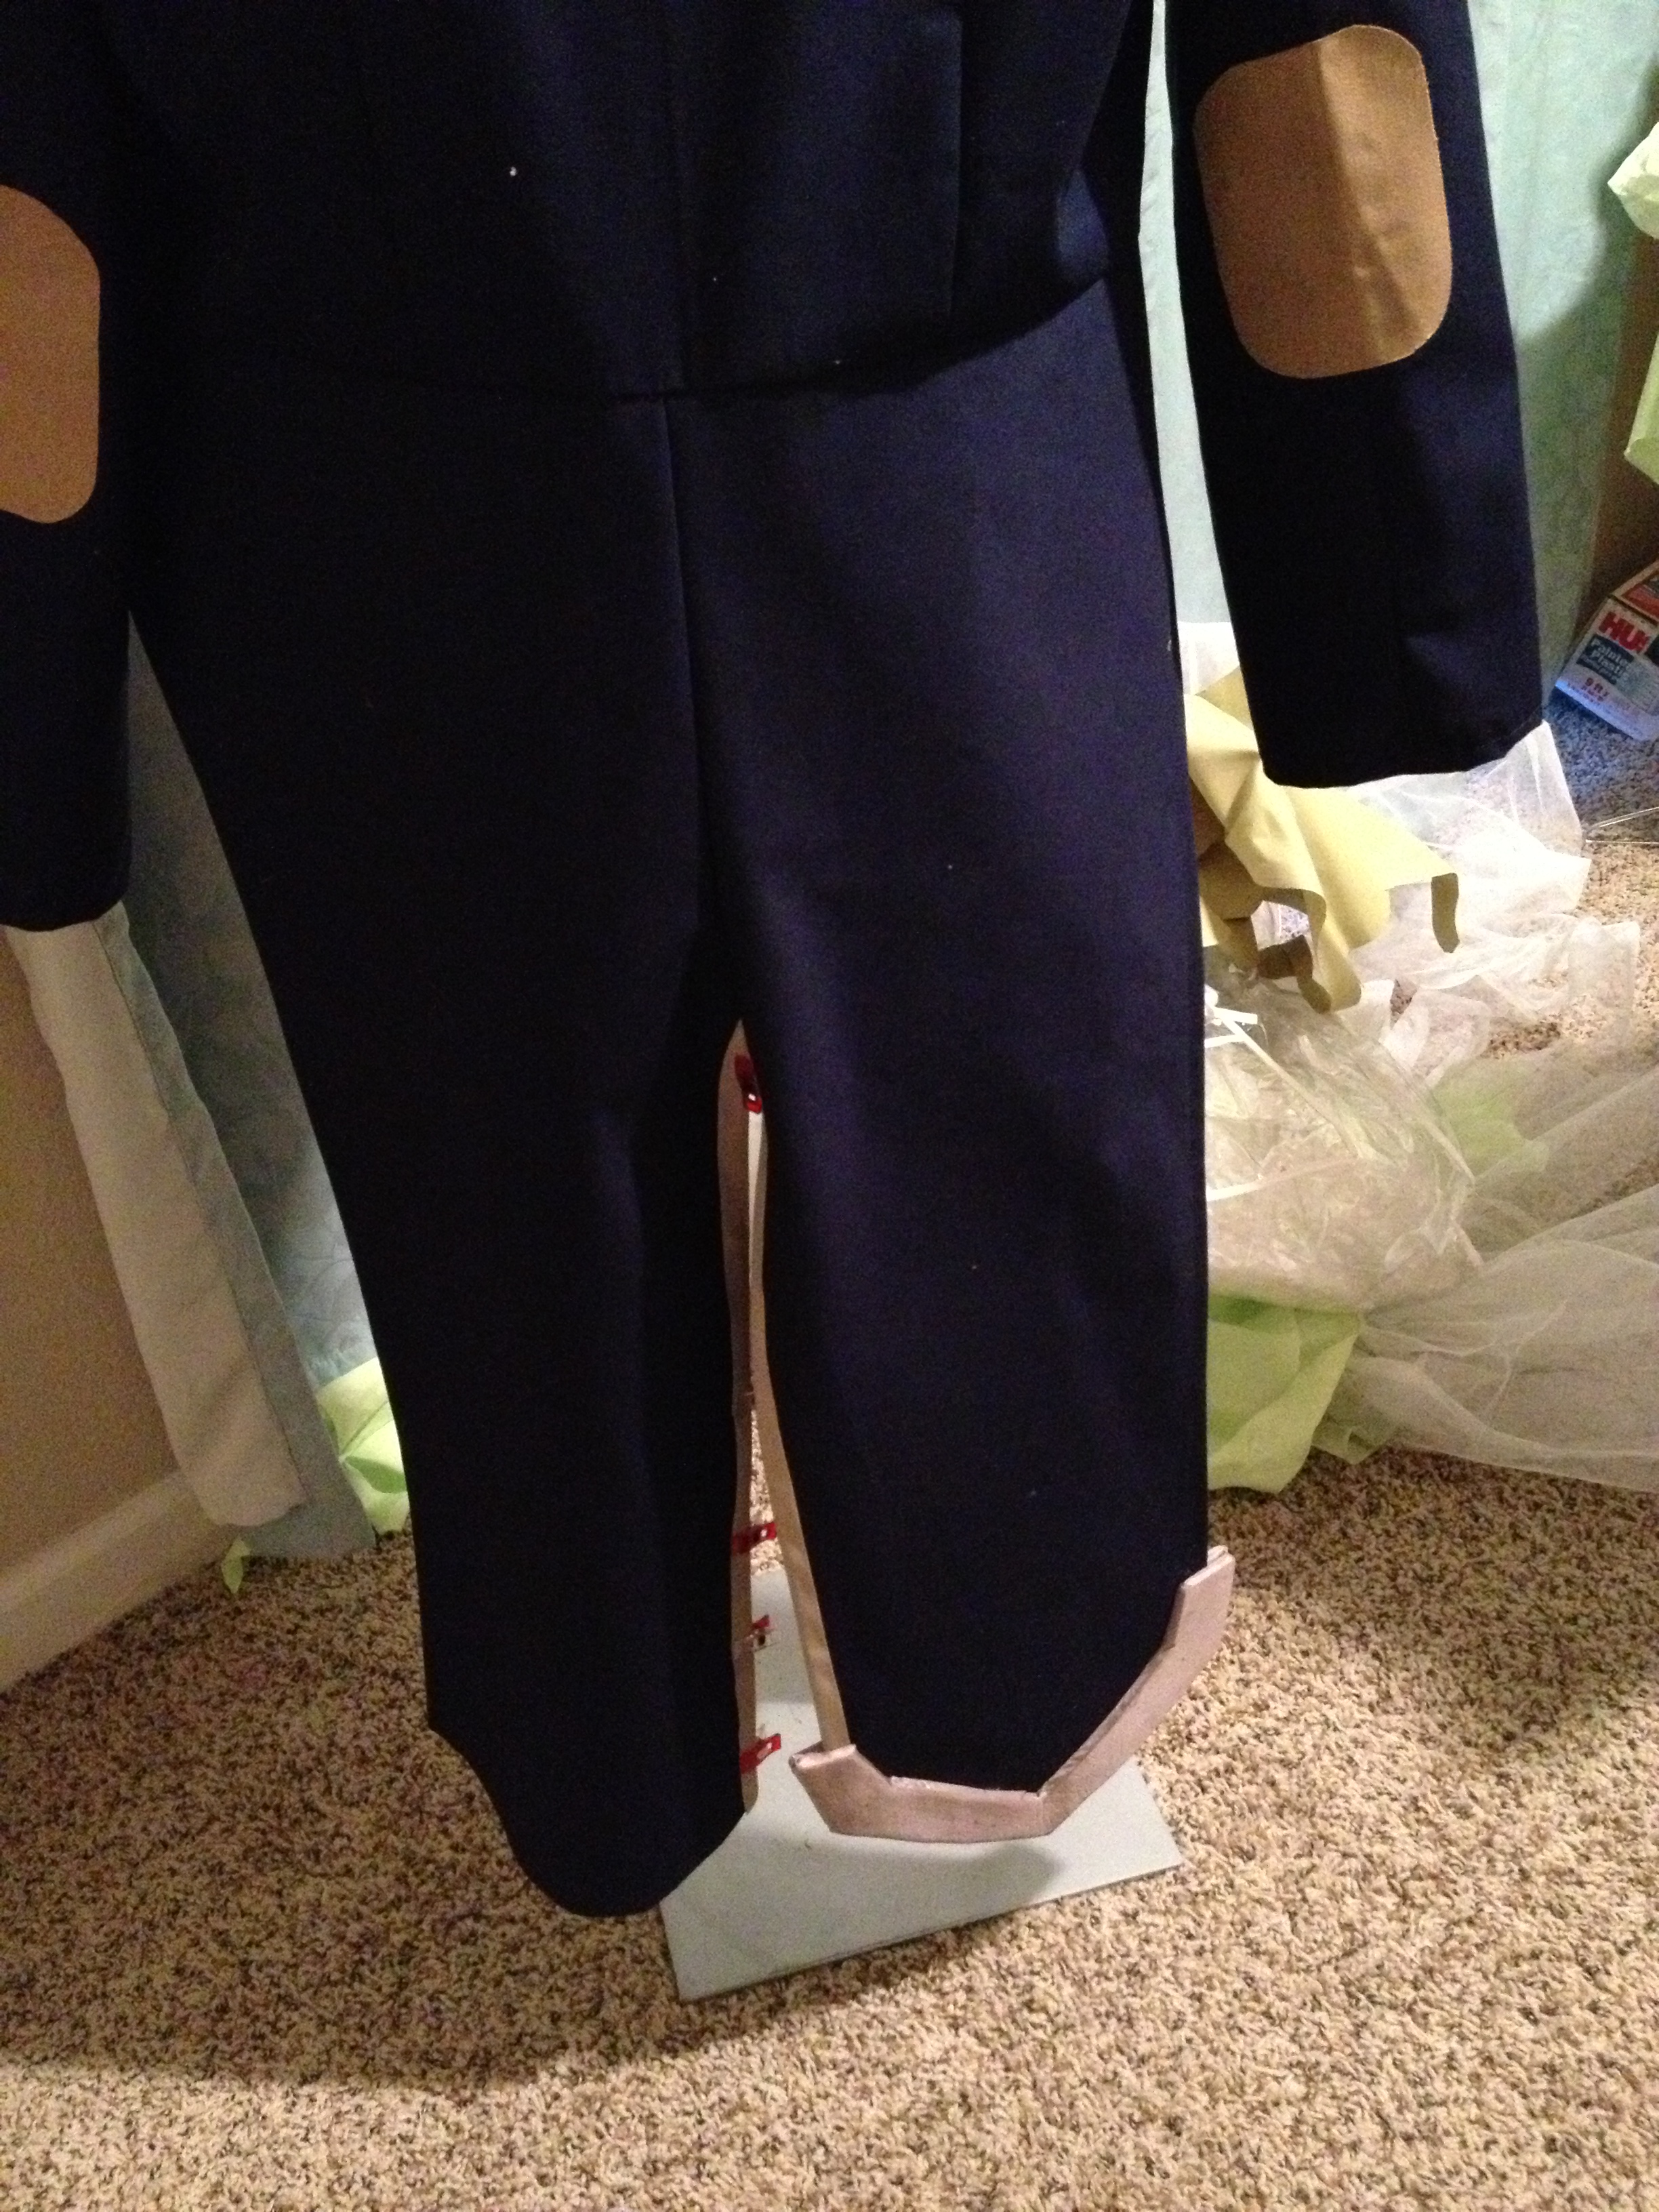 Here you can see one finished!
Oh, before I glued on the tail caps, I also attached the trim that goes on the inside V between the tails with some permanent fabric glue. For some reason this trim is only on the inside of the tails, and not the outside, so that’s what I did for the costume.
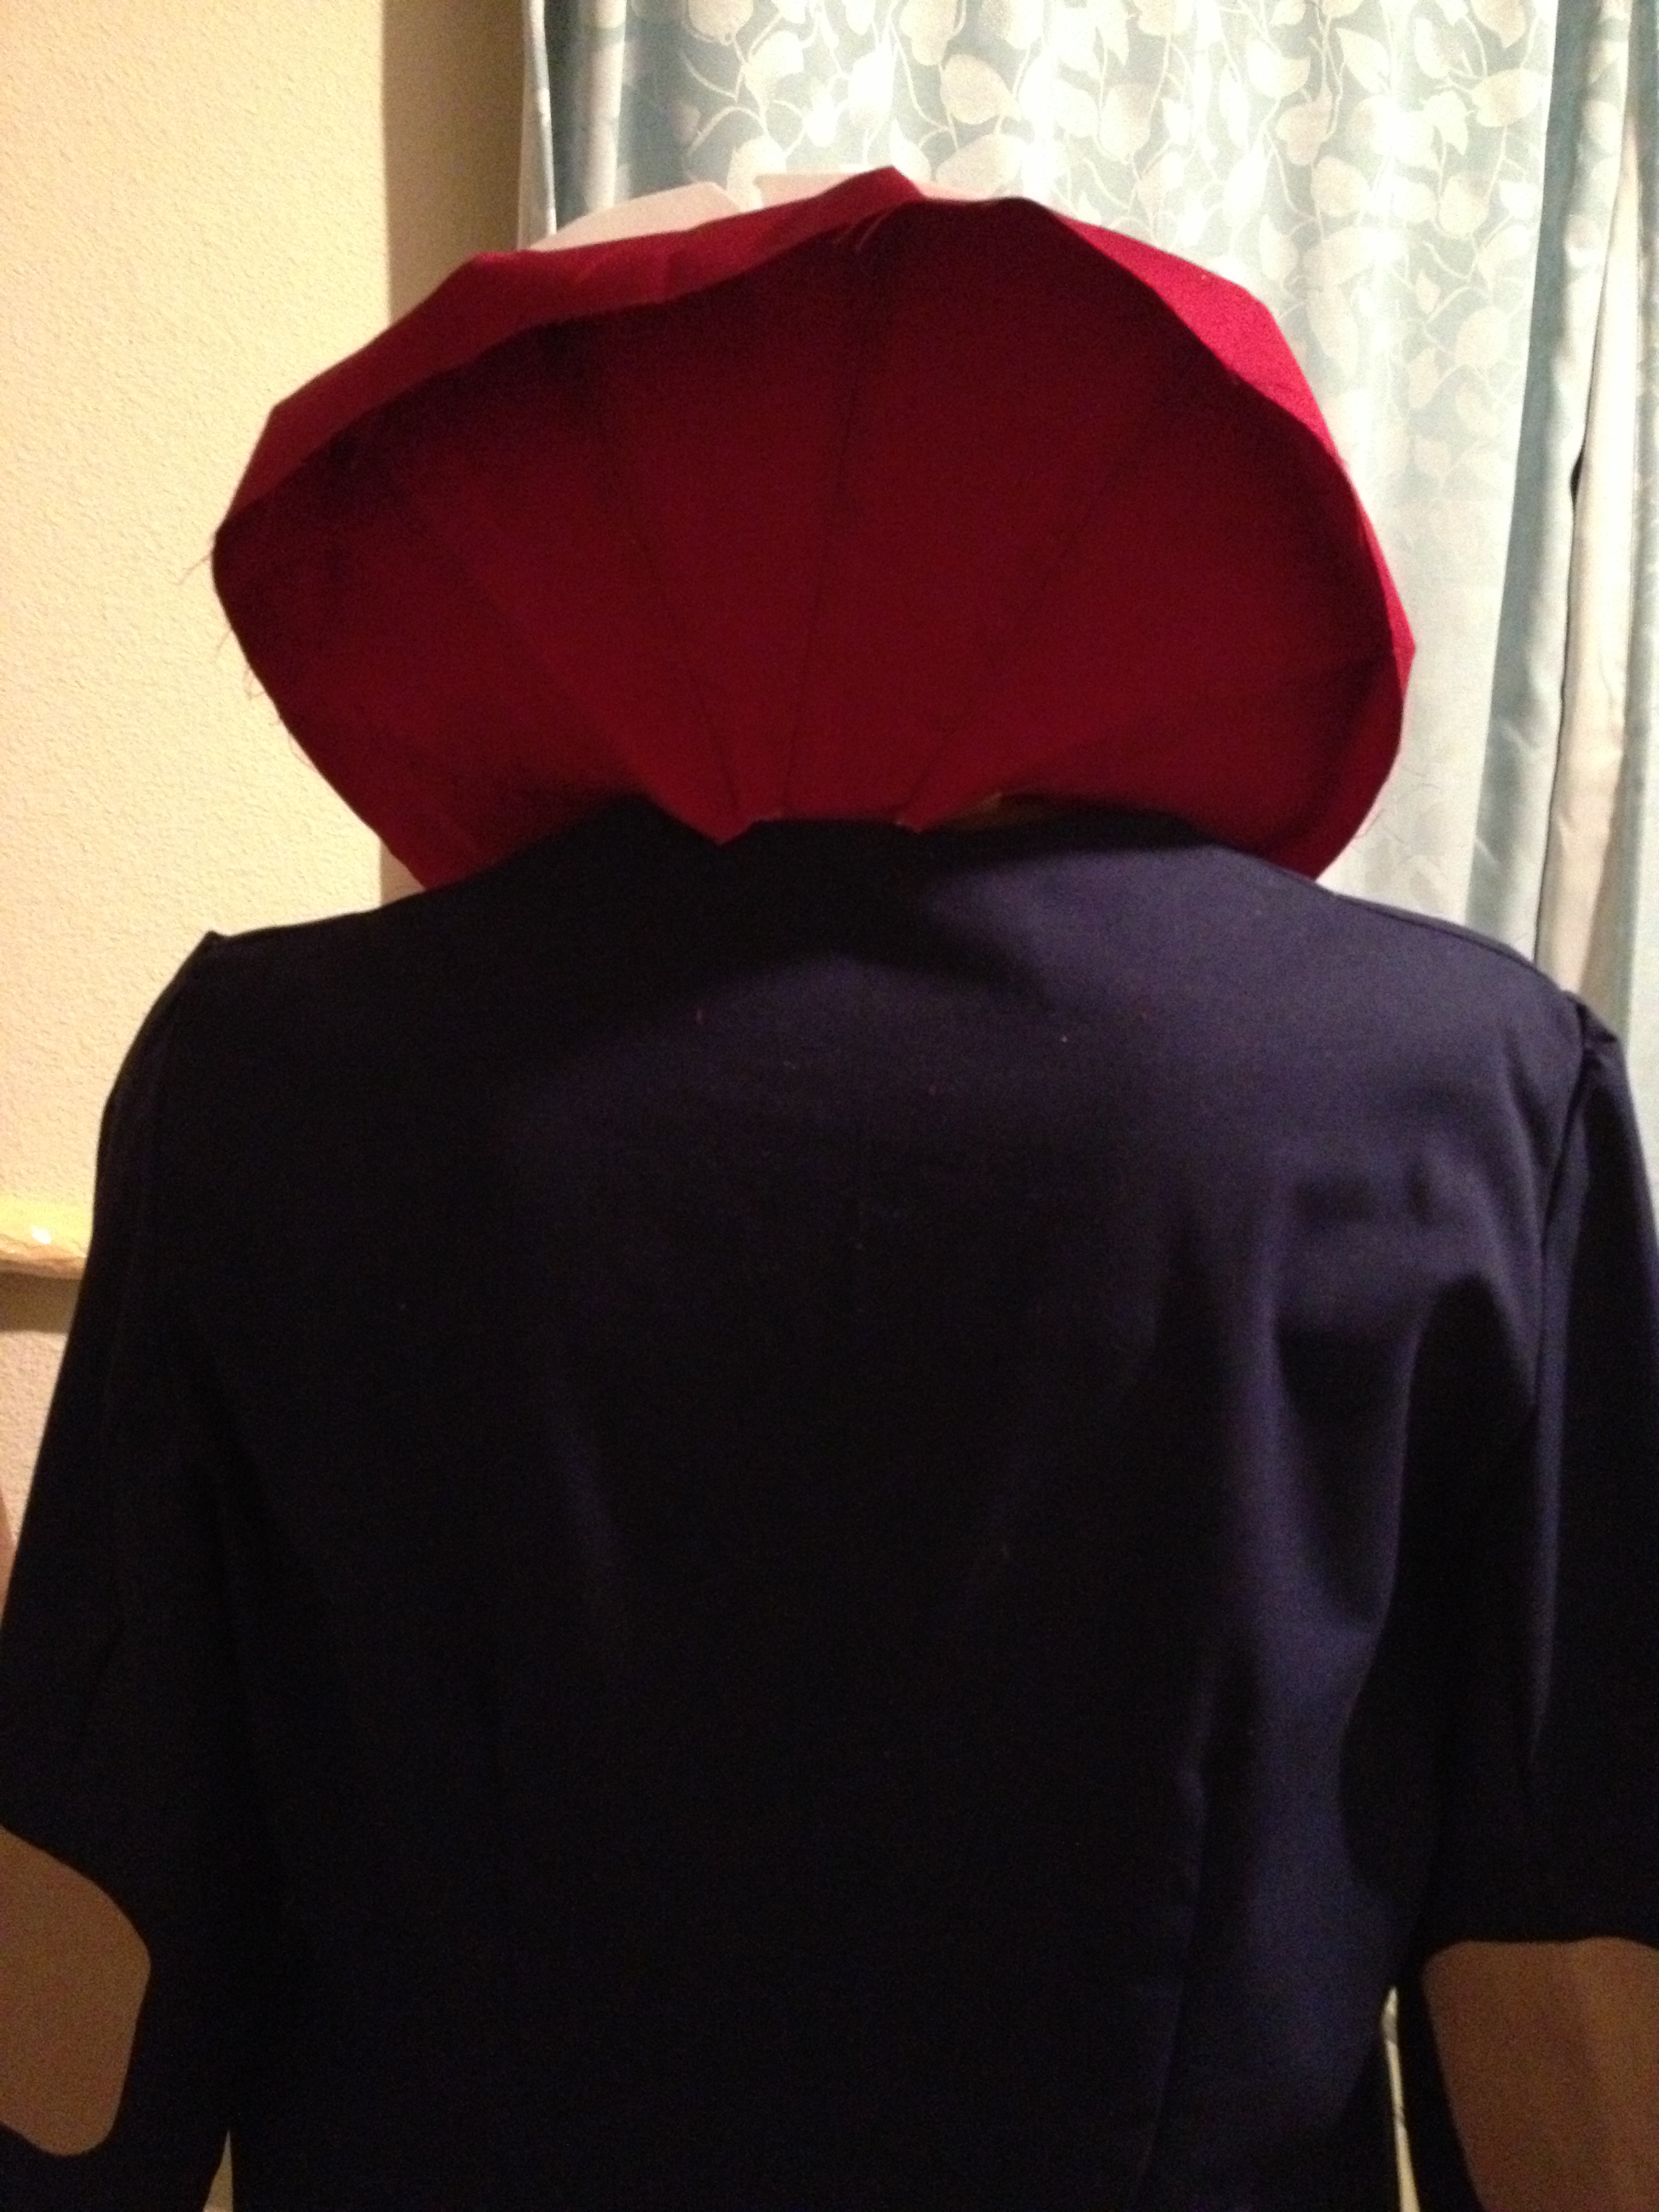
Okay, back to the collar. I had the red back pattern that I drafted cut out of the red fabric sitting aside, and decided to try out making the neck collar. This, honestly, was a lot of experimenting so I sadly didn’t take many pictures, but in this one you can see the seams in the back. I got a lot of inspiration for how to make the collar from this thread on Craftster! If you scroll all the way down, you see the finished pattern, which looks really similar to what we did here. I also attached lots of heavy interfacing between, but we ended up using a piece of worbla in the end to make it stand up the way we wanted.
 I attached the fur to the collar right sides together, then turned it inside out. Then, I patterned out the front red pieces, attached them to the front back pieces, and tried to figure out how I wanted the collar to attach to the red pieces. I ended up sewing them together along the inside edges of the collar.
Now, a lot of these under pieces are going to look weird and unfinished, and that’s because they are. A lot of these parts are going to be covered by the chest armor later on, so there’s no reason to add details where they won’t be seen.
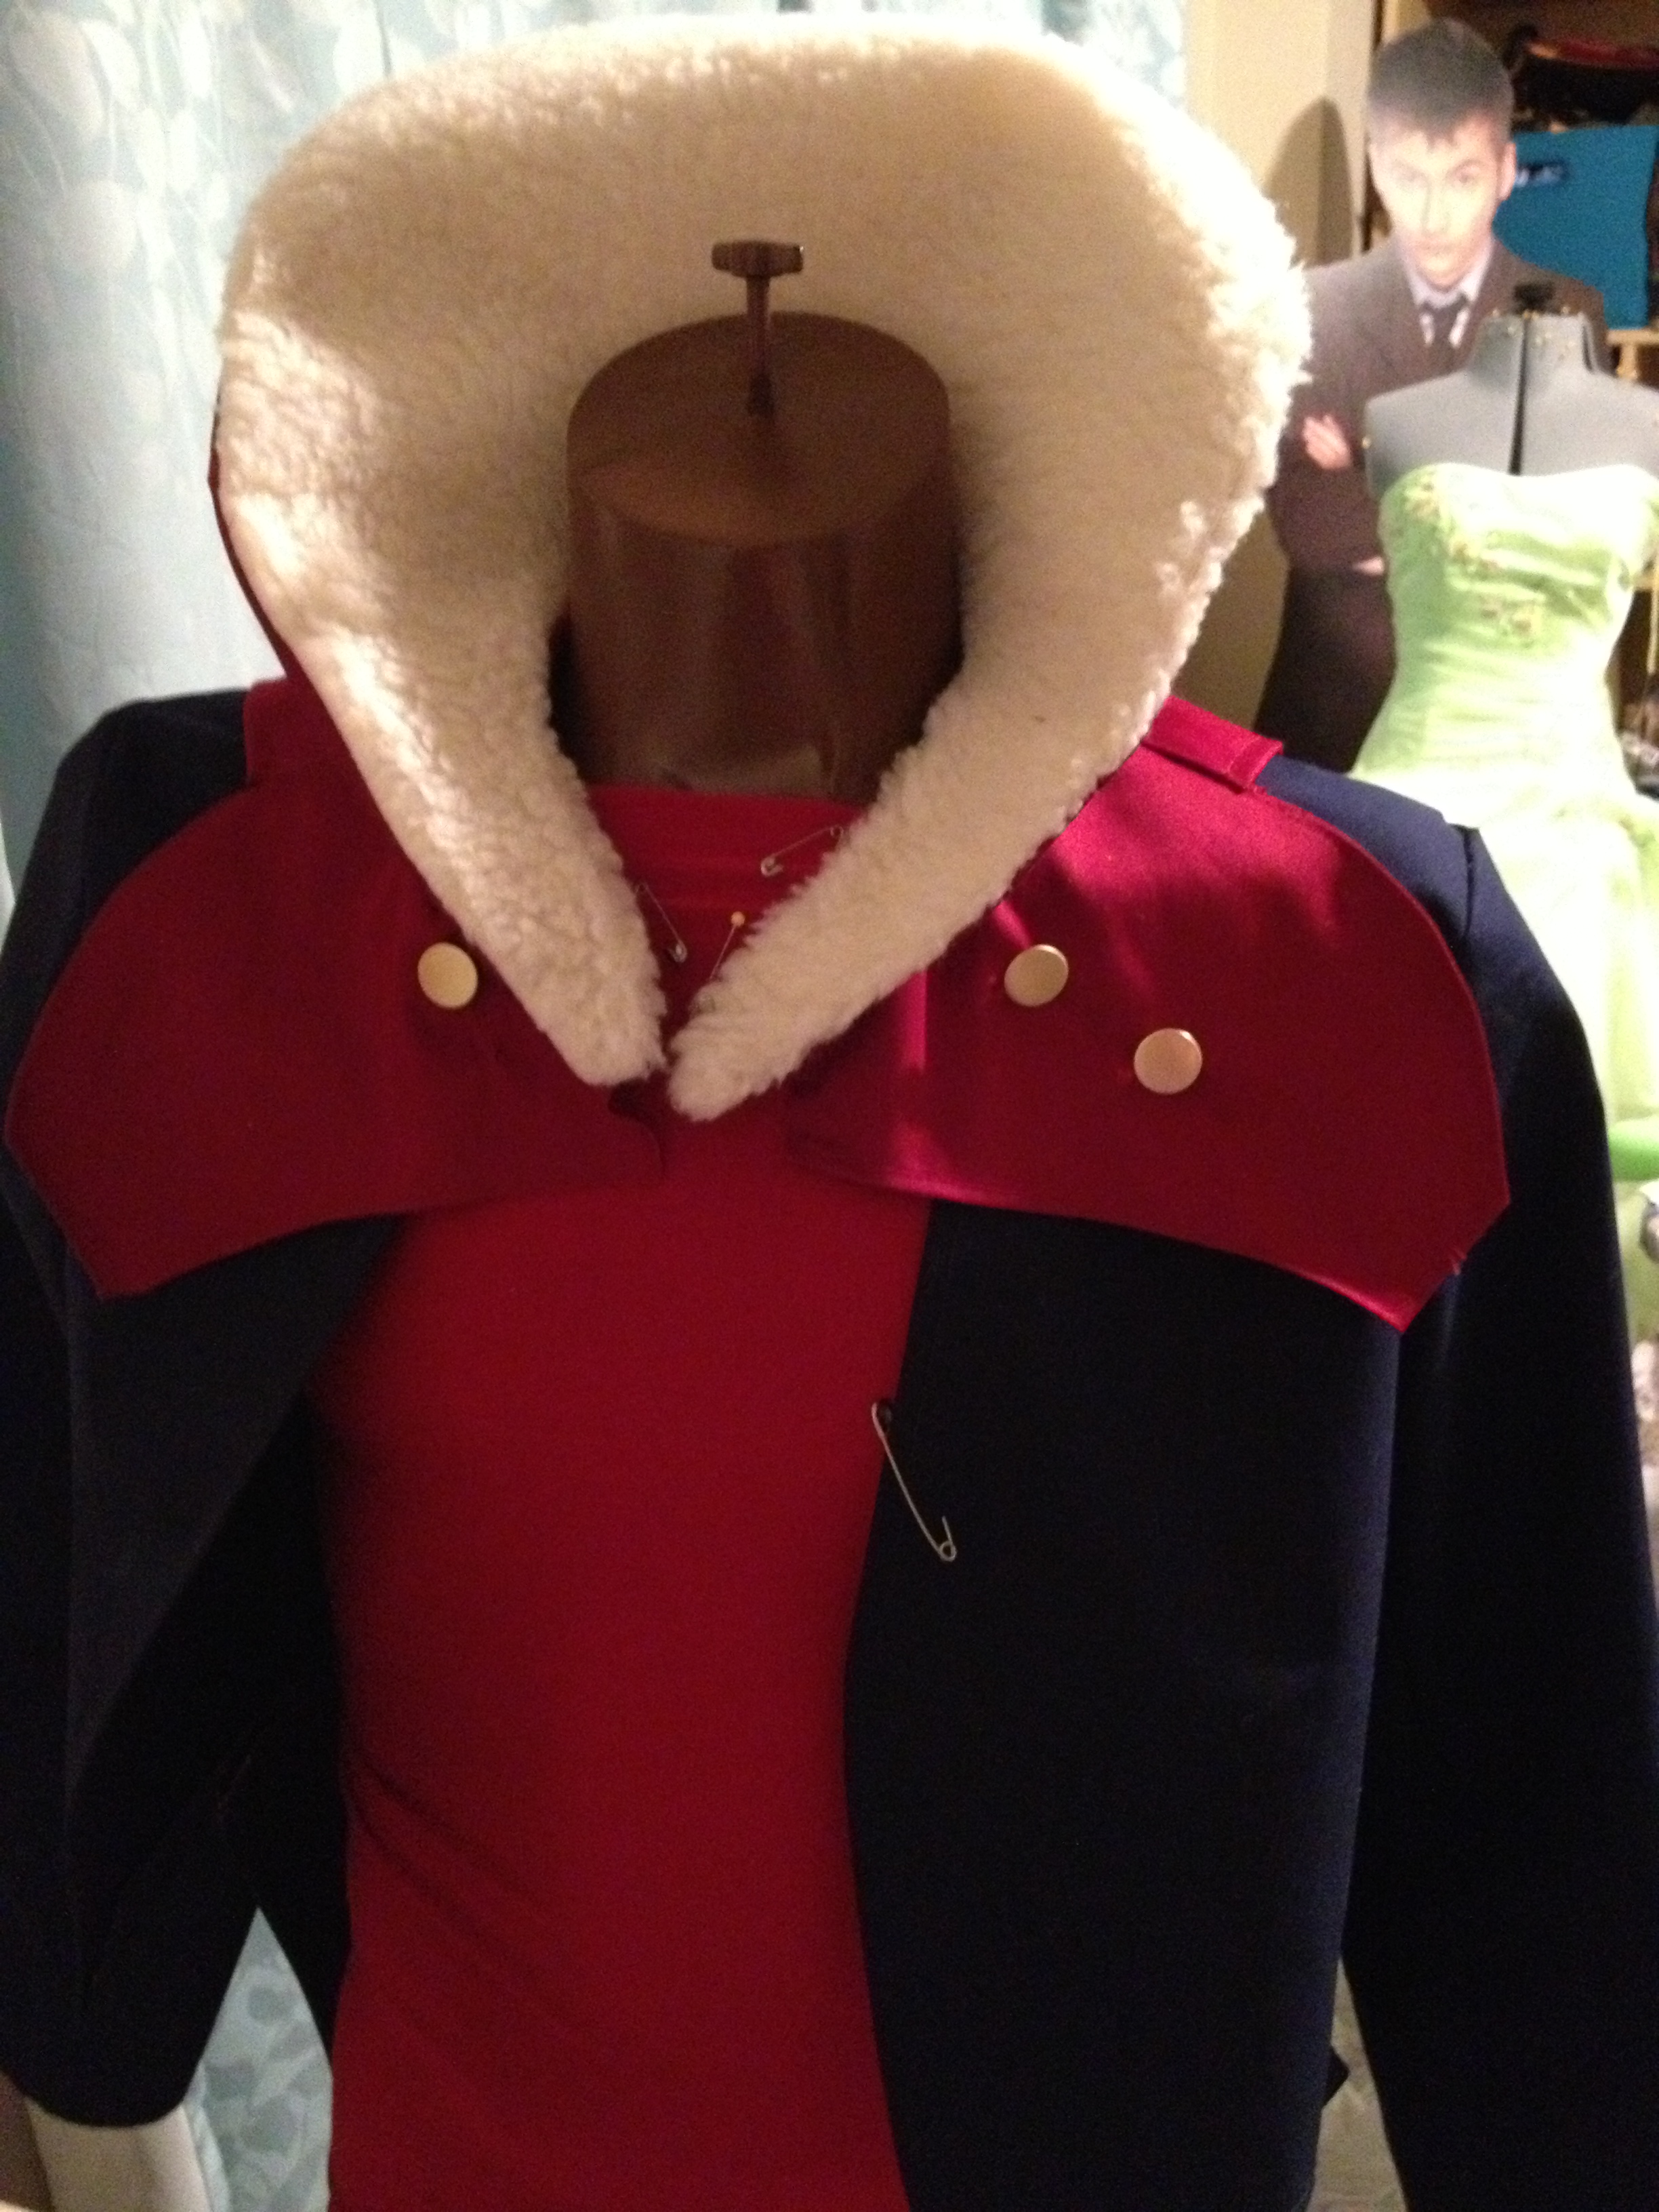
I sewed on some buttons- the right side (your left) only got one since the shoulder is going to be in the way.
 Buttons on the back!
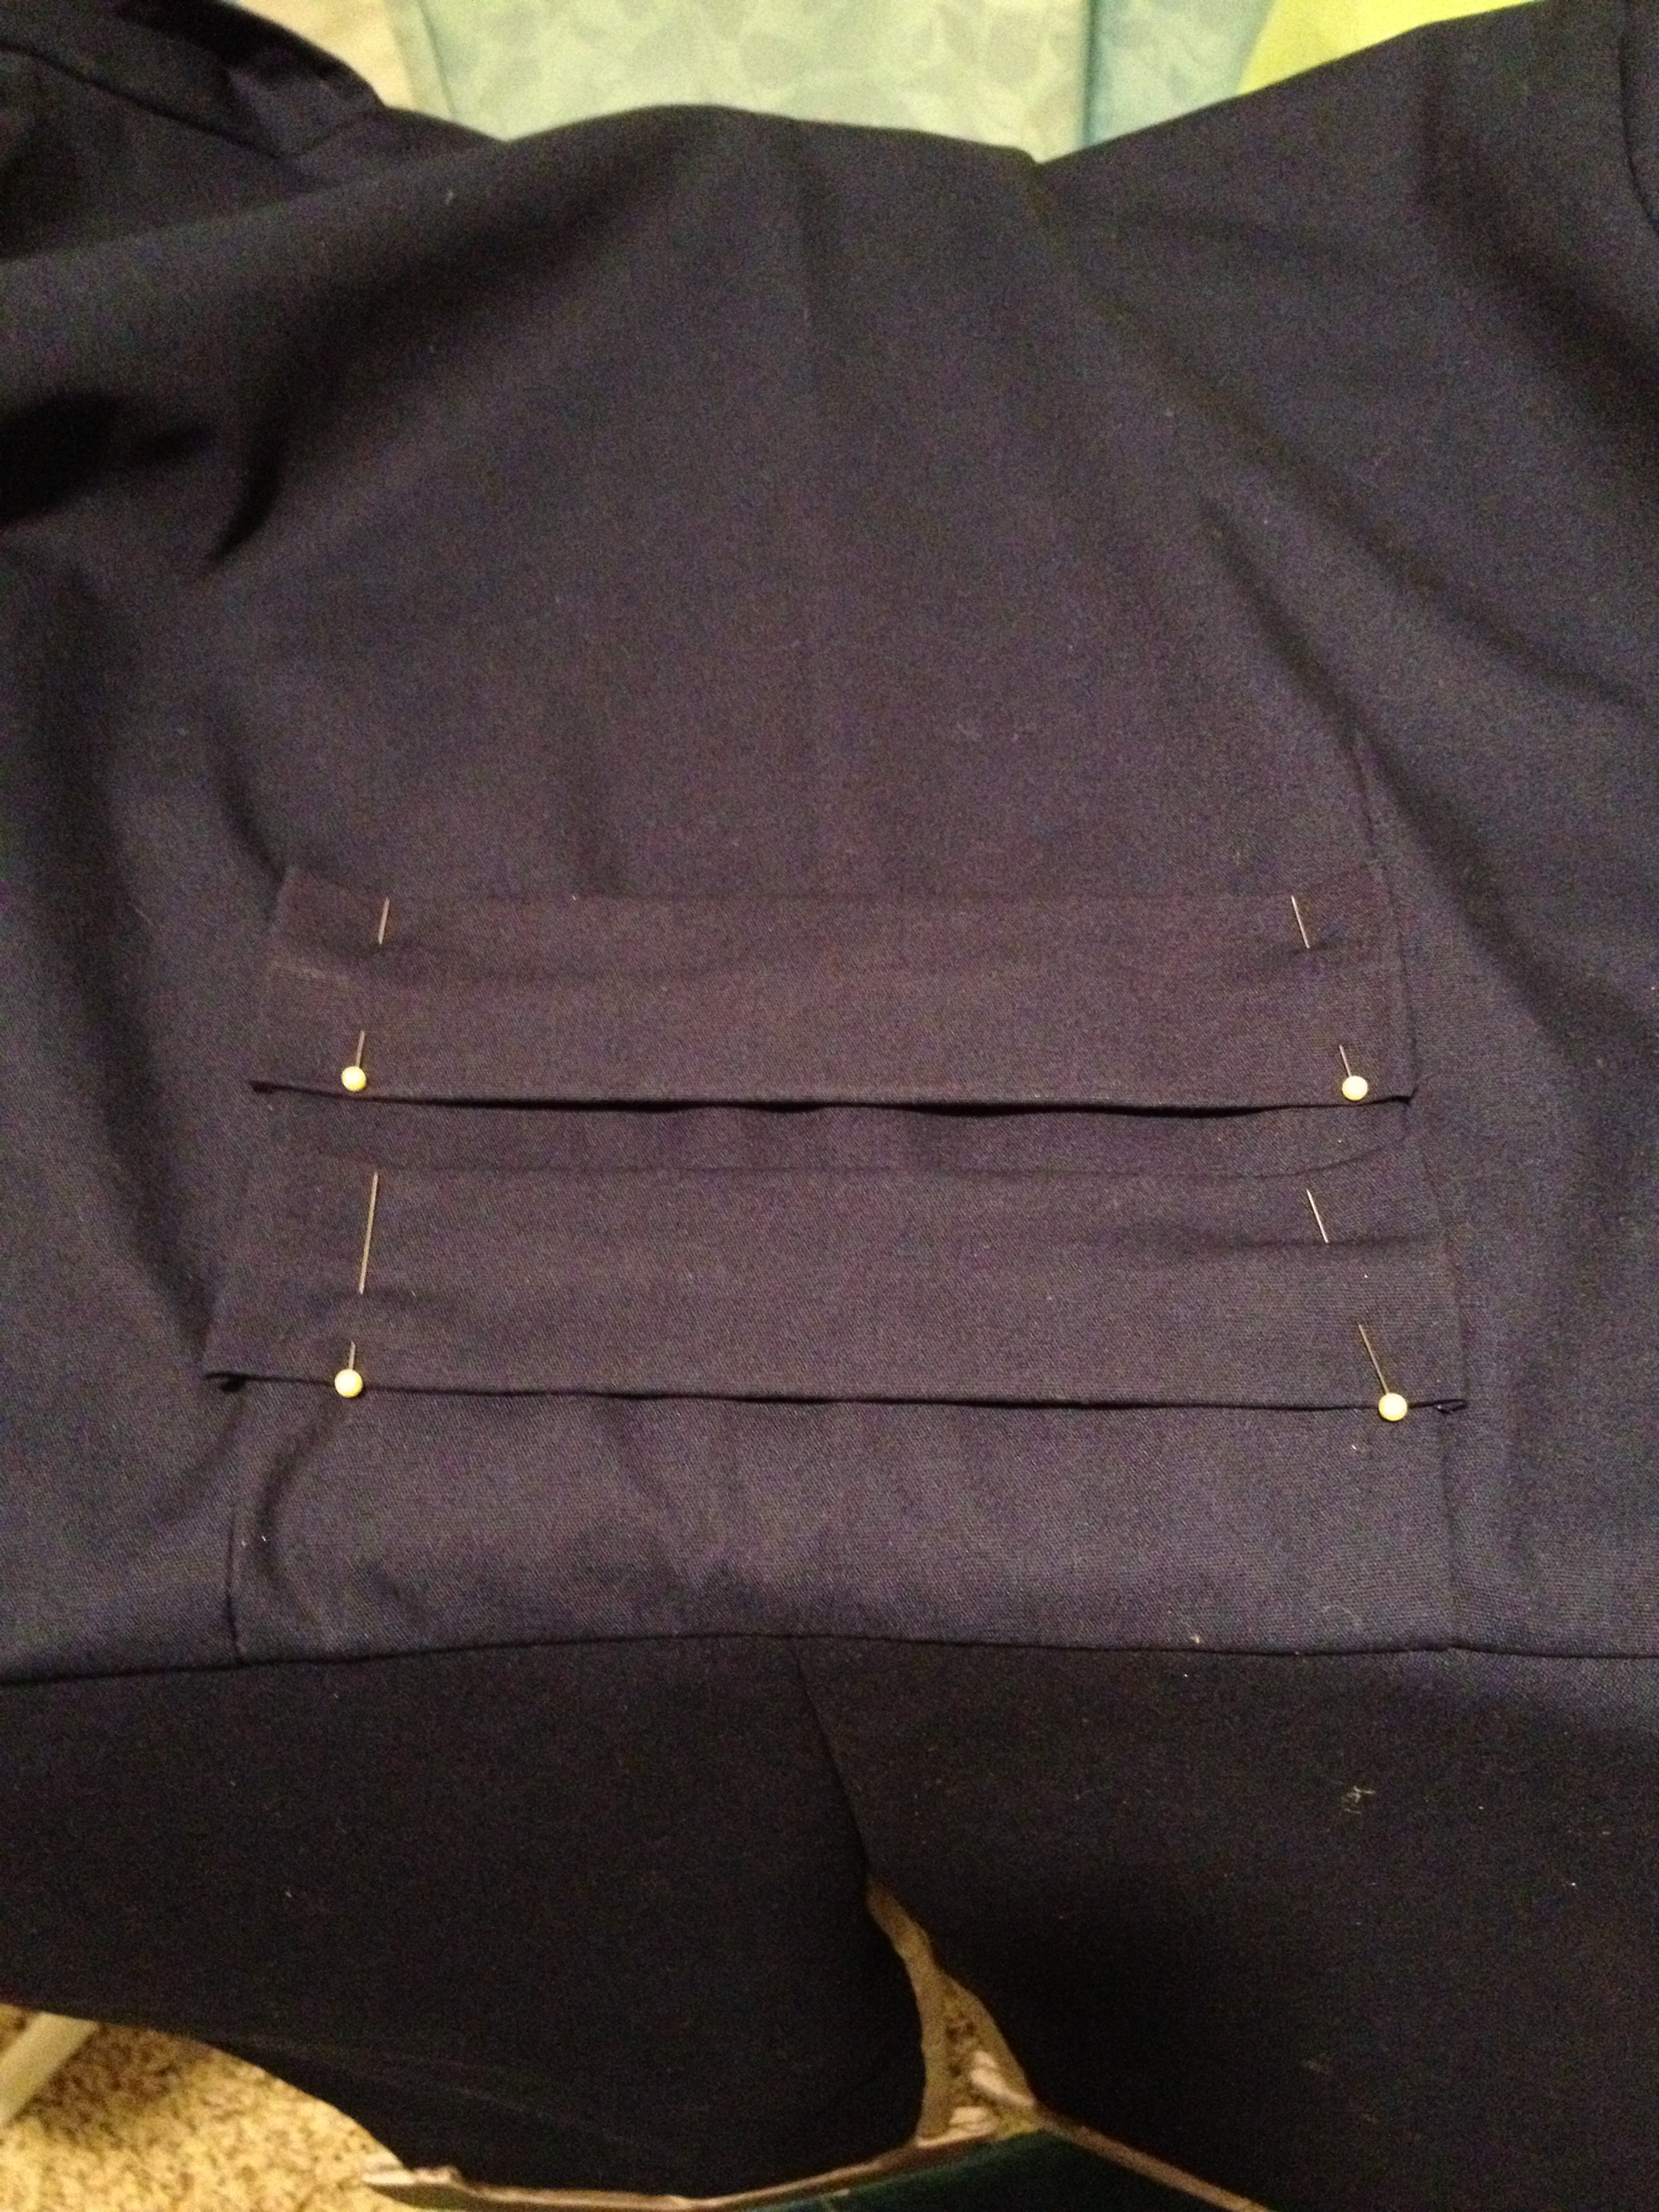
Here, you also see the straps that were sewn onto the back with buckles- these were just straps of the blue fabric, edges folded and sewn onto the jacket with the buckles slid onto them before the final sewing. The buckles were originally silver, but we painted them all gold so they would be uniform throughout.

 The leather shoulder cap was made out of two pieces of a faux leather we had, one was a kind of half oval shape for the top of the shoulder, and the other was a long rectangle that went around that. It took some practice with sewing them together just right, but I like the final product! Some velcro was glued to the inside top of the shoulder pad, and sewn onto the top of the coat, so the shoulder stays on just fine that way.
 I don’t think I have photos of this next step, but I sewed four straps on each side of the coat that would attach to the chest armor. We waited until the chest armor was done to mark where these would go and pin them in, and they’re just held in place by velcro, since they aren’t load bearing, they just need to stay in place.
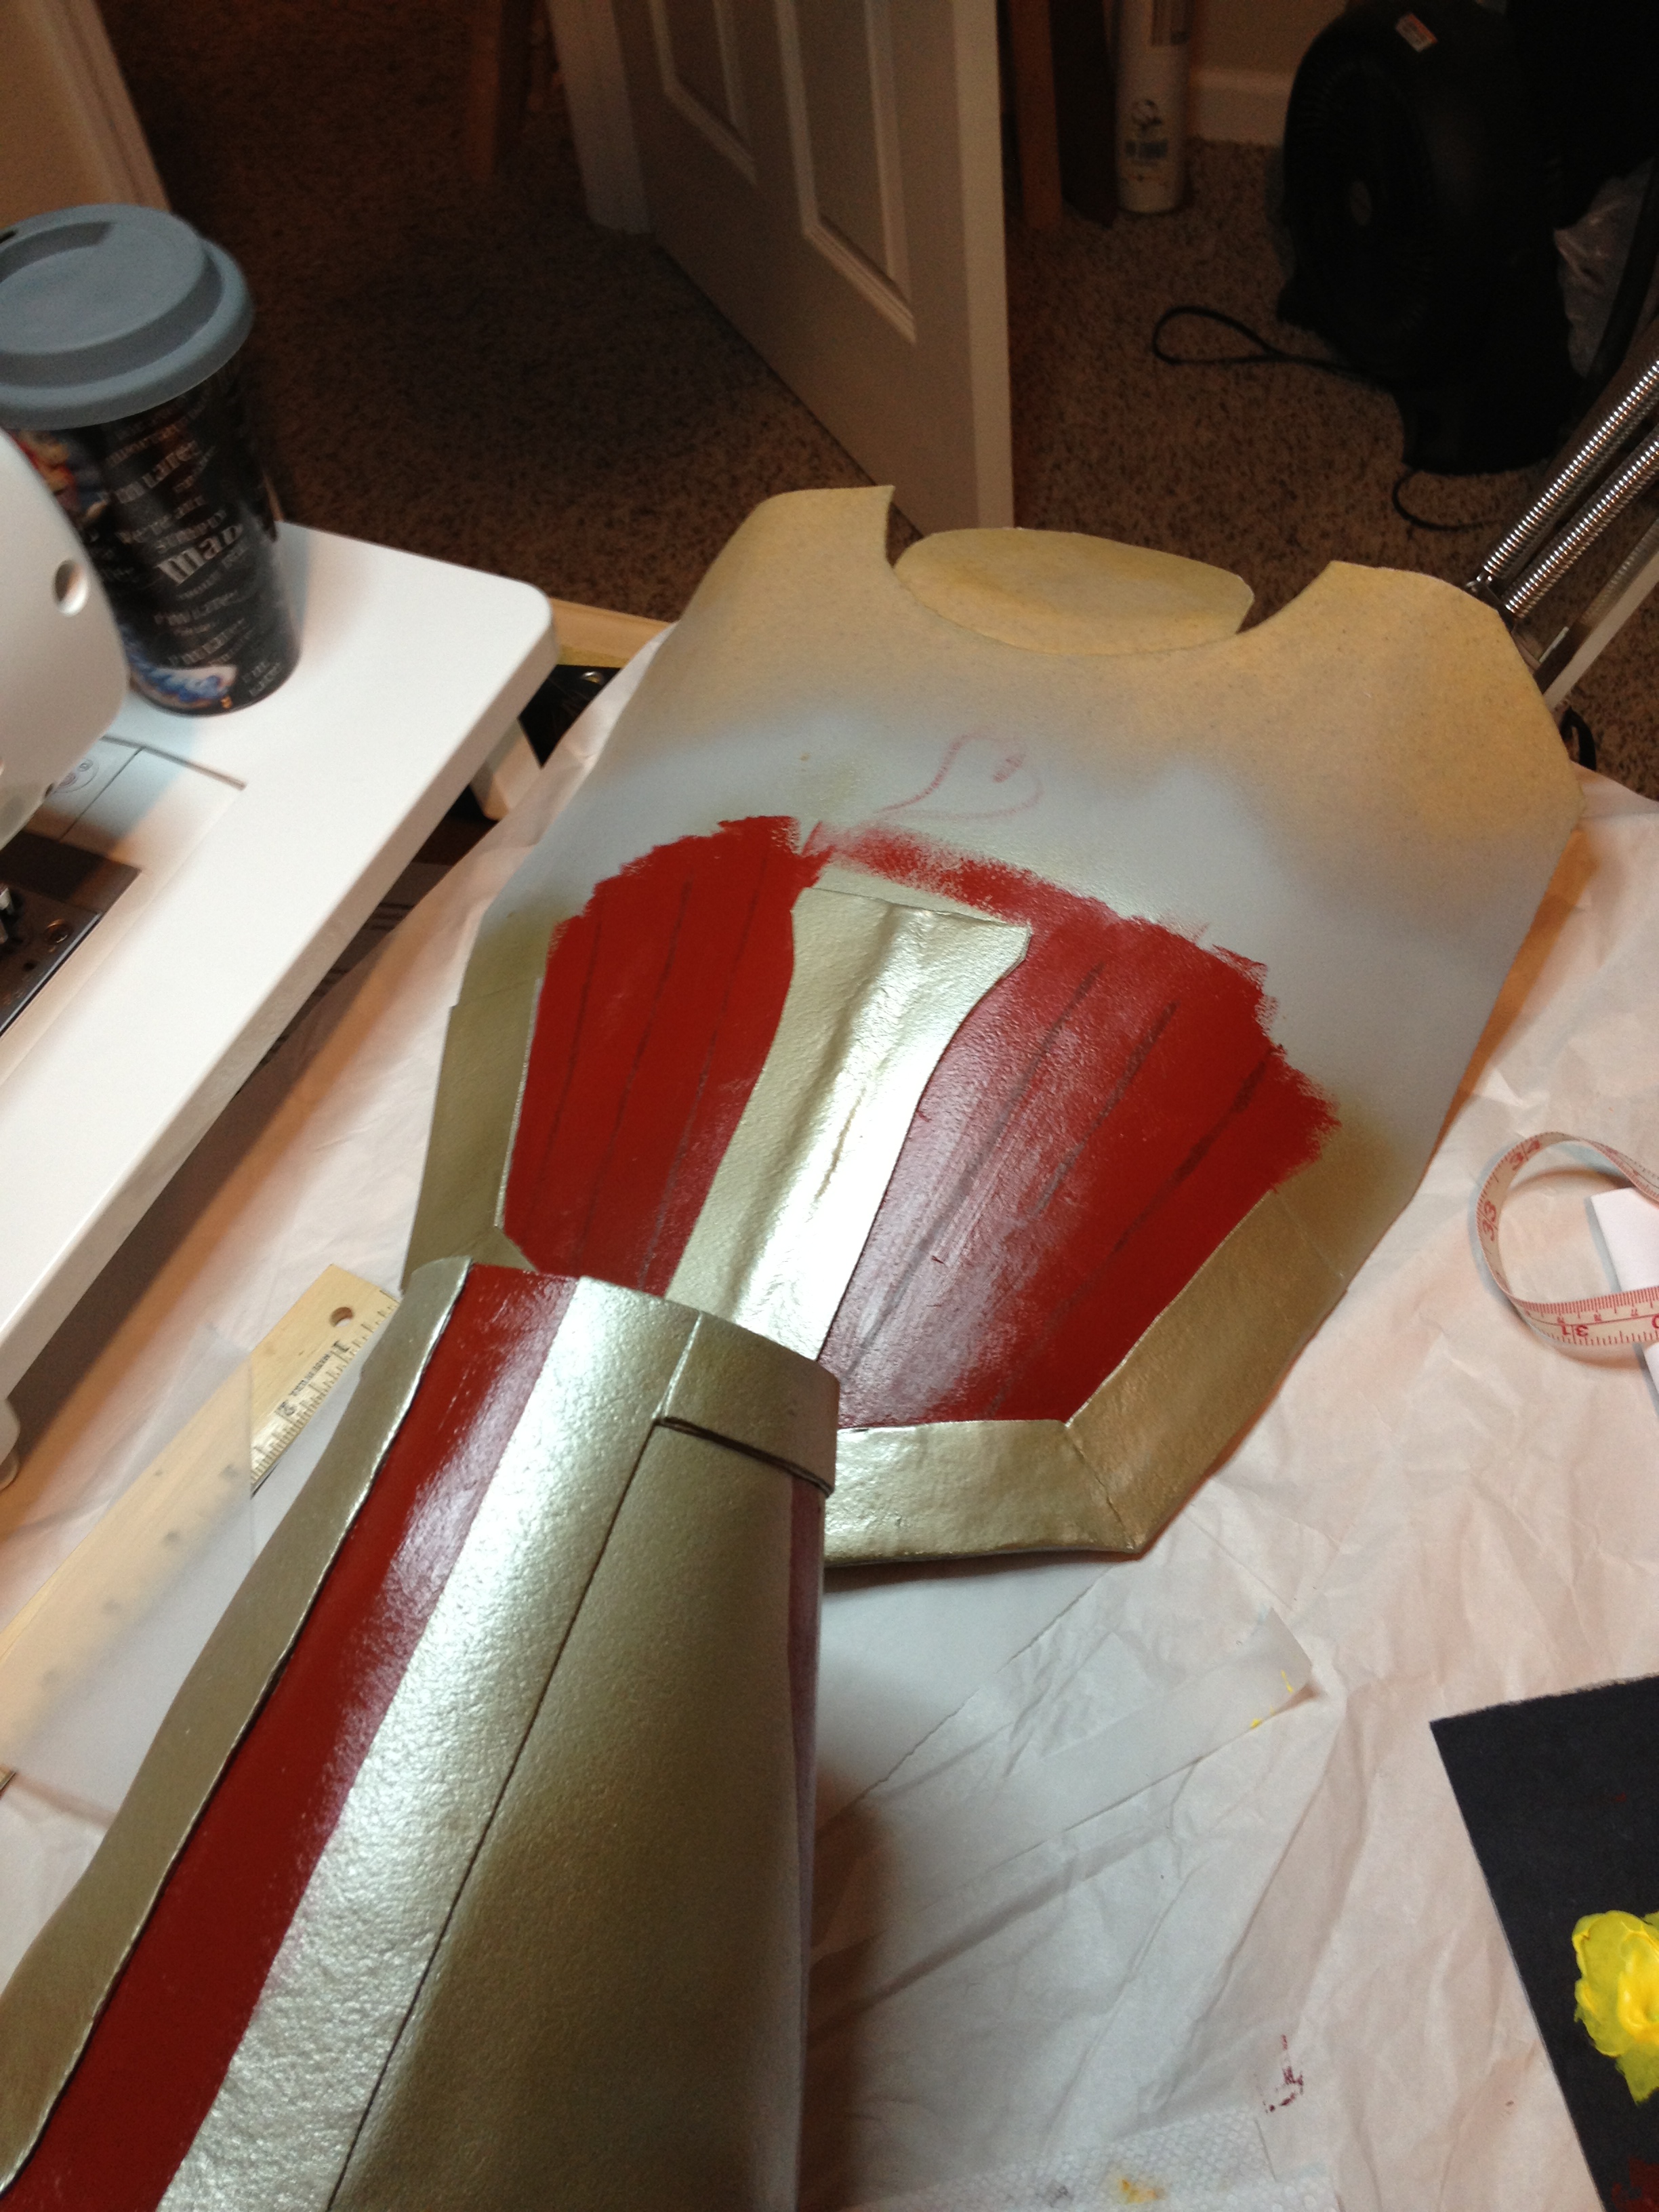
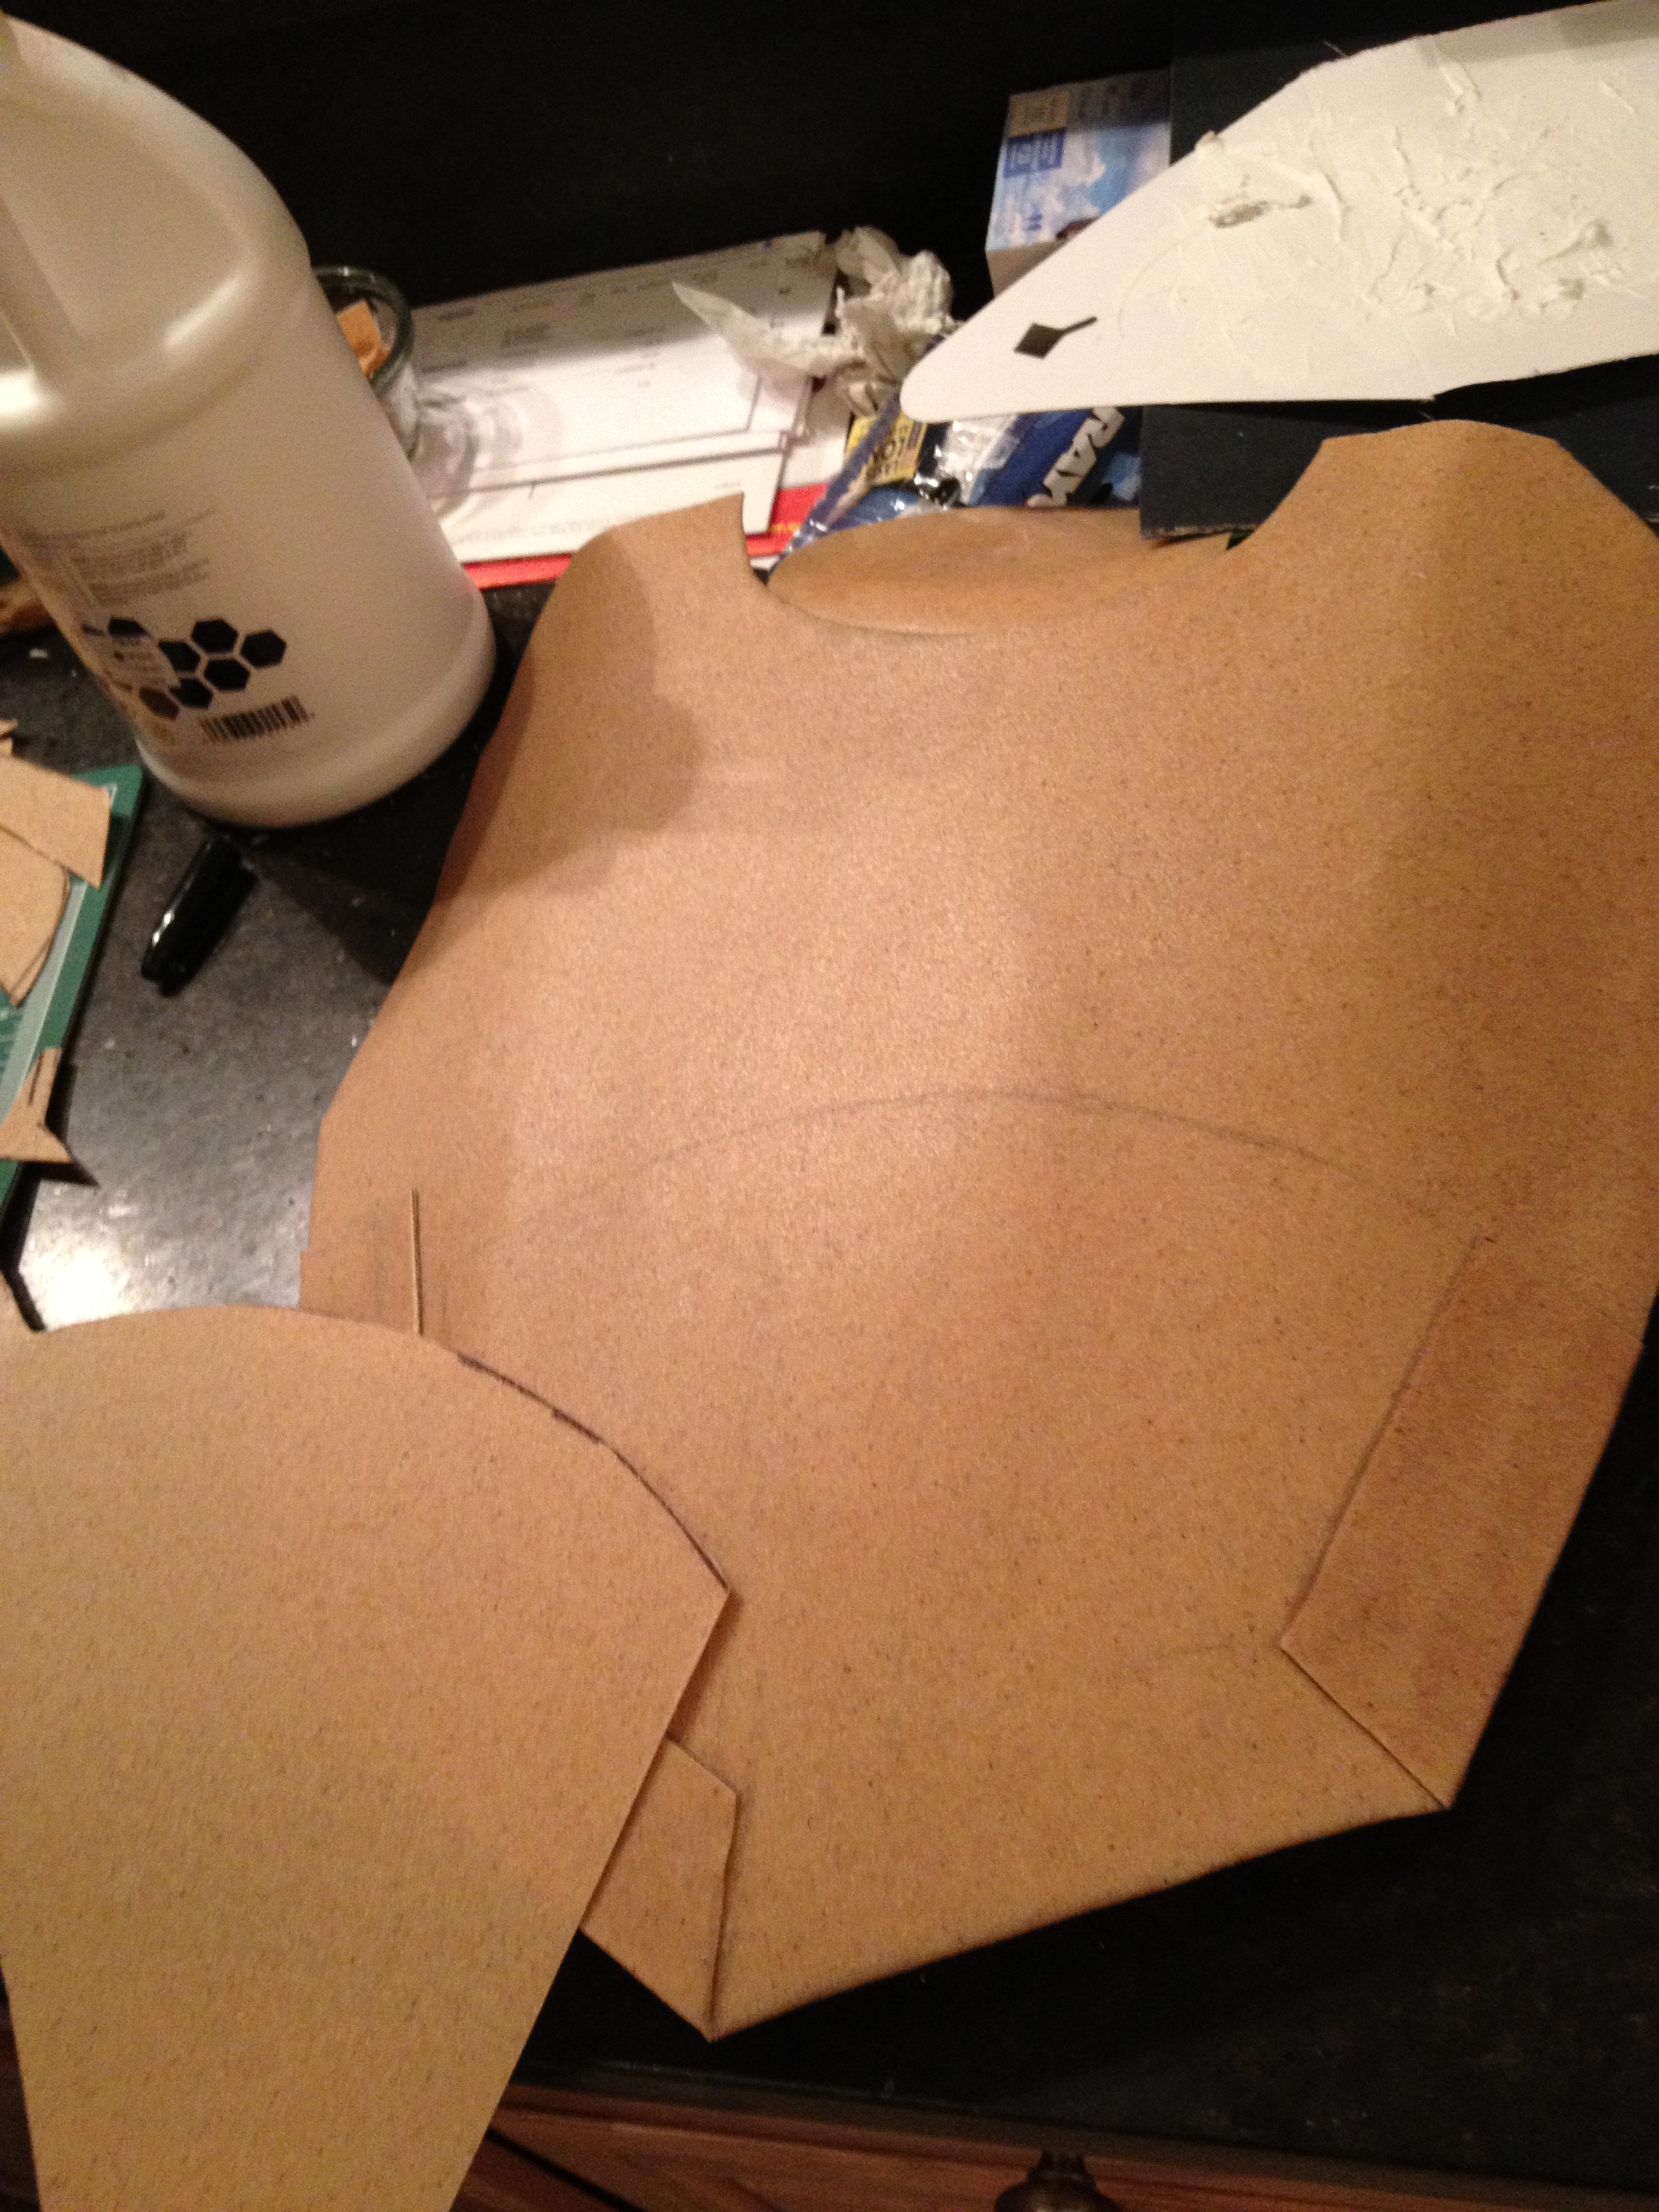 The chest armor was actually two pieces glued together once they were finished being painted individually. Both were made from worbla sandwiched with craft foam in between, then shaped.
 Rough shape! Jayce face!
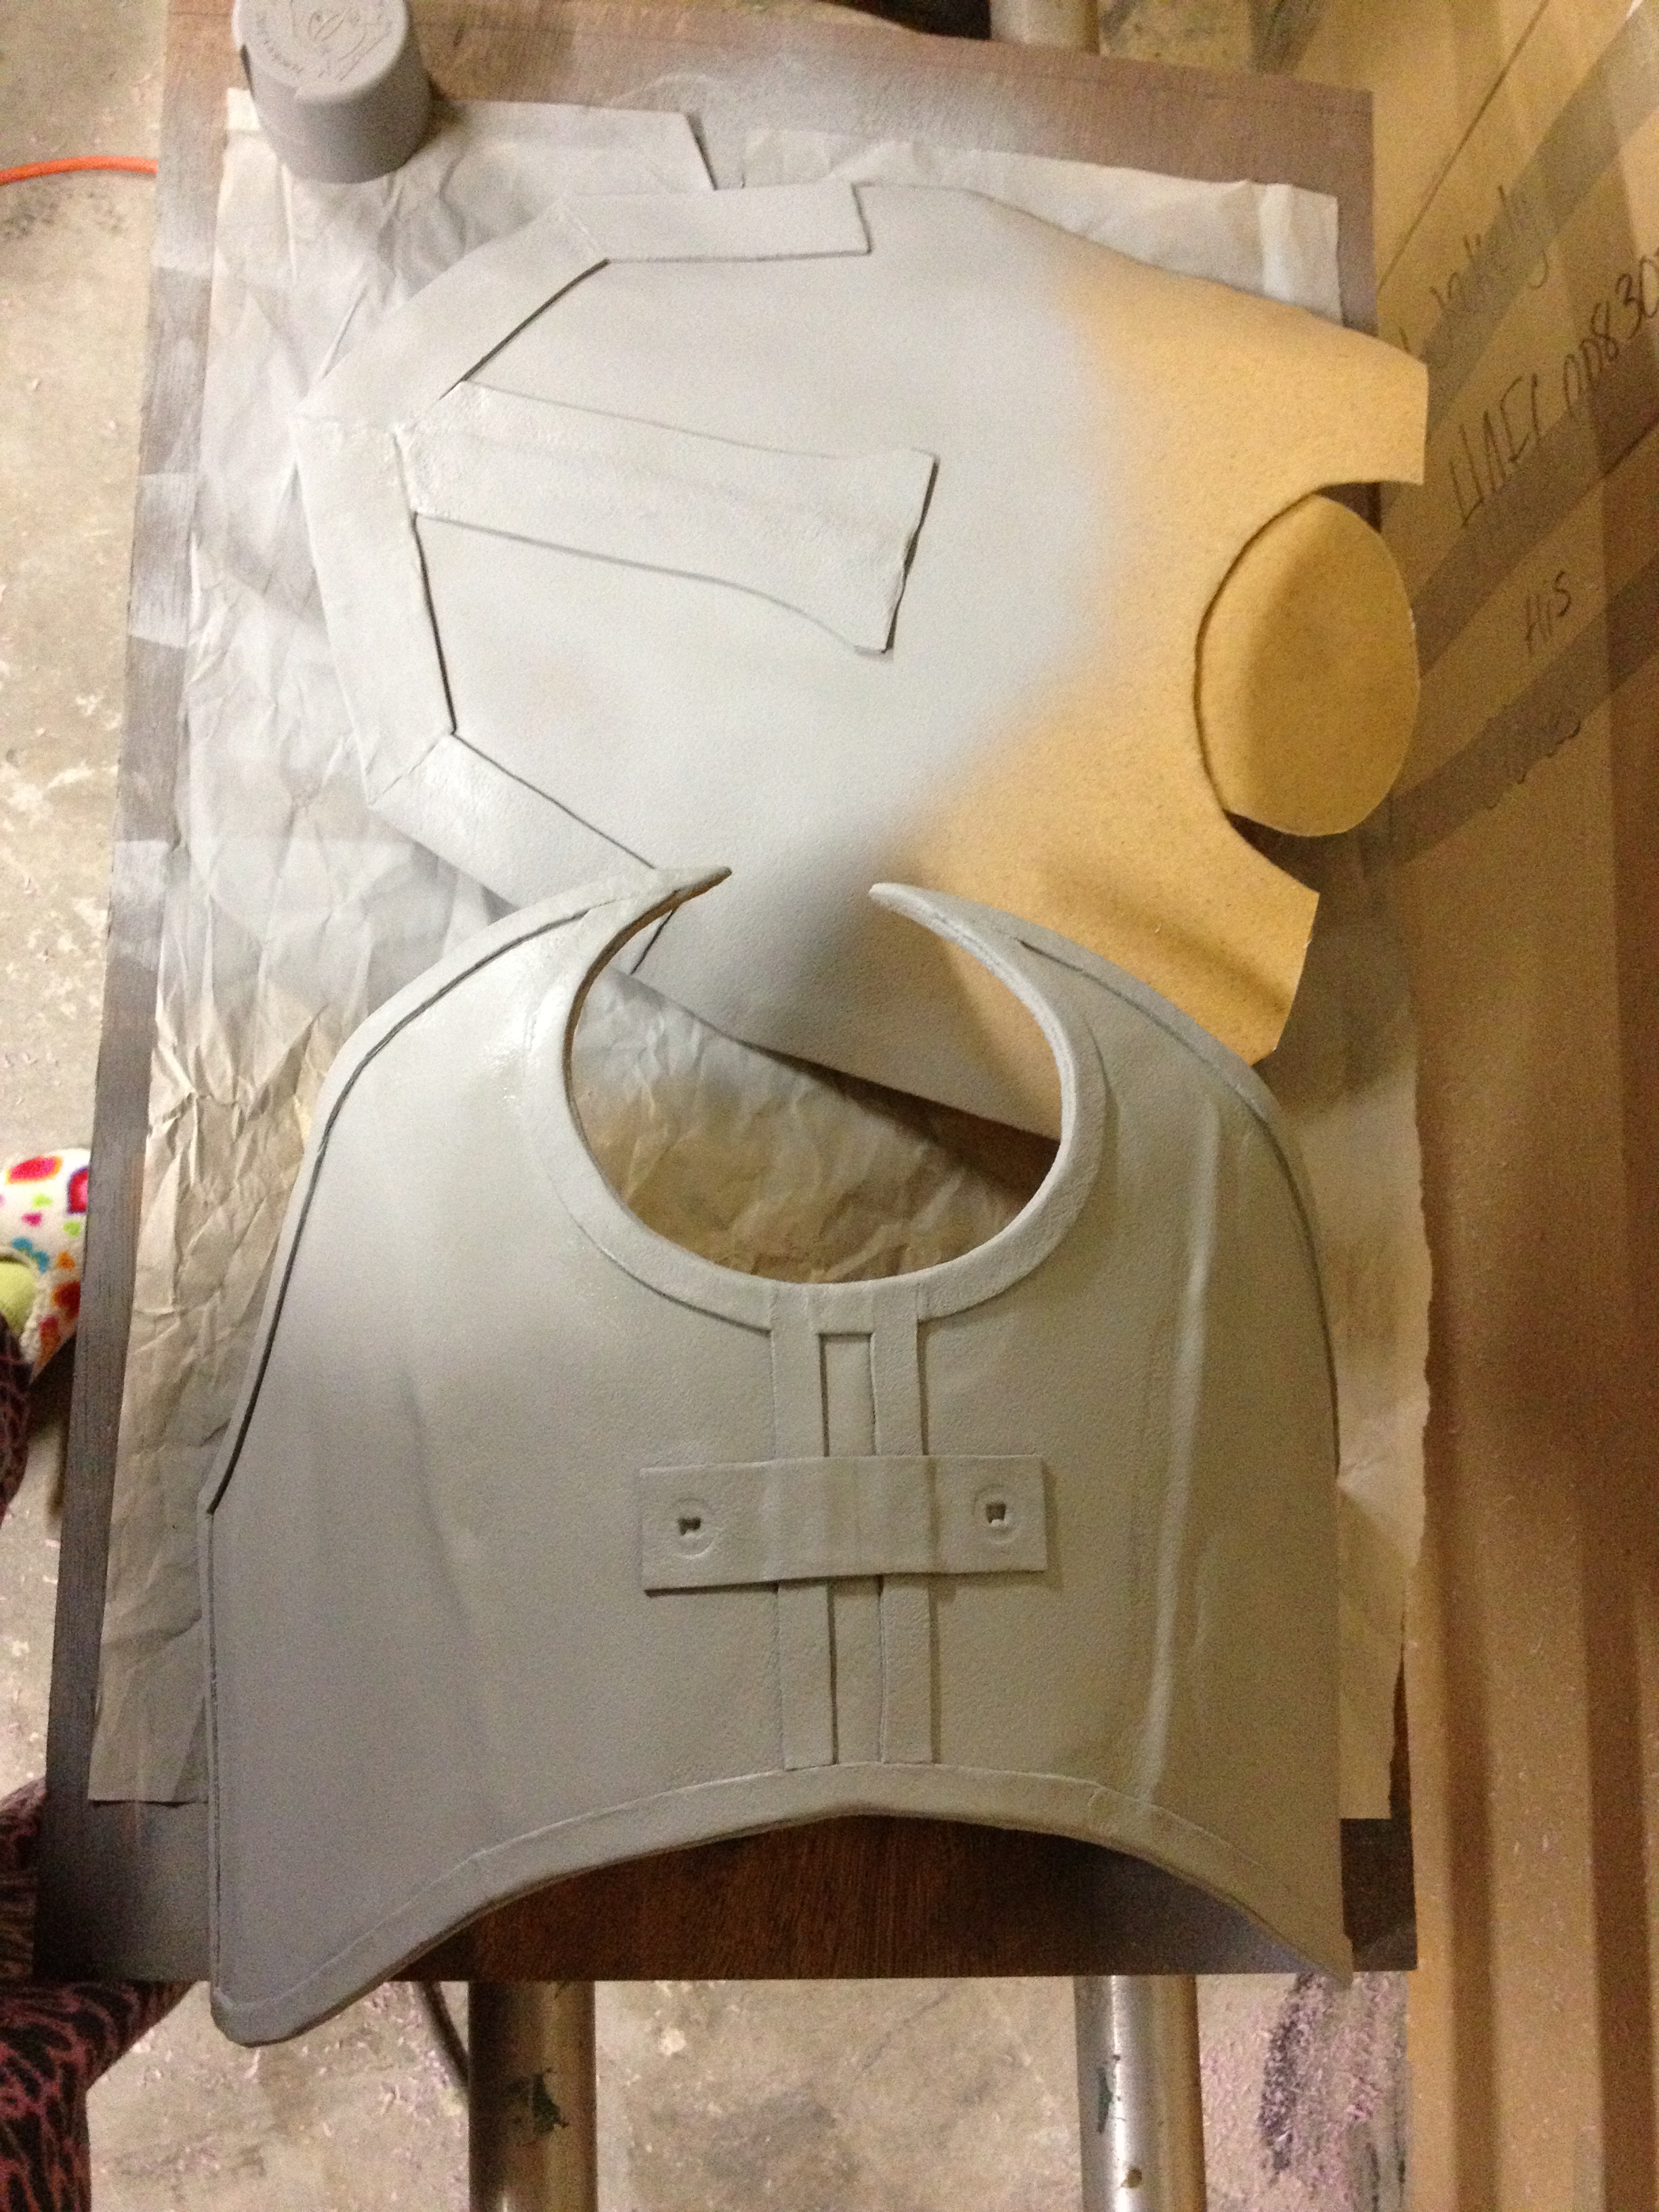
Details were done with worbla, then both were spray painted with a primer. If we weren’t doing this in a month, we would have taken the time to smooth out these pieces, but we didn’t have that type of time. We’re really happy with how they came out, though!
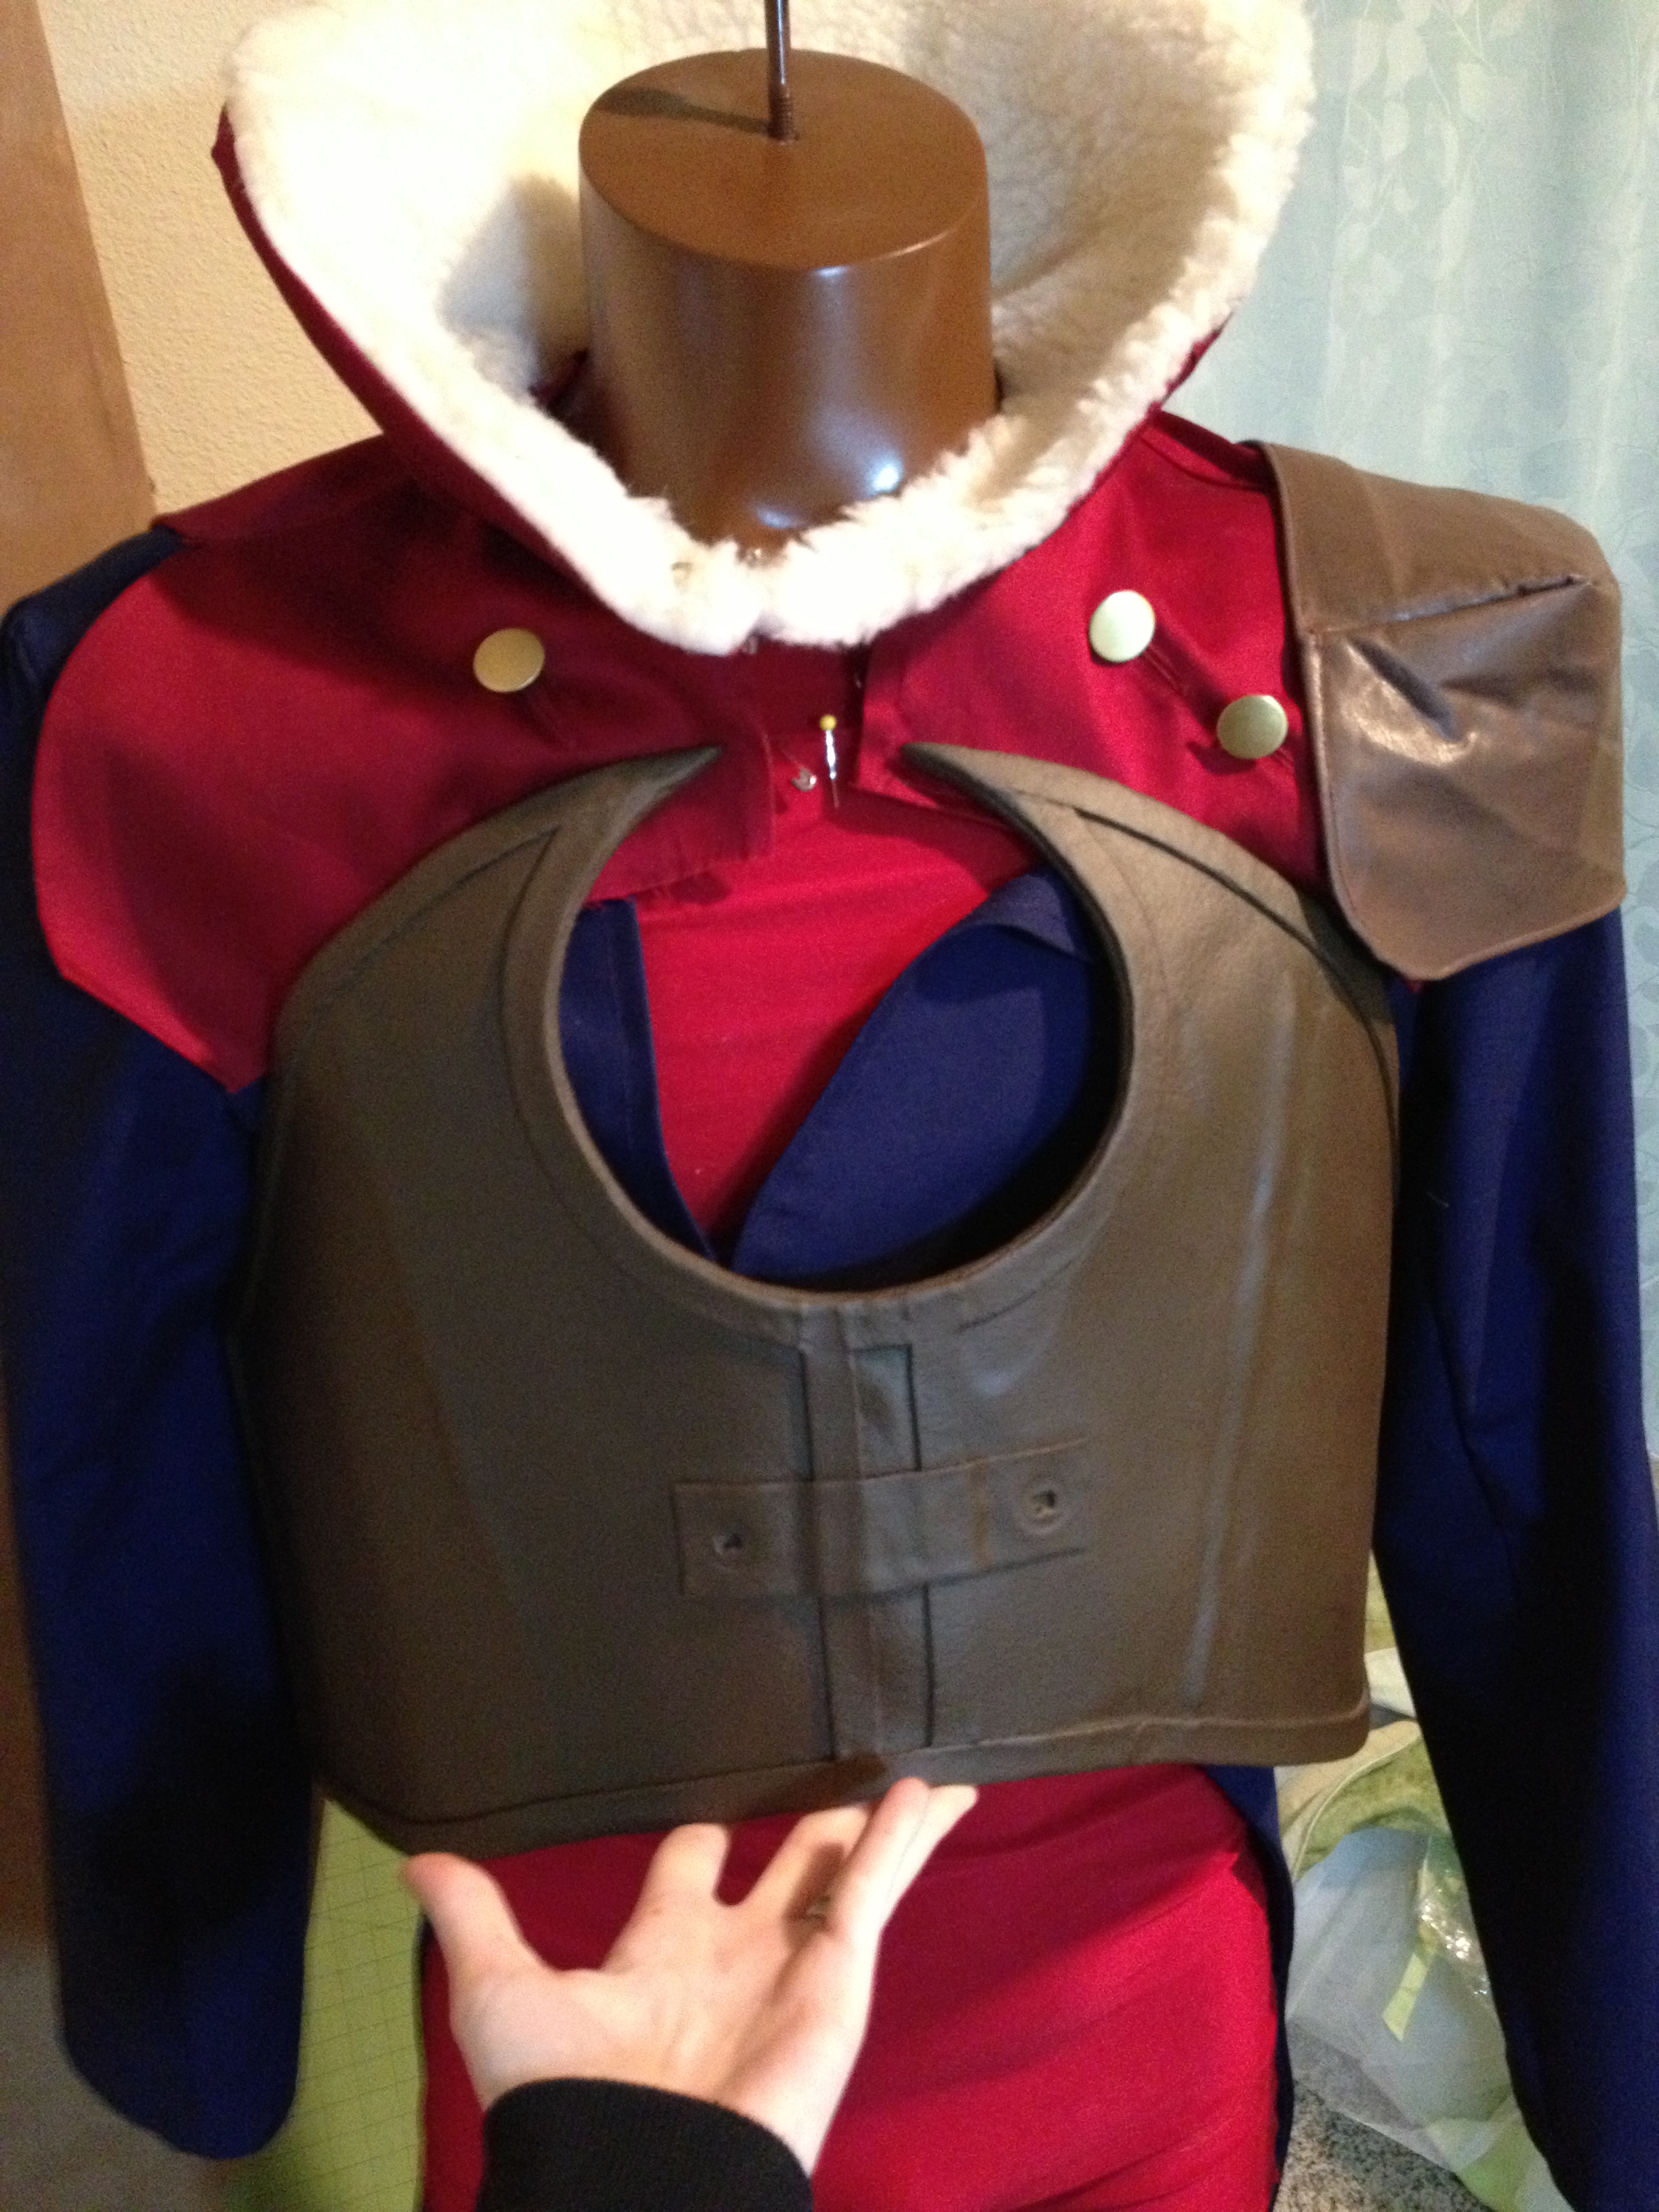 Then, paint! Both pieces got a base paint, then some weathering from Mario!
 Then they were attached together, and to attach it to his body, we epoxied a strap on that went around his neck and clipped together on the other side. You see that strap in the post where we show the layers in Jayce!
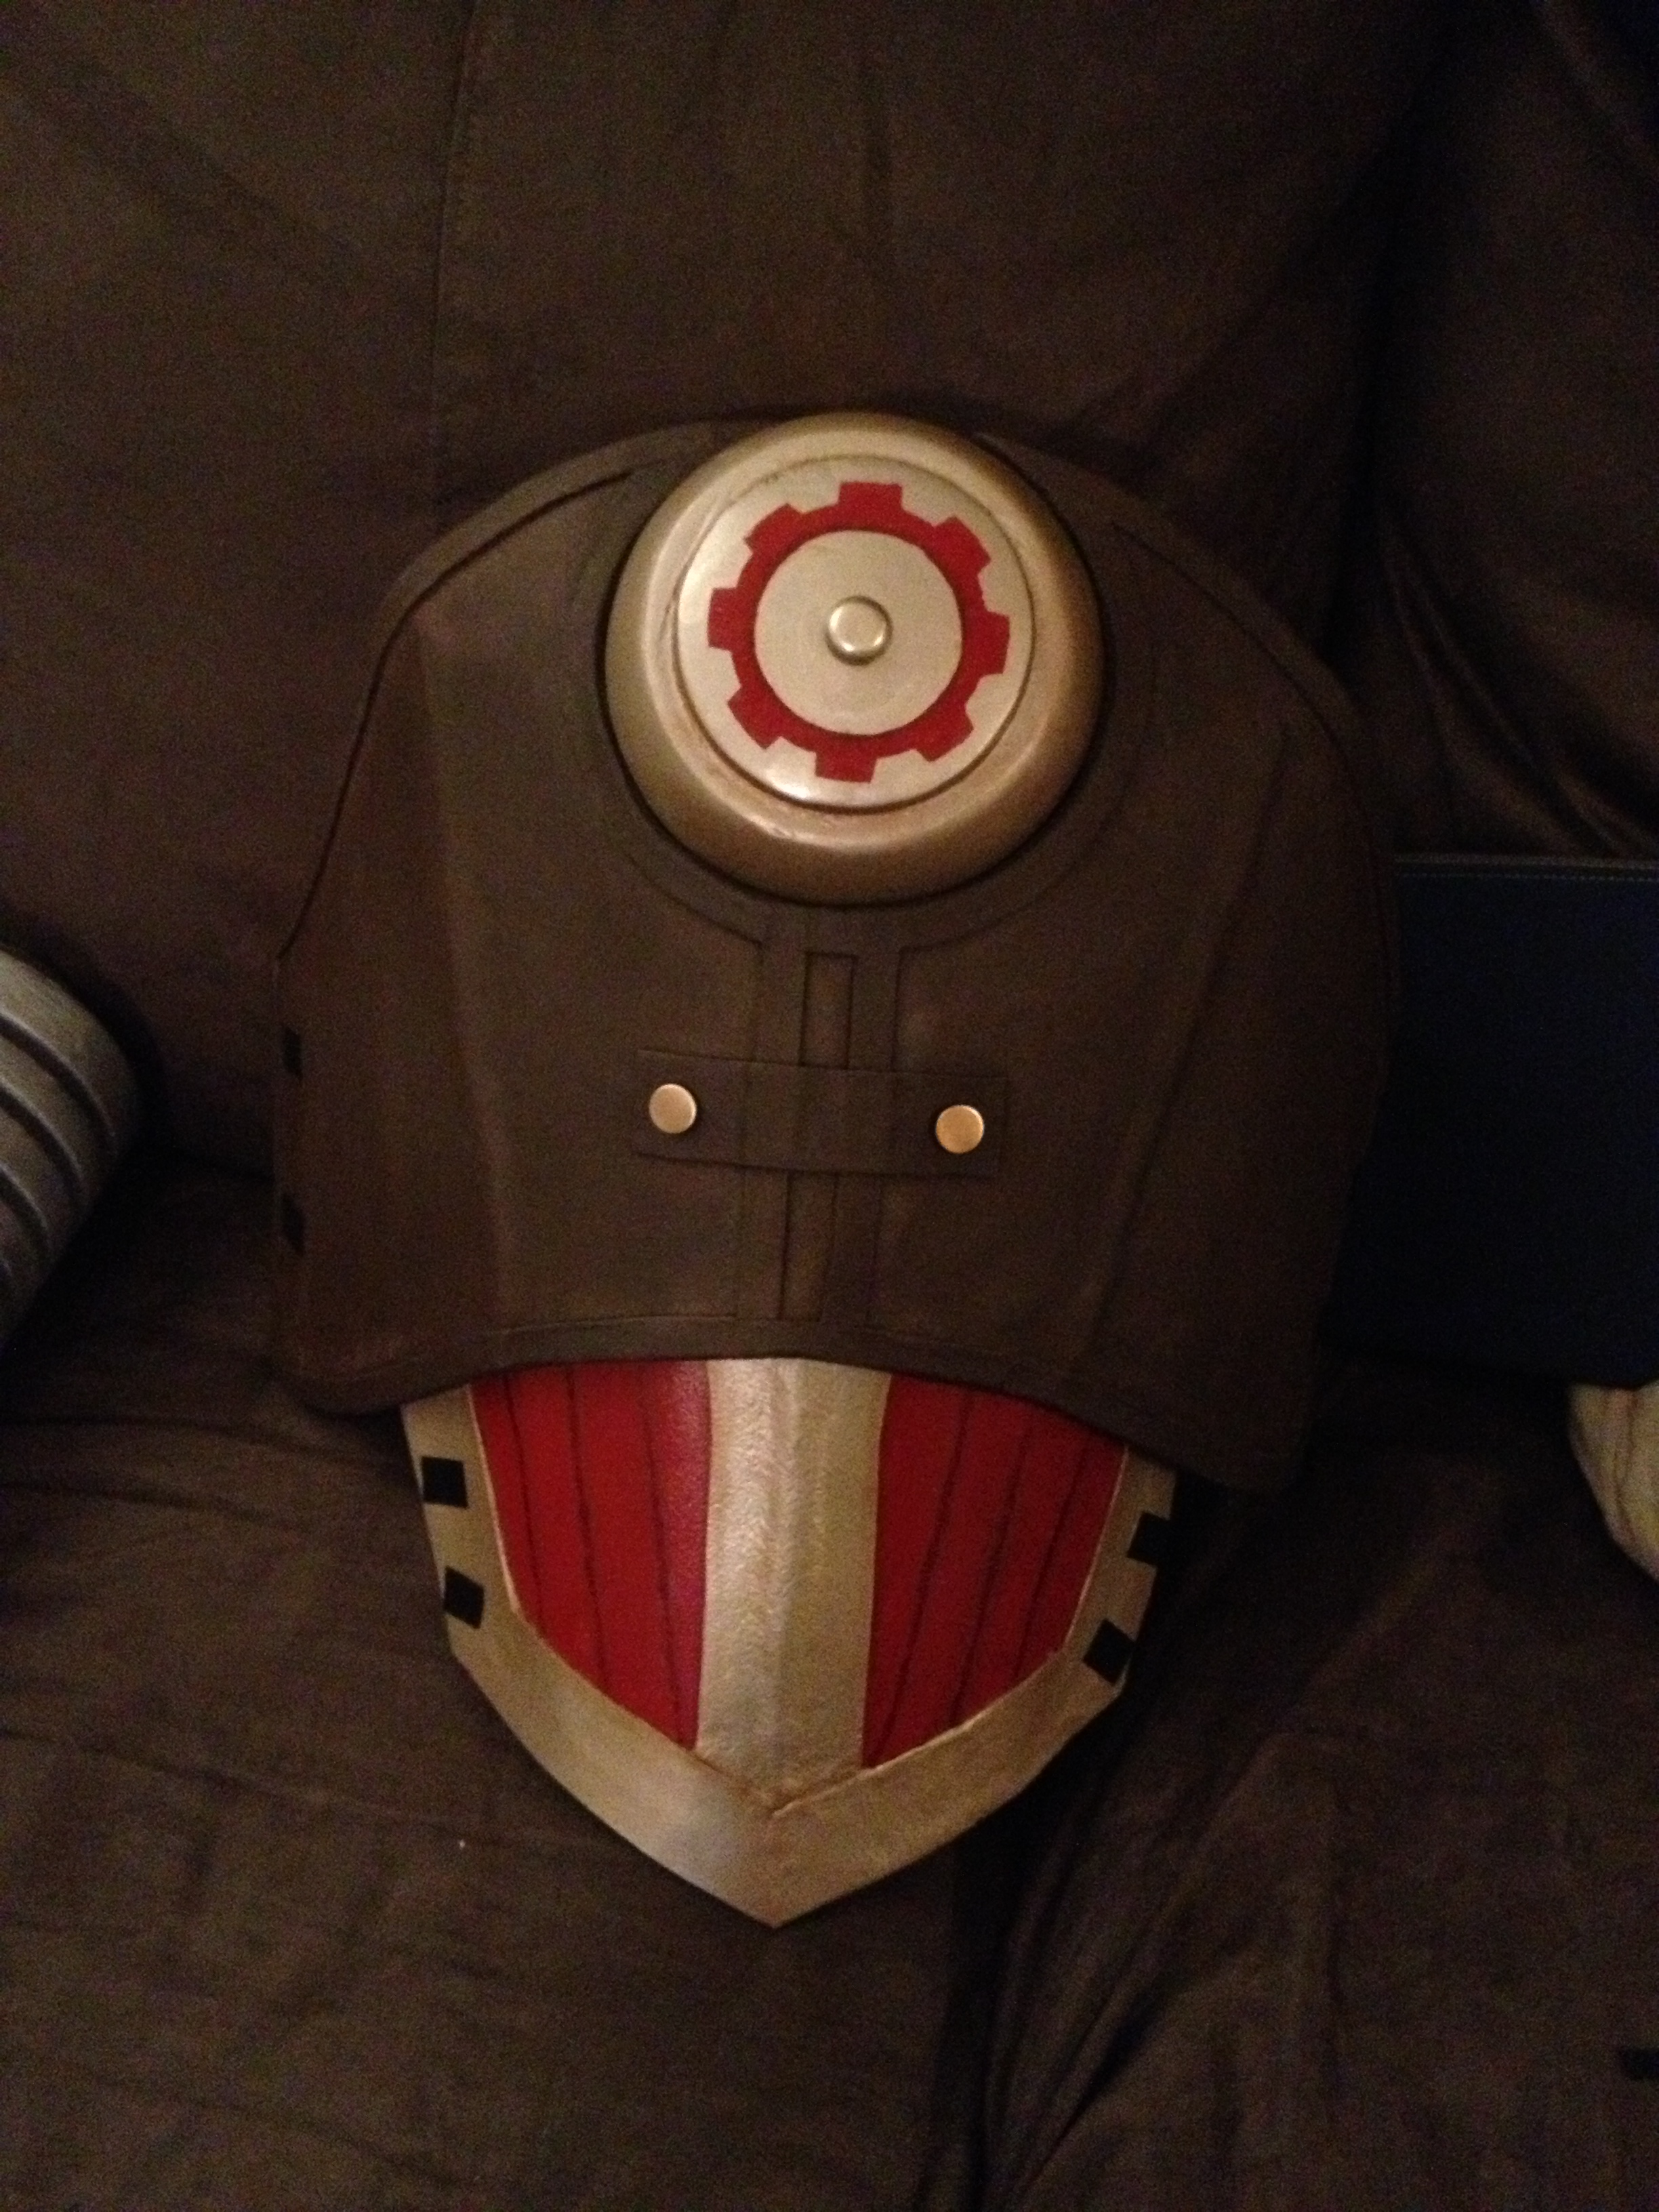 Okay, the gear thing in the middle was made with foam on a lathe by Mario, the gear was stenciled and painted on, and the middle is just a brad that we had. The buttons on the chest piece are buttons, sunk into the worbla!
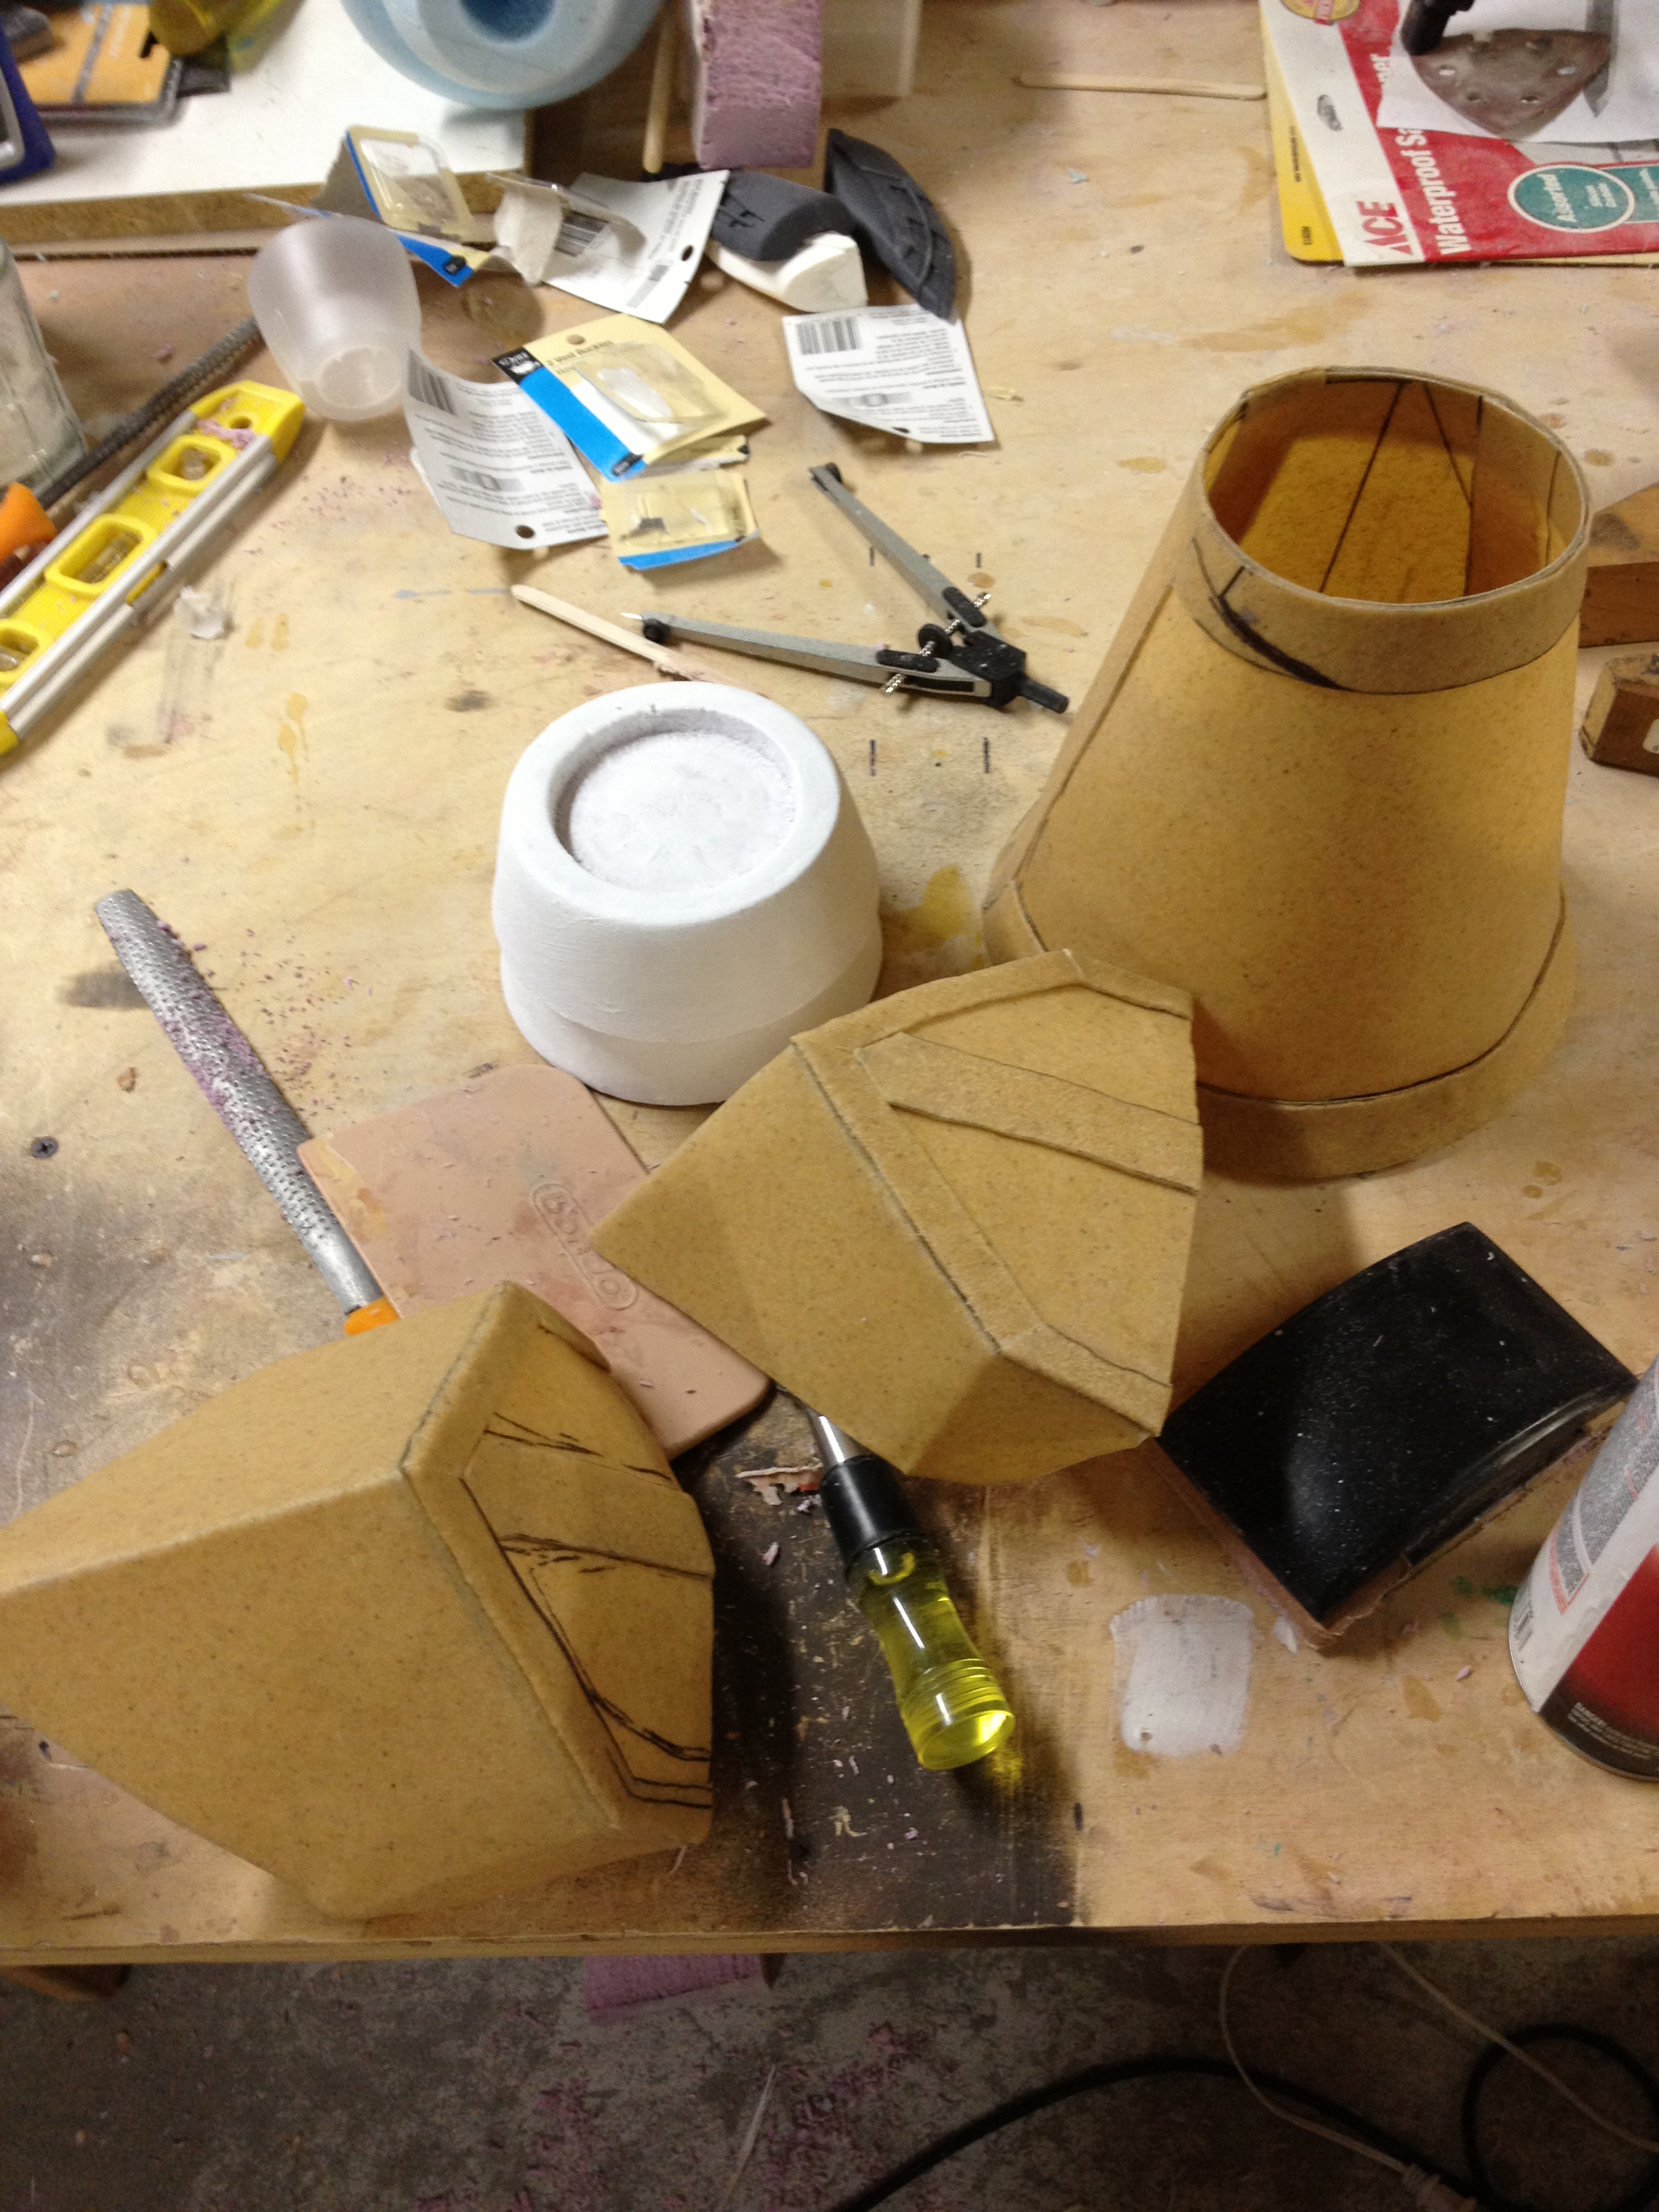
 The shoulder was made by carving a block of pink foam into the desired shape.
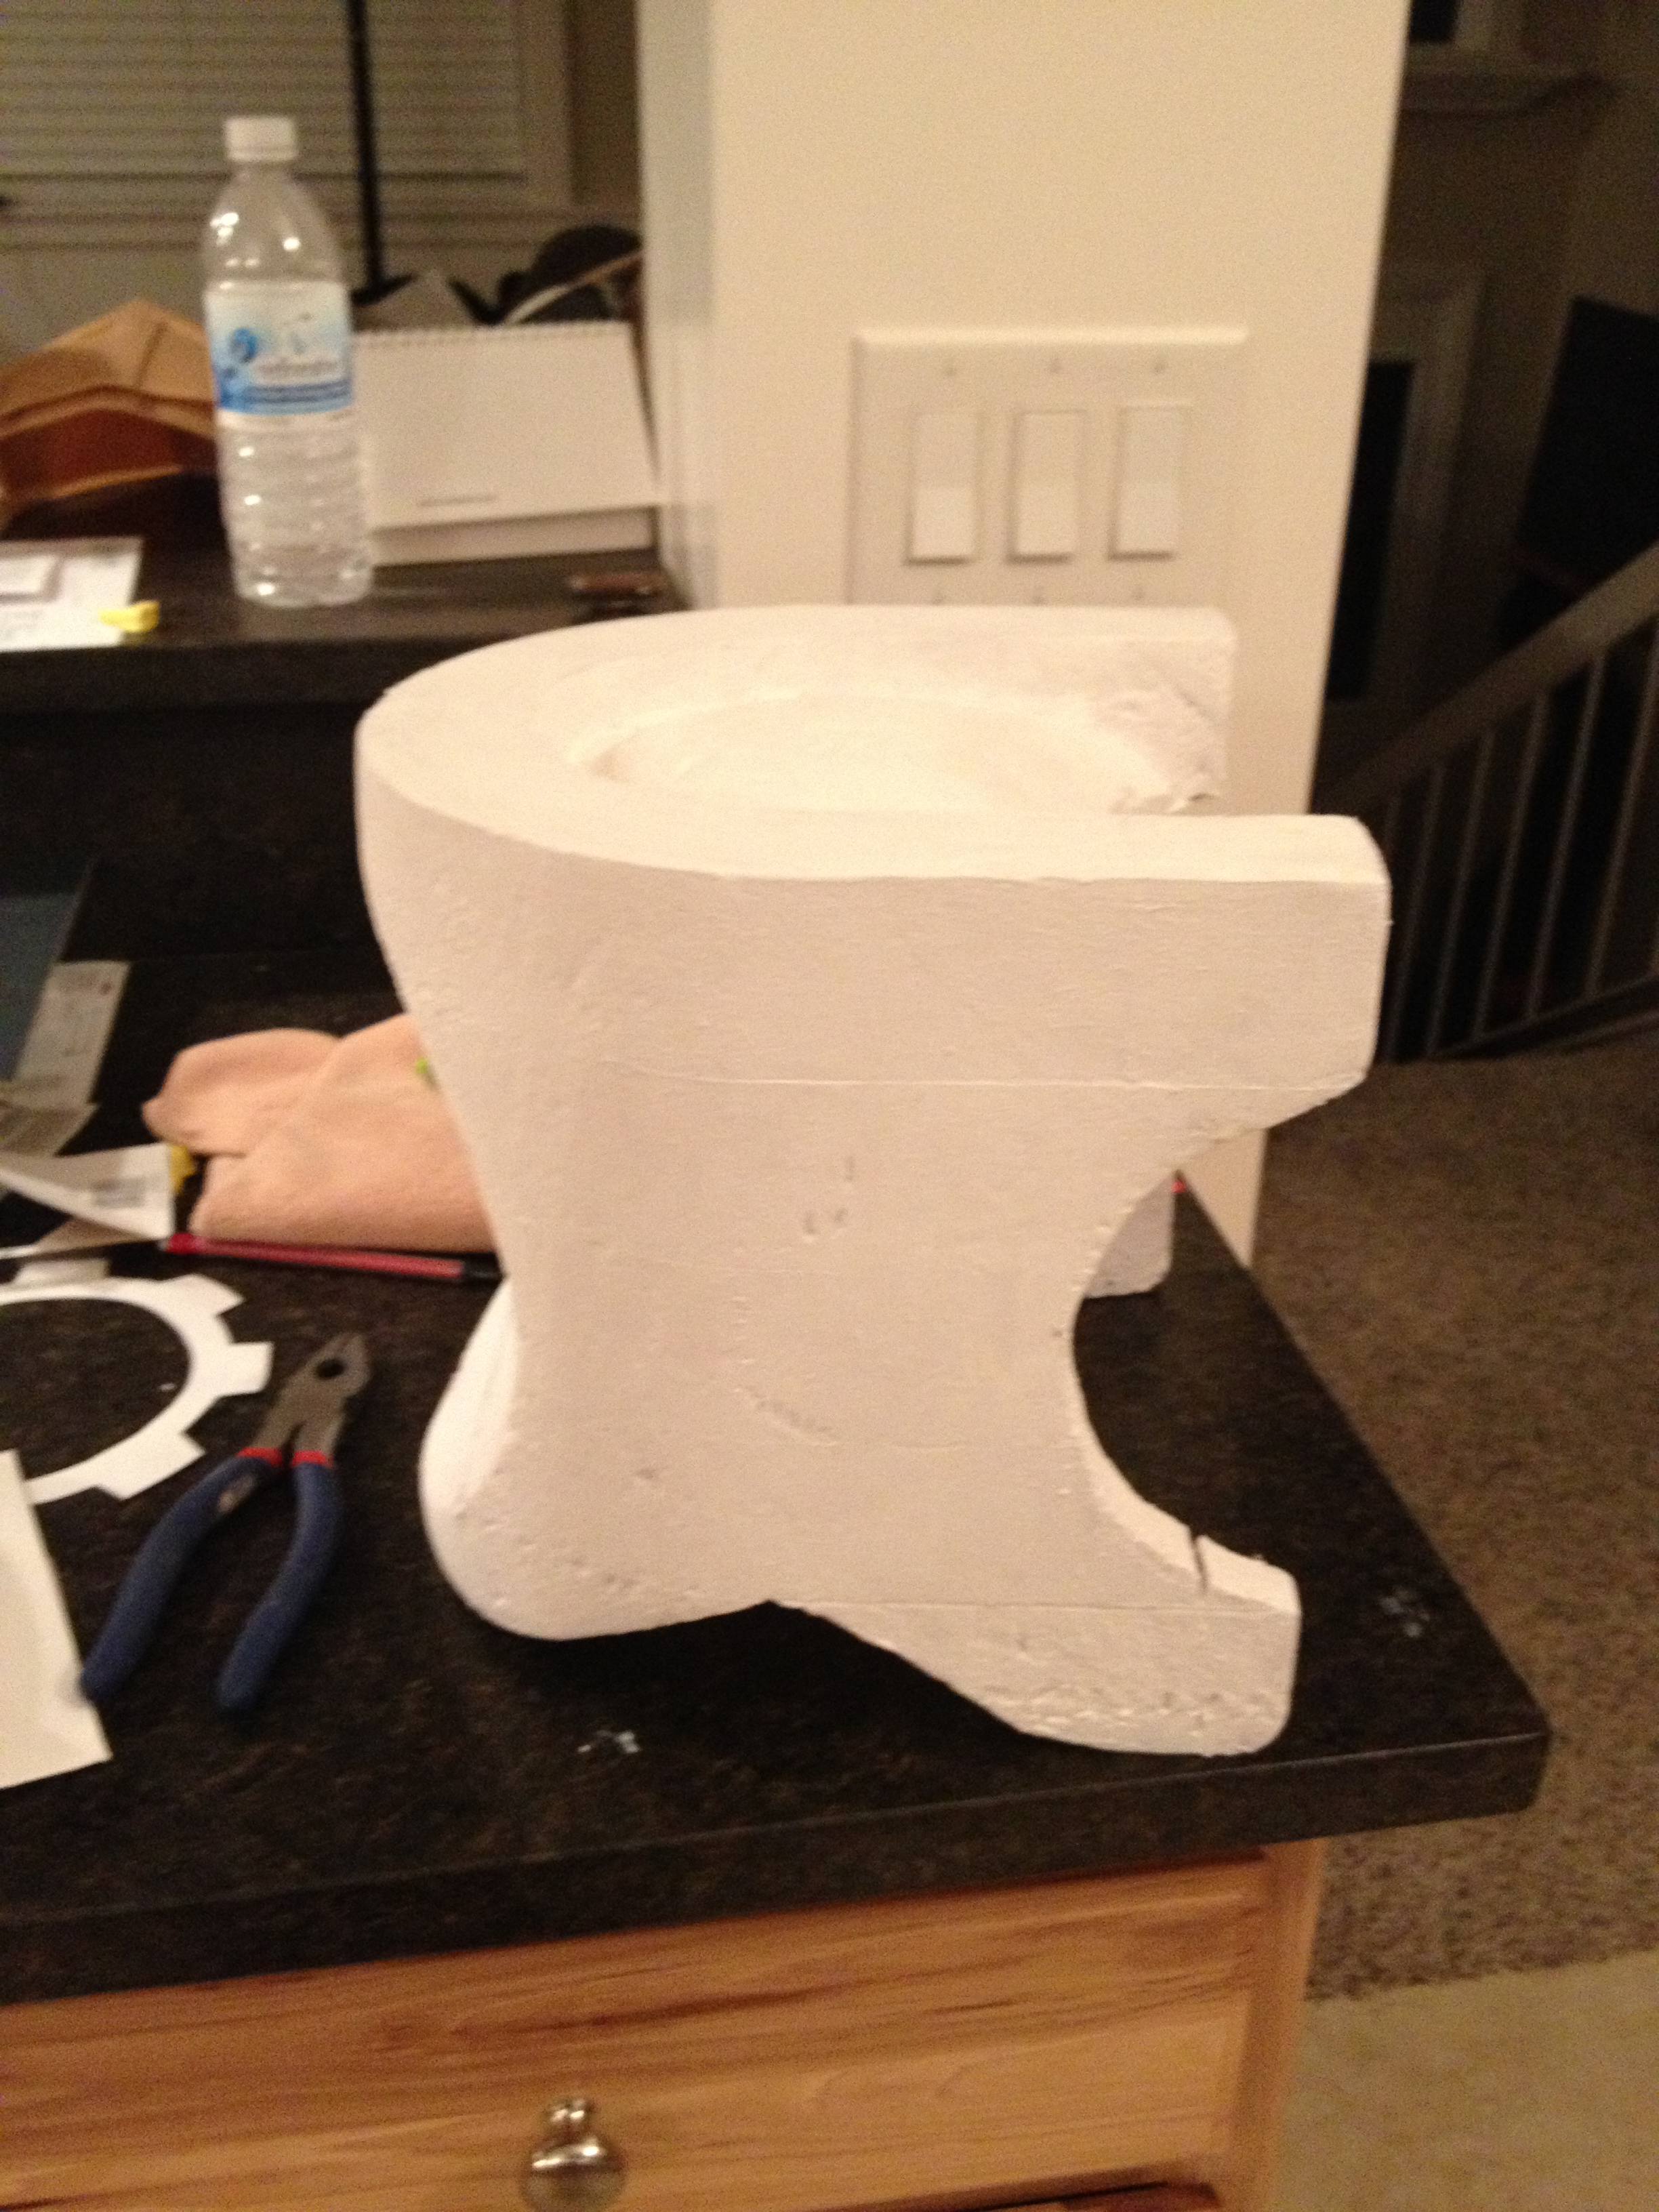 This is it with lots of gesso on top of it. We weren’t really happy with the finish, so ended up covering it in bondo, then painting it. This went really well (guys, really please don’t bondo foam unless there is a huge barrier between it like gesso!) EXCEPT we didn’t let the bondo cure enough before we painted it, because we did get some bubbles in the paint.
I will stop for a second and say right now that Mario does plan on redoing this shoulder, because it got hit a lot at Anime Expo and gained a lot of damage. No lie, someone actually came up to him with a plastic knife and was cutting at his shoulder, and ended up leaving a cut. Who does that to someone’s costume?
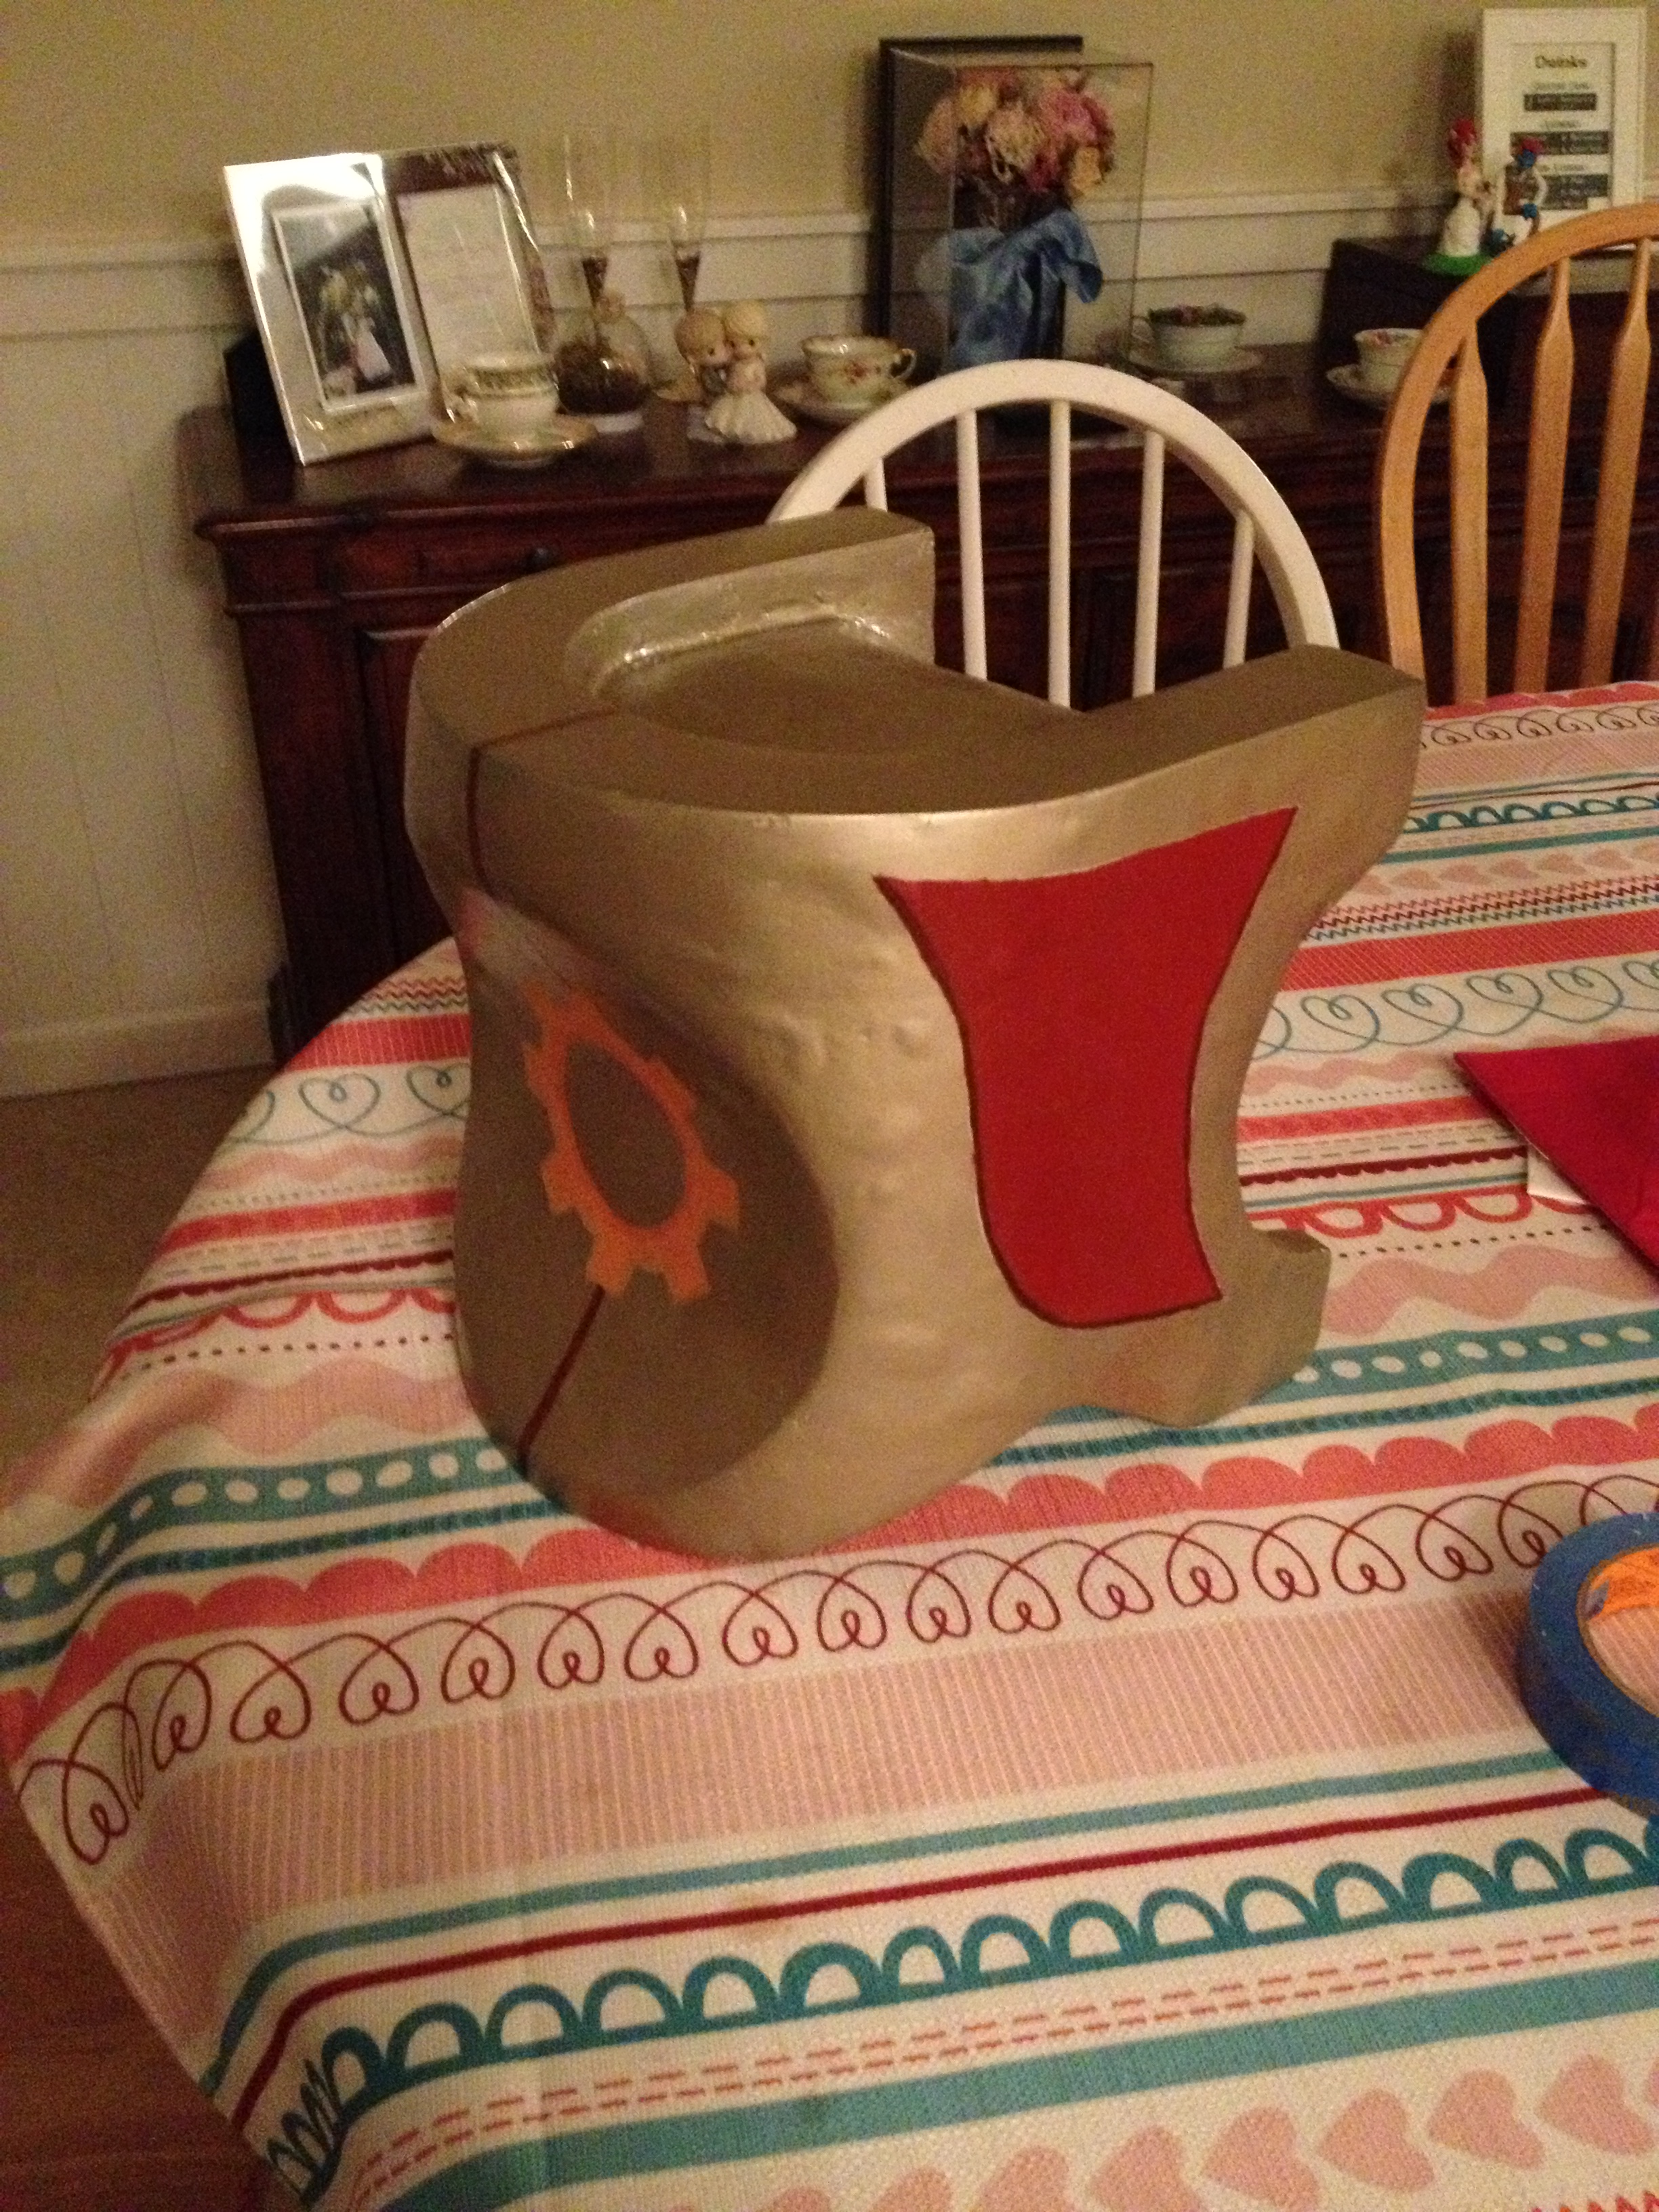
Anyway, Then the shoulder got paint and details!
 To attach the shoulder to him, we sewed together a harness, which you can see here:

 The harness clipped onto straps coming off of the shoulder in the front and back, and it was all hidden under the coat.
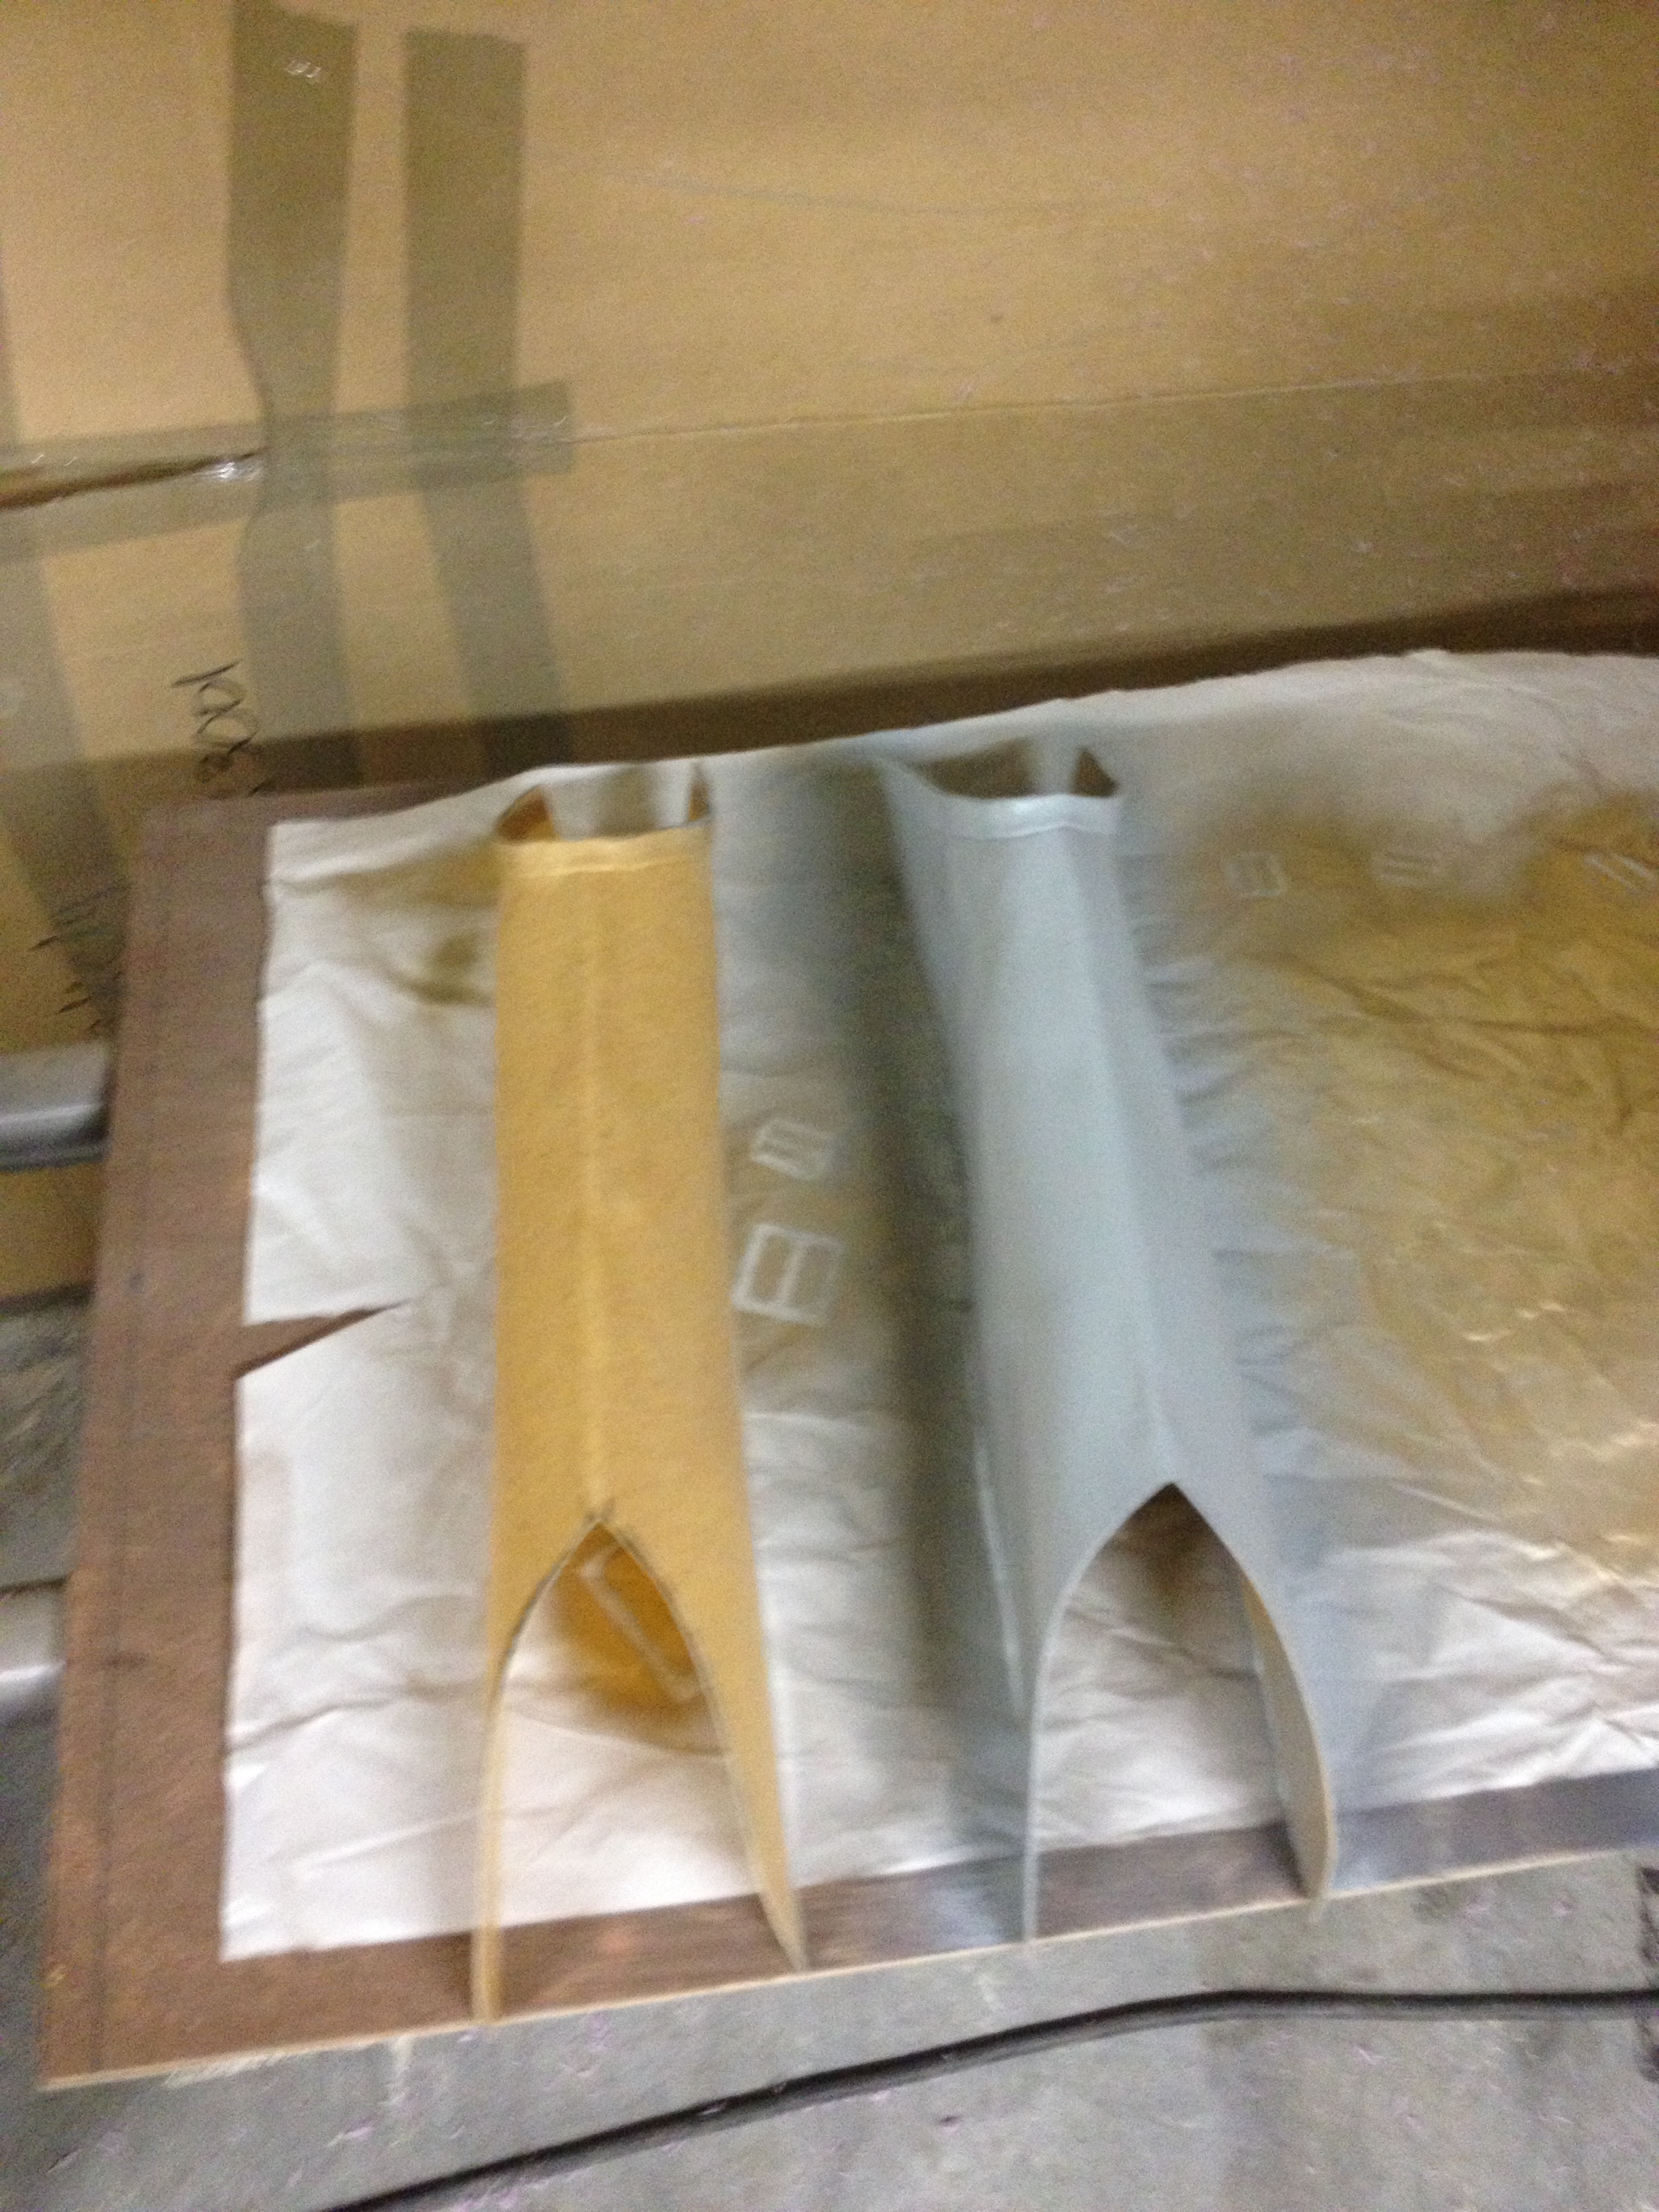
 All of the armor was shaped out of worbla; most of them got only one sheet of worbla, and it worked out really well because it wasn’t very detailed.
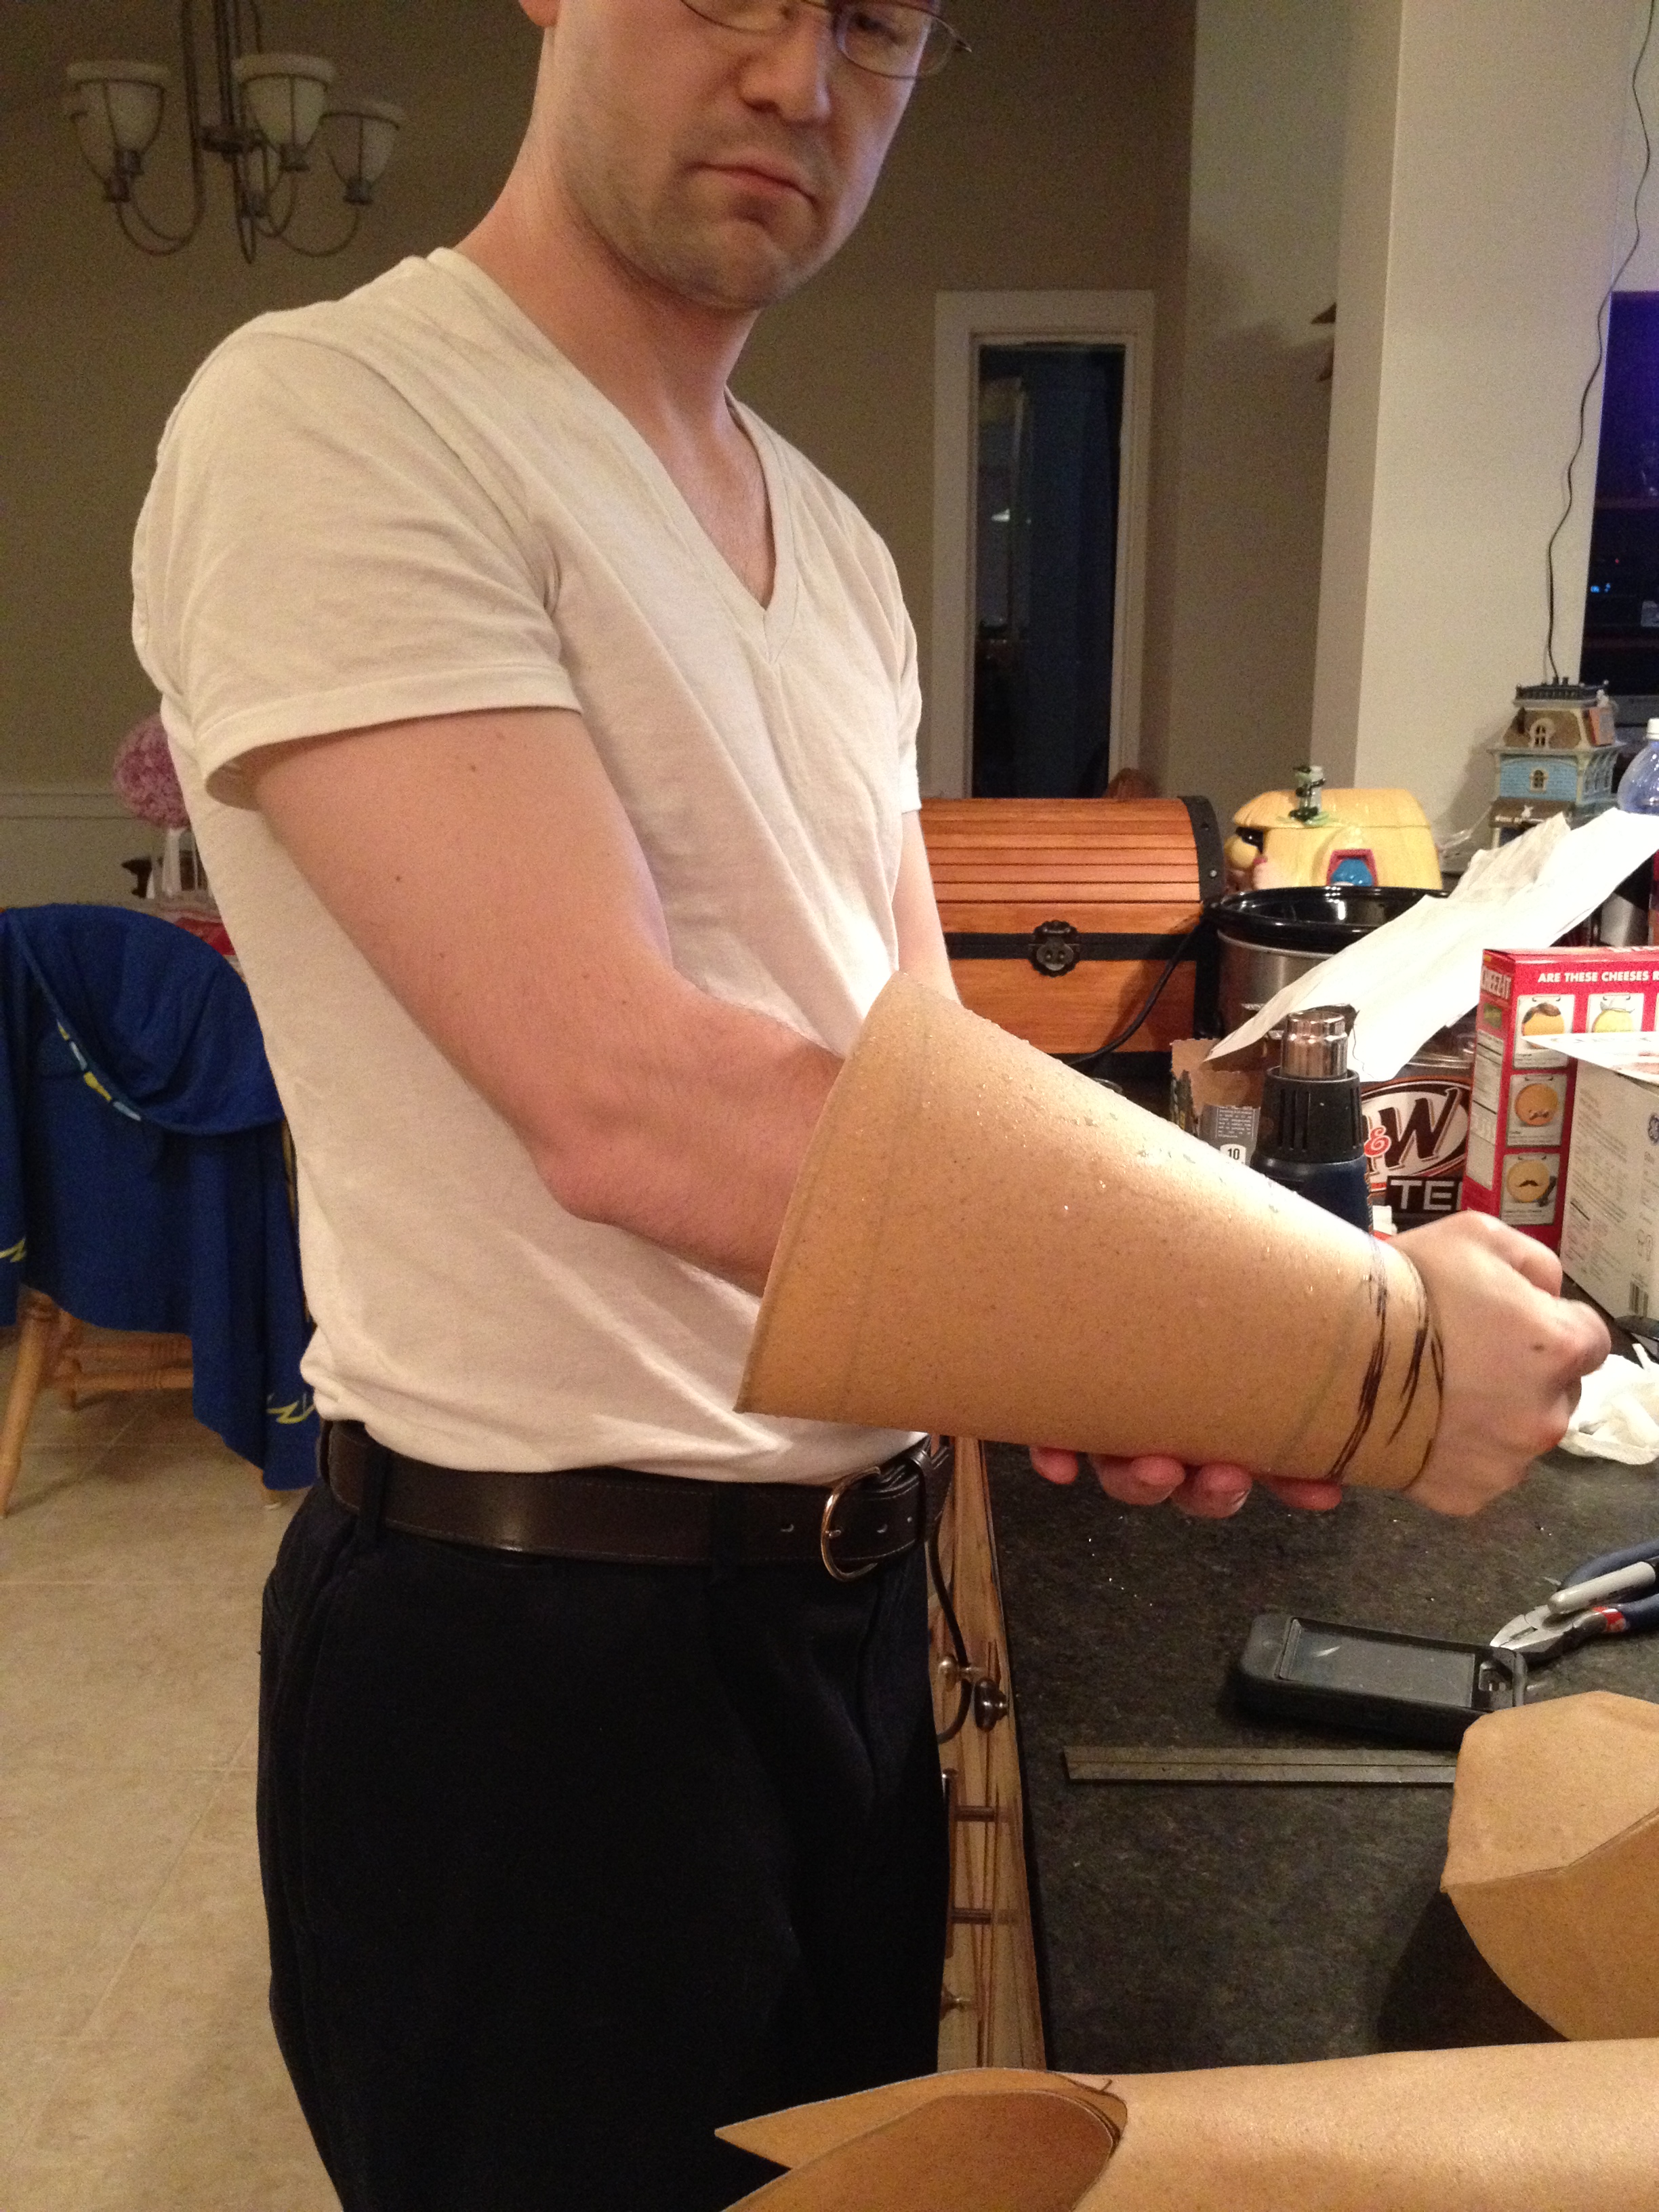
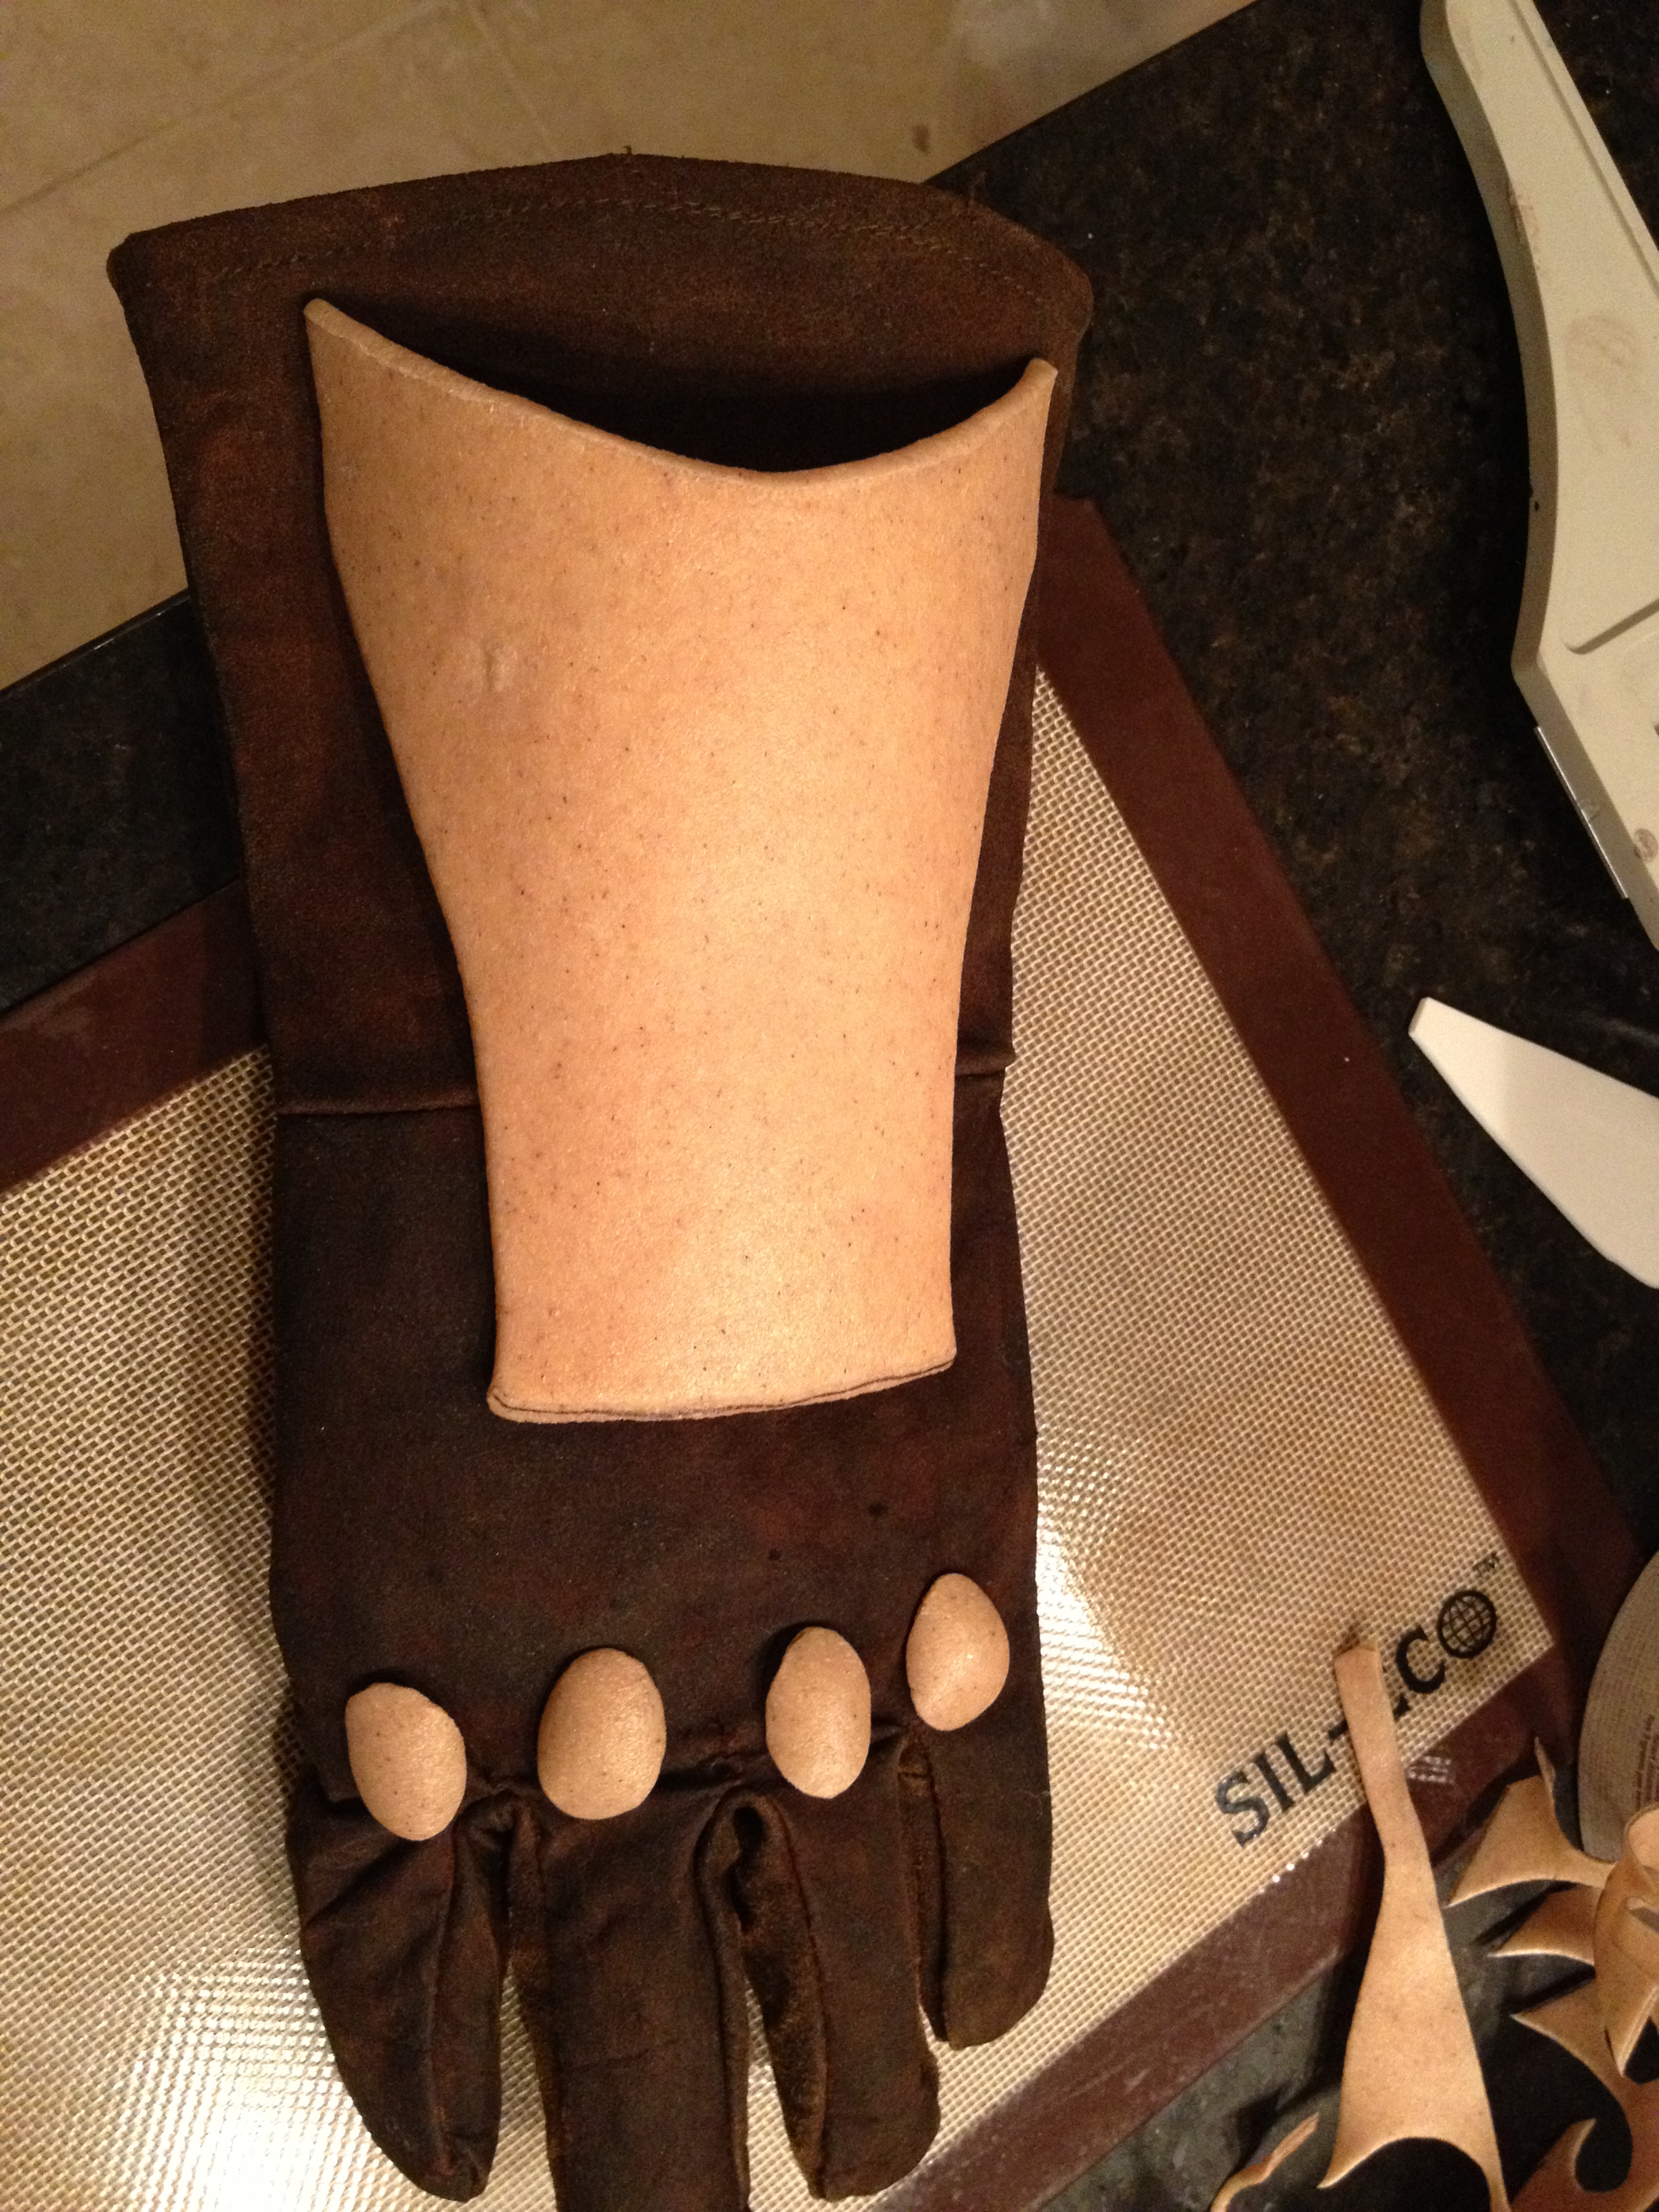 The gloves were large welder’s gloves found at Harbor Frieght, dyed a darker brown. This was the glove that didn’t have the huge bracer, so he attached the worbla pieces to it.
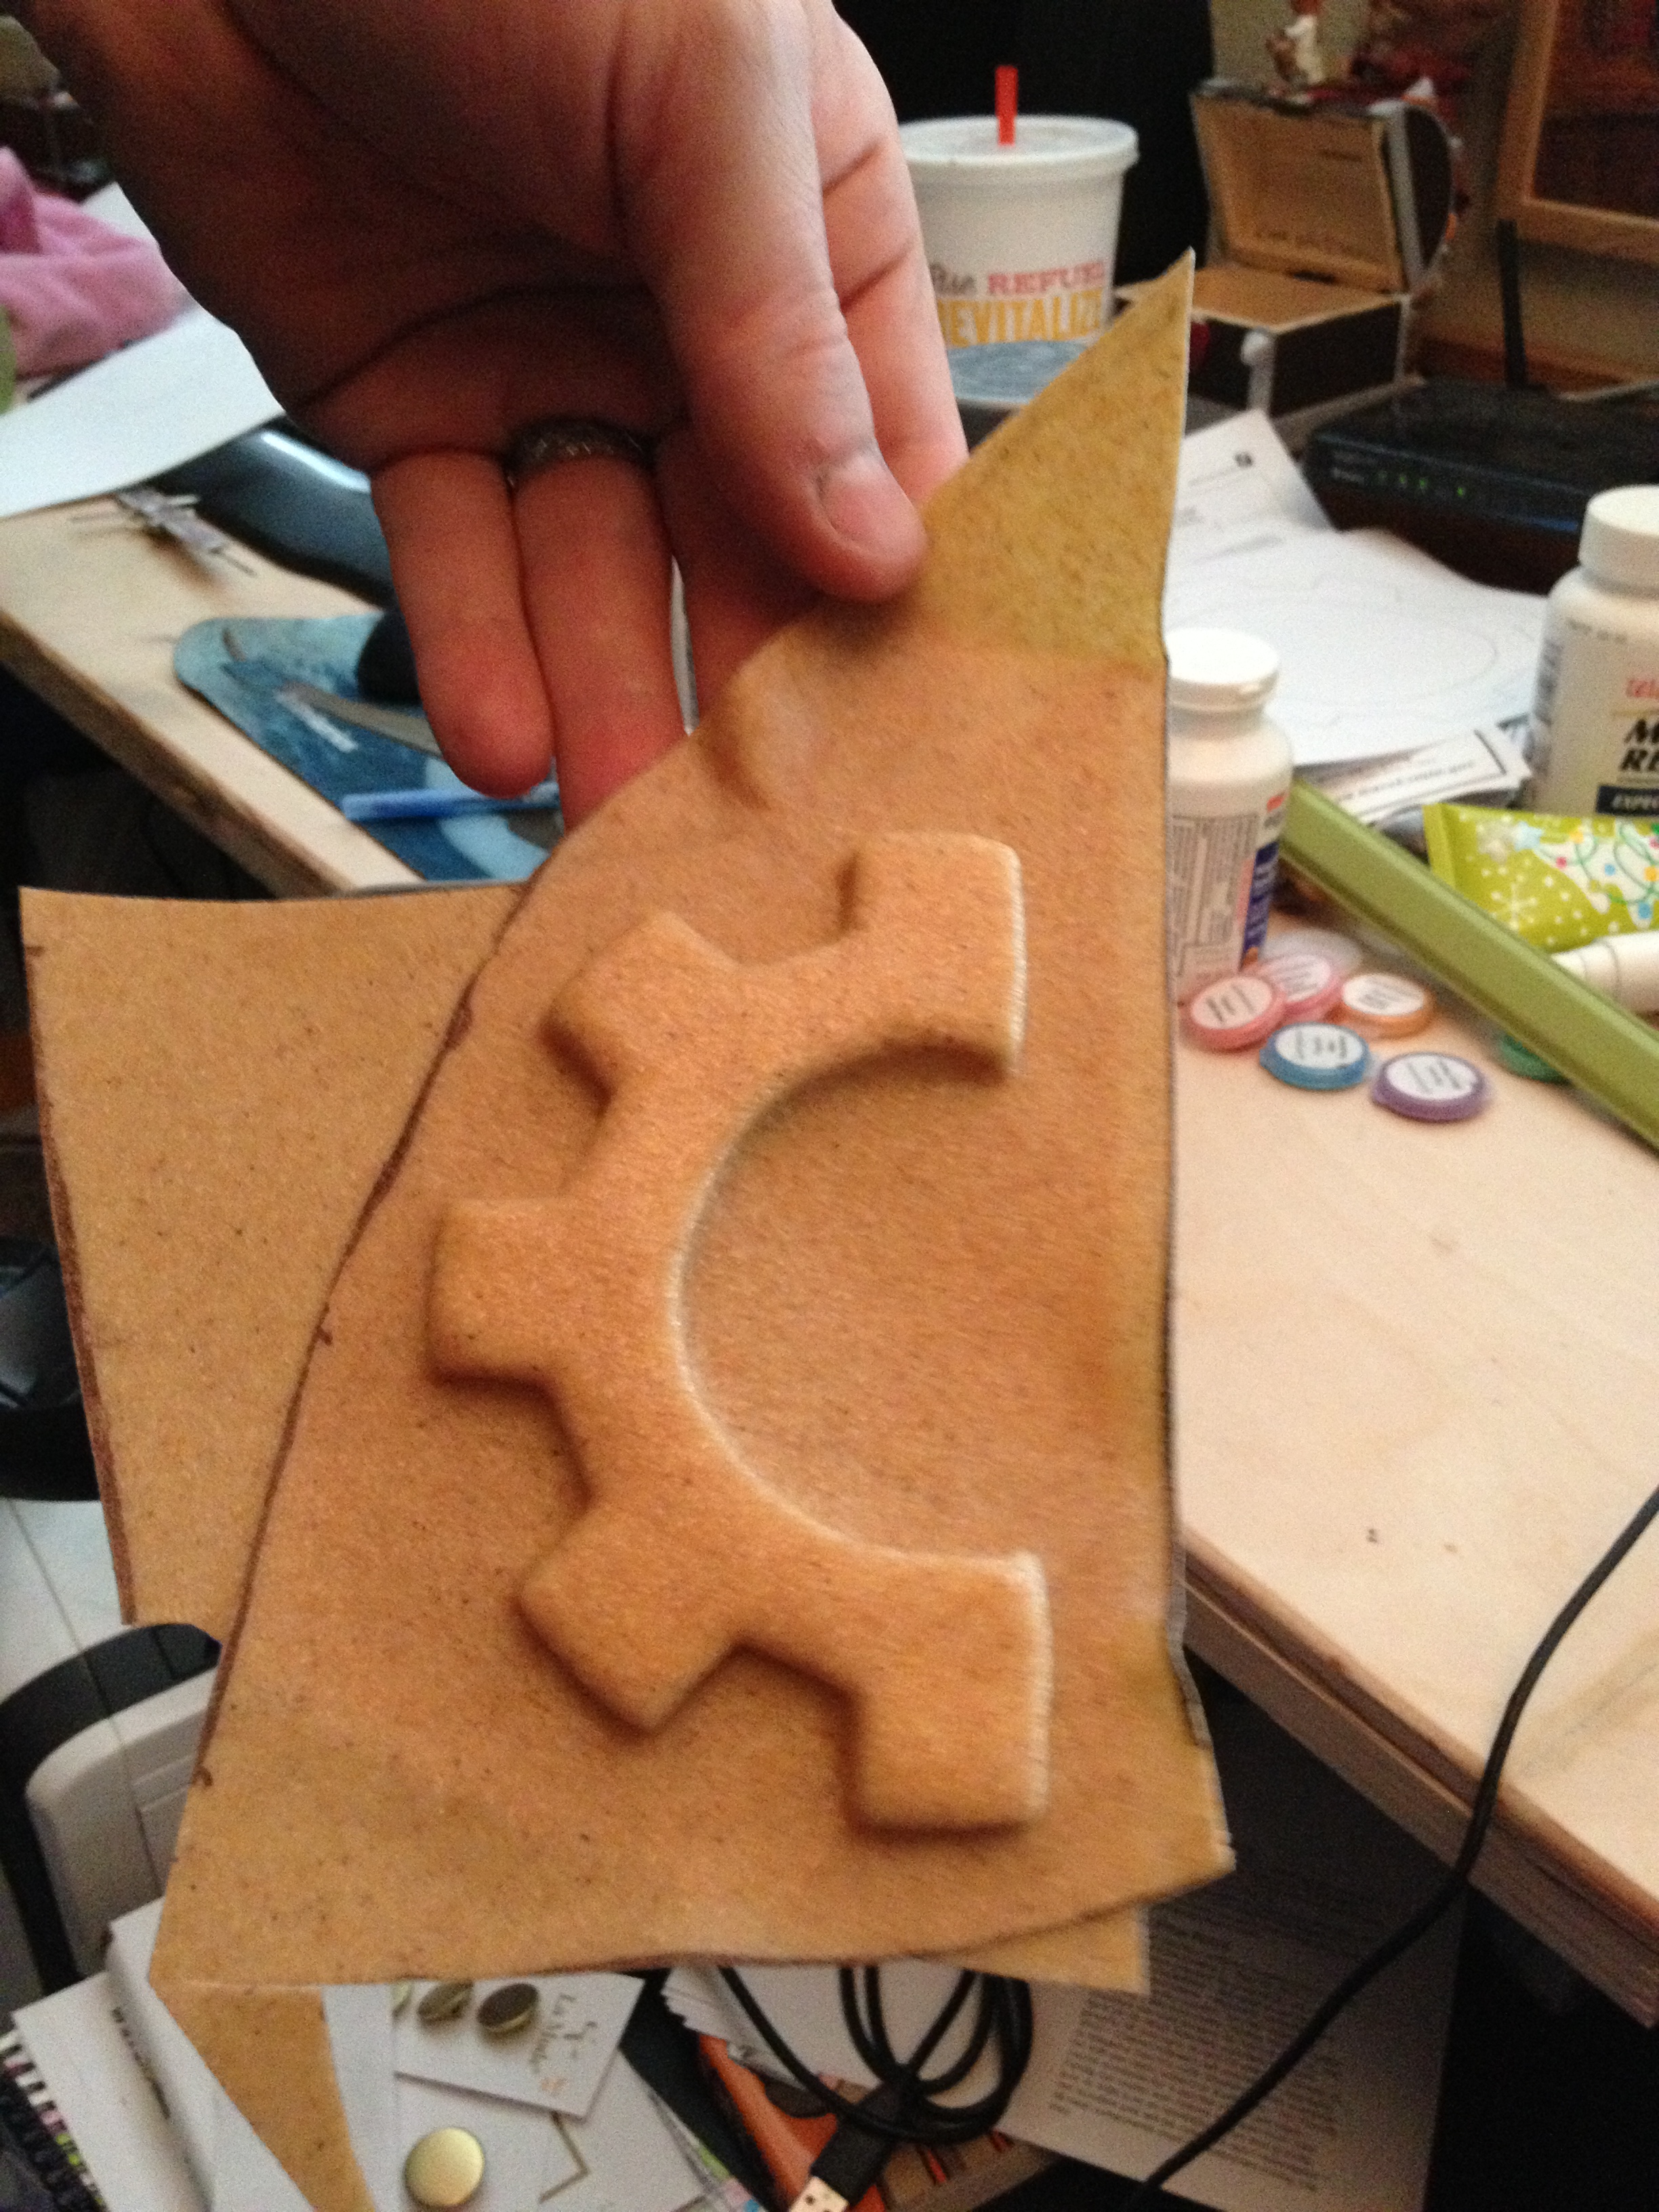
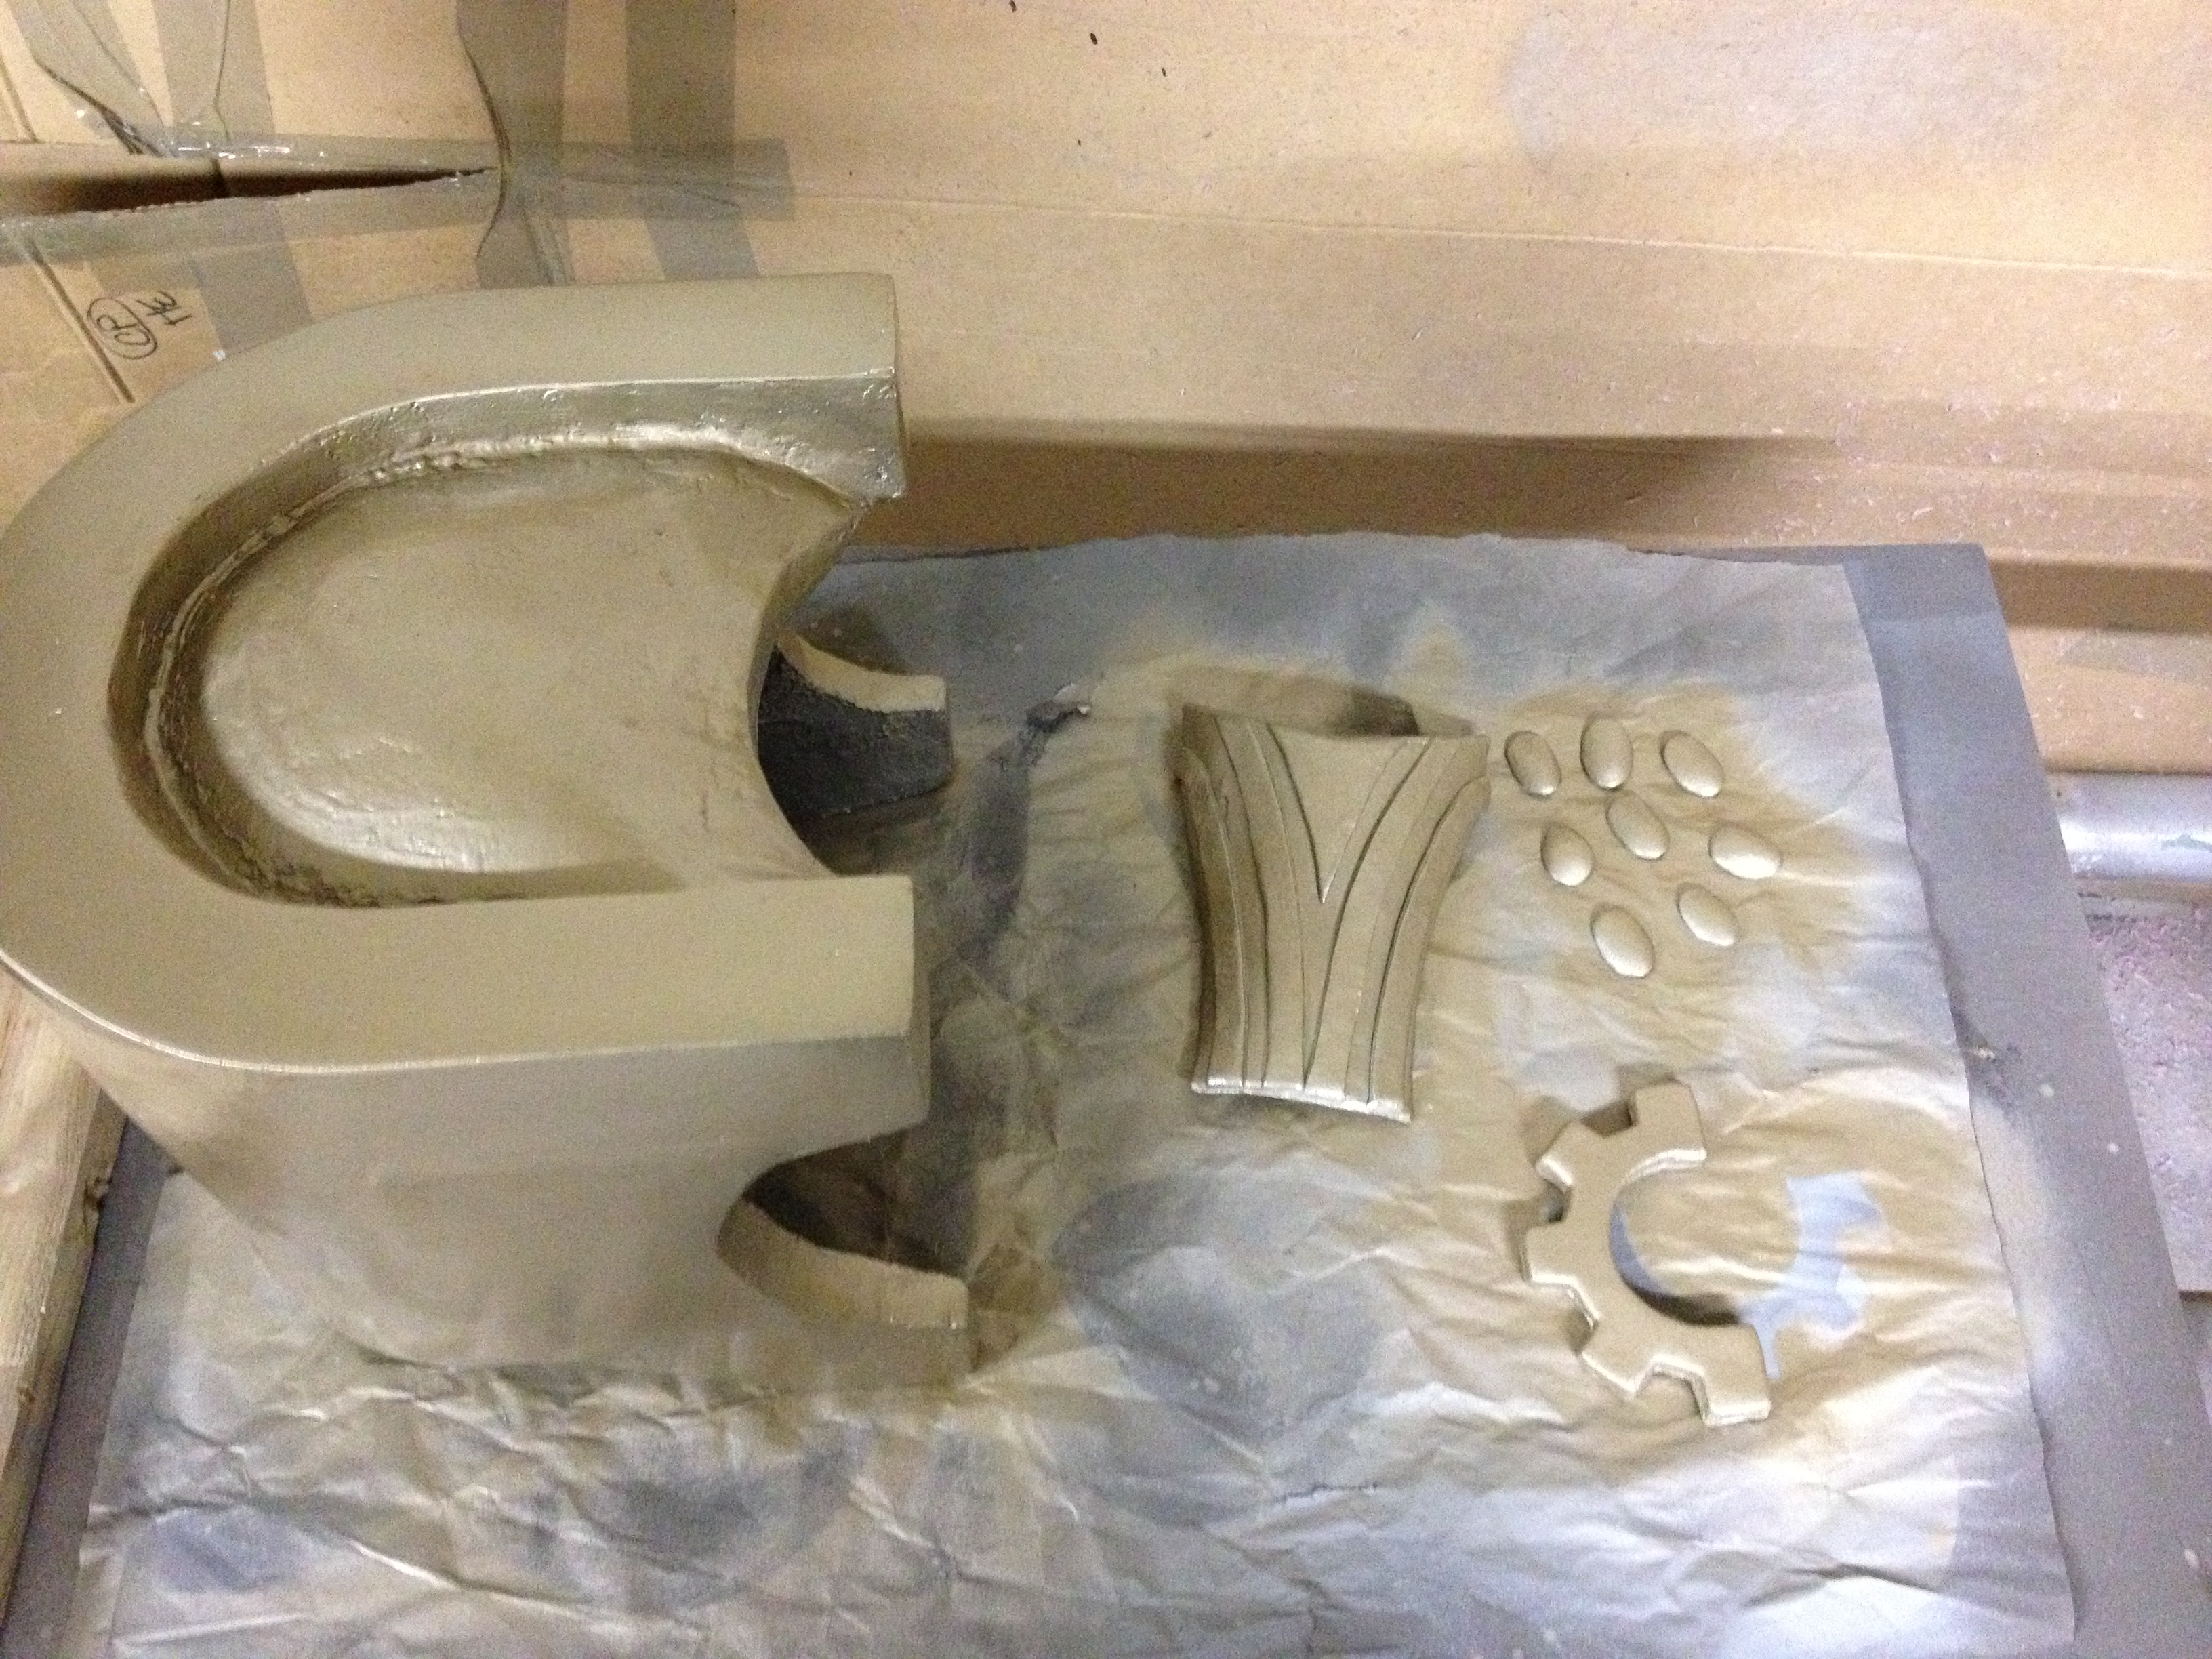 The gear for the belt was made by sandwiching two pieces of foam between two pieces of worbla, and worked remarkably well, as you see below!
 The belt was sewn out of the same fabric as the leather shoulder piece, and was just a simple strap. We held it together with pin backs that were glued to the back of the belt buckle, and that was really it.
Then everything got paint!
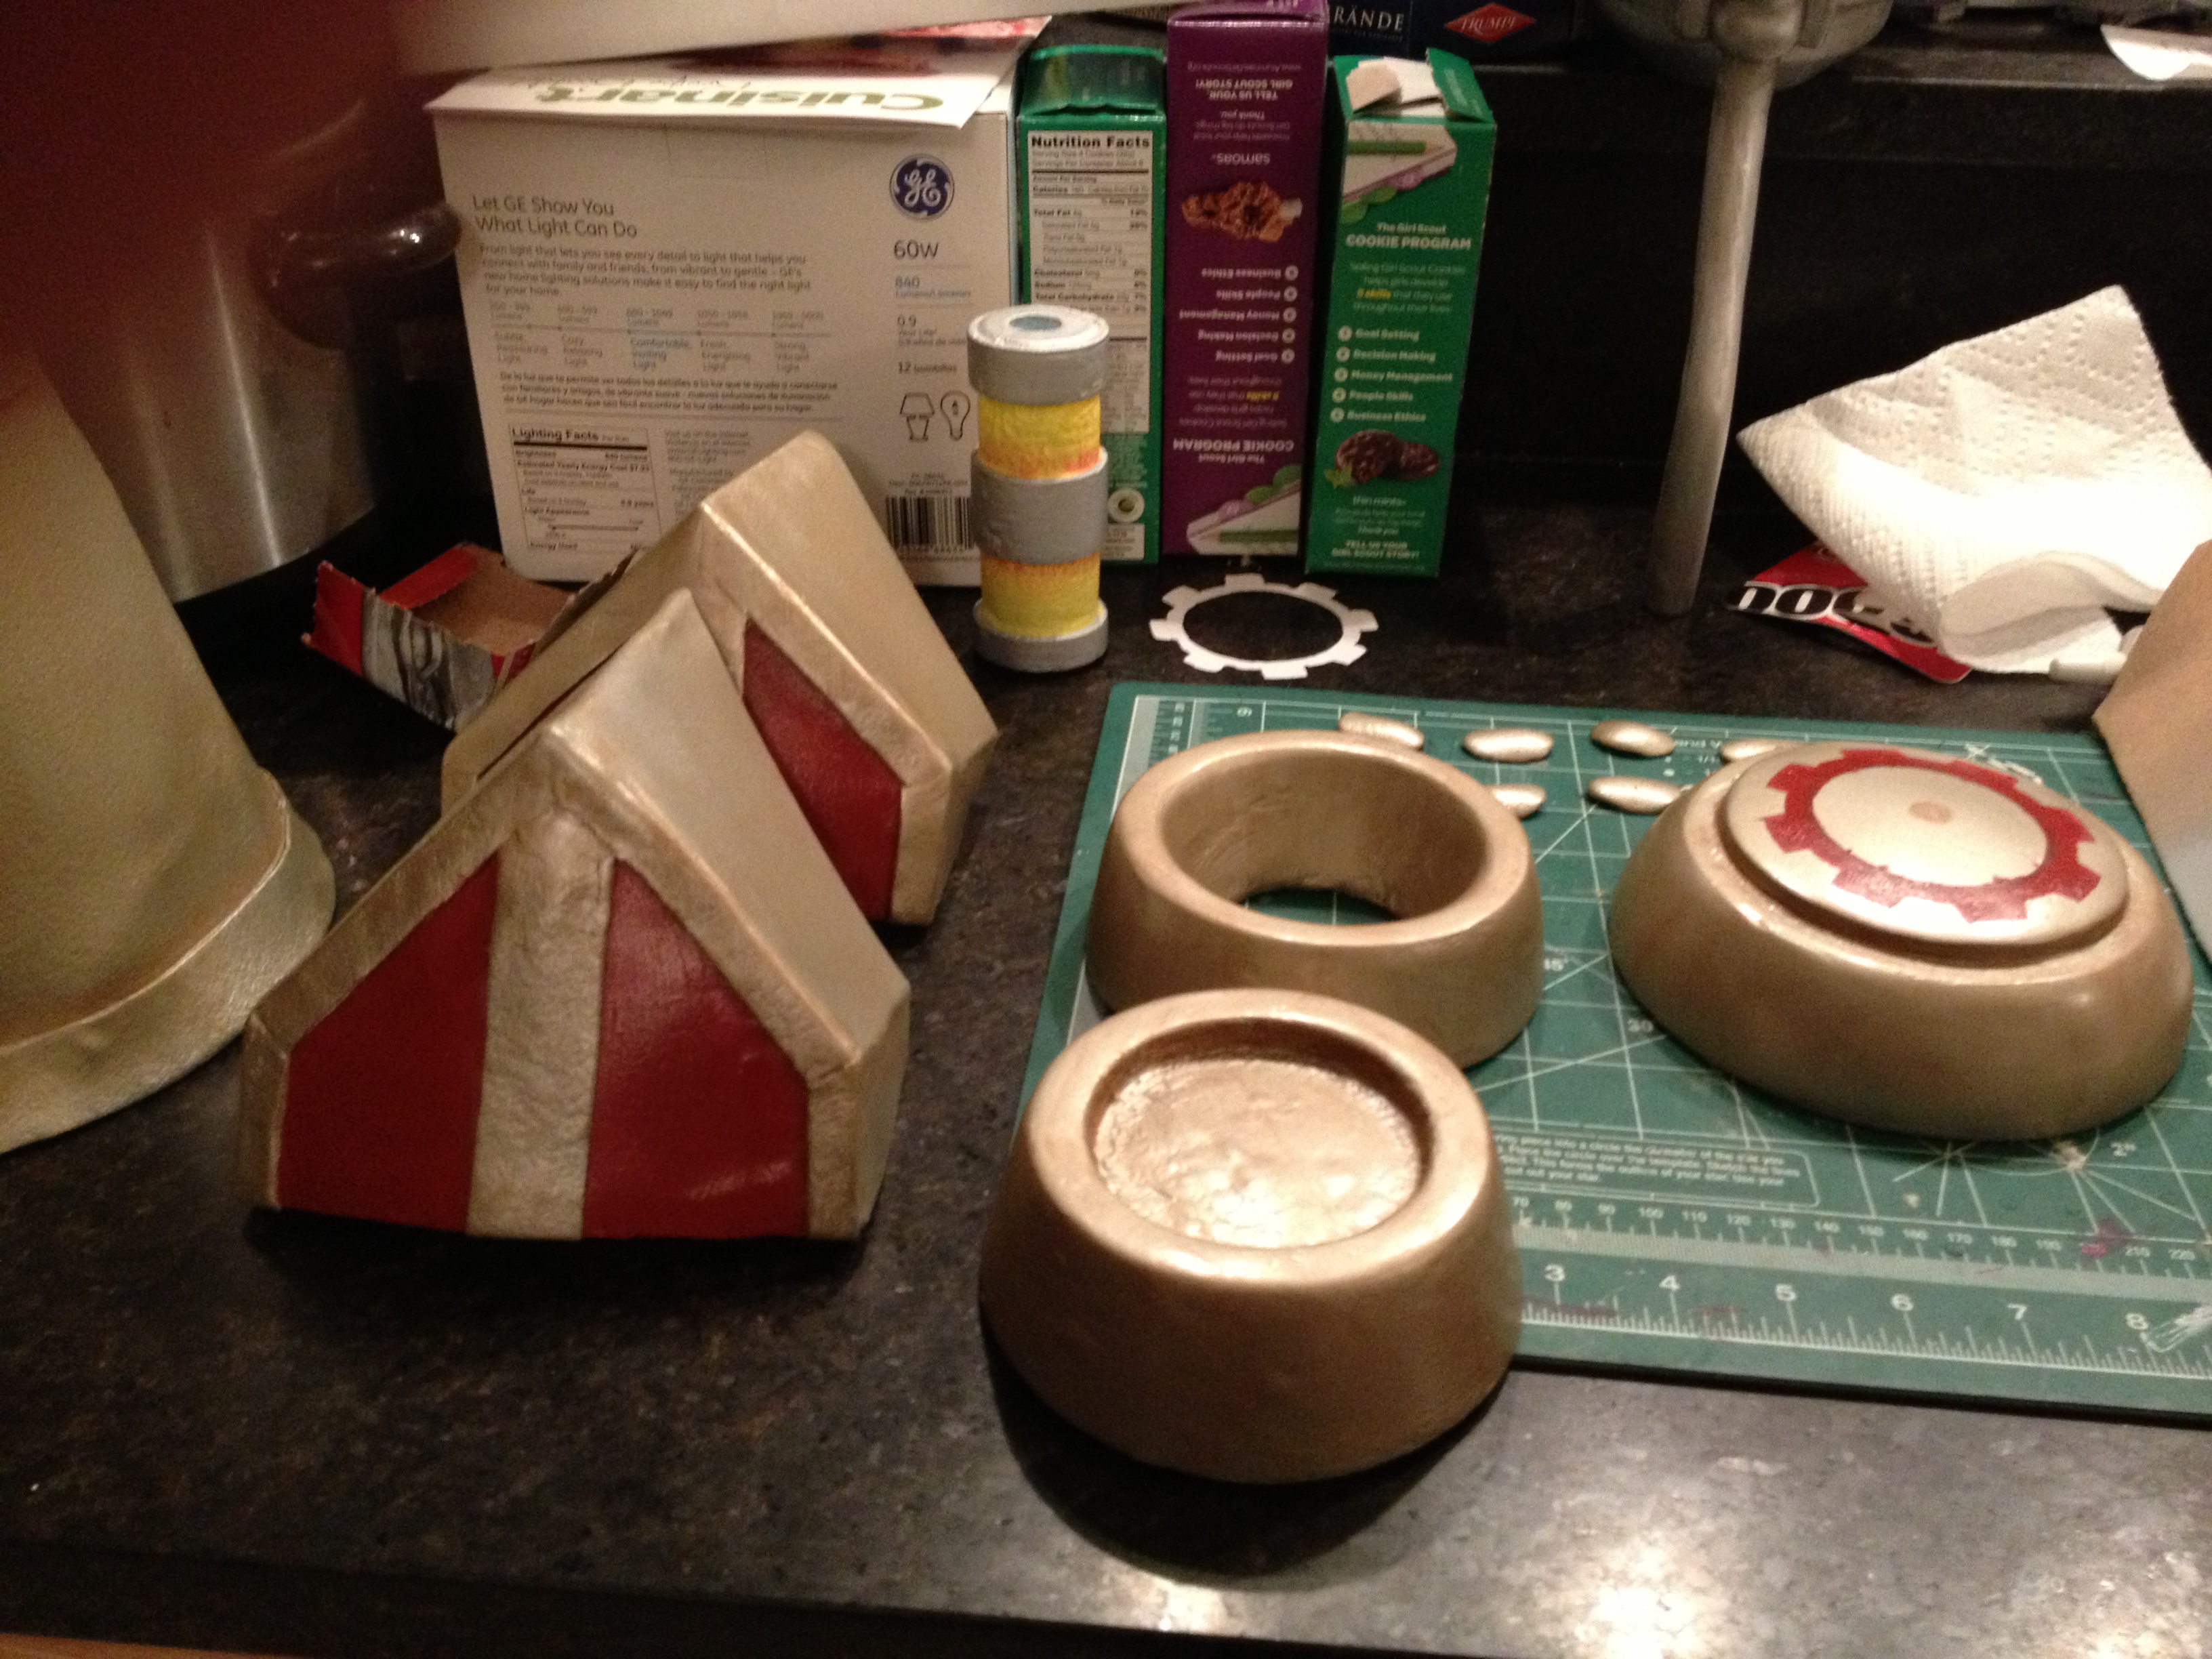 Those round pieces got attached to the shoulder armor, and were made on a lathe.

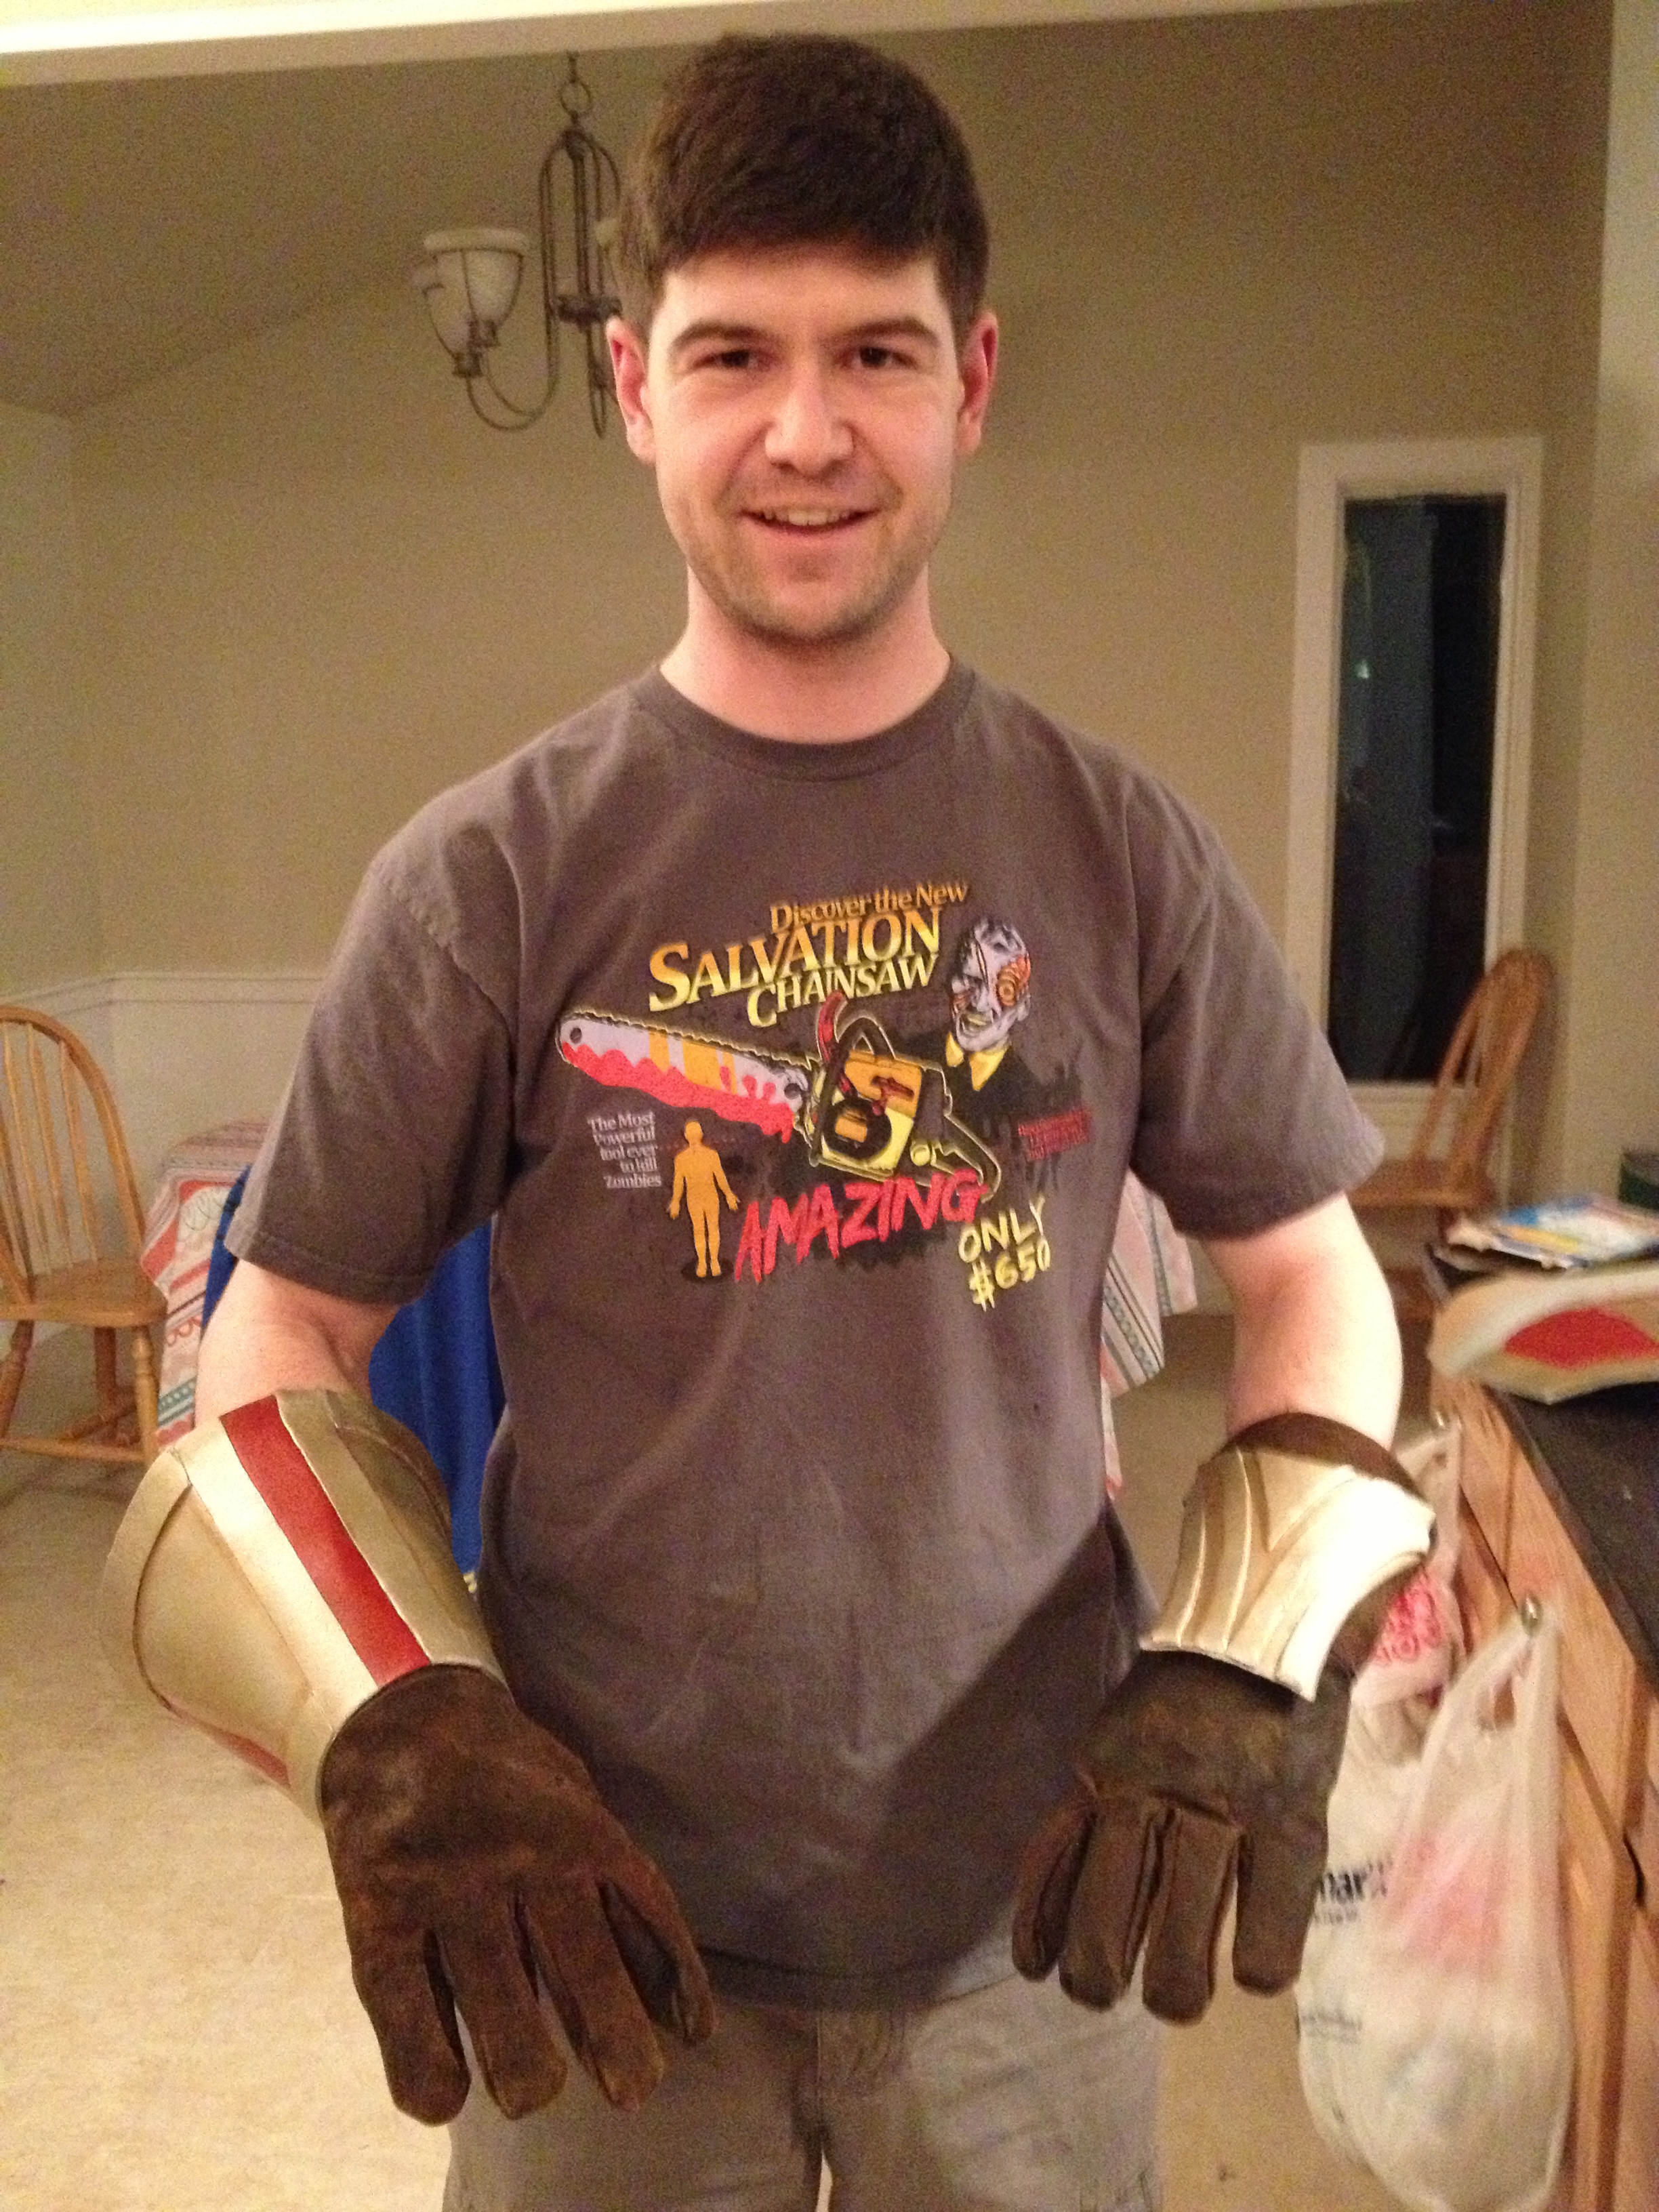
The original art of Jayce doesn’t have red on the other gauntlet, but we thought it looked strange so put red on both.
 We apparently did not take photos of the shoes progress, but you can see the shoes here- we just got a pair of brown slip on suede shoes from Goodwill, and attached worbla to the heel and toes of them. It attached itself, and didn’t need any glue!
The leg and knee armor were held on with straps that went around his leg and clipped on to the other side.
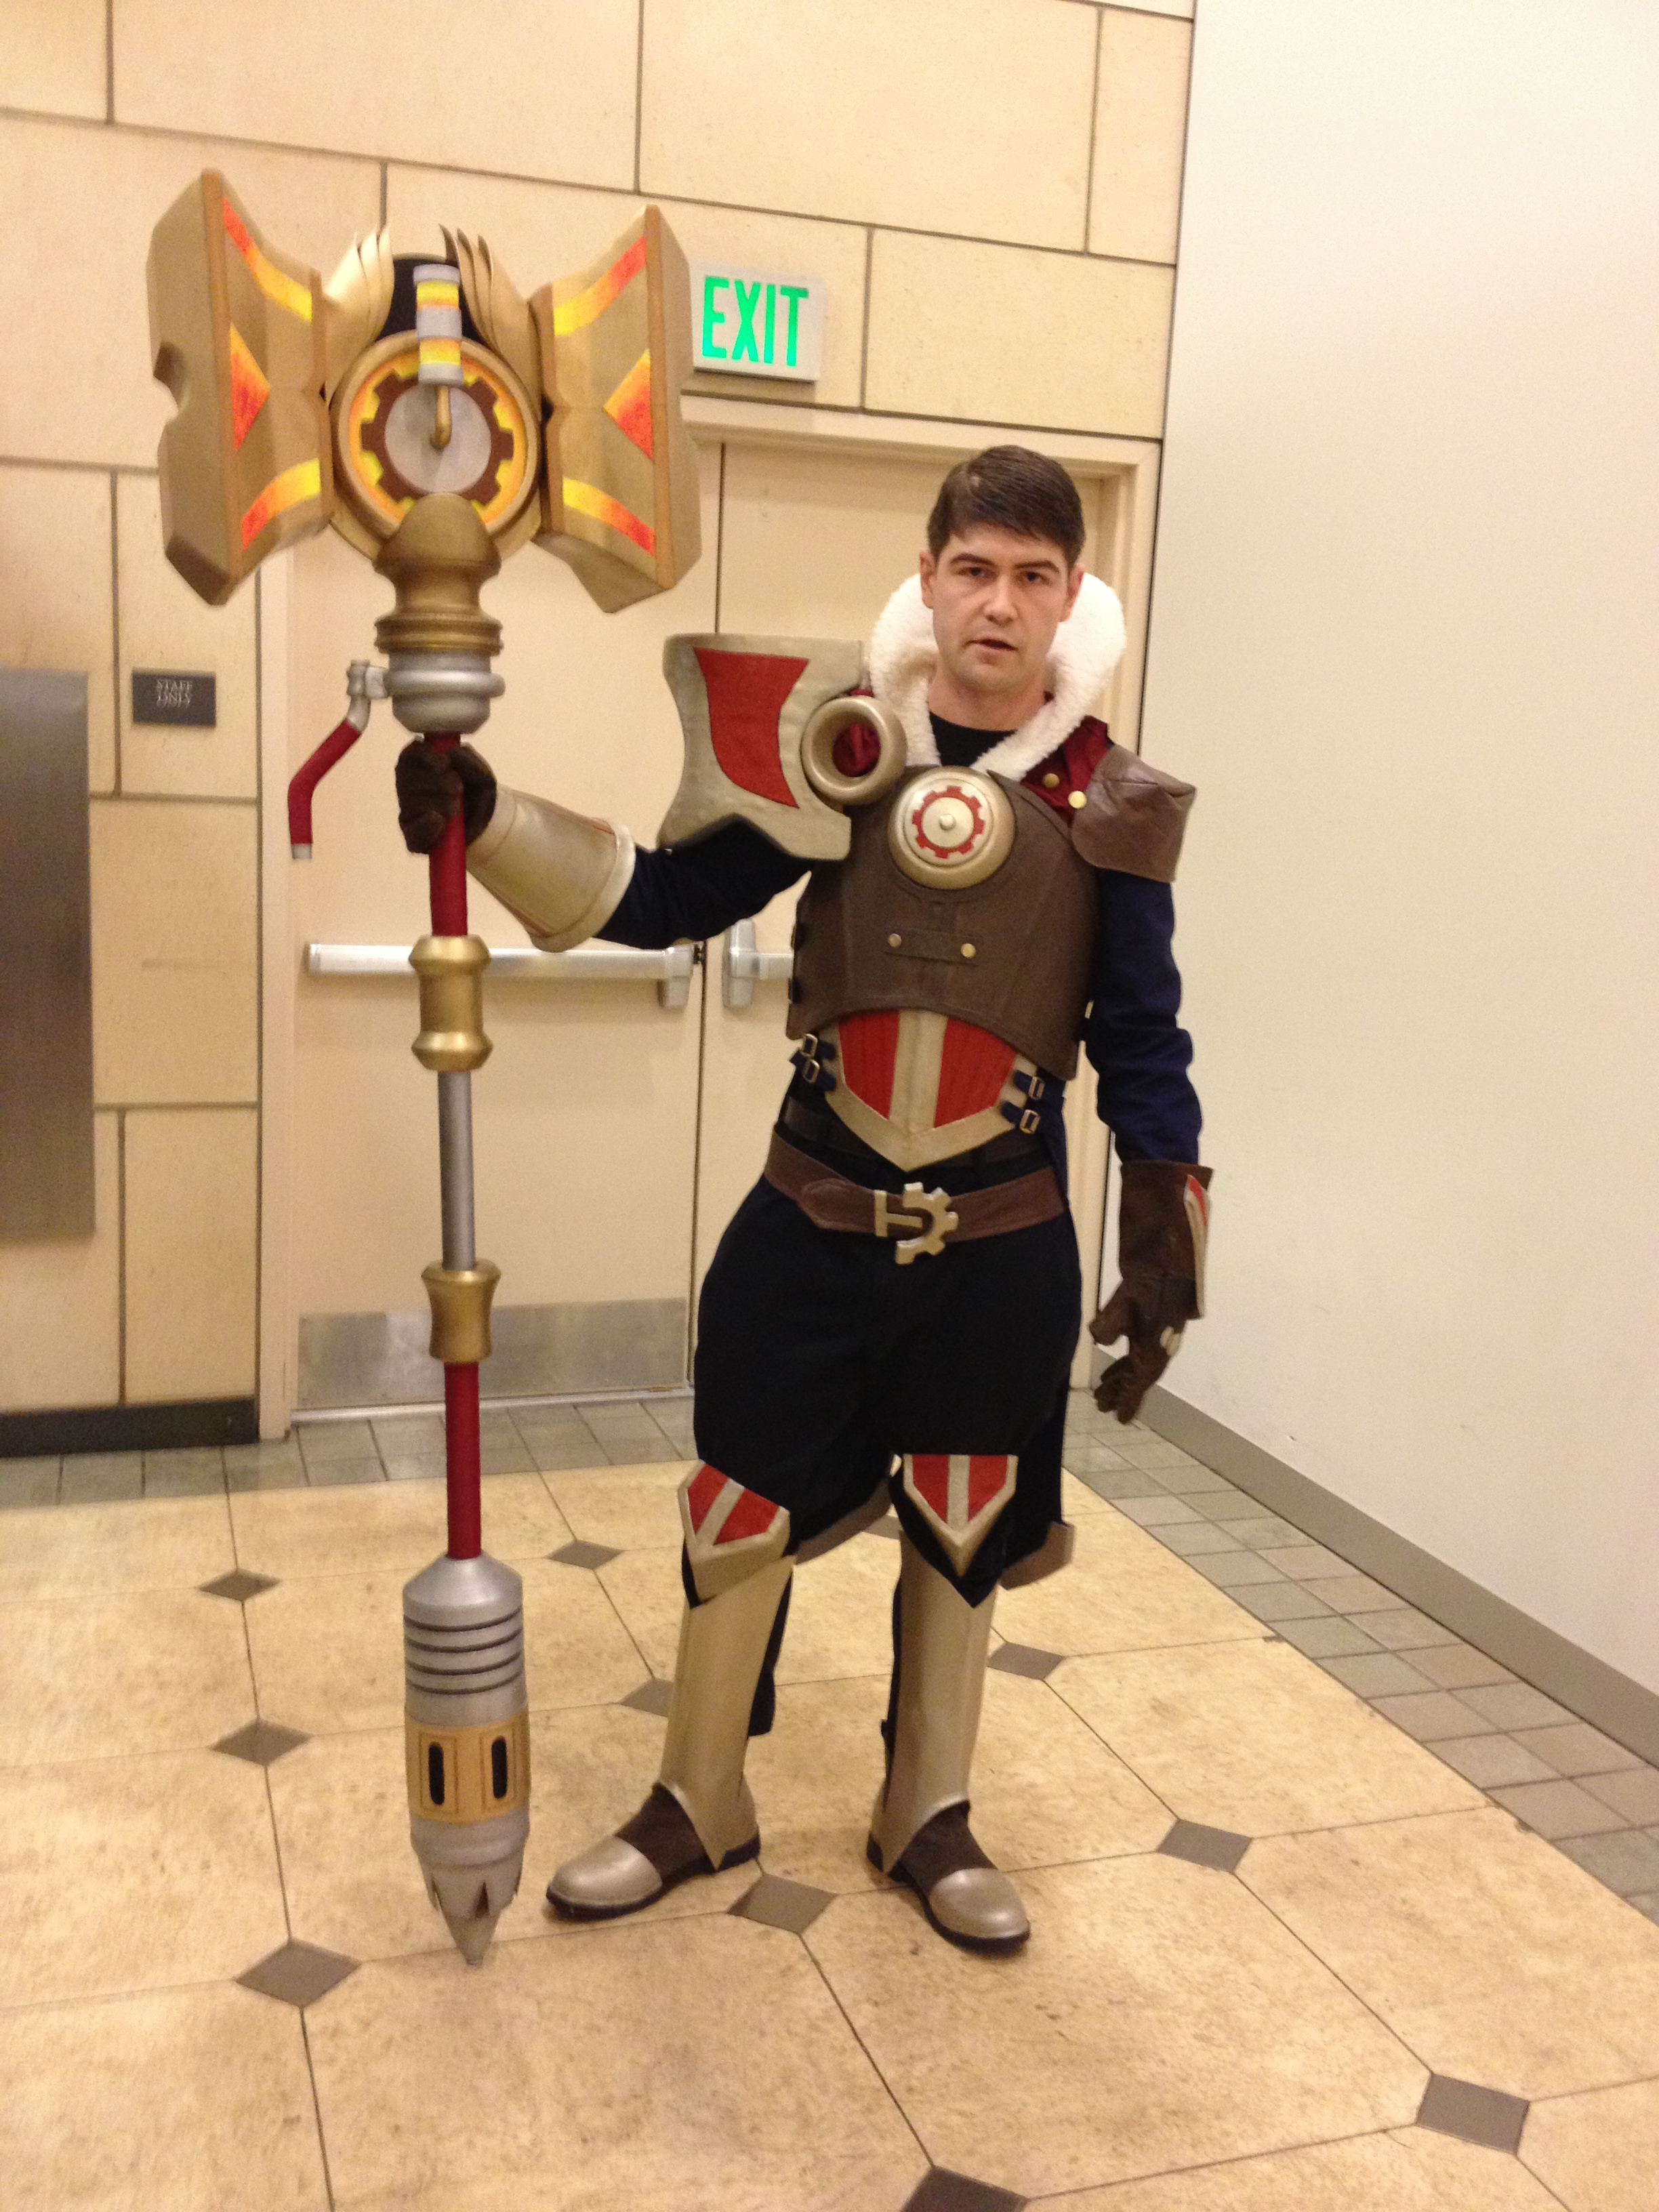
That’s actually it for the costume! The pants were just some blue pants we found at Goodwill. If you want to see how he puts the costume on, check out this post!
This is already long enough, so I’ll cut the tutorial off here, but we may write up a post on Jayce’s hammer- we already have some video tutorials up on our Youtube, so go check those out!
Thanks for reading!

I’ve decided that I’ll cosplay Jayce, and I don’t have any progress right now xD
I’ve been estimating that I will rushly finished all this stuff in just a week. It’s possible?
I also have budget for the materials..
To be honest, it took us a month the make our Jayce costume, and that was with two people working on it in every spare moment we had. If the costume is the only thing you are spending time on- no work or school or anything else- then maybe you can finish it in a week? But we fully believe in not rushing a costume if you want it to look perfect! So don’t rush the details, take your time to make it look as accurate as possible.
I really want to be Jayce for Megacon! Is there any chance you’d be willing to sell me the outfit?!
The lowest price we would sell the entire costume plus mace for would be $4k, there were many hours and dollars put into making it, and the shipping would likely be high as well since the mace is so heavy.
how did you make the mace? :D
We haven’t written out a full tutorial on it yet but you can see all of the progress photos here: https://www.facebook.com/media/set/?set=a.547257608617693.128907.158610030815788&type=3
This cosplay is awesome! It turned out perfect