

Photo by Ed Tan
Queen Ashe was a surprisingly easy costume to make, and the sewing parts happened relatively quickly. This is going to be a pretty long post, though, and pretty picture heavy!
 I was pretty much working off of three images for this costume. I found three different images for Queen Ashe, and since I liked some aspects of each of them, I decided to just do what I wanted with the costume! Doing it this way was actually a lot of fun, and I really enjoyed just doing what I thought was nice looking but still seemed to fit the character. So, I chose to go with the length of the sleeve, the front of the chest part of the dress, and the crown from the first image; the sleeve design, right gauntlet, bow, necklace, shape of the top part of the dress, and the gold trim on the white overskirt on the second image; and the design on the bottom of the dress, the placement and design of the gold belt, the silver gauntlet, and the arrow (which we didn’t finish) for the third image.
 I decided to go with the pattern from McCall’s M6097, minus the bustle and train it was supposed to have since they weren’t a part of the costume. I also modified the sleeves to have one long sleeve, one long with a shorter sleeve, and made the skirt two parts instead of two colors sewn together as the pattern calls for.
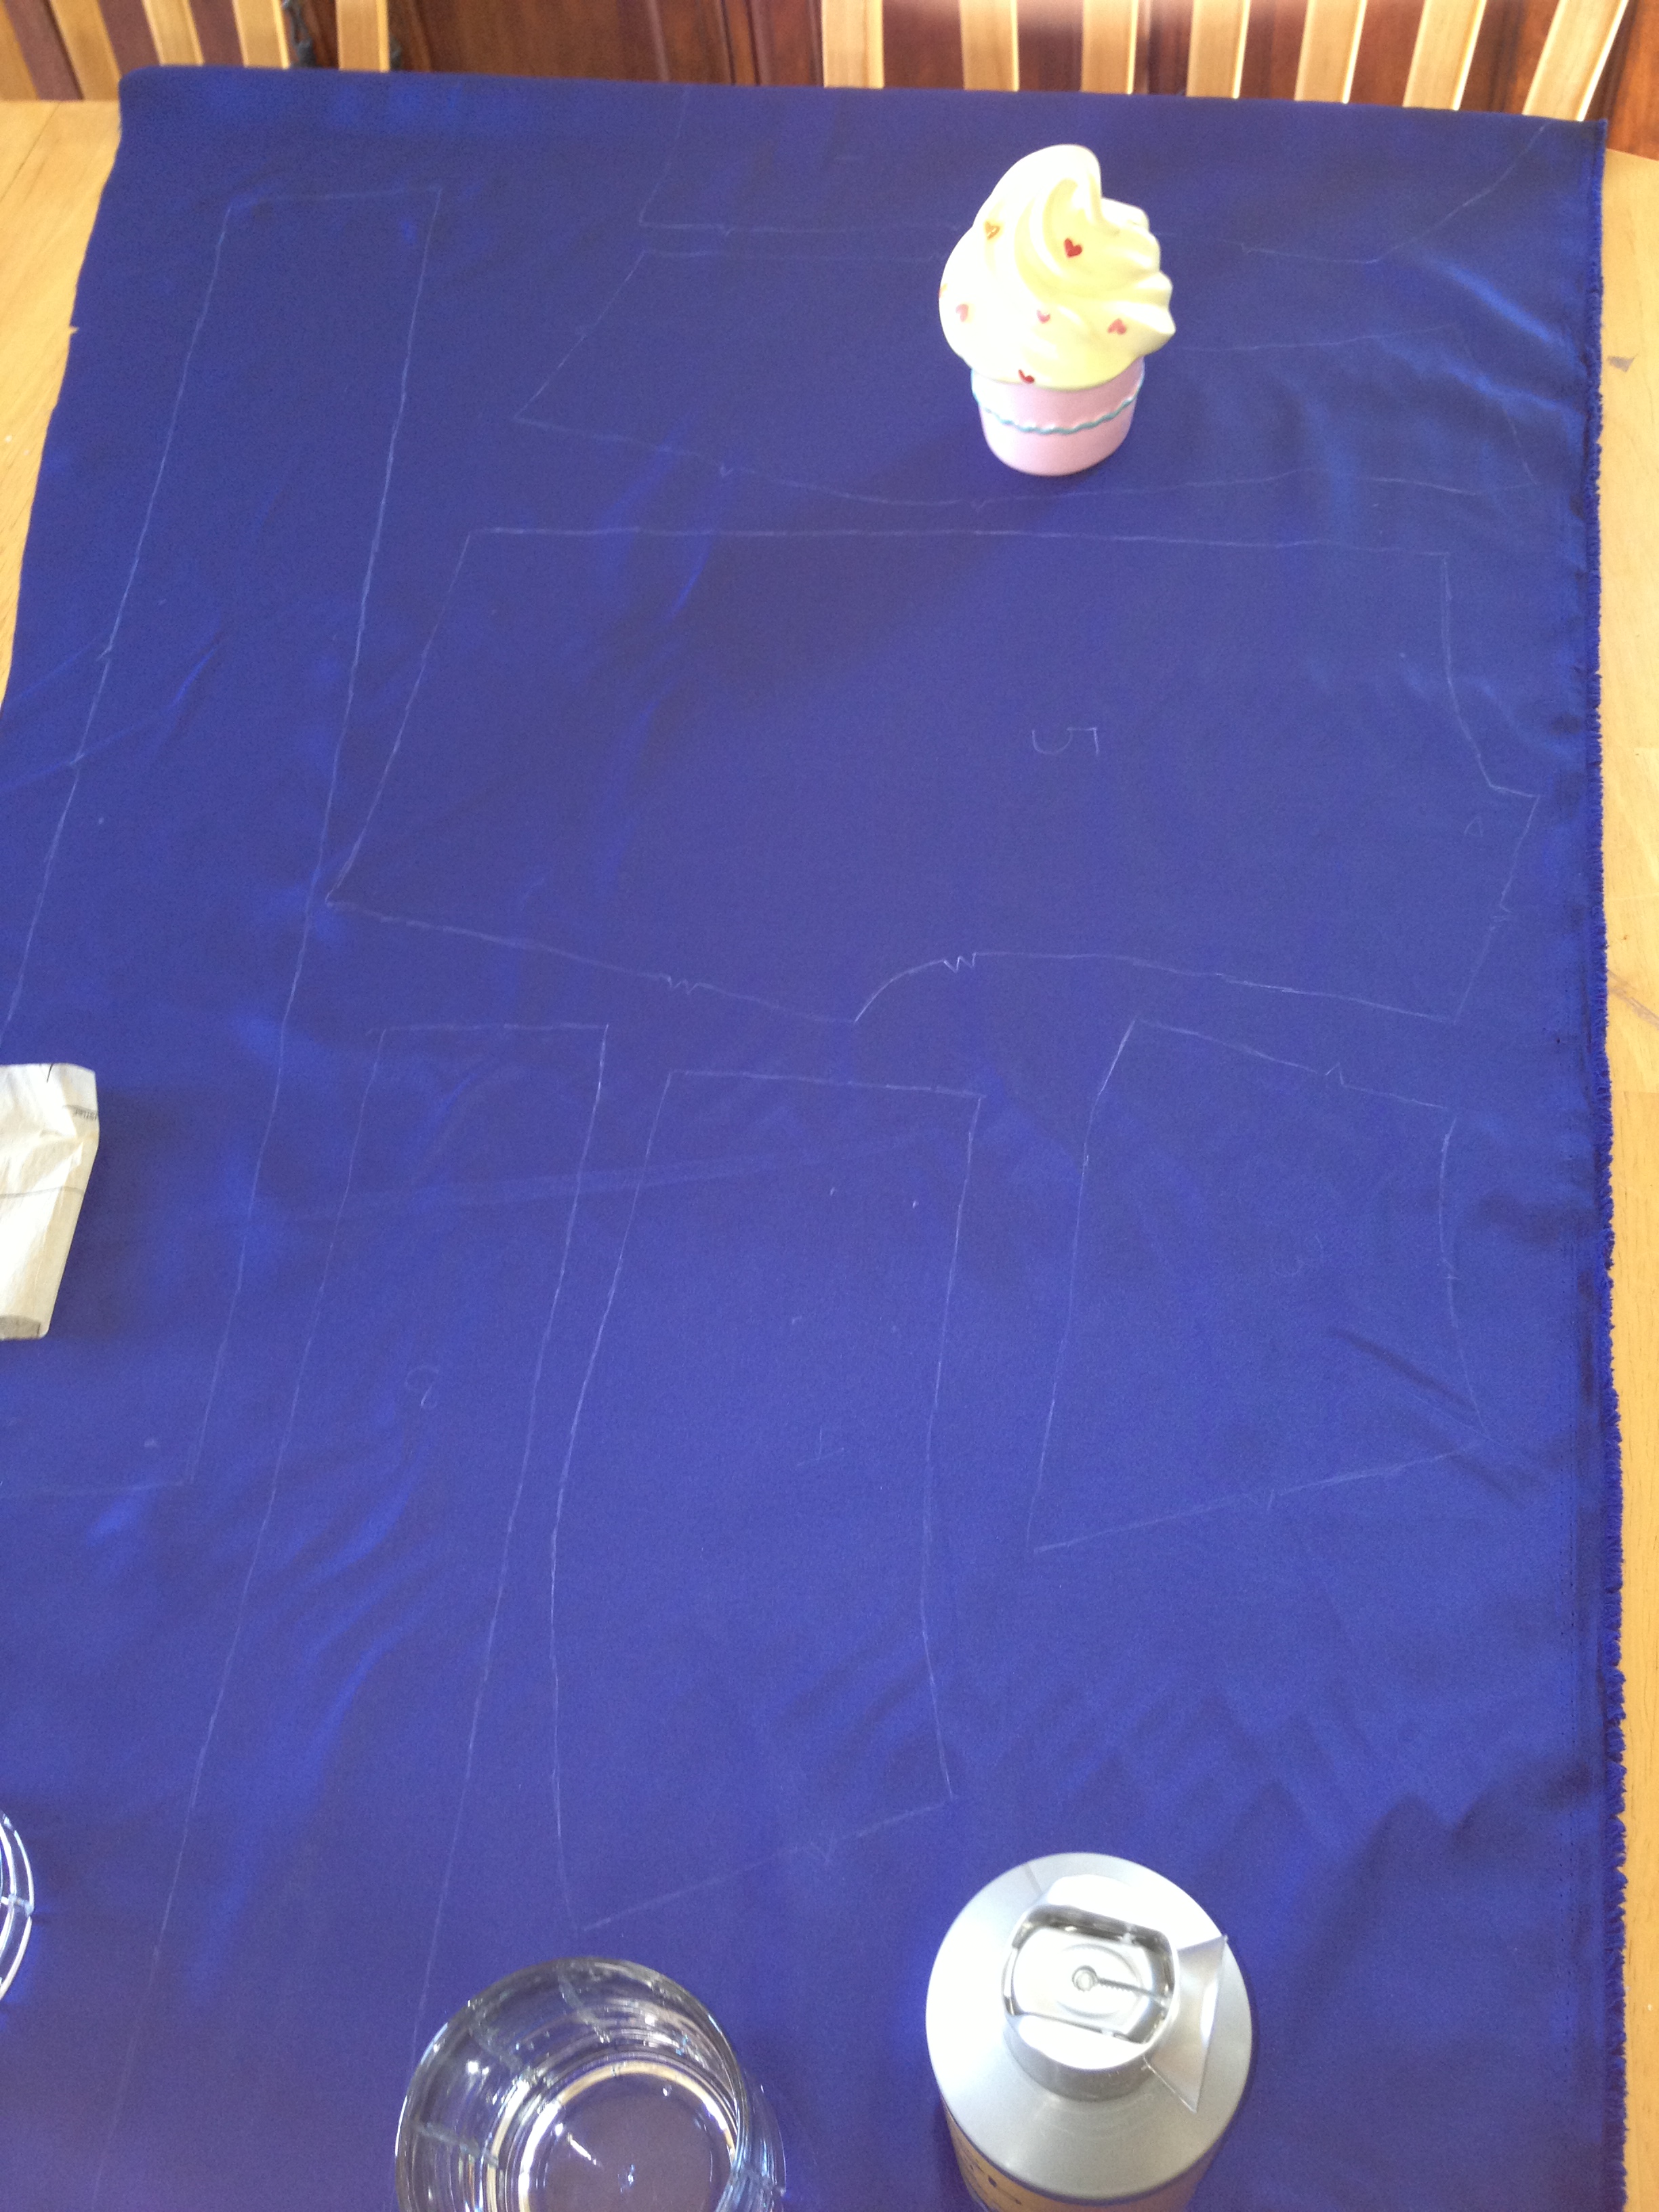 So, I cut out the pattern, modifying as needed (I referred to sleeve tutorials to help make sure my long sleeves were correct). To clarify with the skirt, the original design of the skirt if you followed the pattern would have one color in the middle front of the skirt, sewn to another color of the same length that went around the rest of the skirt. Since Ashe’s dress obviously has one color shorter than the other, I first sewed the entire skirt out of the blue, decided how much shorter I wanted the white to be (I think I went with a foot or so shorter), then folded the pattern and cut out the pieces that would go around the sides and back.
 Here I’ve sewn the blue under skirt together and am trying it on over an old petticoat I had- one that was definitely too large, hence the strange shape of it. I also pinned on the white to make sure the length was where I wanted it to be!
(The petticoat I ended up using for the dress was this one from Amazon, it’s not actually pink like in the photo and since it’s a hoop skirt, it kept me cooler. The hoop was also adjustable which was perfect!)

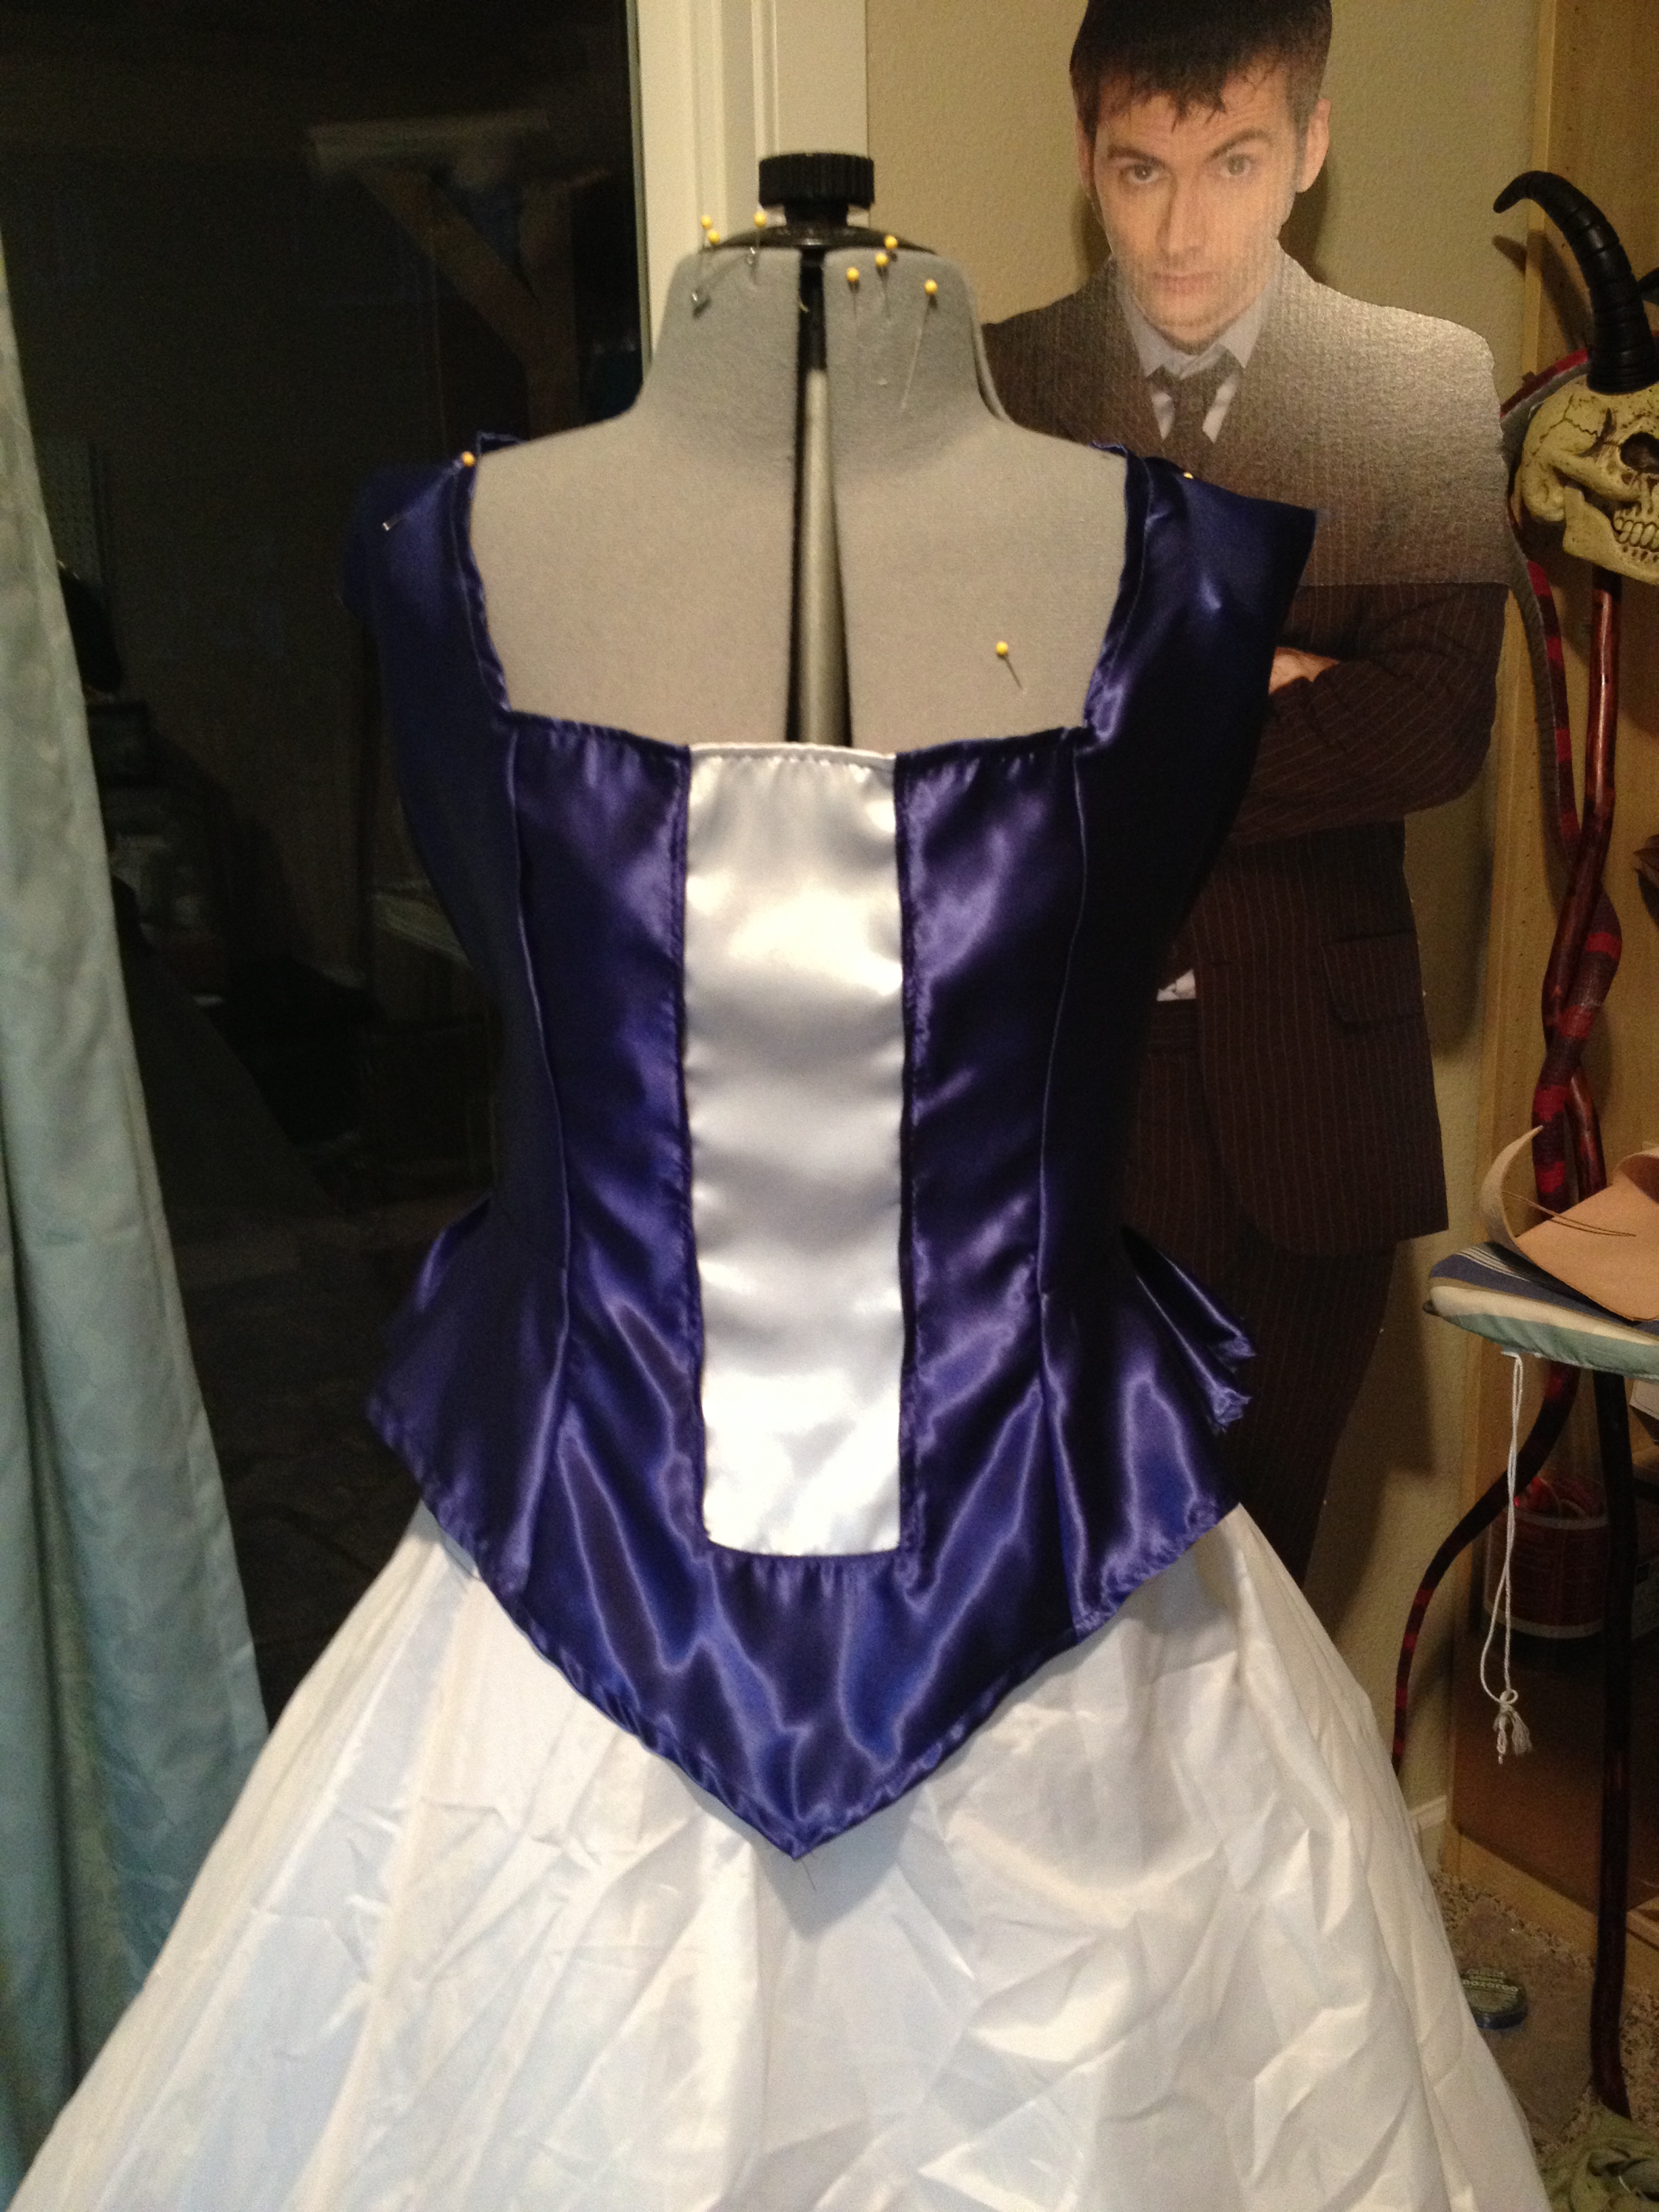 I then followed the pattern’s directions to make the top. (Note: I ended up not measuring correctly here and had to alter the back of it to be smaller by putting in an invisible zipper; remember to try it on yourself, not just the mannequin!)
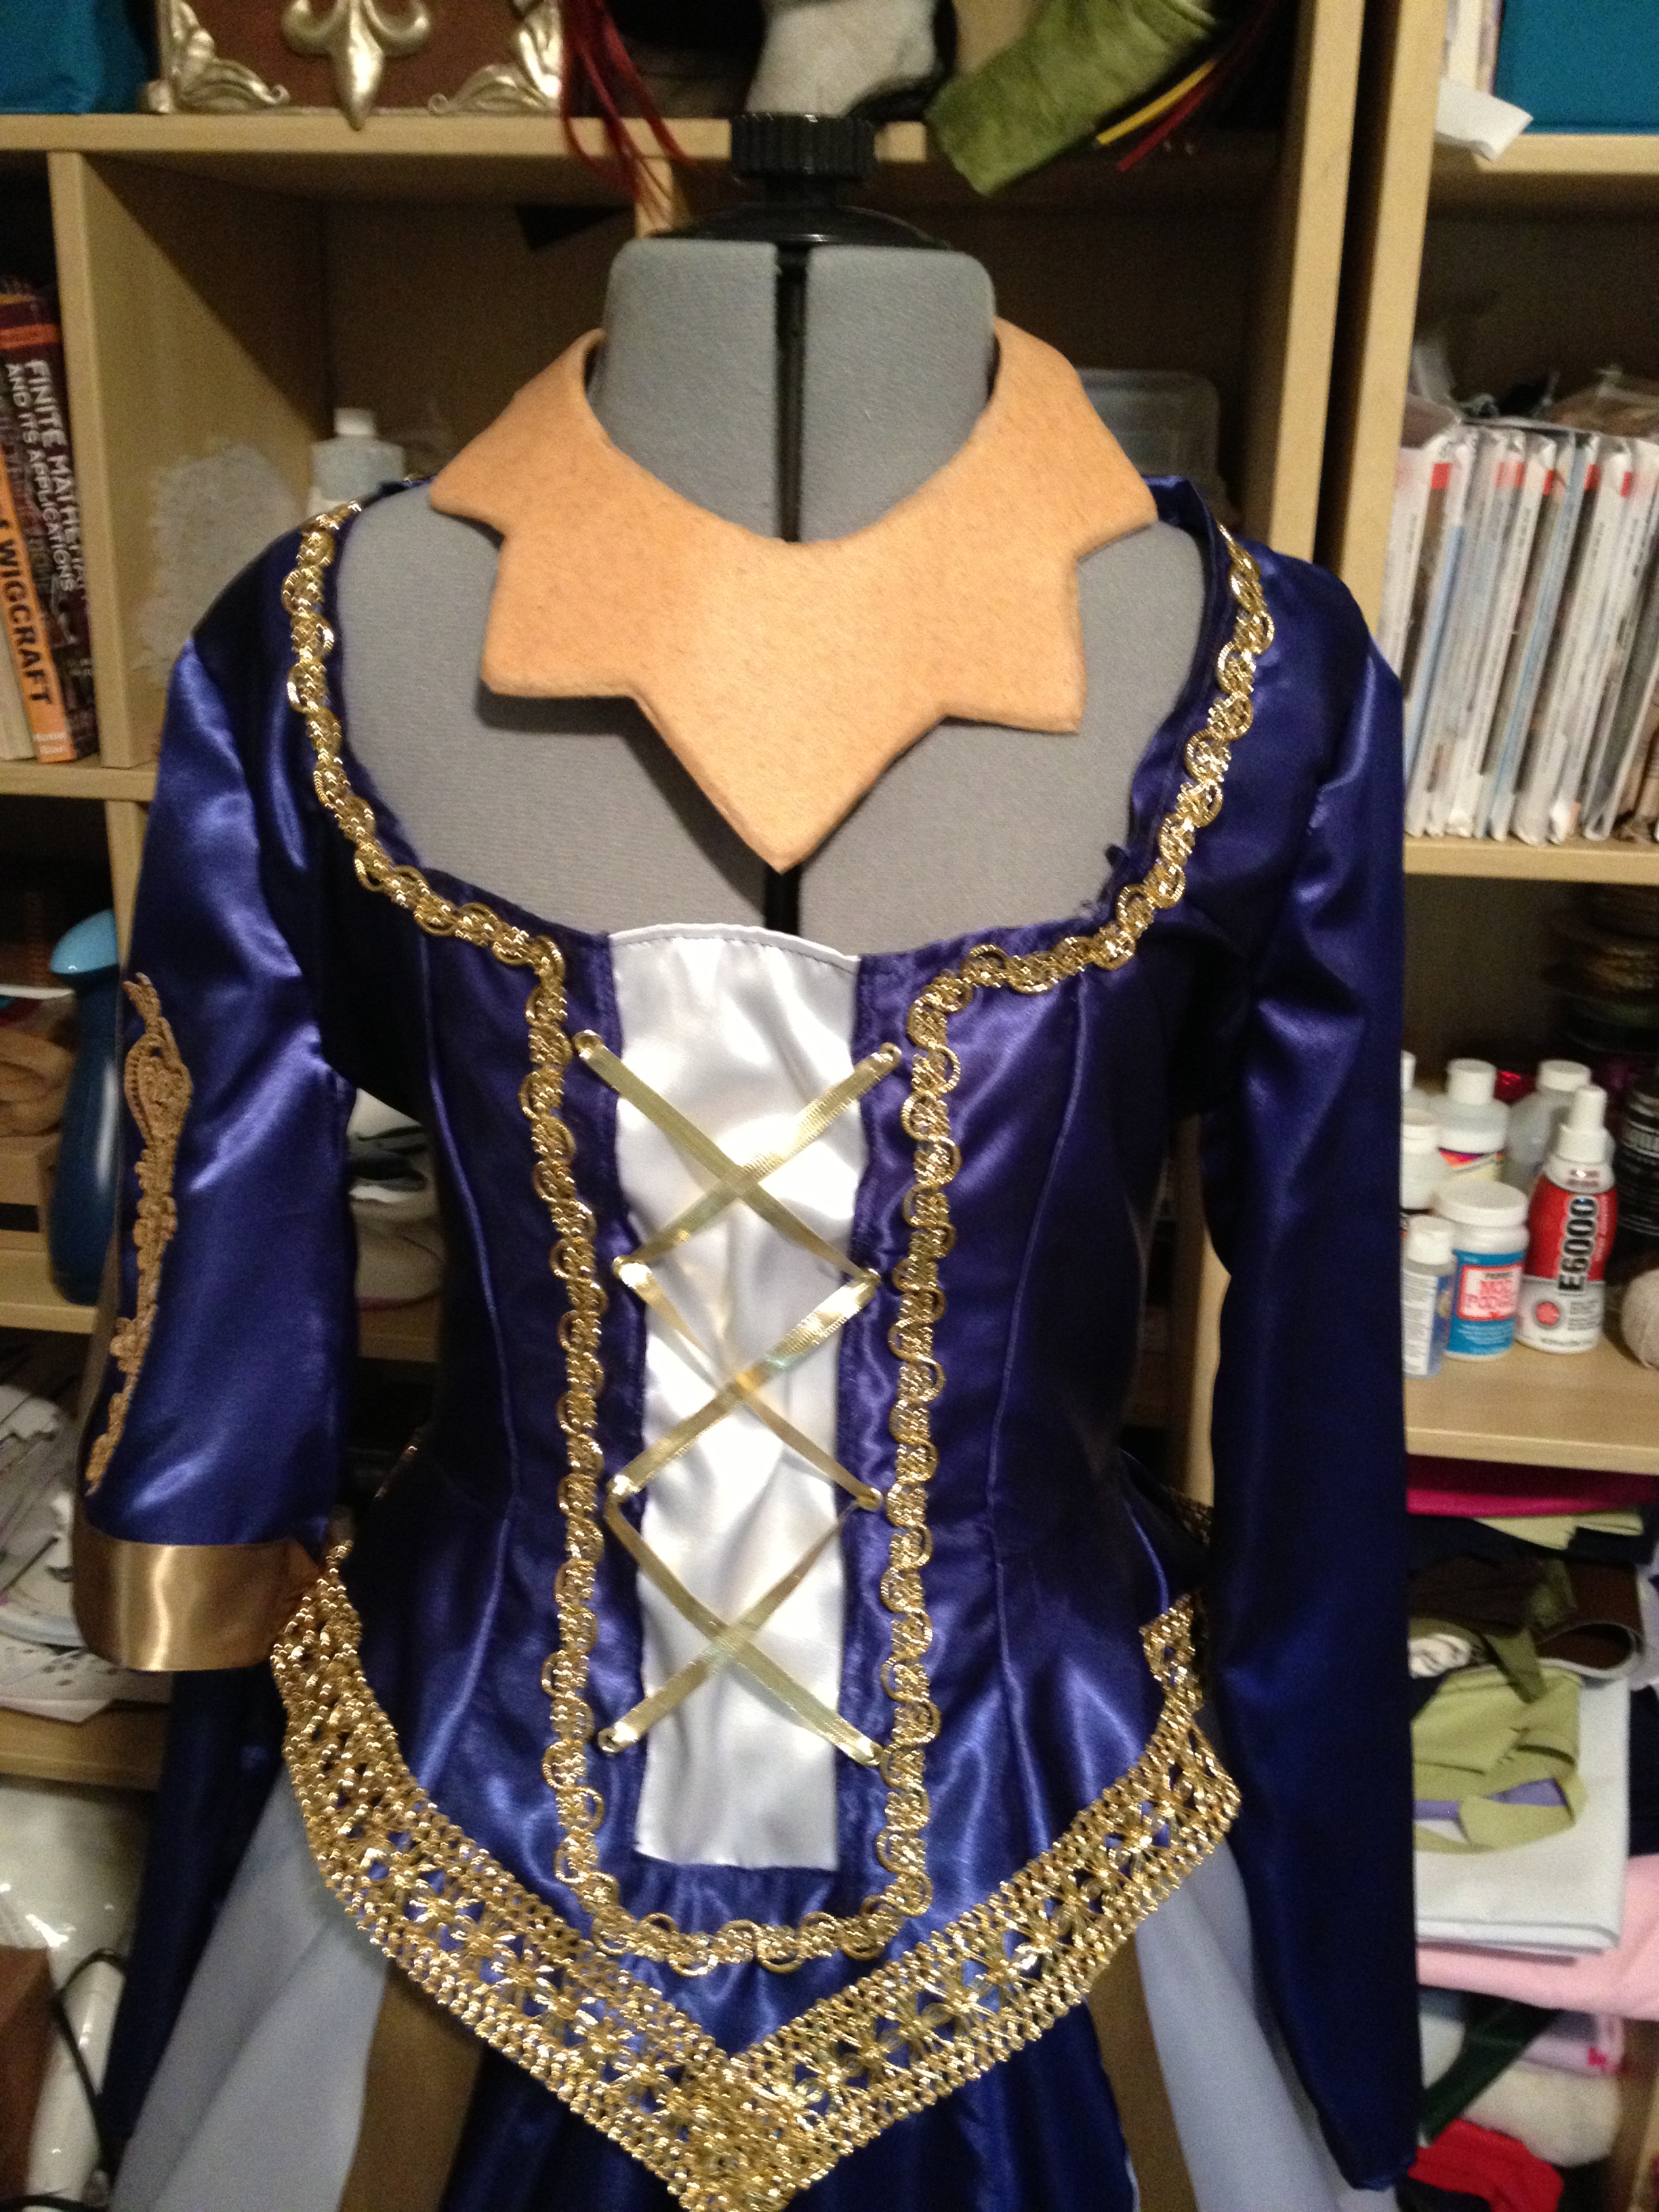
 Here it is with the modified sleeves! Then, it was on to the trim, after I punched holes into the top for the lacing.
 I’m going to be honest with you guys- most of this trim is glued on. I didn’t want a lot of thread showing, and permanent fabric glue is pretty much my best friend. (Mario doesn’t like it as much as I do, though.) I found all of the trim at Joann’s, and just picked up golds in the same tone and color that I thought would match the dress!

Holy blurry picture, Batman! Sorry about that guys, I promise we got a new camera so after these costumes, the progress photos will be much better. Anyway, I placed the trim in a design that was close to what was on the bottom of her dress, pinning it then gluing it down.
 I found some lace I liked for the arms that was whits, so I spray painted them!
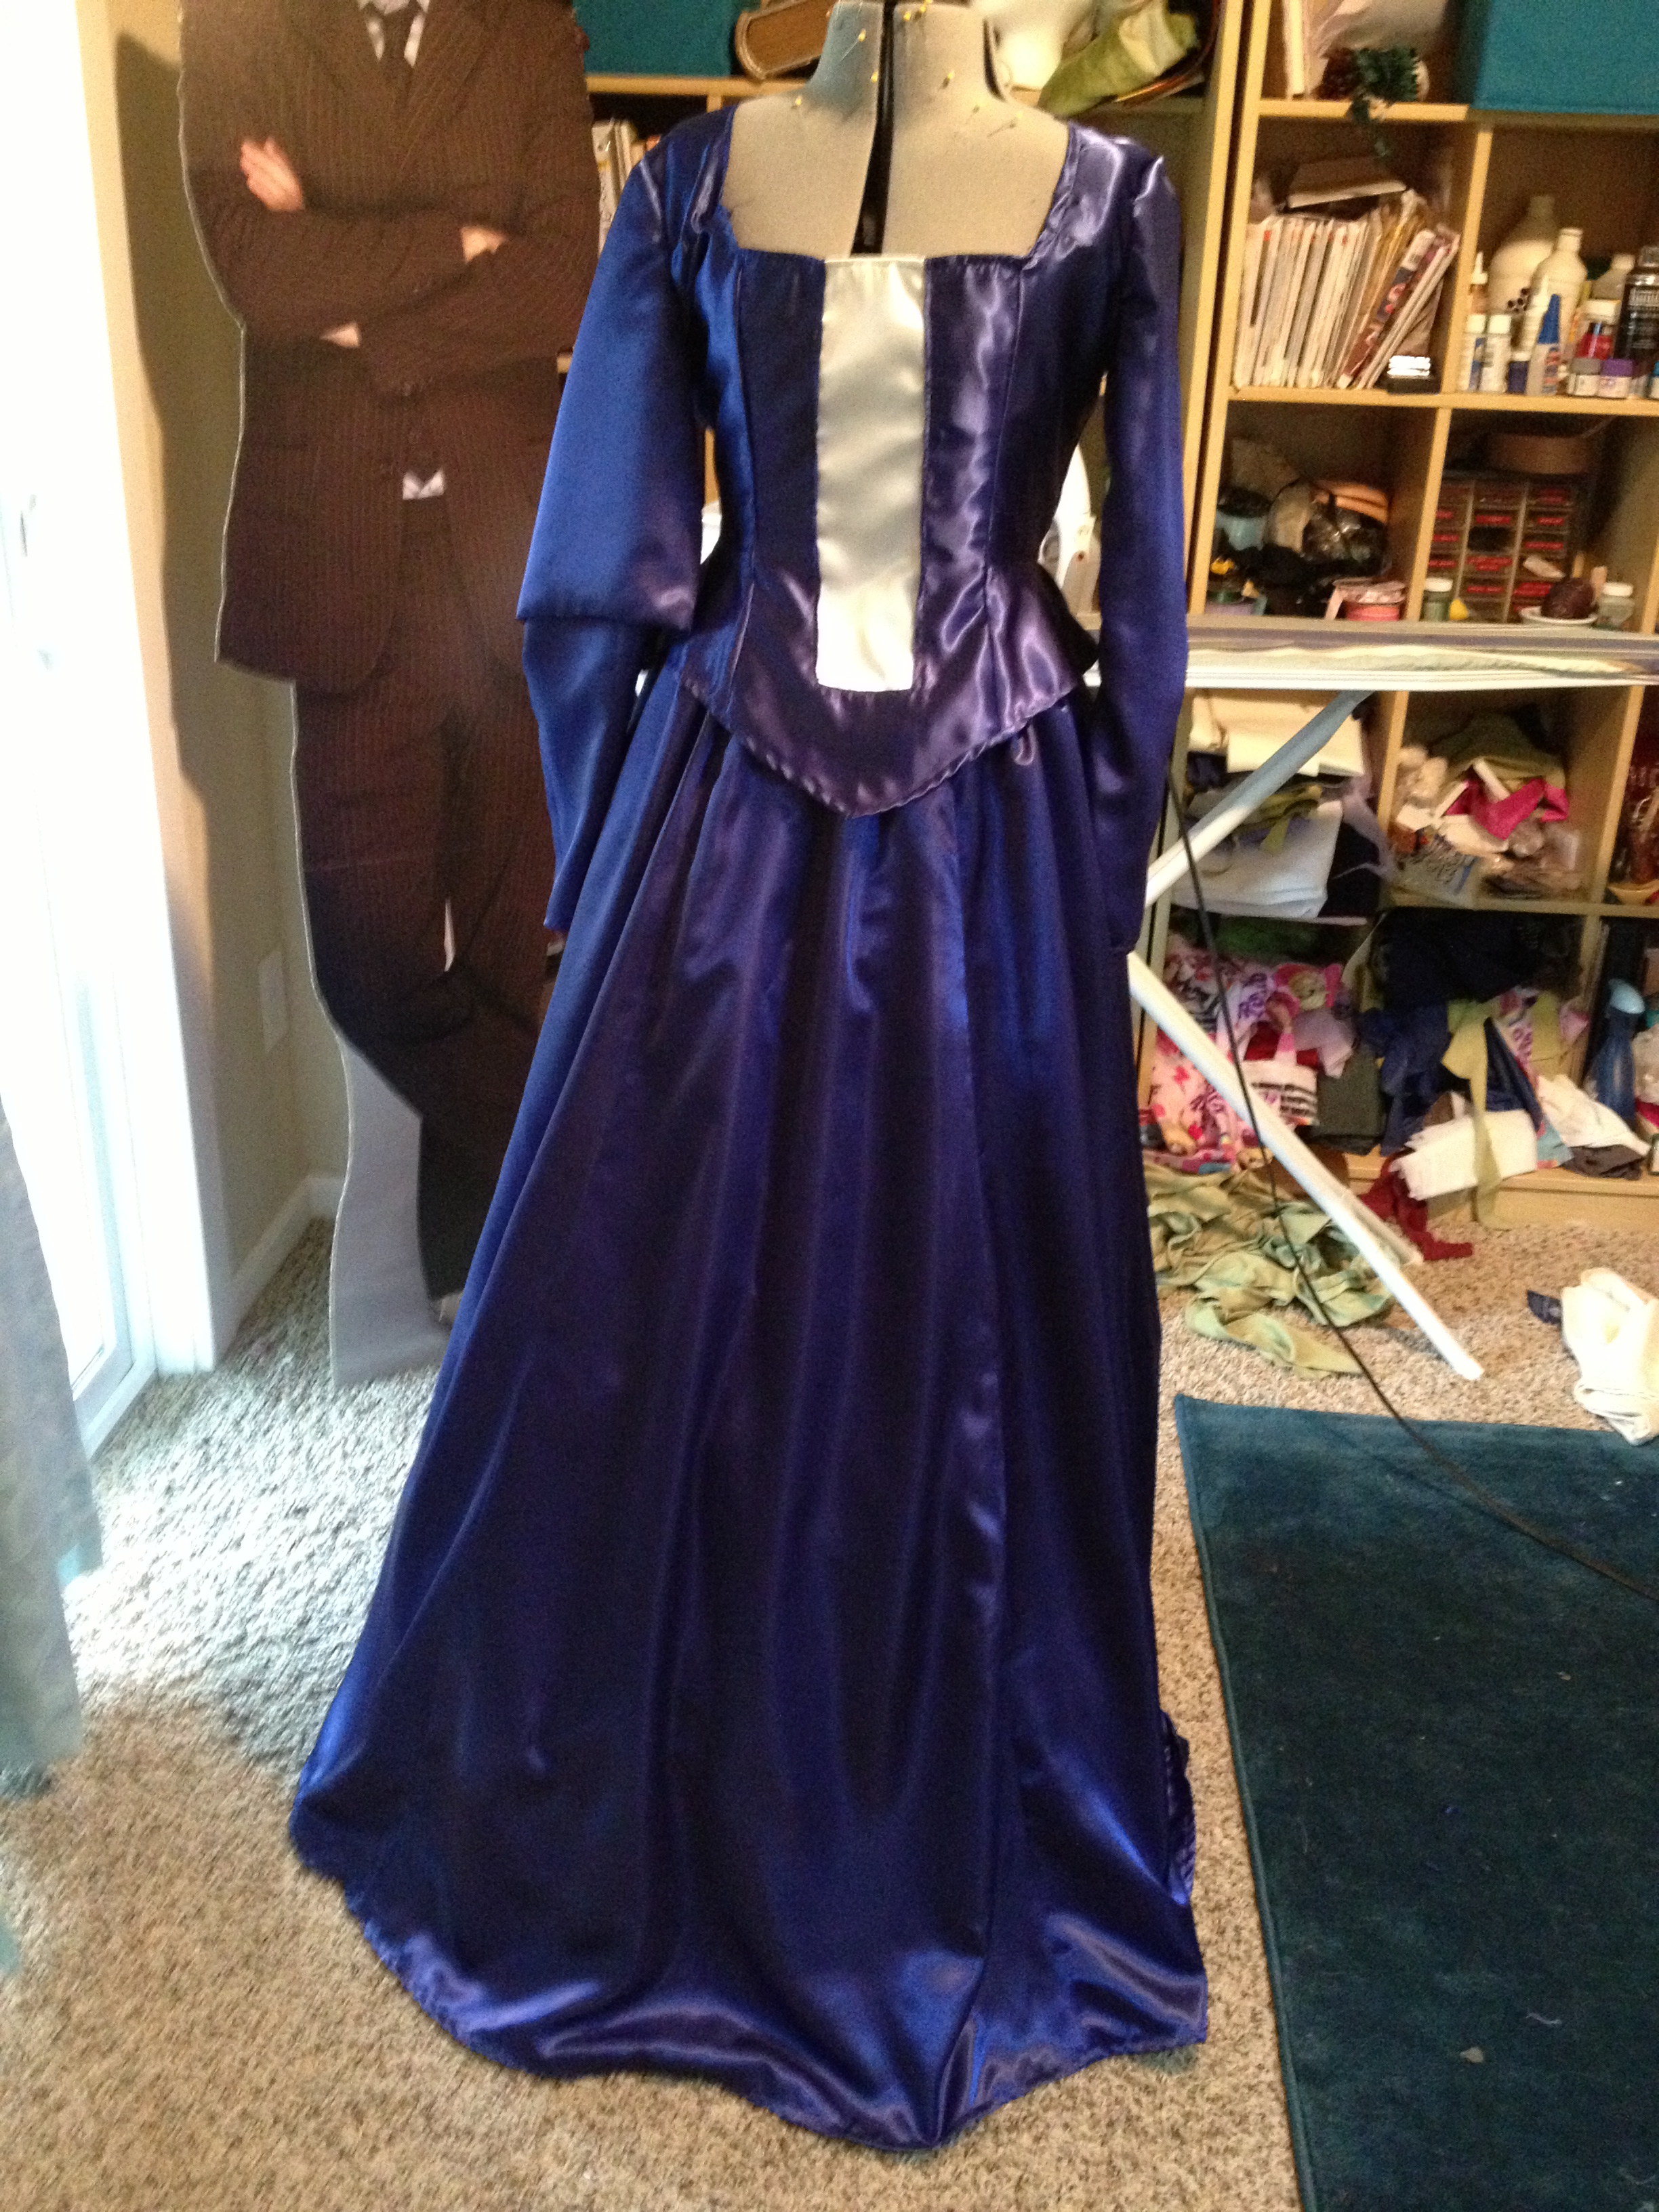
 Hooray for all the trim being done! So, now looking at the costume, the dress is finished. Now for accessories!
 The arms that we molded for Kerrigan came in handy! I used them to help mold hot worbla to make bracers. We followed Kamui Cosplay’s method to make the pattern for the bracers!

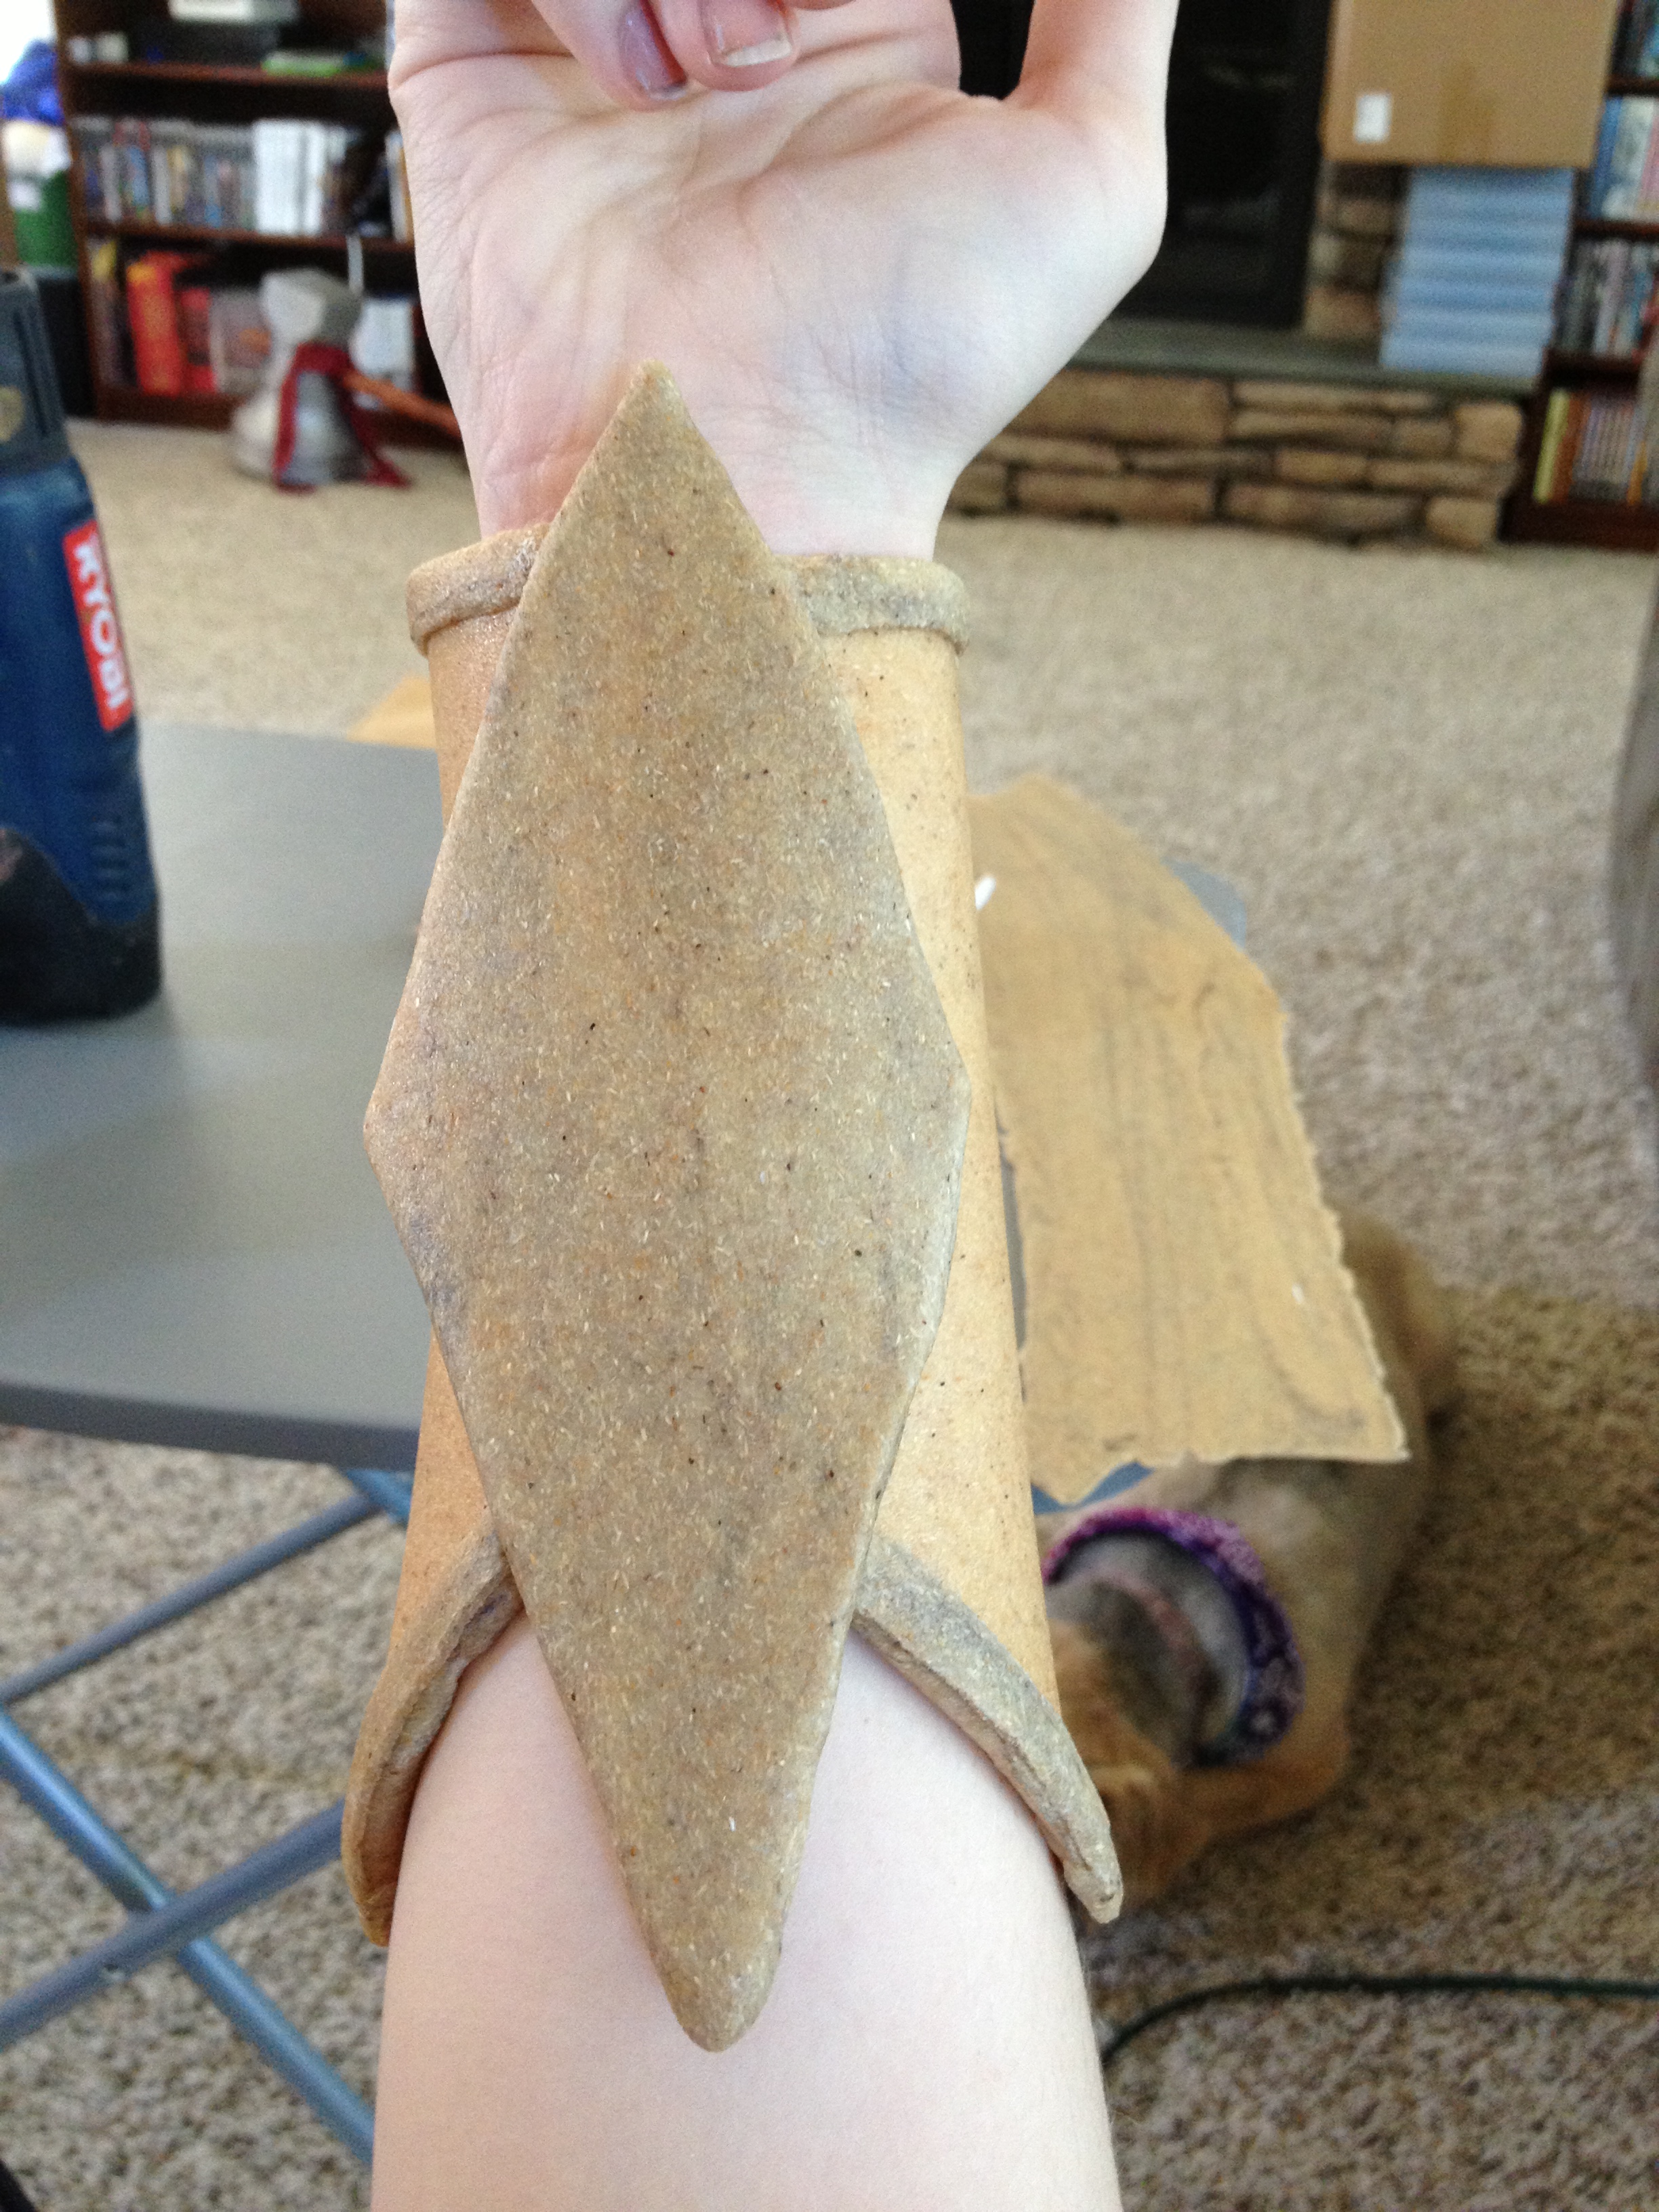
This is the front of the bracer- the part that would be seen when holding the bow (we ended up turning it around).
 And this was the back, but we ended up making a new piece at the last minute since the first design wasn’t working.
 This is the final design of the right bracer! It has to be slid off with the magnets, as long as you don’t try to pry it off, the magnets stick!


After a photoshoot with Ed Tan, I decided I didn’t like how the bottom of the dress was laying, so I sewed horsehair braid to the hem and also added a small detail with my sewing machine!

The bracers, belt, necklace, and crown were made out of worbla!

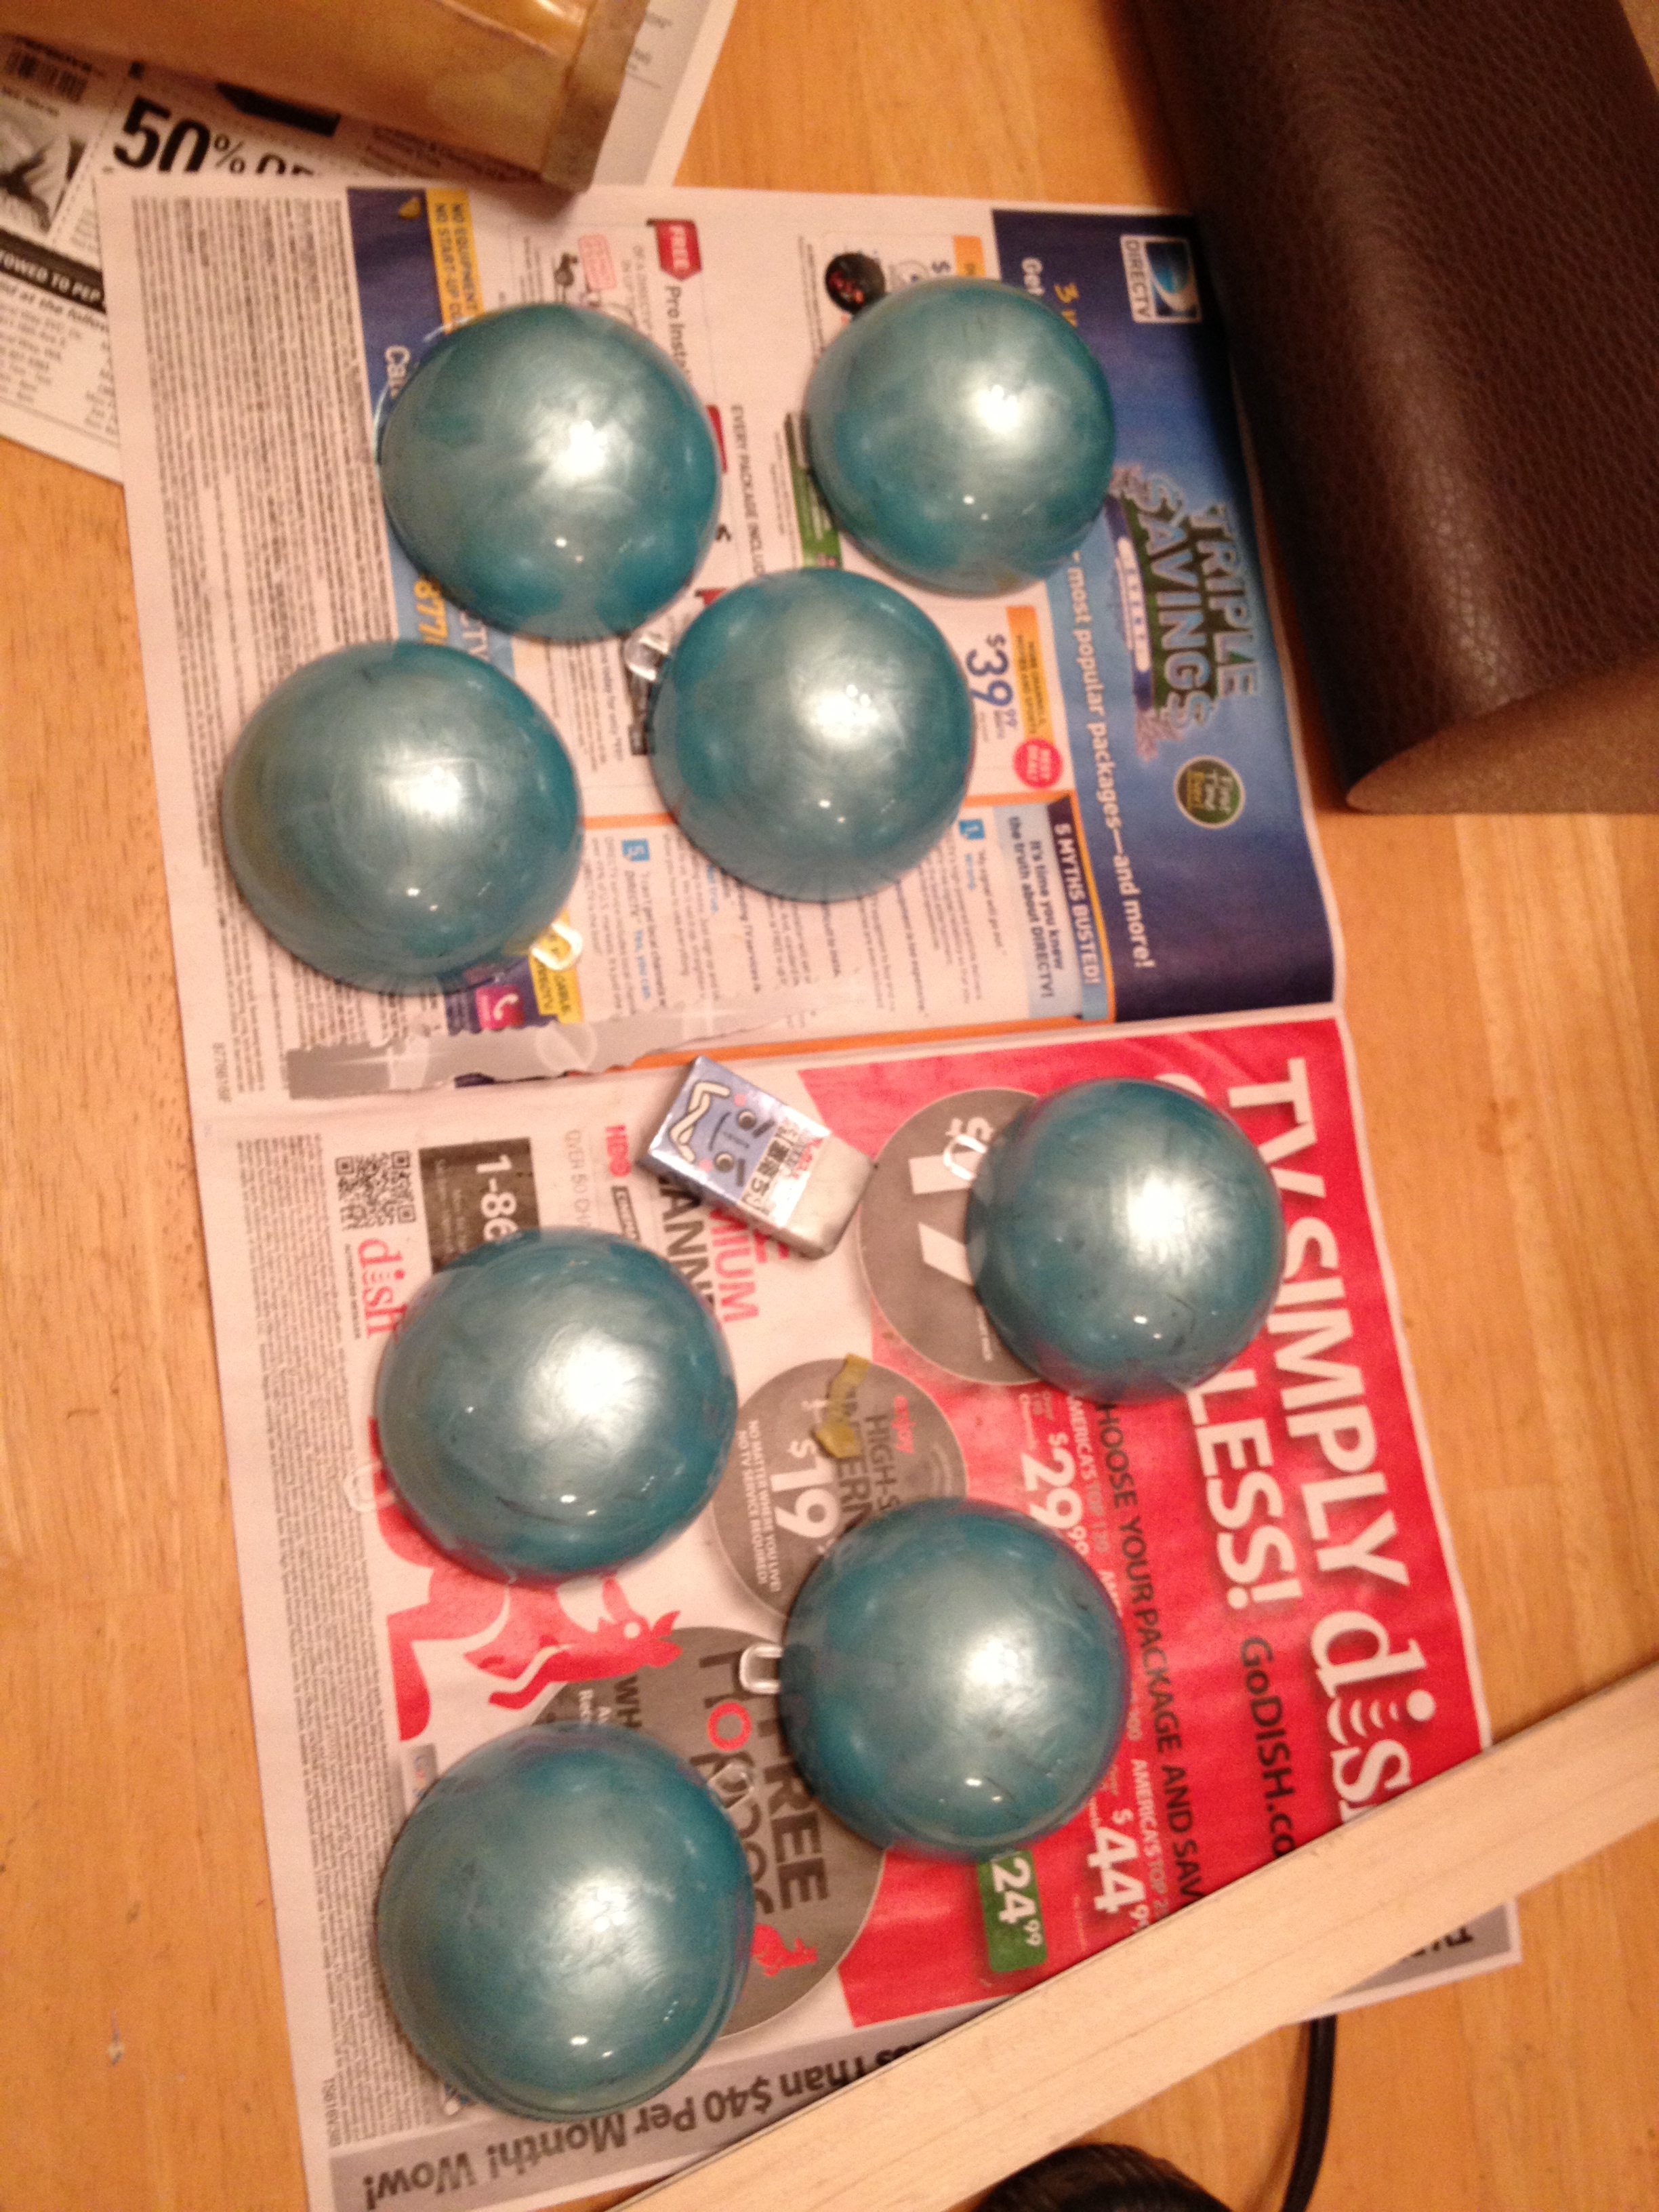
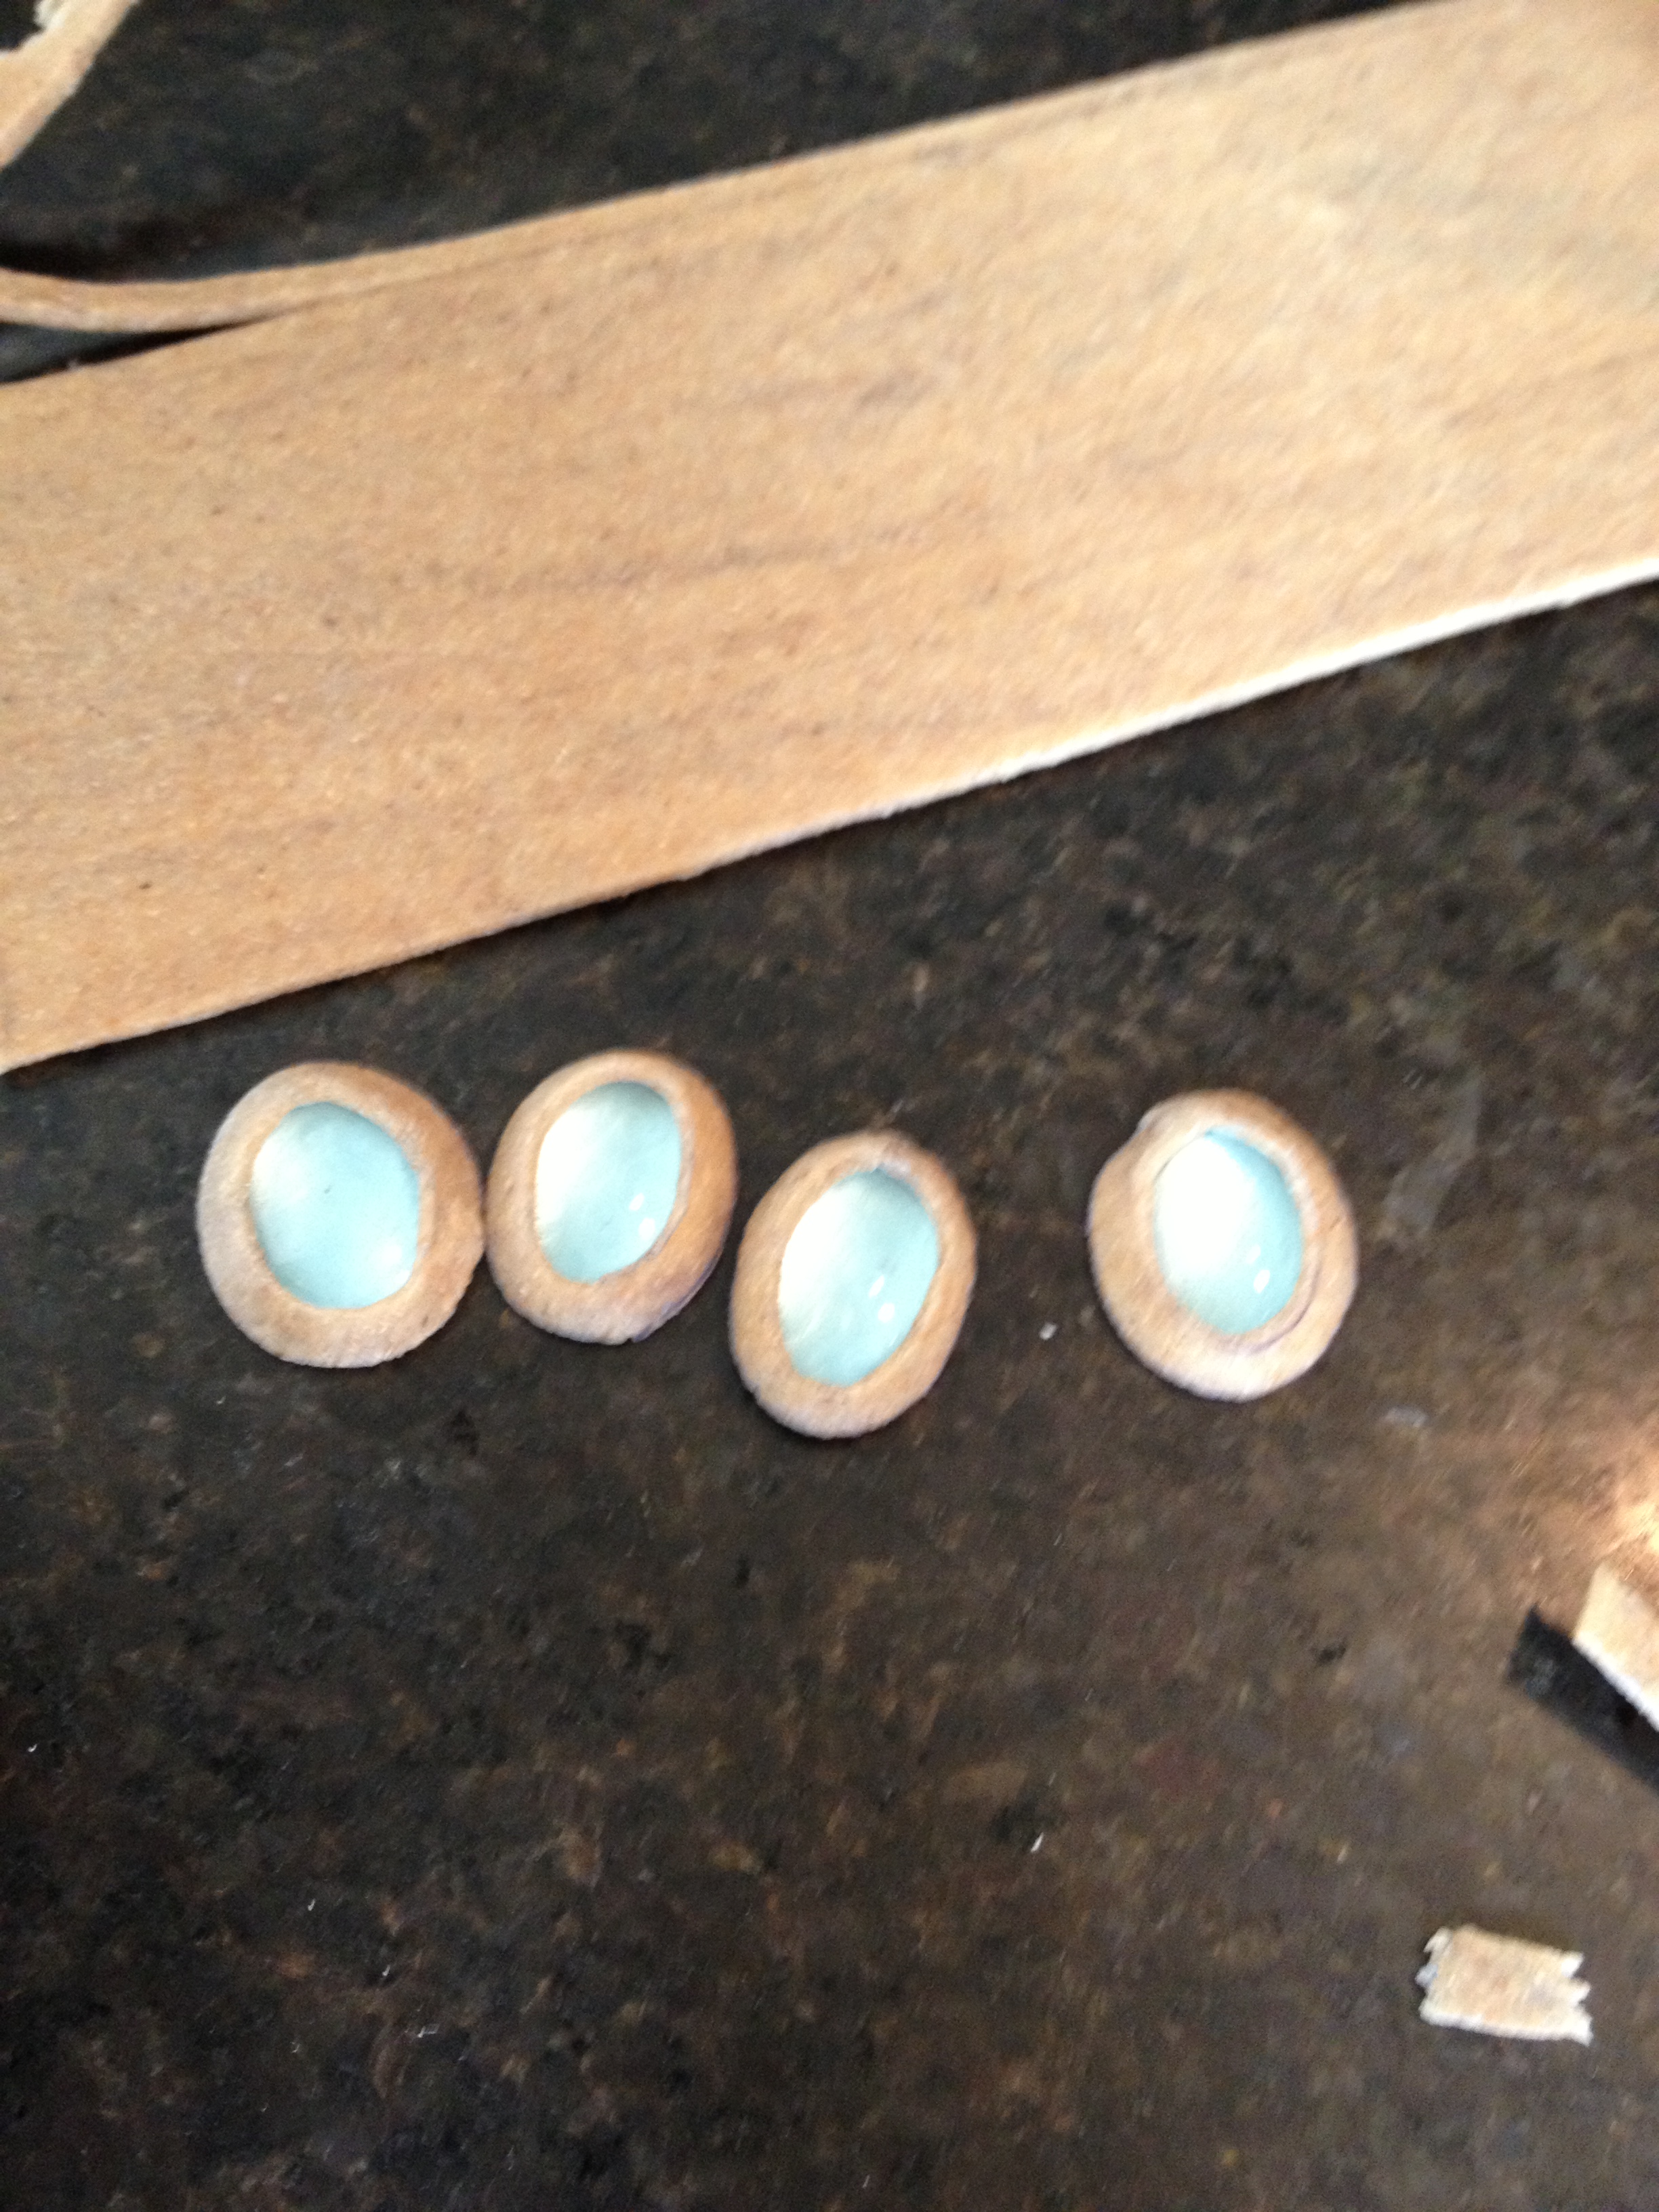 The gems were glass cabochons painted on the back with glass paint, and I made surrounds for the gems out of worbla.
Most of the pieces of worbla were covered in wood filler to help smooth it out, then given a light sanding. It wasn’t perfect, but given the time we had, it was really nice!


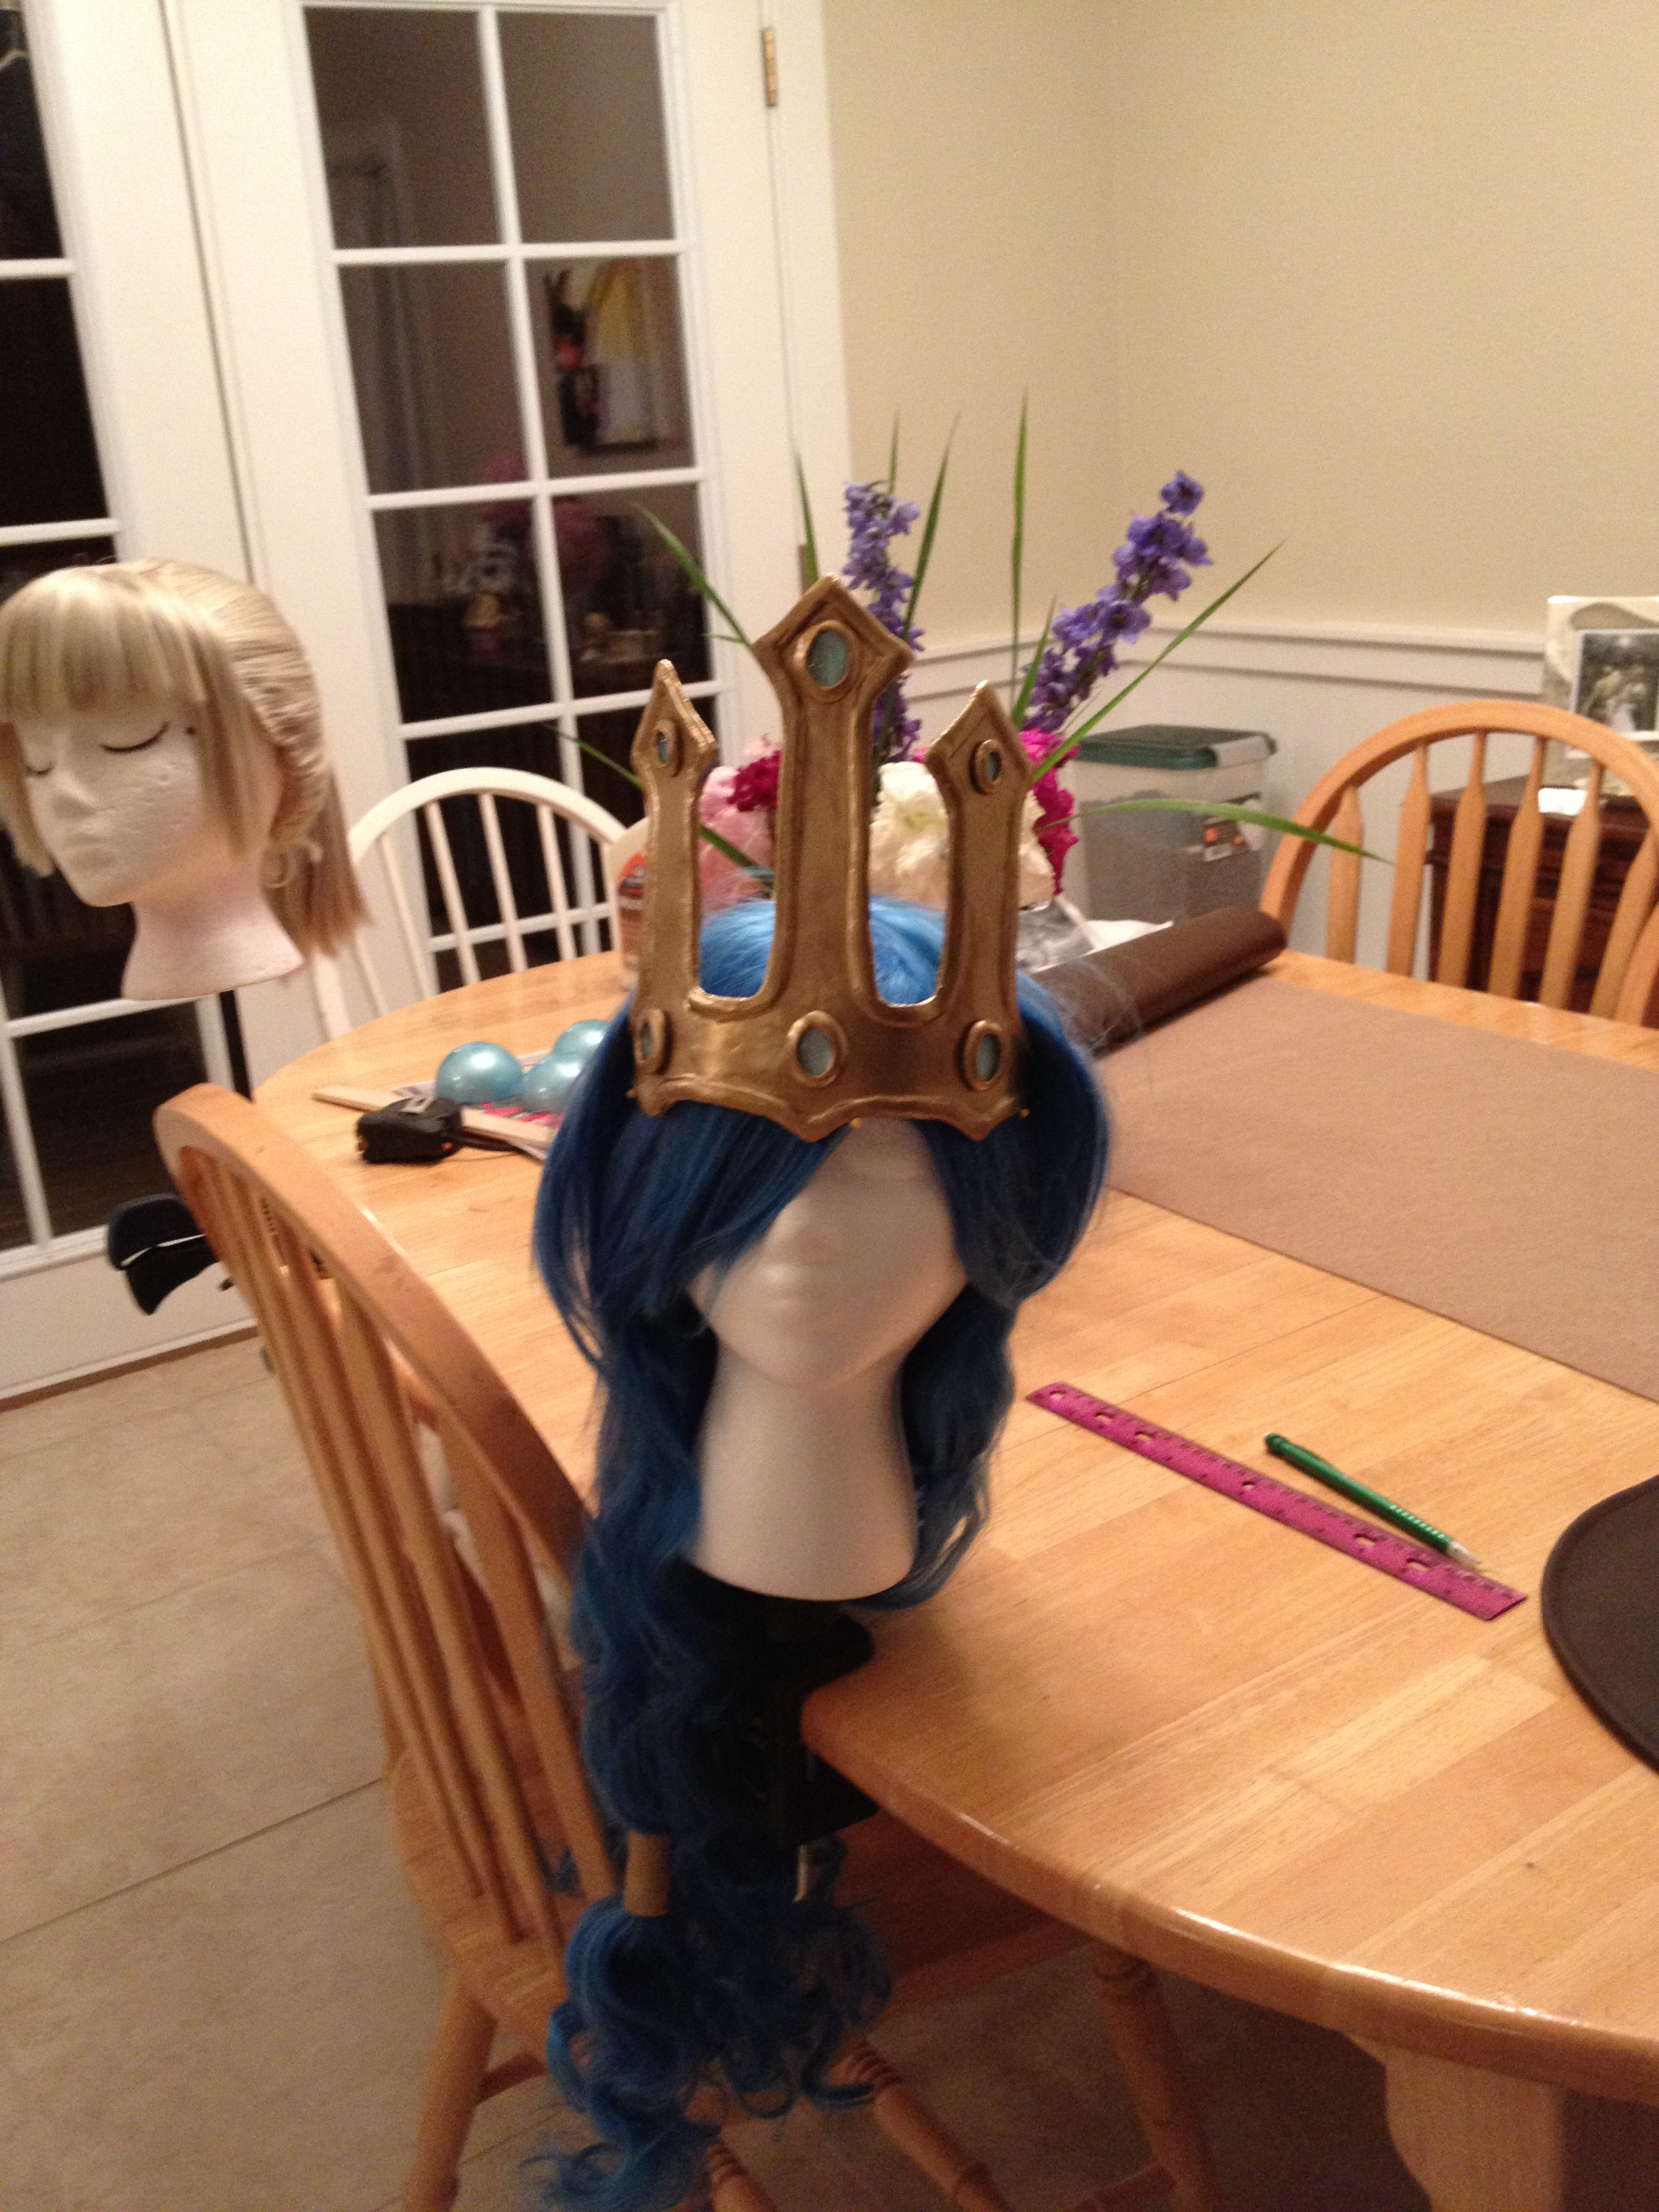
 Details were added, pieces were spray painted, and gems were glued on! I did the detail on the skirt belt with strips of worbla, following pretty closely to the in game version.
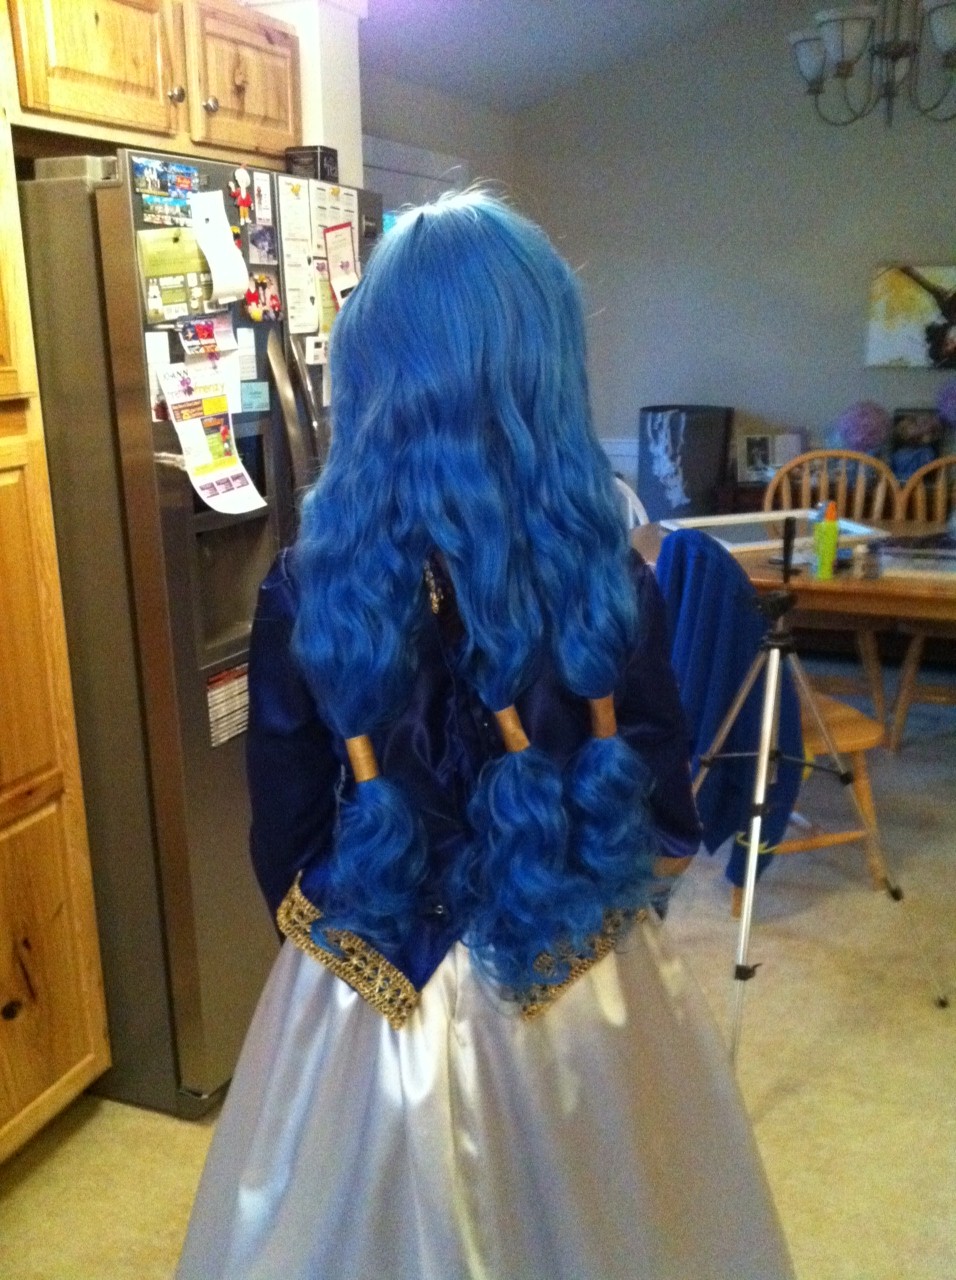 The wig was a dark blue Claudia from Arda Wigs, brushed out and sectioned into three pieces that were secured with hair ties and worbla.


 With the accessories done, it was time for the bow- which was mostly Mario’s job. I painted the inside of half plastic orbs (Christmas ornaments in half!) with the same blue glass paint as the gems.
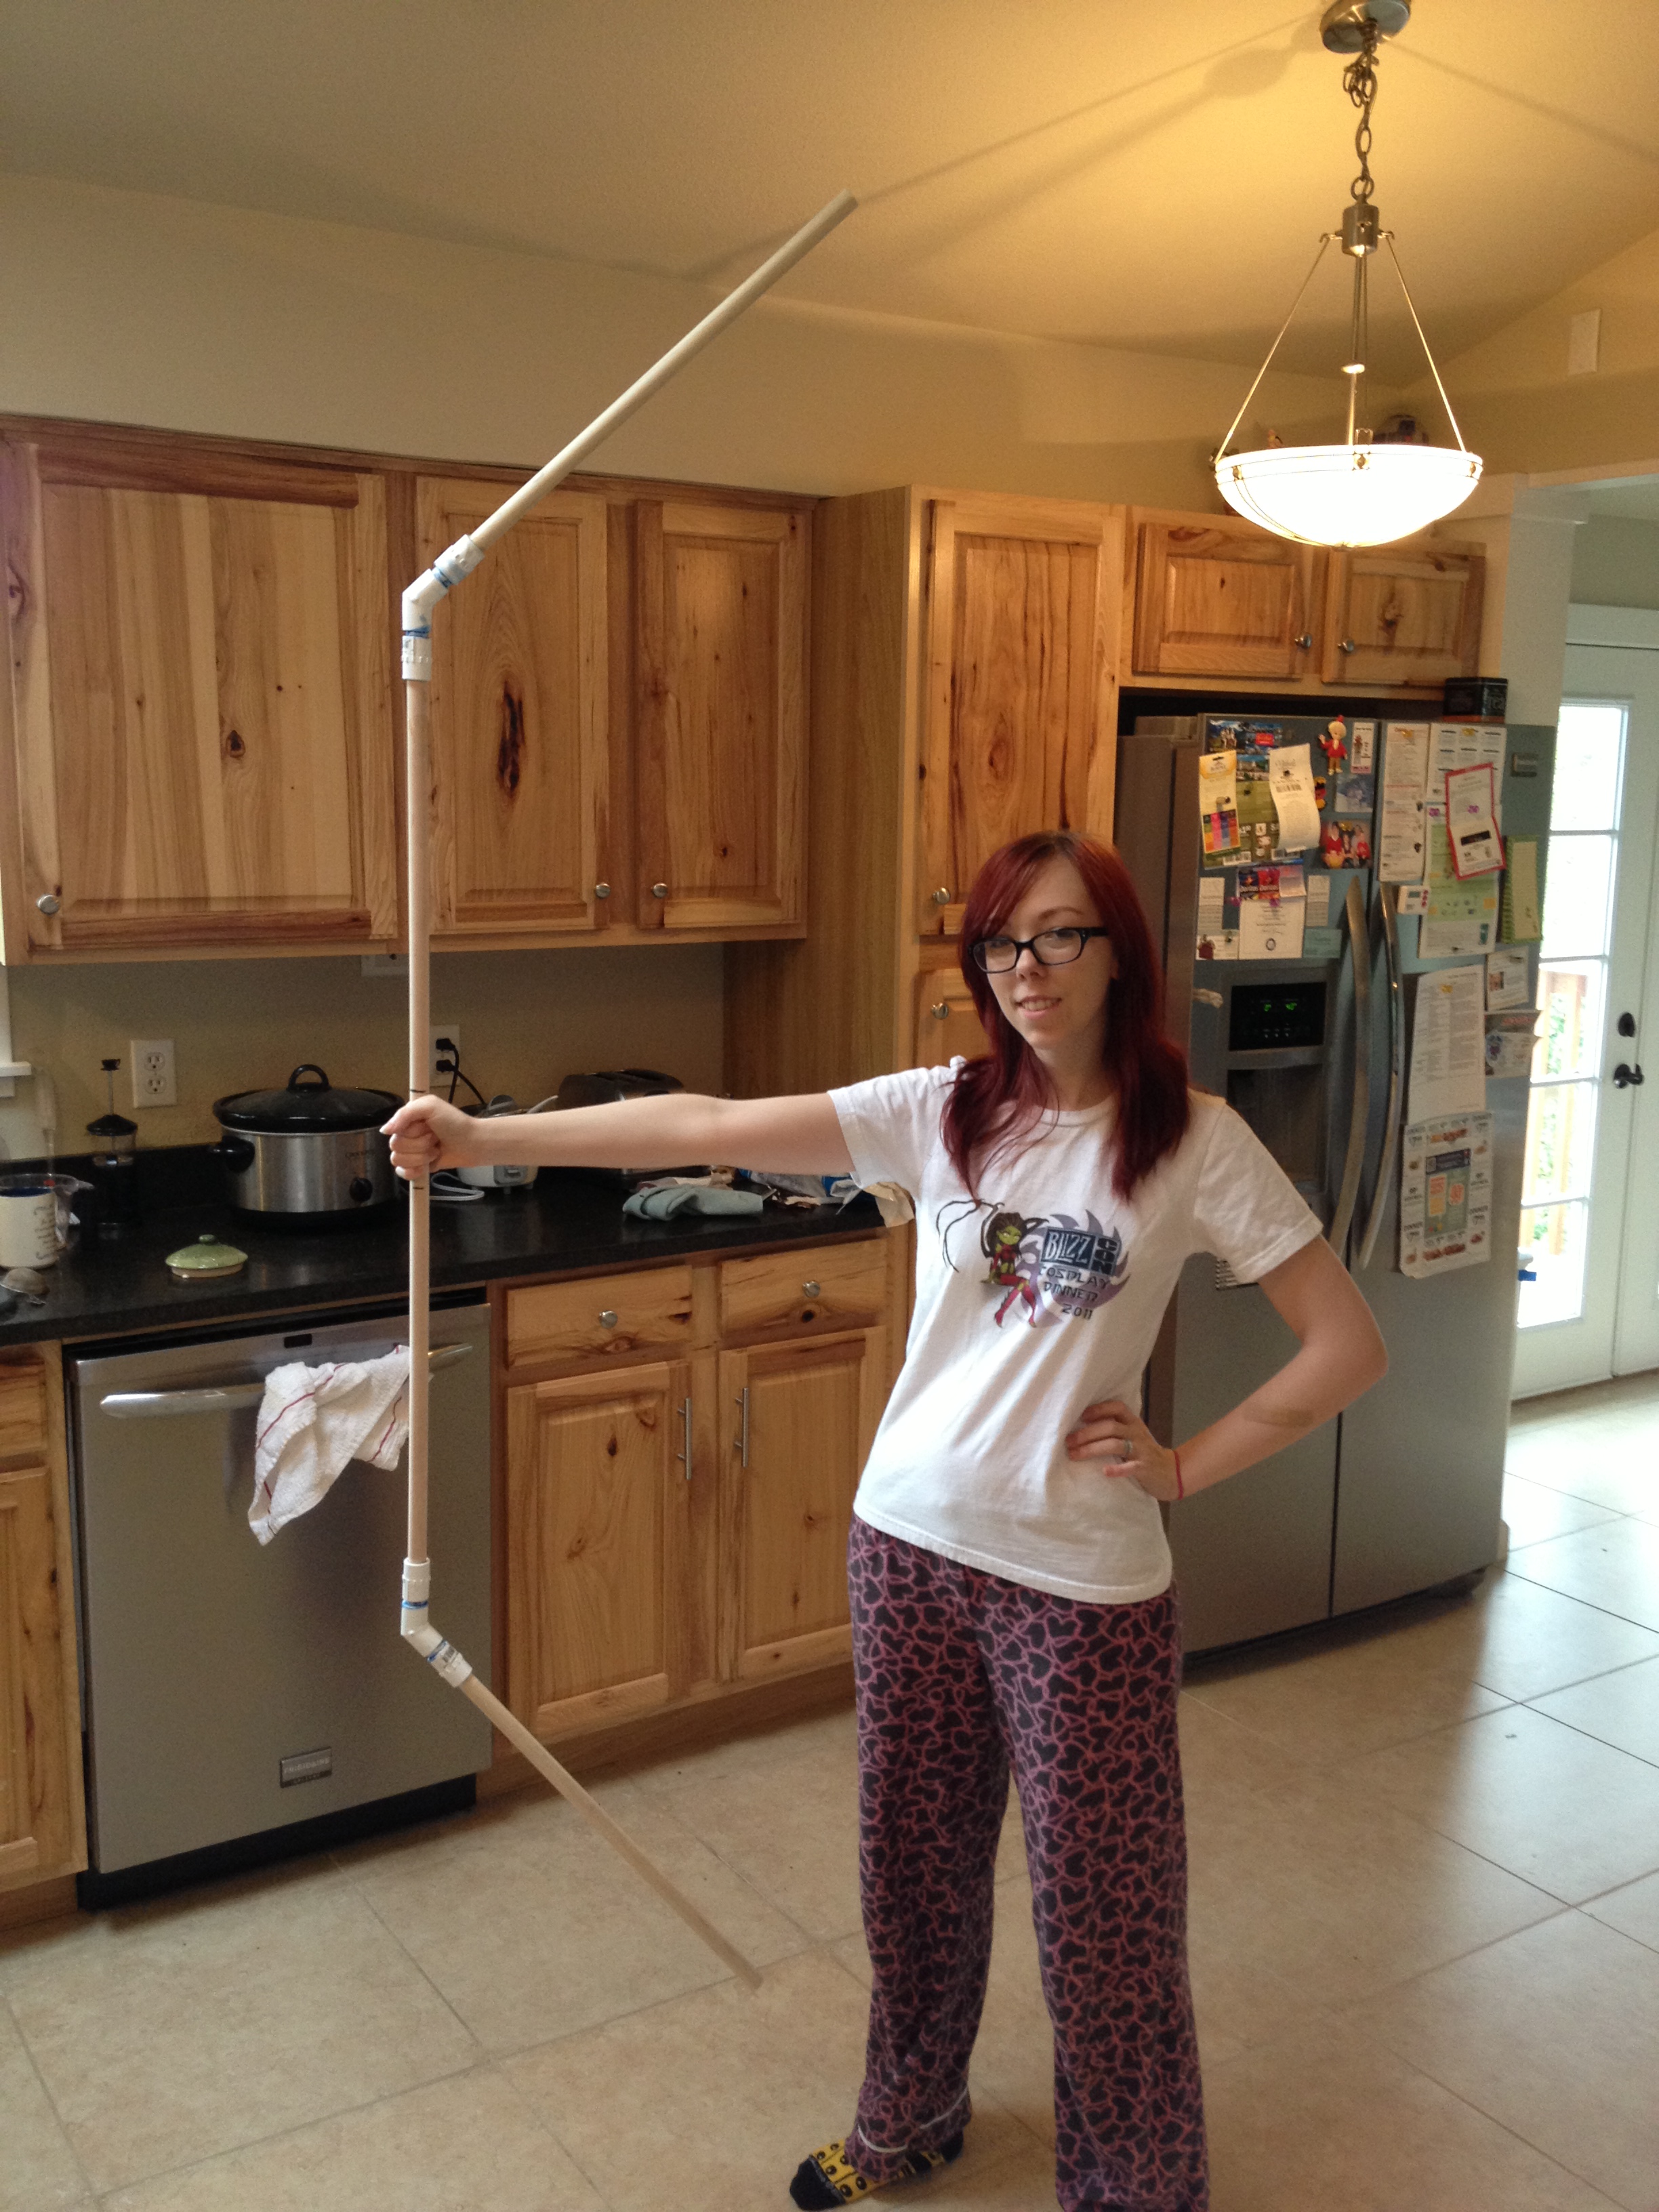 This was the base of the bow, which Mario then covered in foam and…
 Presto! Finished bow!
Nah, there was a lot more there, obviously.
 So everything was carved out of pink foam, and then covered in wood filler to smooth out and give some strength to it.
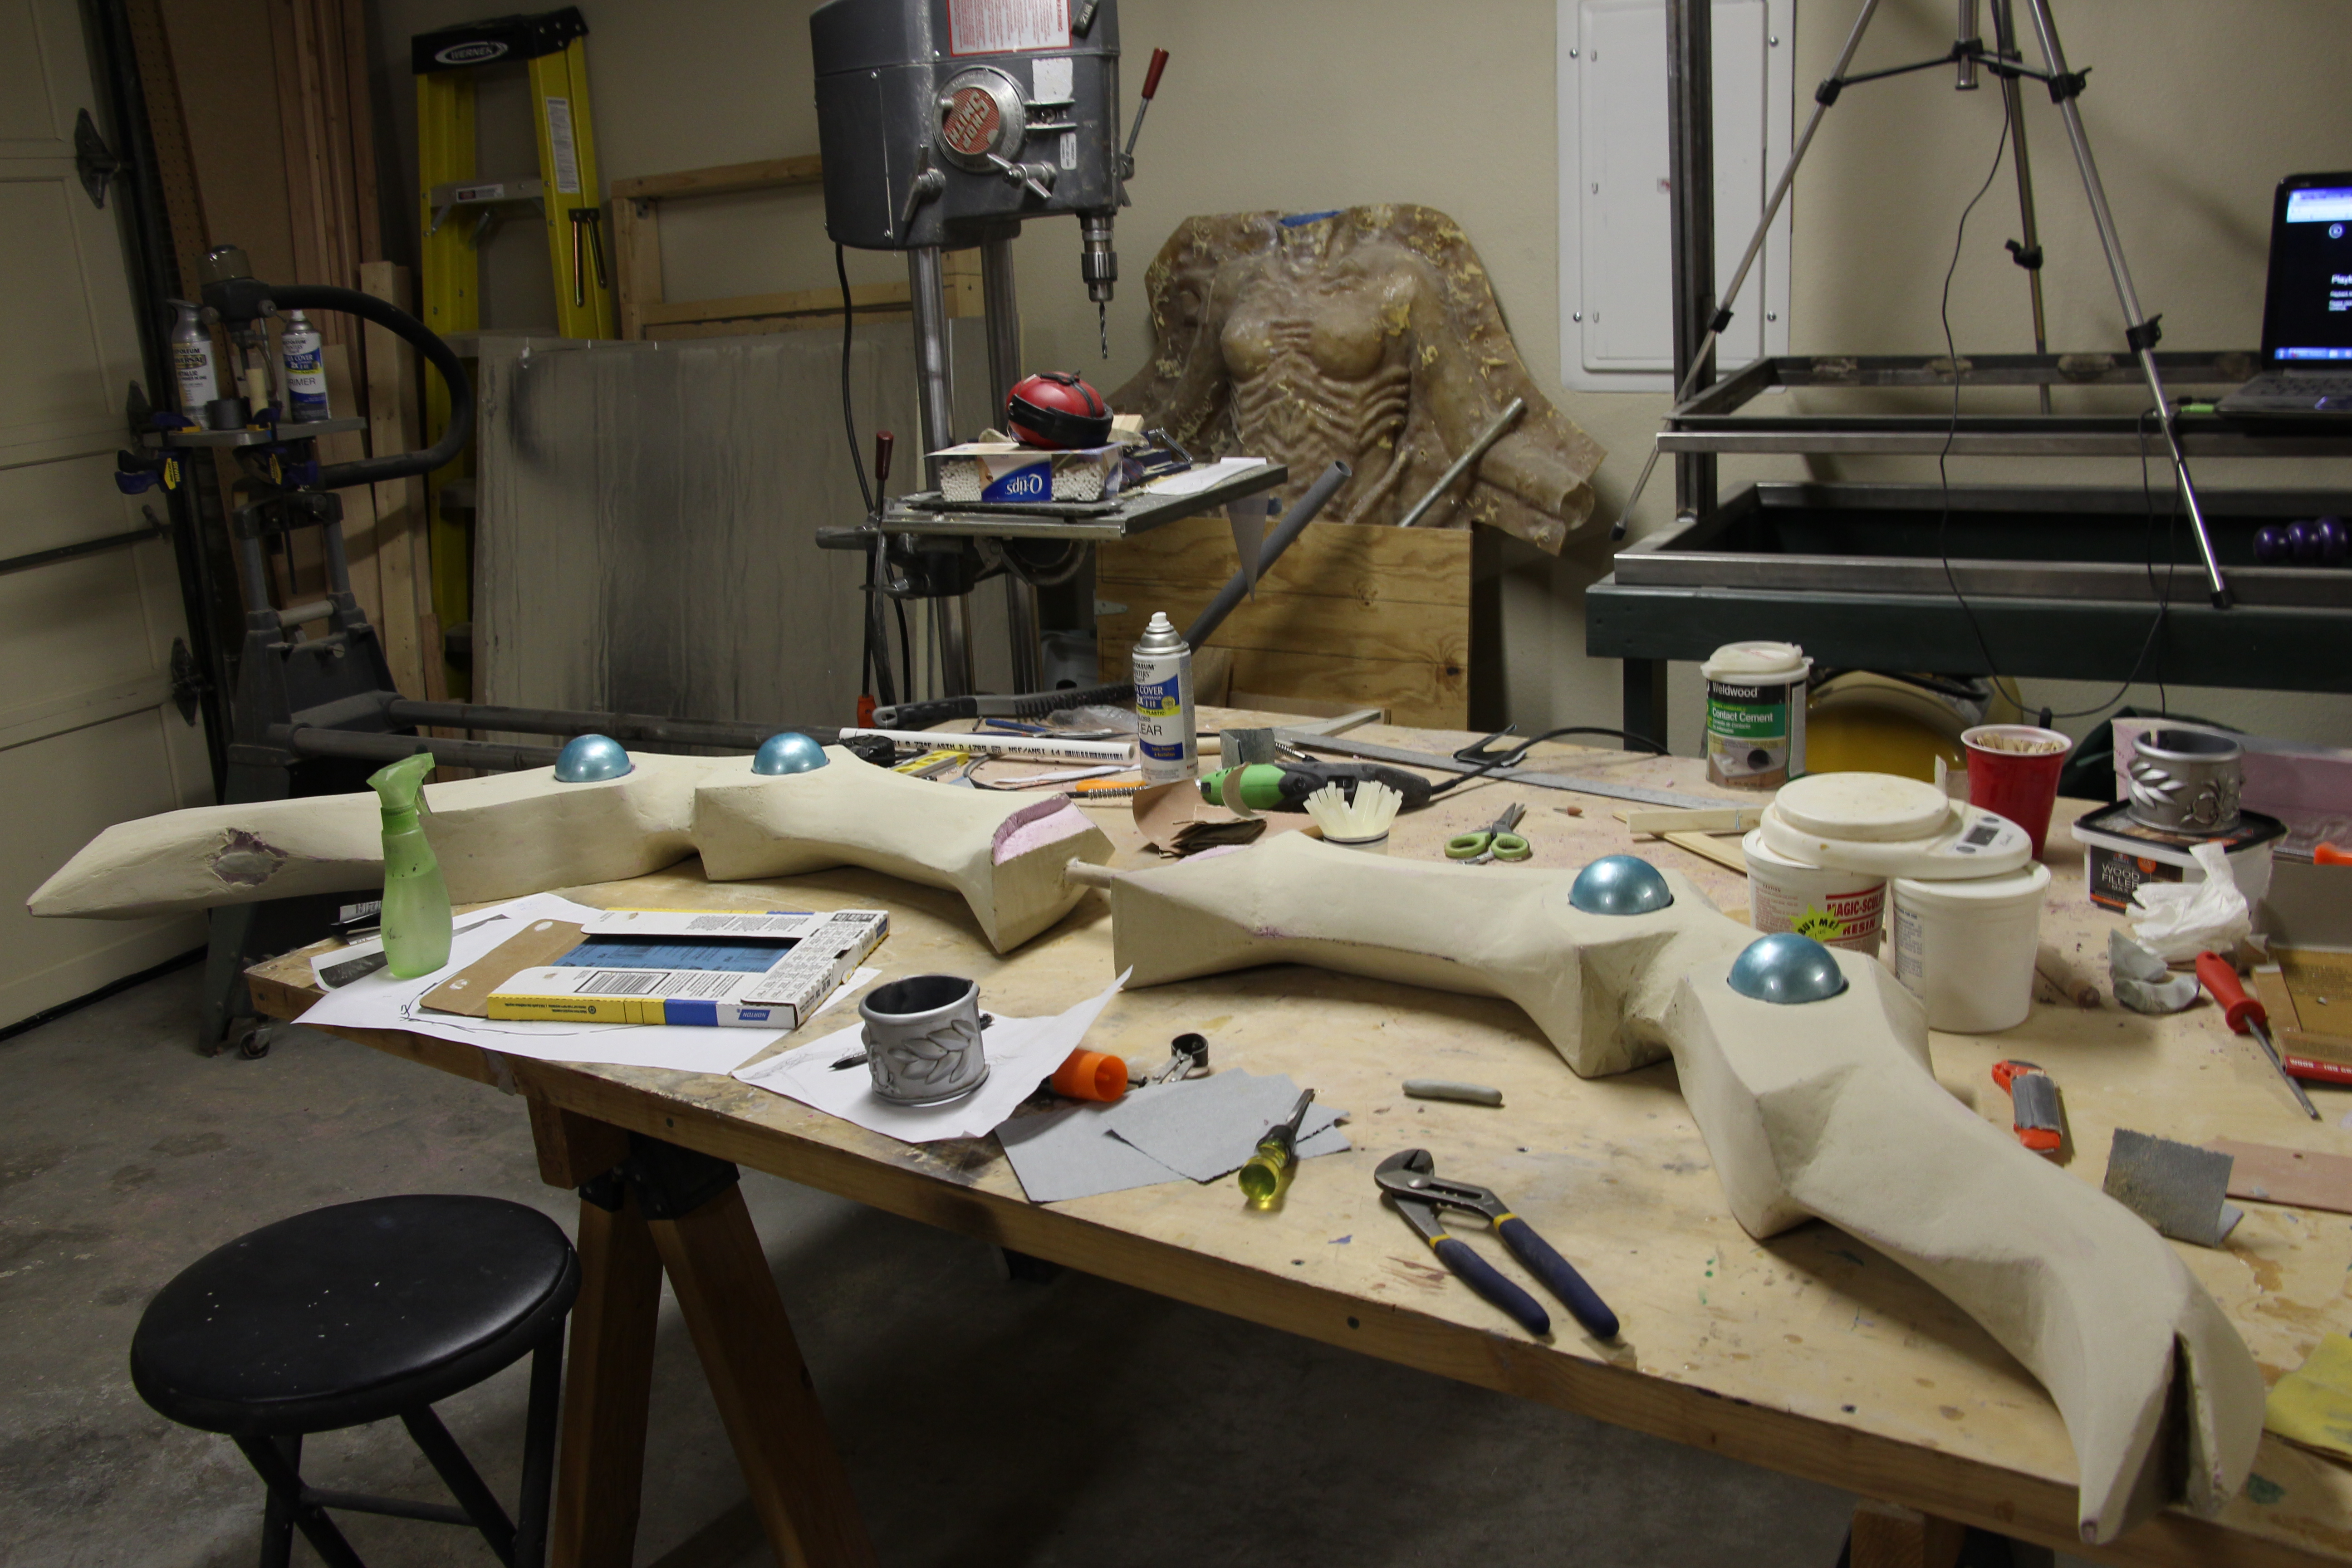 Then it was sanded, and we tested the fit of the orbs!
 Then paint! this was just spray painted.
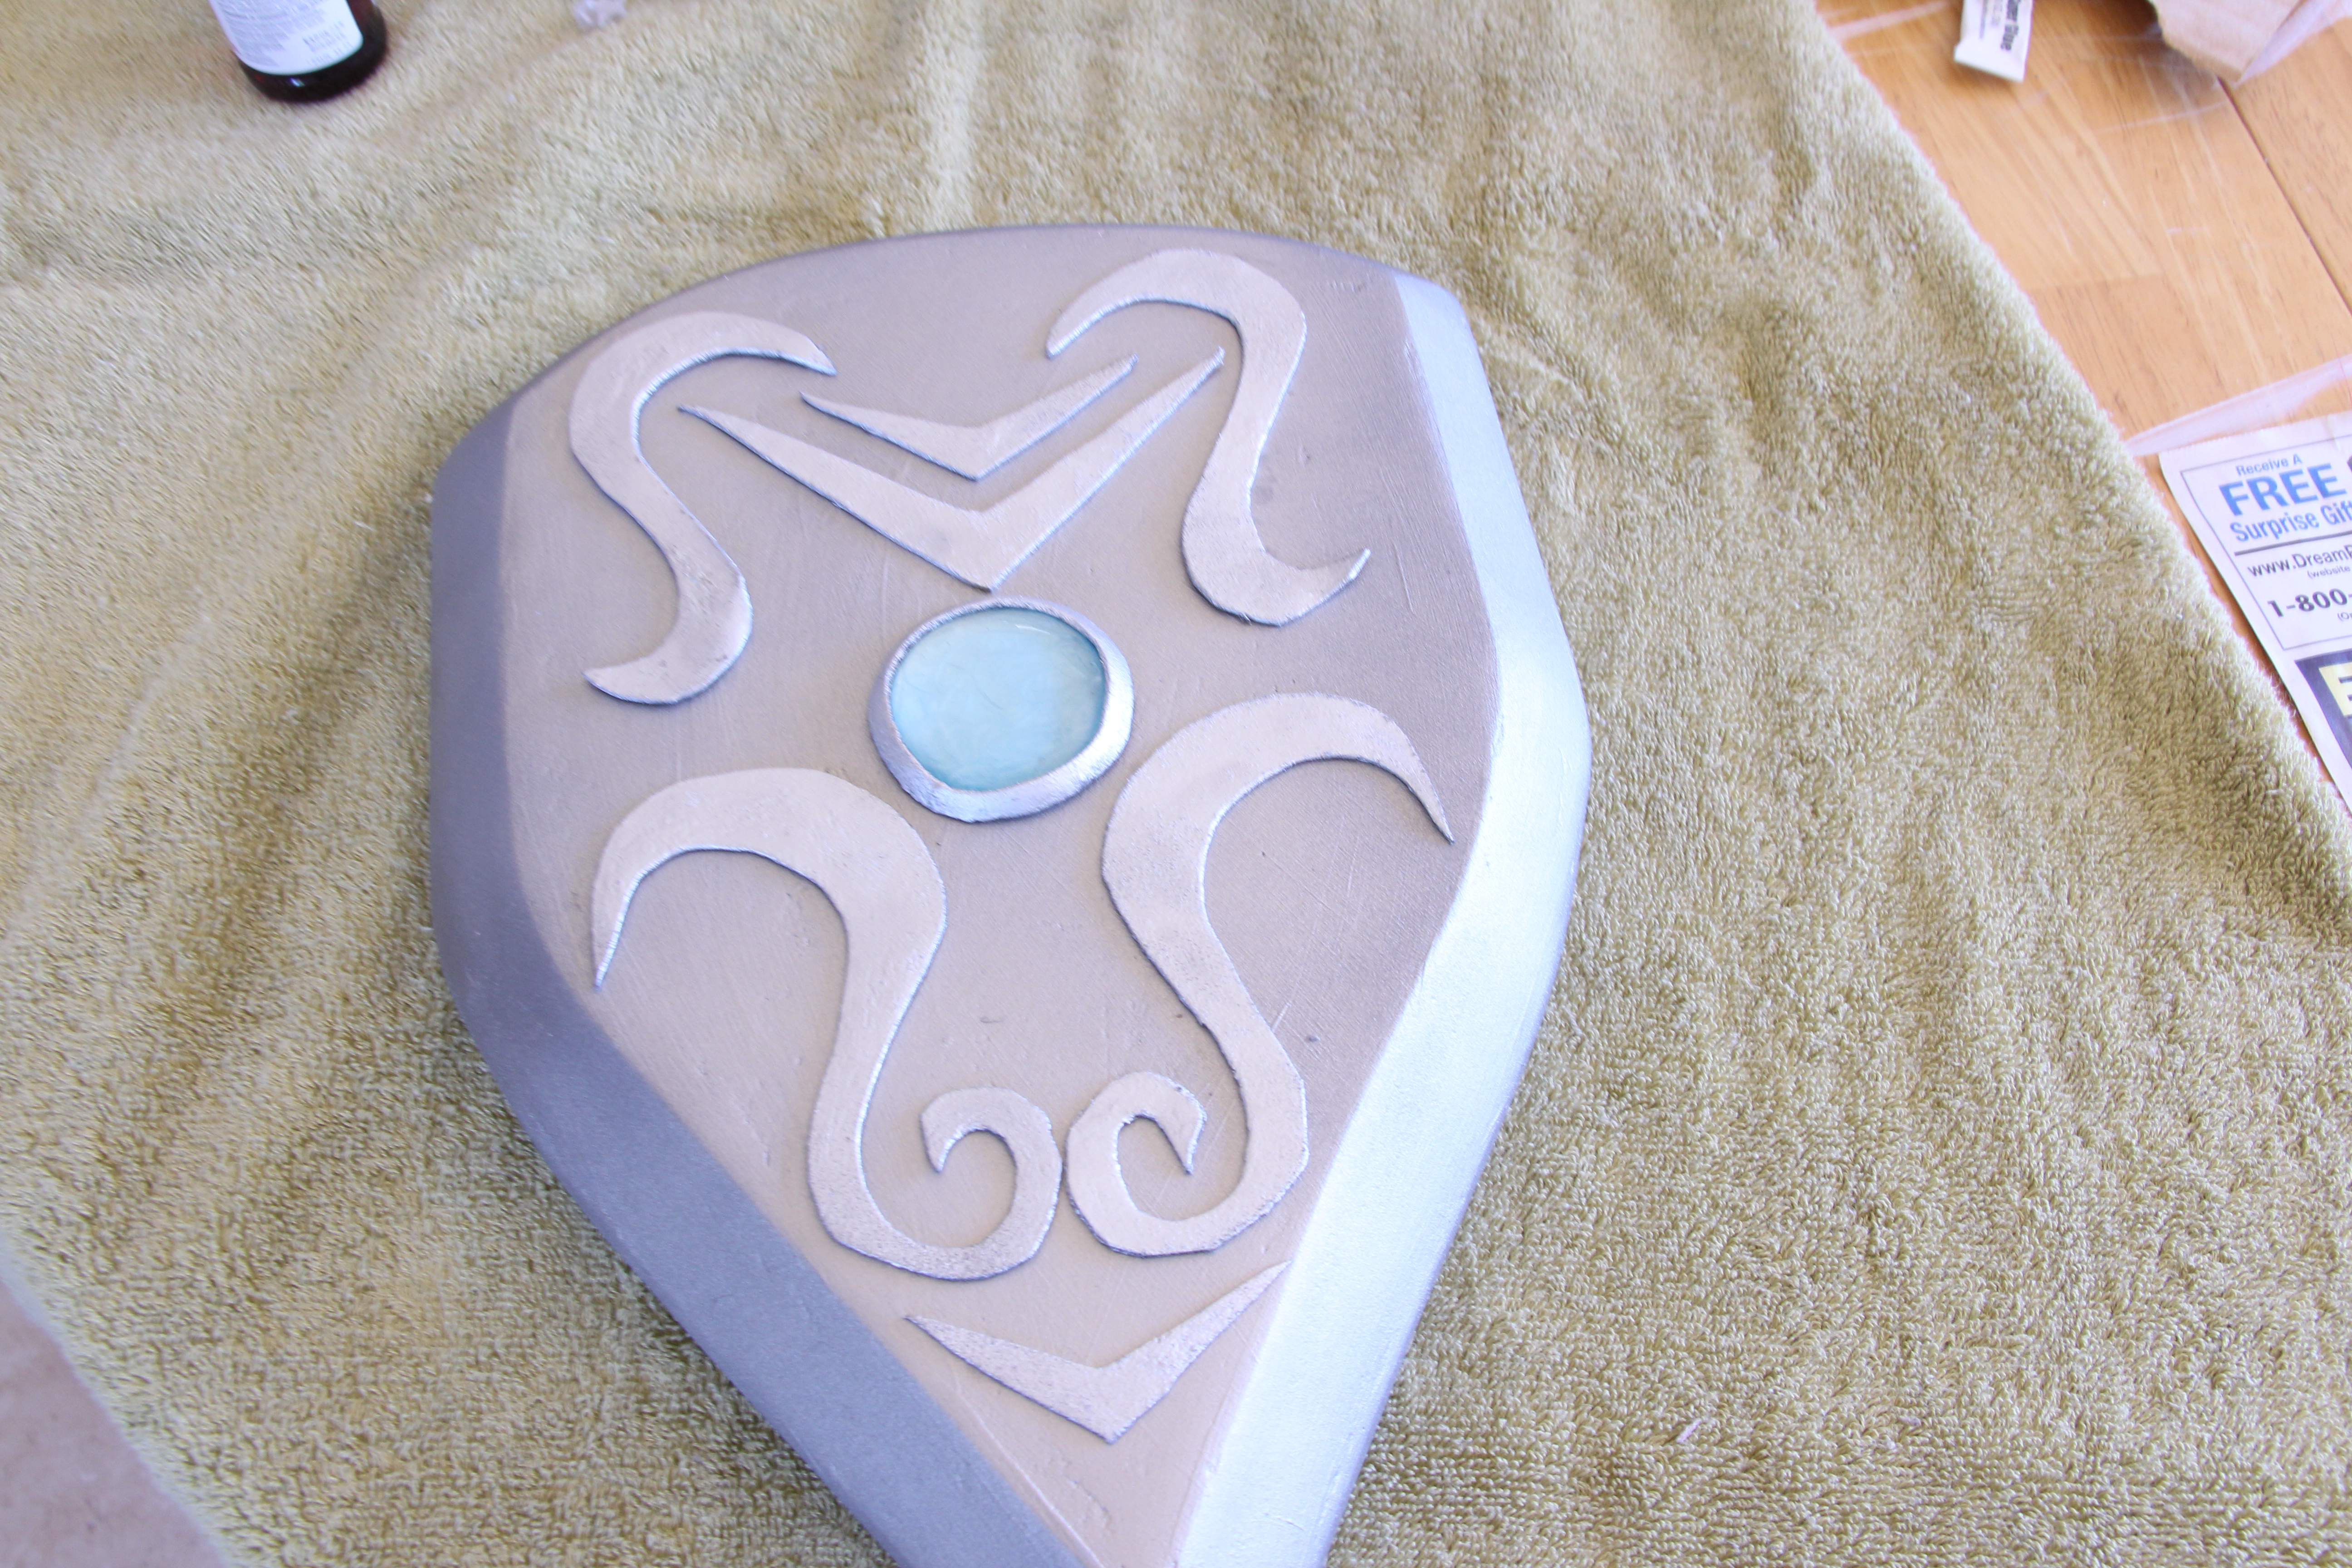 We added more details with worbla, and the gems, then wrapped the handle and glued the shield to the bow!
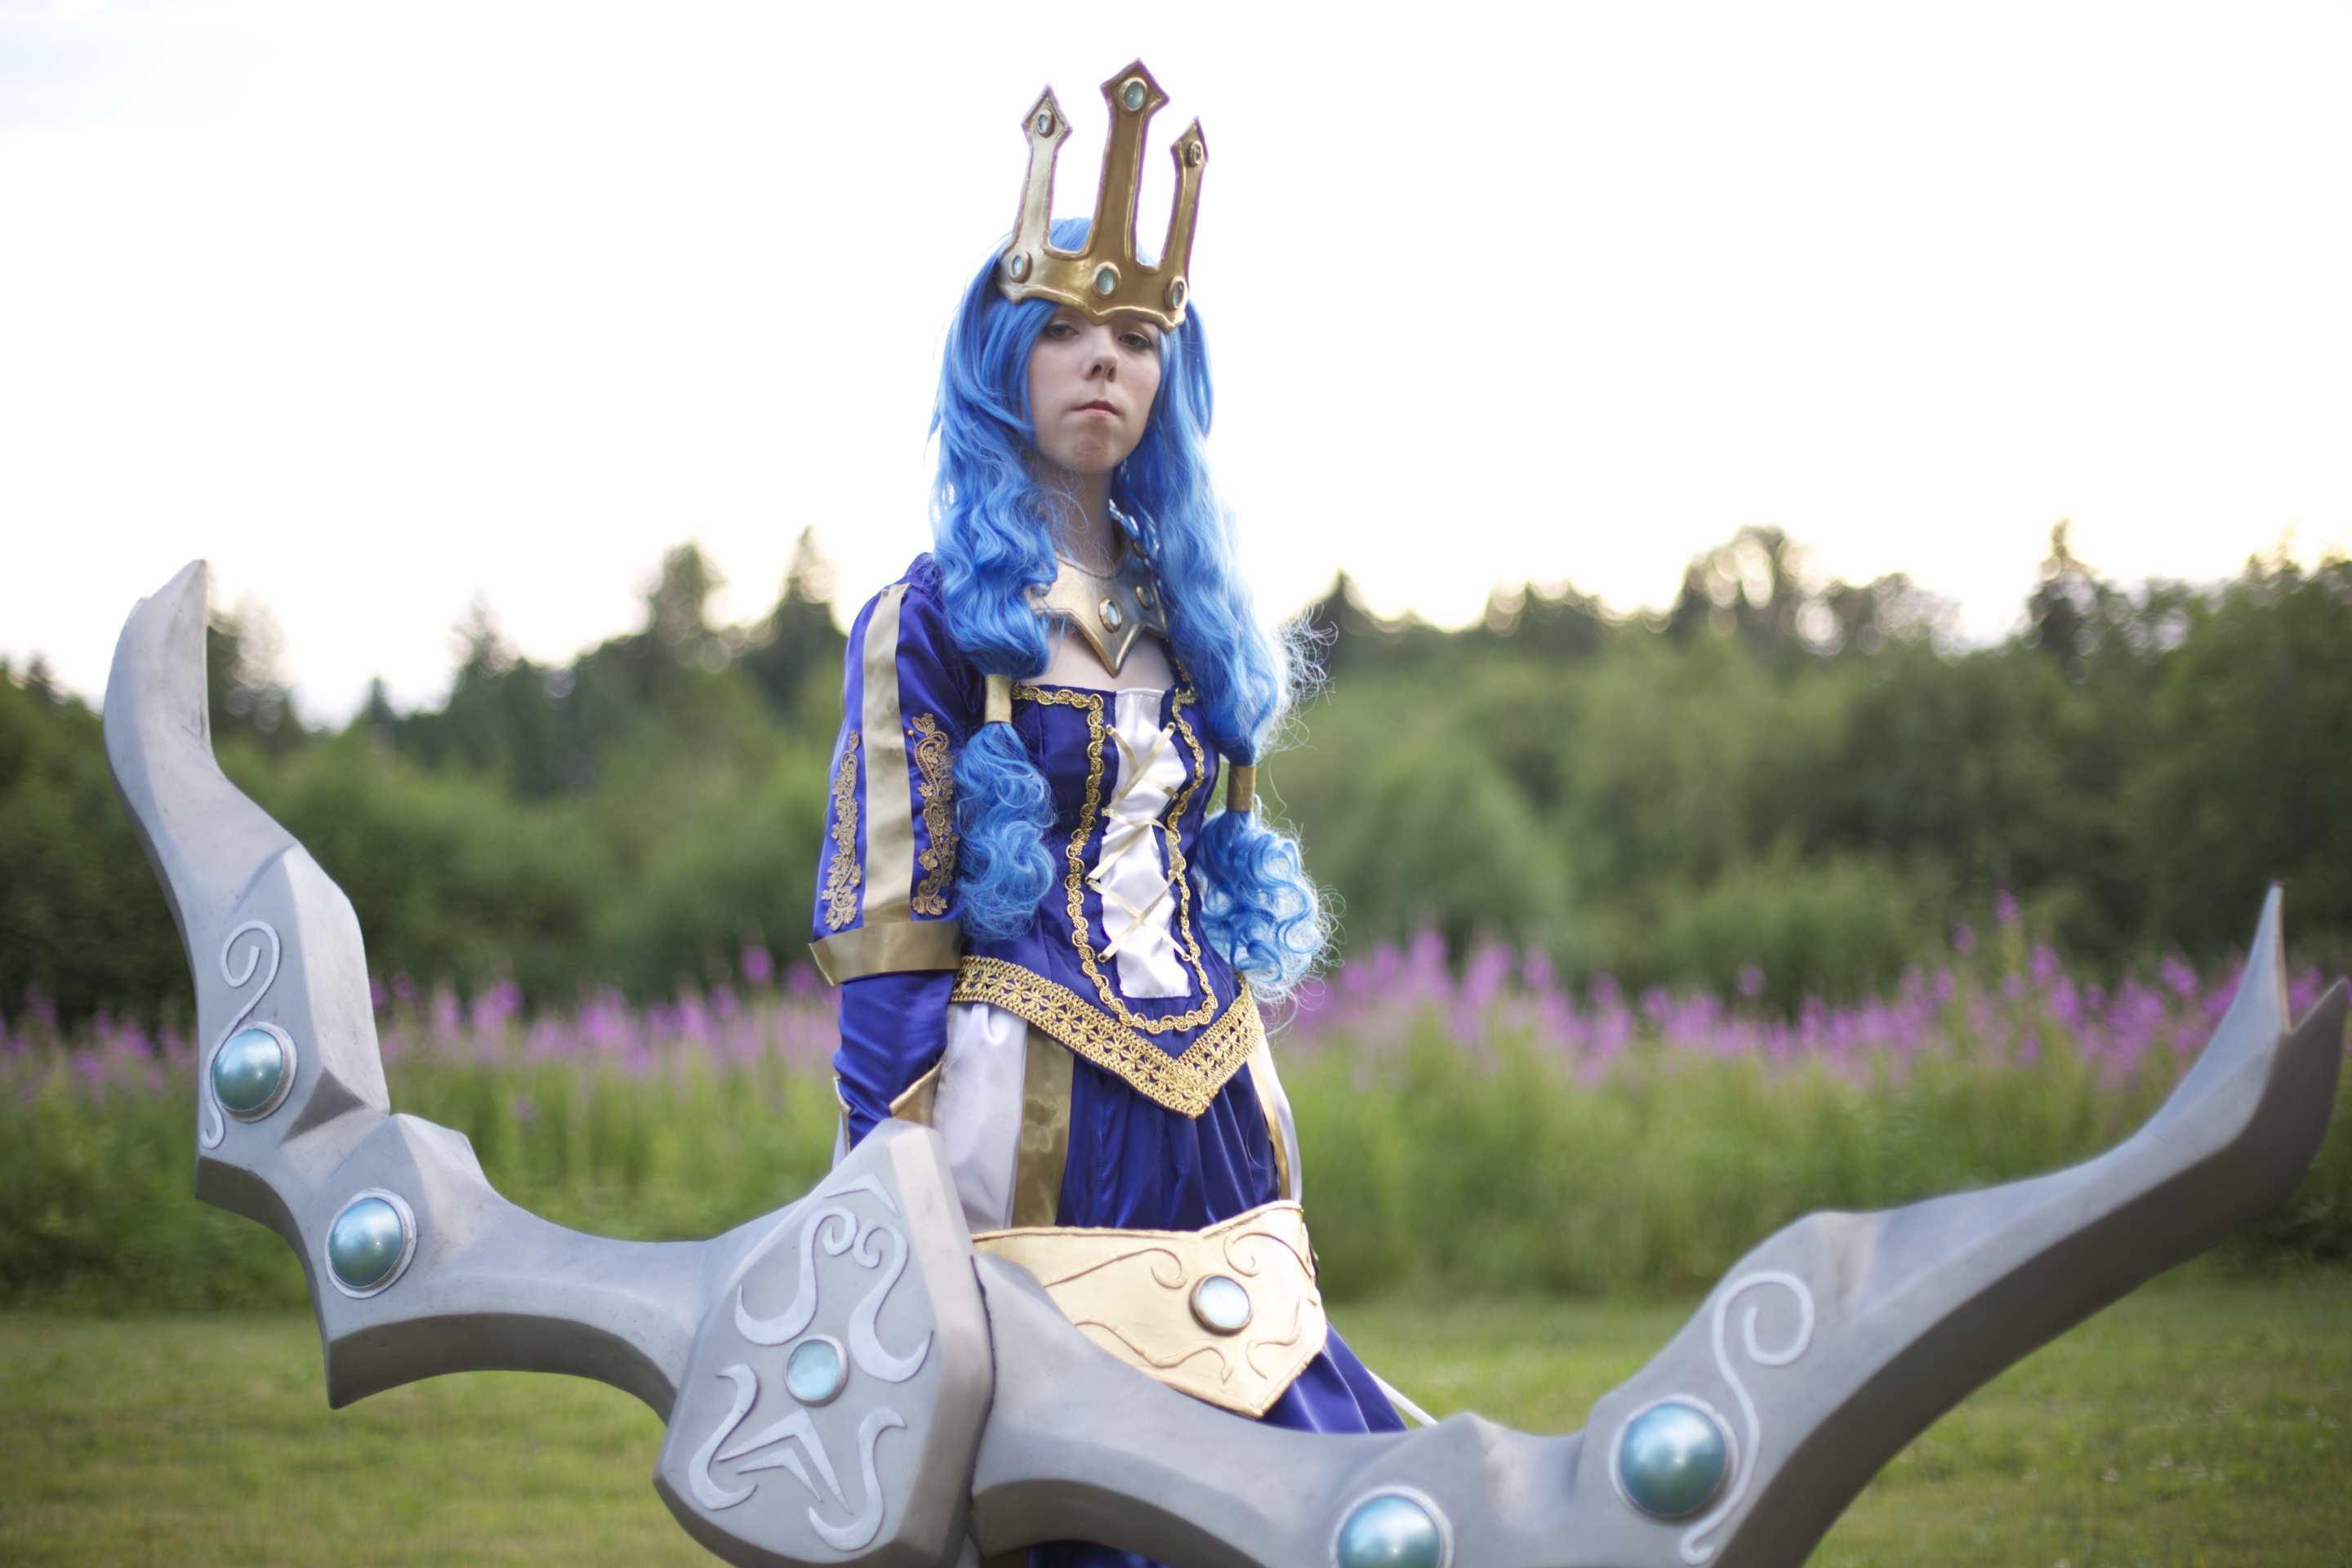
Photo by Ed Tan
Well, that was fun. Thanks for reading, and stay tuned for more costume write ups!

That. Was. Awesome. You really showed just how much work and effort was put in by you and your team and the result was a near-perfect replica! Keep up the good work :D
What did you use to cut and carve the pink foam? The sides are so perfectly angled and beveled. The whole thing looks amazing btw.
Thanks! The main shape was cut using a hot knife, then refined with rasps and sandpaper- that’s it!
wahaa q genial eso, me ayudara mucho con mi cosplay ;)
Sell me this cosplay? Pleaseee
Your comment came at a good time, I have been considering selling this costume. Email us at tripleacosplay@gmail.com and we can talk :)
how large was the bow?
I believe it was about 7 feet tall.